
Advanced and Experimental VFX Animation and Techniques – Collaborative Project
Nuke
The material from the Green Screen Workshops can be accessed by the button below.
Collaboration Project – Underwater Environment sequence
This project will end as a short video showing an underwater futuristic city environment.
Karolina K. Bienkowska – Modeller and Environment Artist
Alessia Forzinetti – Modeller and Compositor
References and Idea Development
The mood board accessible through the link below, collects references and research for this project.
https://miro.com/app/board/uXjVO-XwE-M=/
It starts off – in the first line of the first section – establishing the general feel and idea of the project, it looks into the colour scheme, key ideas and ways in which ideas can be portrayed, which is followed by the second row of the first section which concentrates on examples from large budget movies treating about a similar idea or aesthetic.
The second section starts (first column) with the general idea of man made objects underwater, followed by three columns of actual places in the world, some submerged cities, some wrecks and some underwater art galleries created on purpose, which show the plant formations of underwater flora.
The last section starts with a column about possible key elements of the project, followed by inspiration for flora and fauna, divided into sections for; real life examples, UK climate correct examples, weird examples (real, mutations, creations), bioluminescent examples, fossils and recreations of prehistoric flora and fauna, and fantasy design.
Design
After the initial stage and idea some more brainstorming and idea development took place and some details of the idea had changed. We are still working with an underwater city, but there wont be over grown buildings and general deterioration of the city, it will be a futuristic underwater civilization instead of an abandoned place. Most of the references from the mood board in the section above are still relevant and fully valid, so I wont be revising the board, instead, some ideas and sections will be omitted and kept for a possible future project.
Progress
The original idea of filming a location was scrapped and we decided to go full CG, with a photorealistic megascans environment in Unreal Engine, as it was a perfect opportunity to sharpen my layout skills in the engine and try out the new version, with improvements such as Ninite and Lumen.
So the first stage of this project was the building of the environment, followed by modelling and laying out some hero assets made from scratch by both of us, working on this project. During this time I have also started with modelling a steampunk/robot fish, that was supposed to attack the viewer – camera – at a particular place in the environment.
Environment layout – Megascans
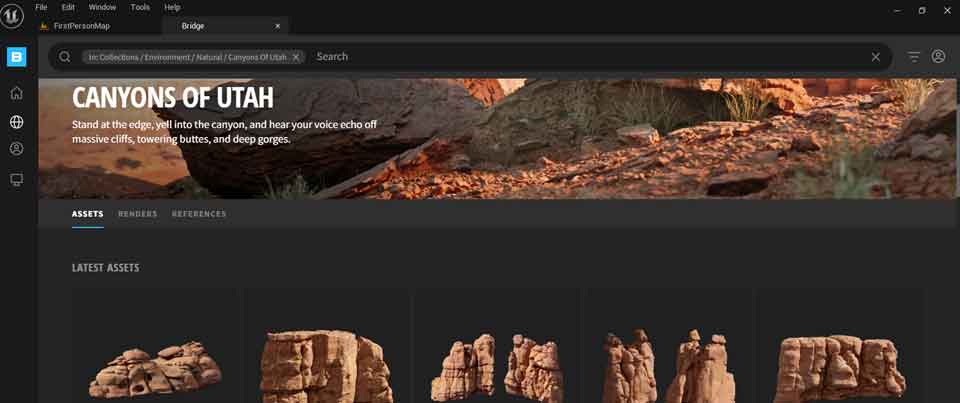
The first layout stage was to create a tunnel from the megascans assets available online, I have chosen the Canyons of Utah collection as it resembled most the rock formations from our Idea and the references we were set on.
Below Quixel Bridge – Megascans page from the built in Unreal Engine 5 plug-in.
Followed by the chosen assets in the content browser of the unreal project.

And finally one of the folders, to show the general content.
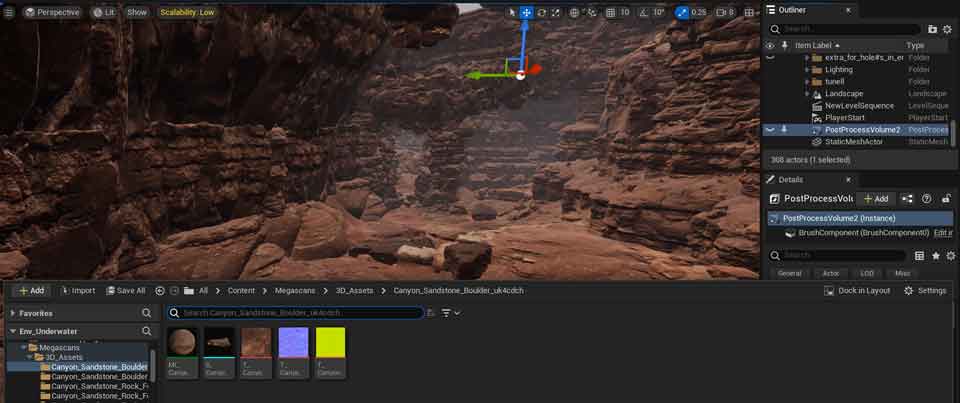
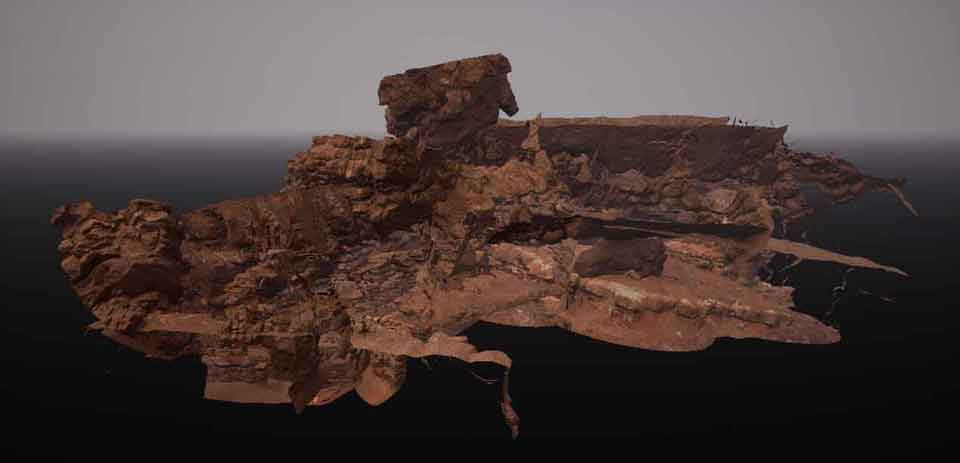
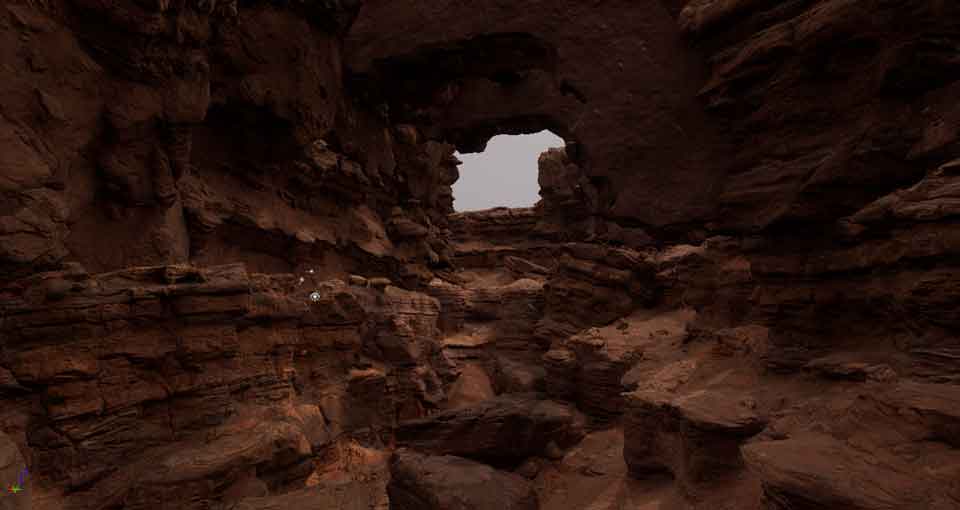
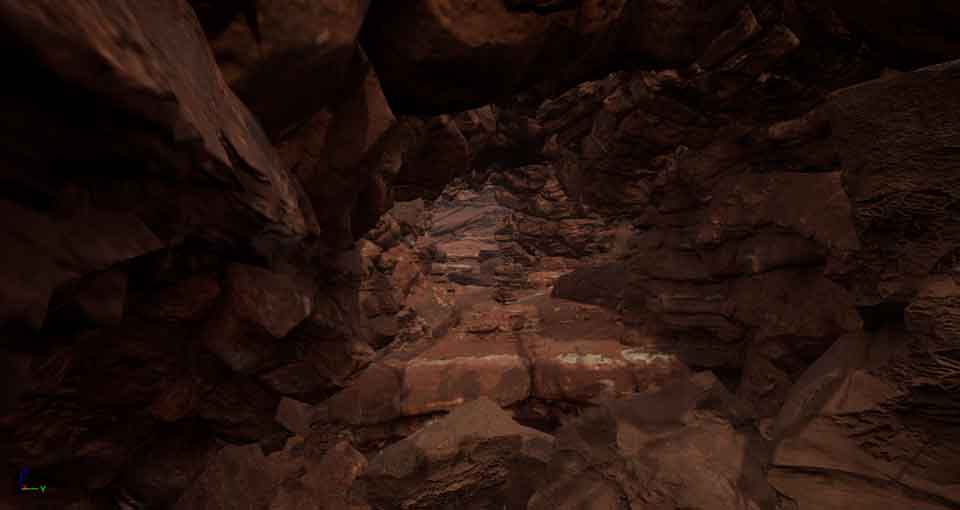
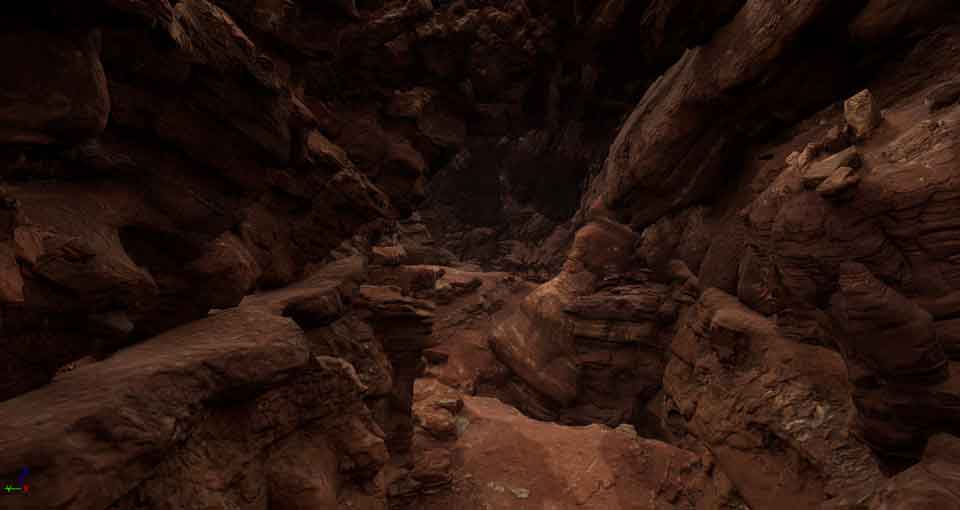
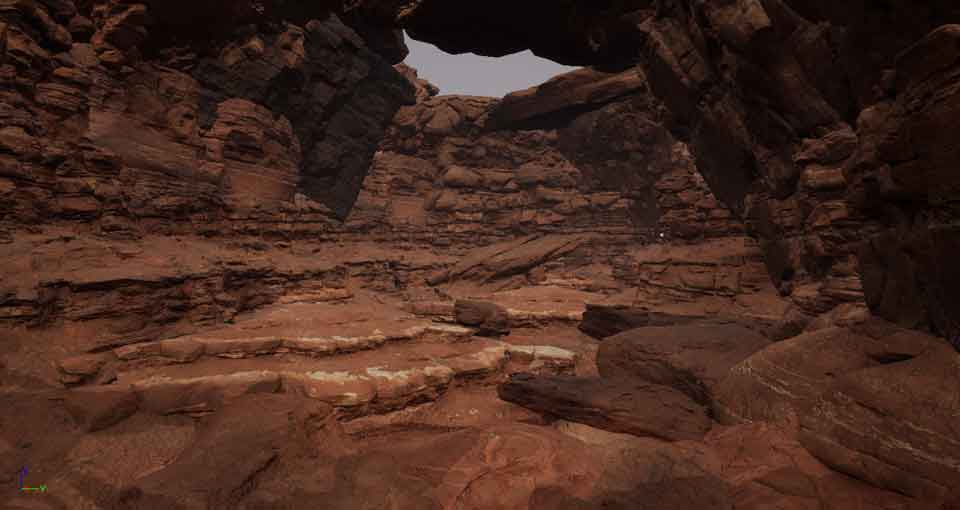
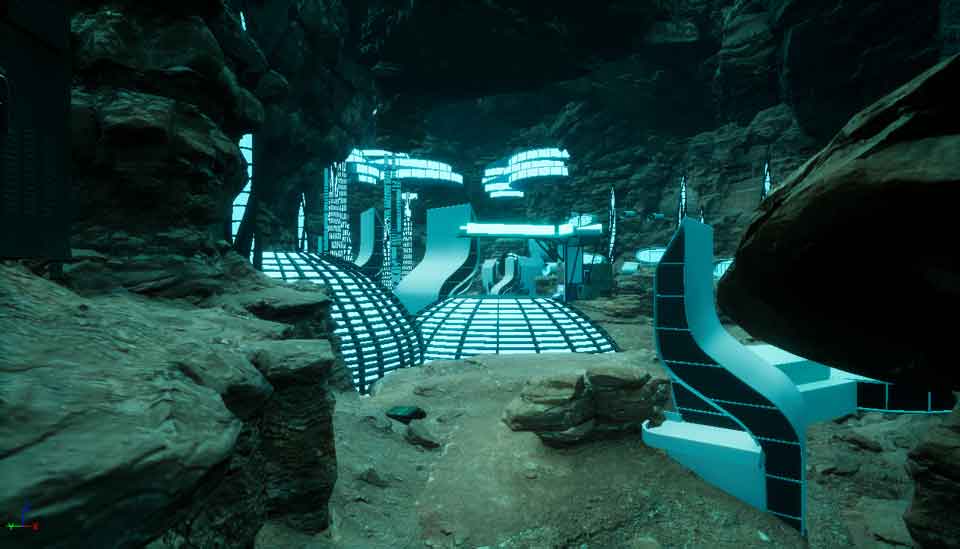
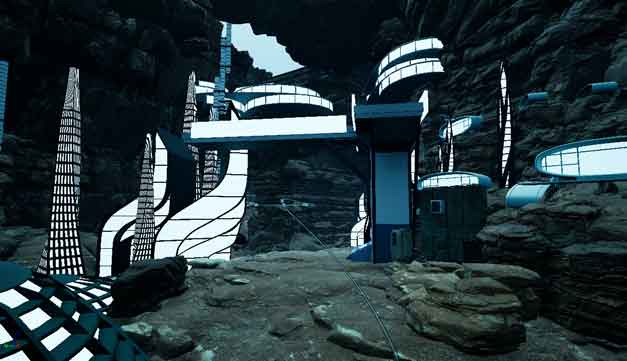
Below, the beginning of the environment set up.
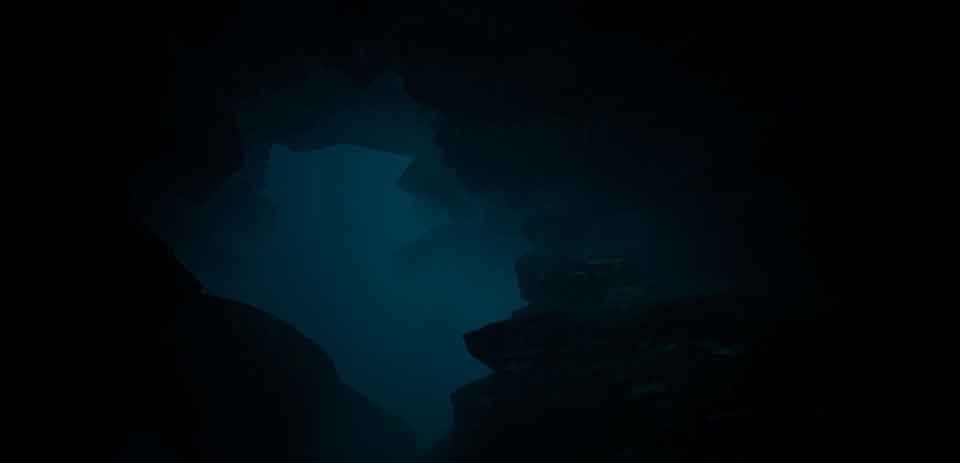
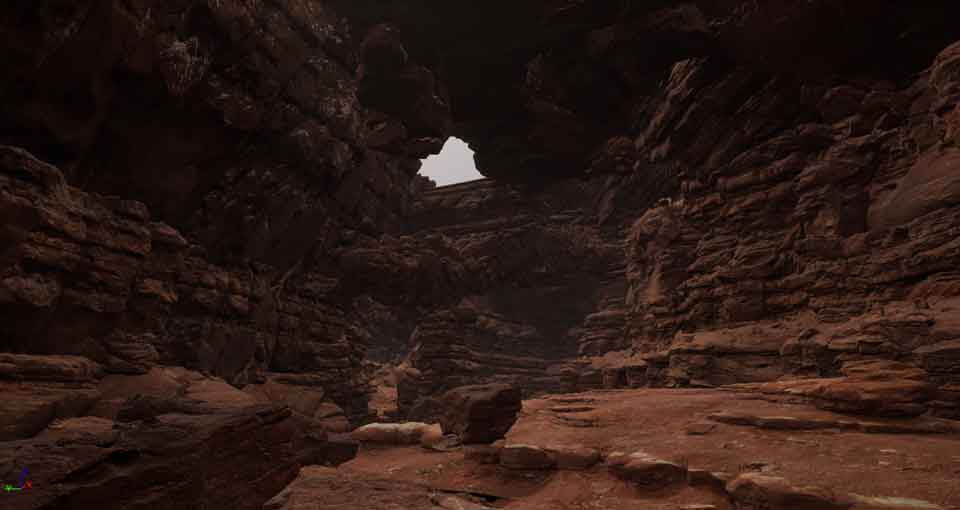
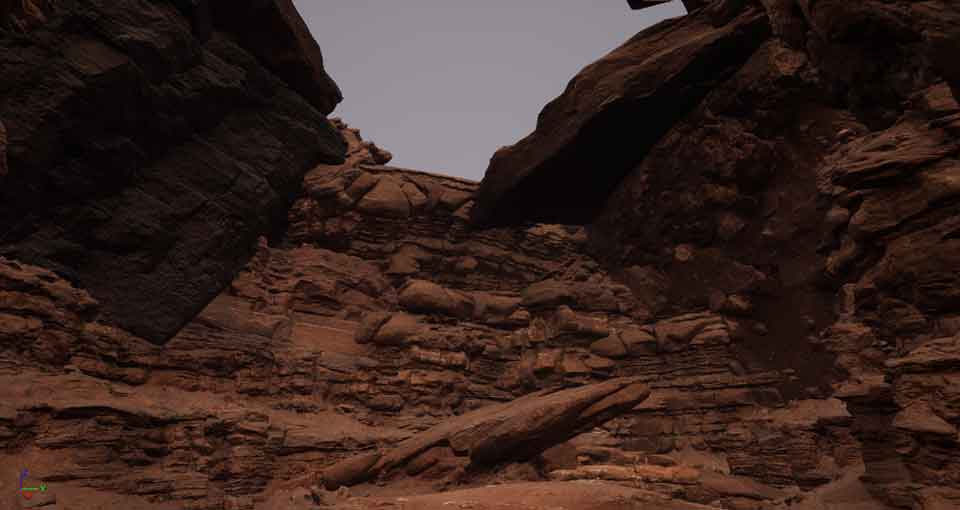
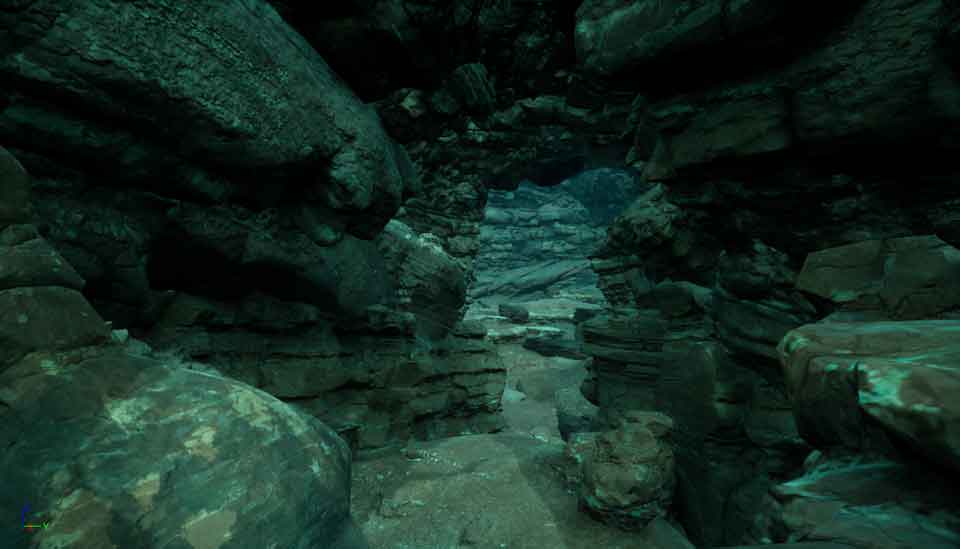
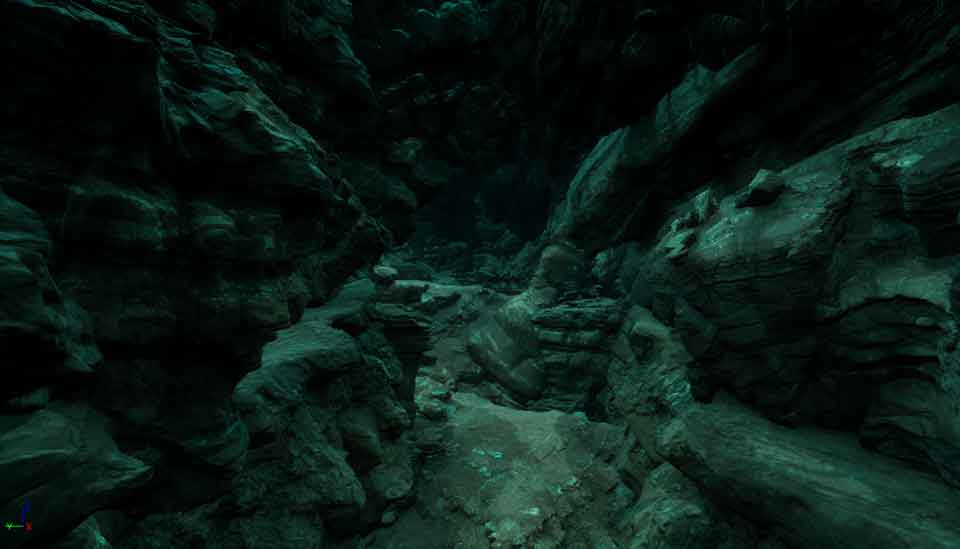
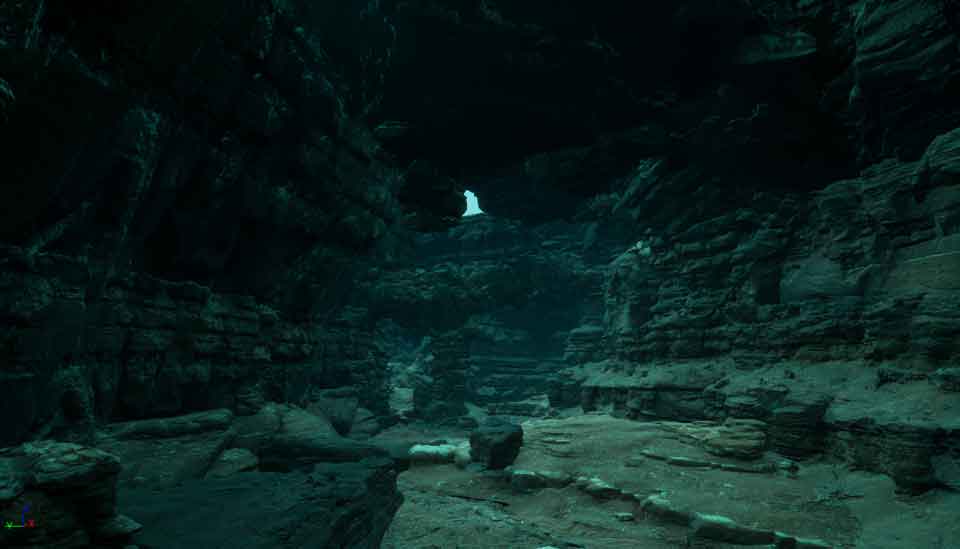
The first picture in the gallery below shows the general set up form the outside and is followed by five picture of the inside of the tunnel, where the sequence was meant to be filmed.
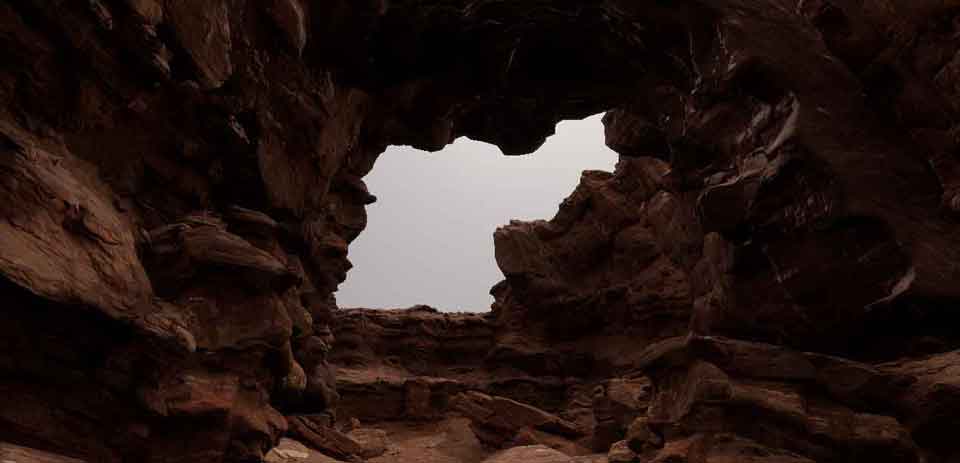
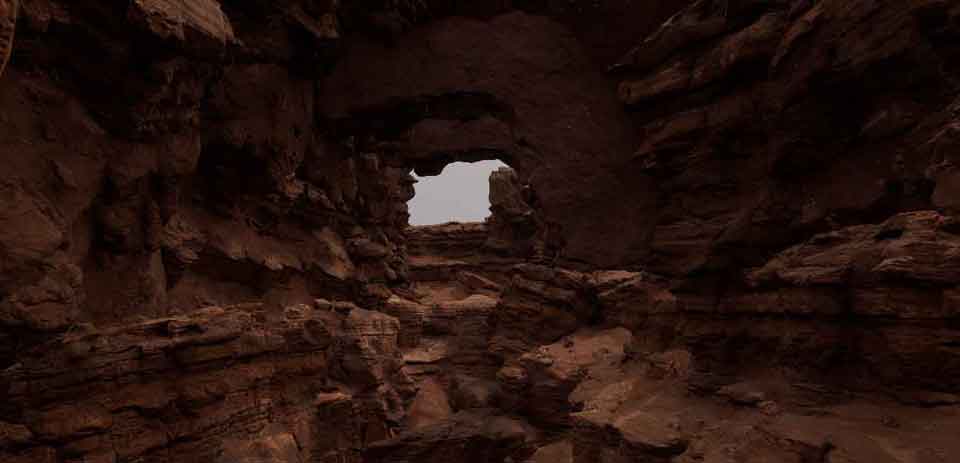
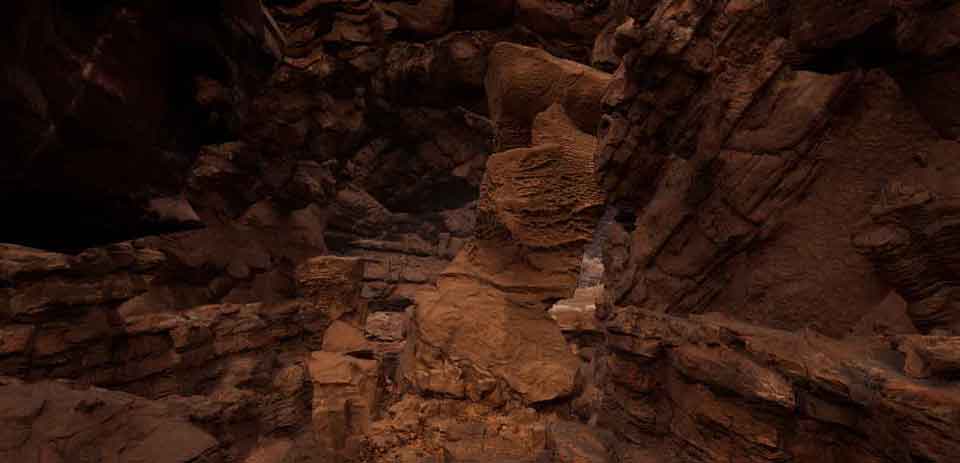
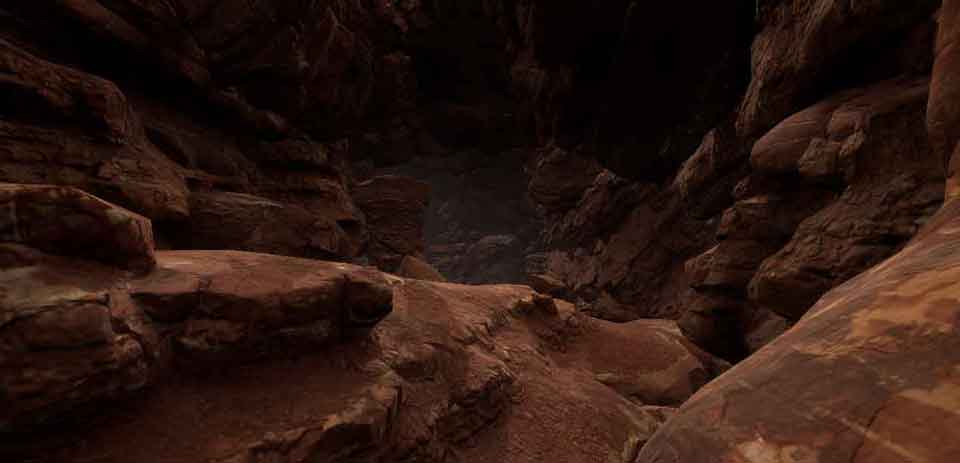

At this stage we were both slightly worried about grading the red rocks and making sure the red doesn’t affect the general idea we were going for colour-wise.
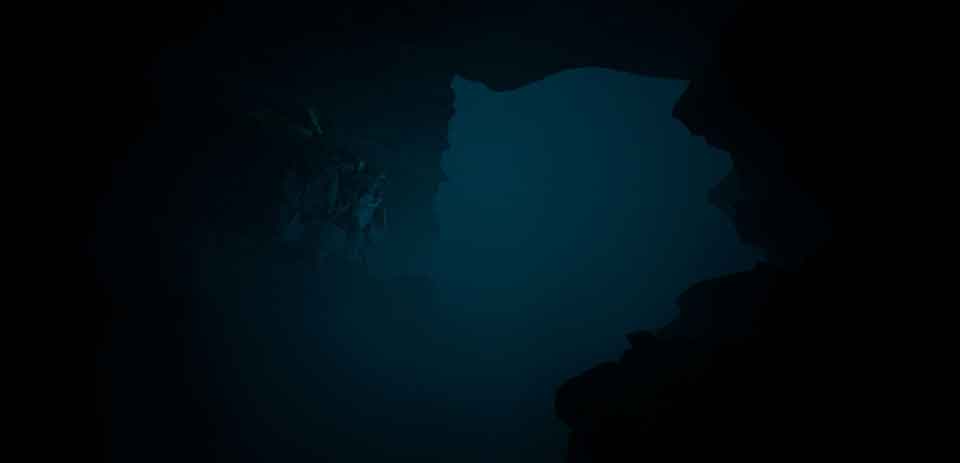
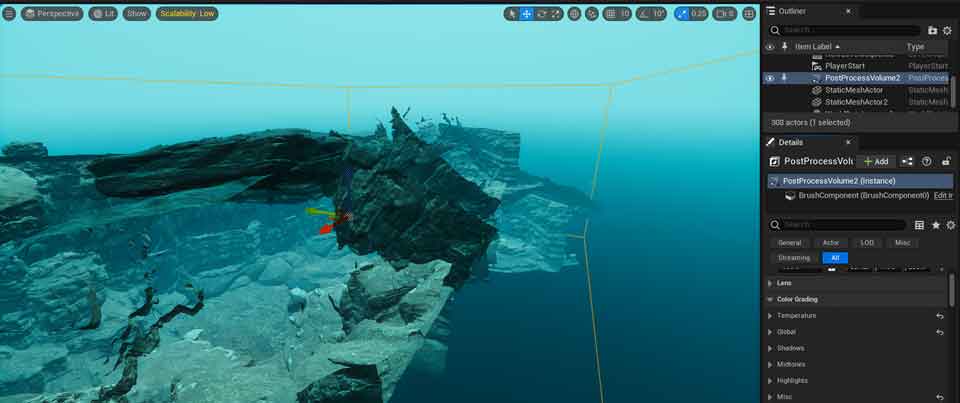
A week before doing this environment I have attended a week long course in Unreal Engine 5 where I found out about the possibility of in engine grading through the post process volume or in camera, and at this stage I have decided to play around with it to make sure it will work well at the end of this project, right before the final rendering (to avoid any possible issues at the end of this project). So below, a few screen shots of the fist grade and the general visual idea we we going for (exposure and fog).


Followed by the effects I did as a trial, to see if the idea we had would work the way we wanted it to. The vide shows a little bit of the water distortion as well as the caustics effect I have made.
Water Caustics

Water Distortion

After making sure everything can be graded nicely and that the environment setup will work well in the intended lighting, I started working on the expansion of the environment to make space for the city. I have came up with the idea of a cave in which the futuristic city will be placed.
Starting with the general set up of the whole environment, also showing the scale of the cave in relation to the tunnel (long thin piece on the side).
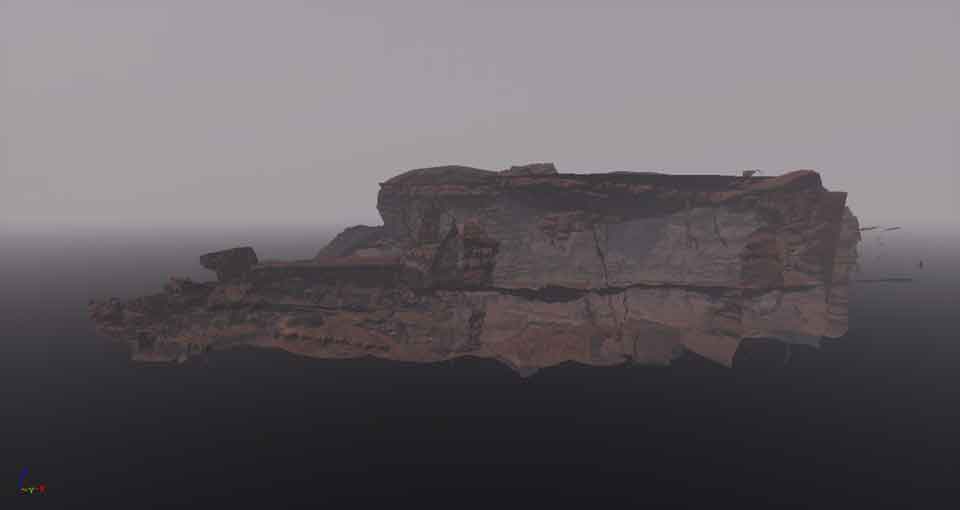
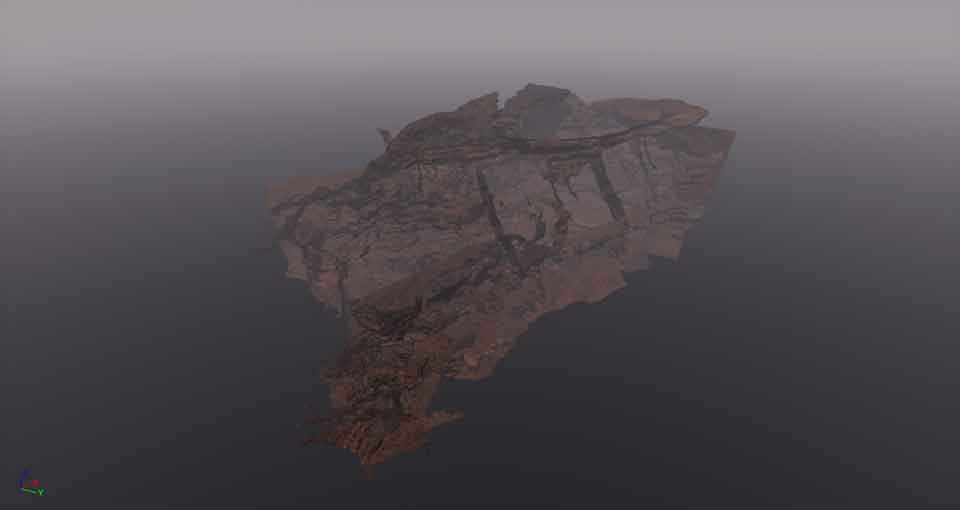
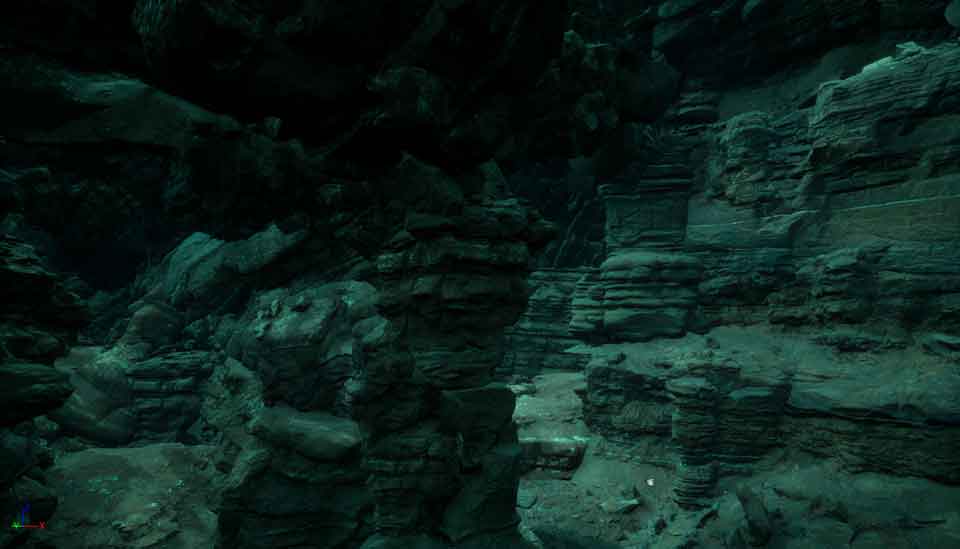
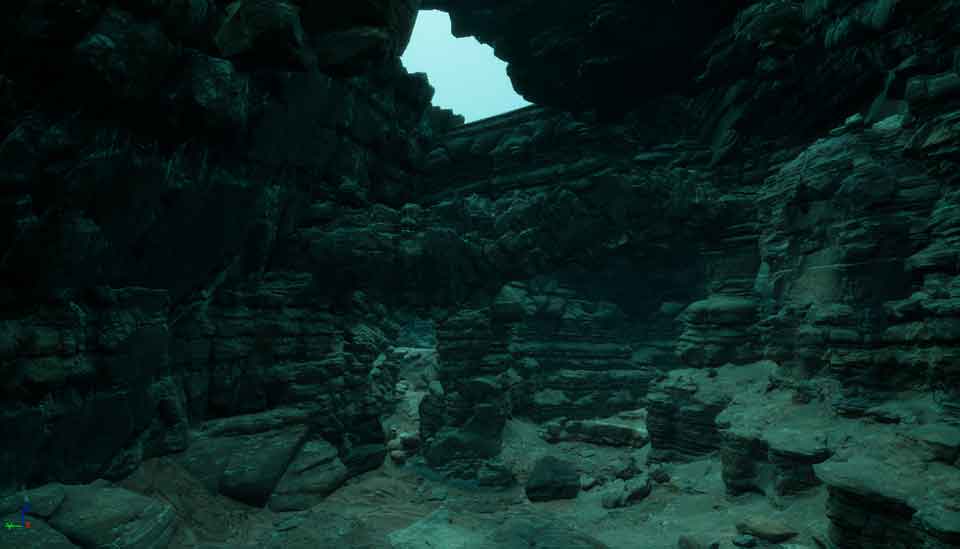
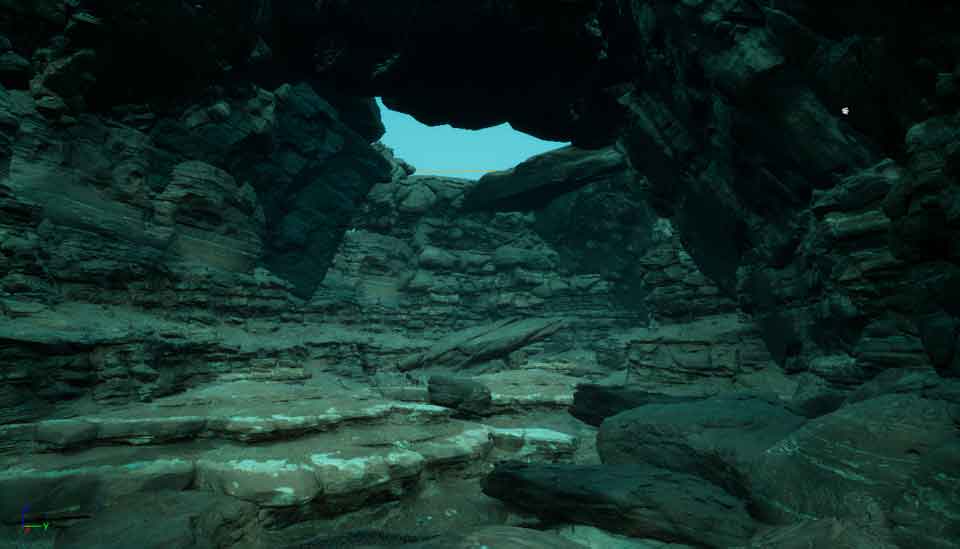
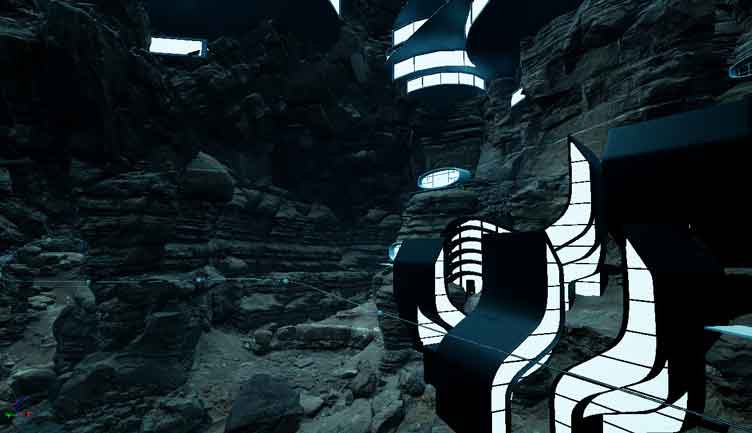
Followed by a few screen shots of the environment in the intended quality, as at this stage I have found out that the setting I was using in the engine, allow me to scale the quality, to avoid lagging (as this is a huge environment and the new lighting system can be a strain on even the high end hardware, which my laptop certainly is not) I was generally working on the low settings, but for the final render I will use the ‘epic’ settings to achieve best result I can (‘epic’ is as high as I can go, ‘cinematic’ crashes my system).
You can compare those screen (‘epic’) shots with the first ones on this page (‘low’), the difference in lighting and the general quality is quite visible.
The first three show the tunnel in the intended quality and the rest is the cave prepared for the buildings.
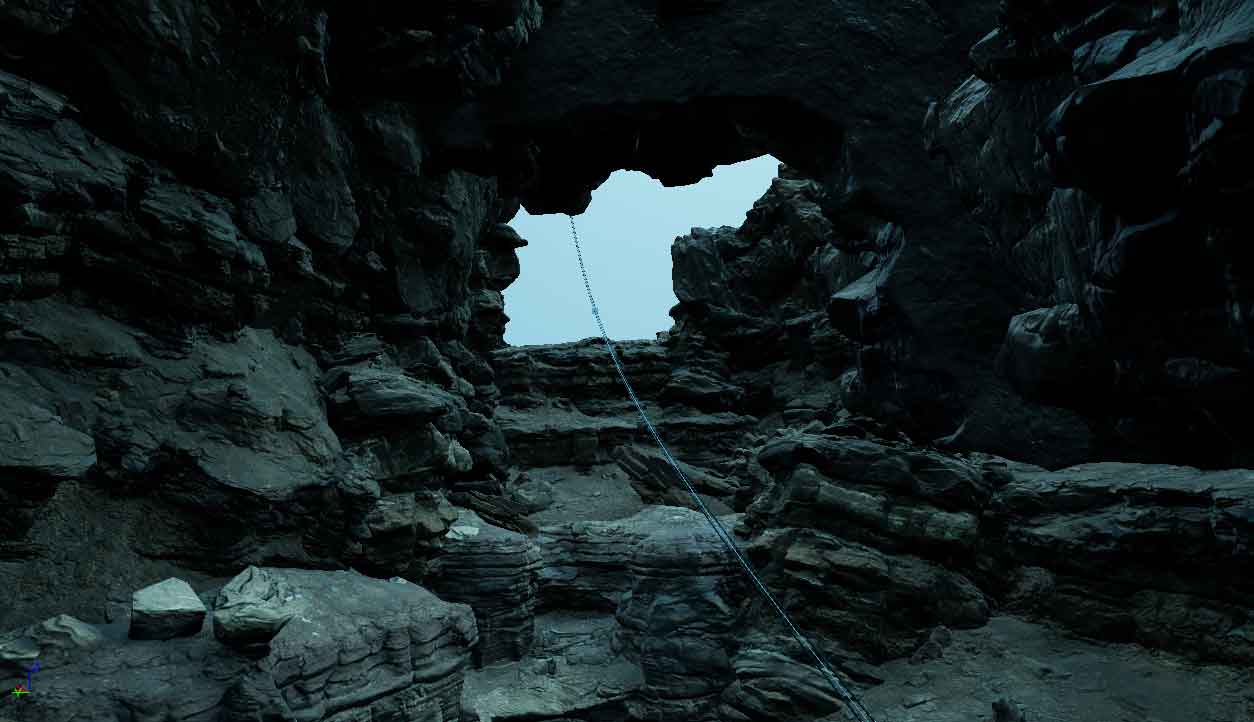
The next step was the decision that if this environment will be used for later post and comp work, the fog needs to go, as well as the general lighting of the scene has to be improved. I also had to scrap the water distortion and water caustics effects I have created for seeing the general idea in its whole glory. The fog and the exposure can be added later on in the post process, as well as the water distortion, any particles and caustics (if we decide to do so, as the general idea was to do this as a deep water scene, the caustics are not a necessity but this is still being discussed. also the cave for the city has some holes in the top structure, so we might add caustics only in those cave opening areas, however as mentioned, deep water doesn’t have caustics even if there is nothing on top of it).
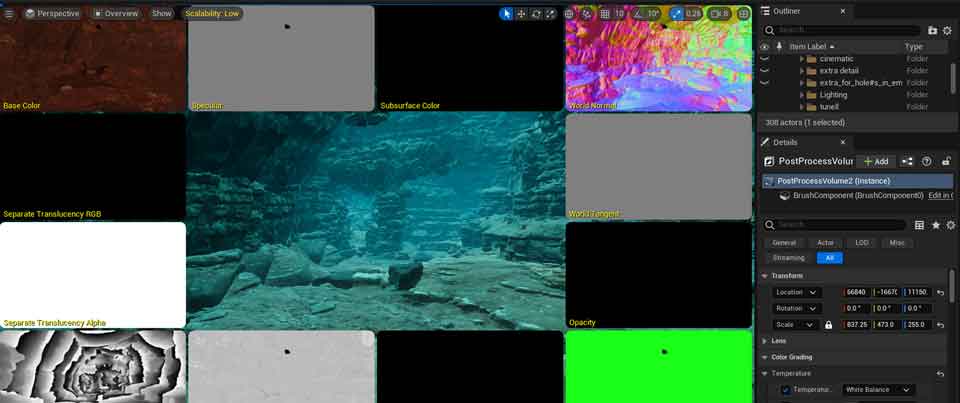
The revised post process volume effect (the yellow rectangle around the whole scene, the effect is displayed only inside this area to save up on processing).
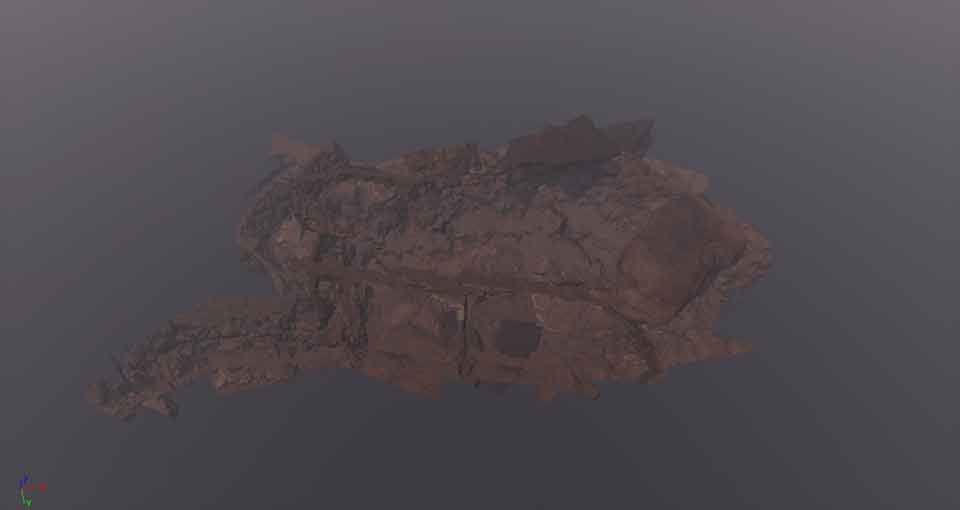
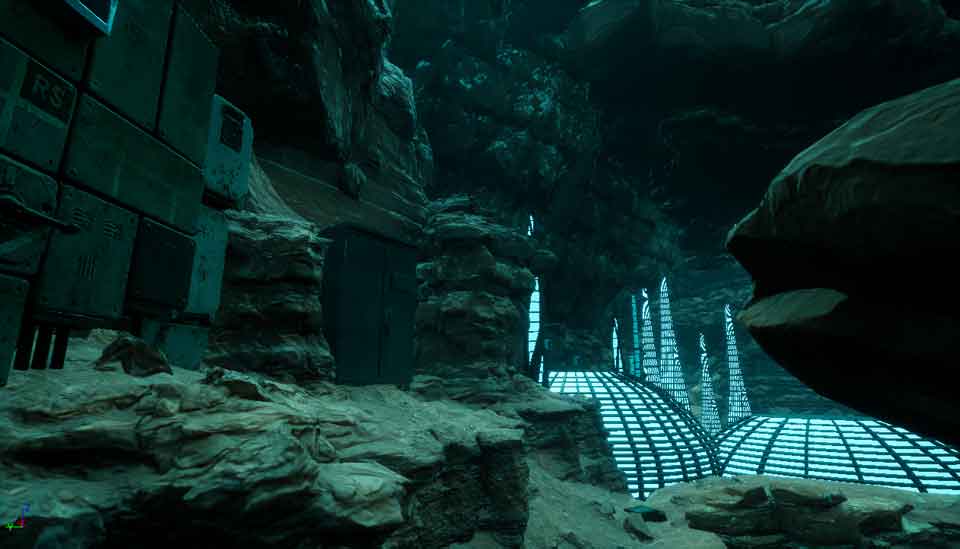
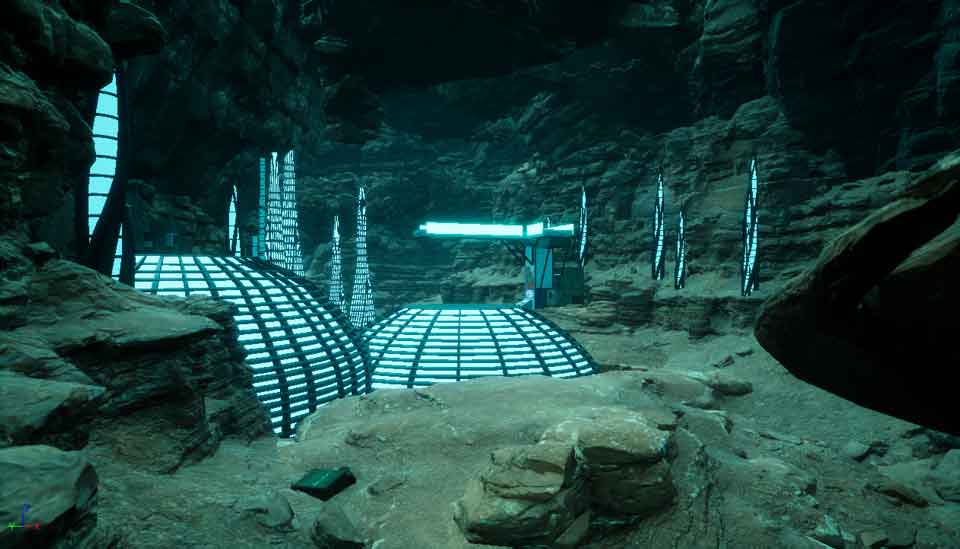
So below there is a few screenshots of the full environment in the new and adjusted grade. First four – tunnel, the rest the cave from the perspective of the intended camera.
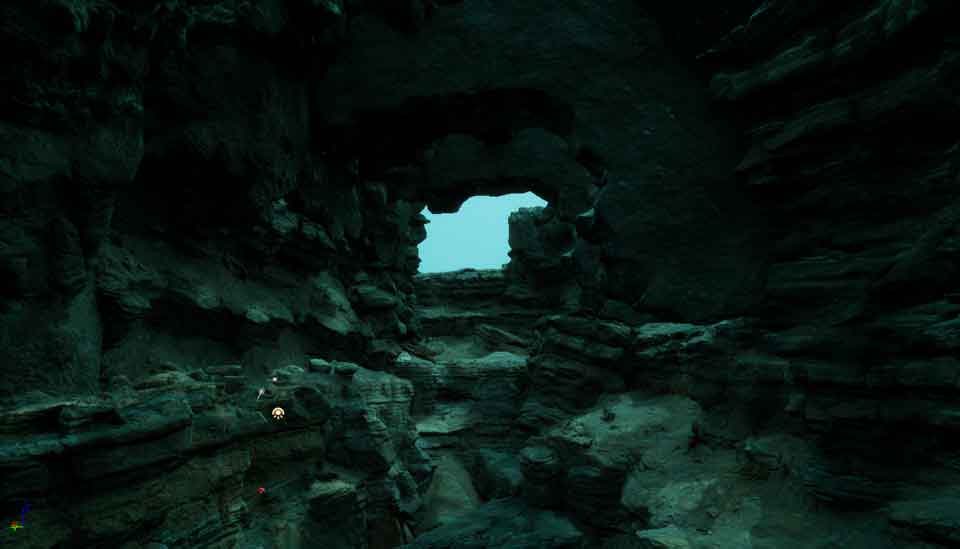


An Overview view, from the different ways of displaying the scene, I usually go through some of them to see if everything Is working correctly, not only that the final image looks ok.
Environment layout – Own Models
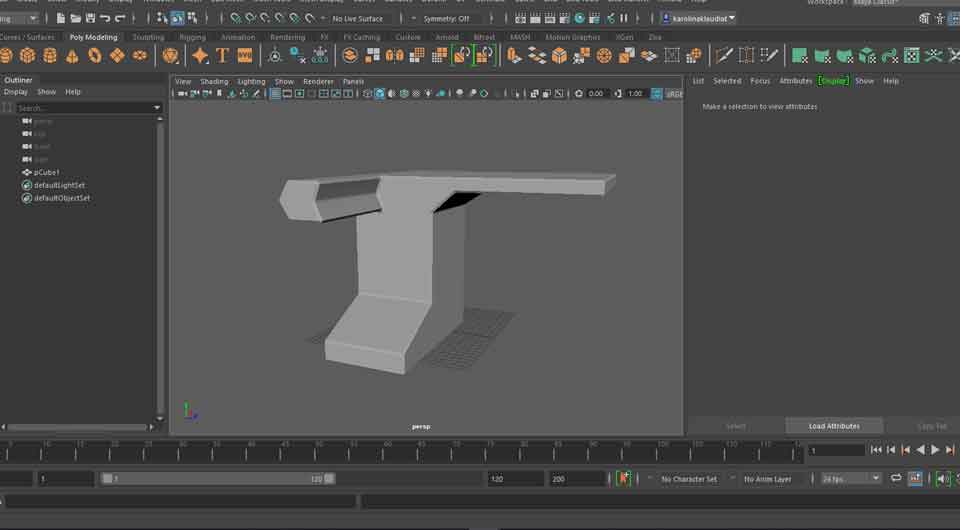
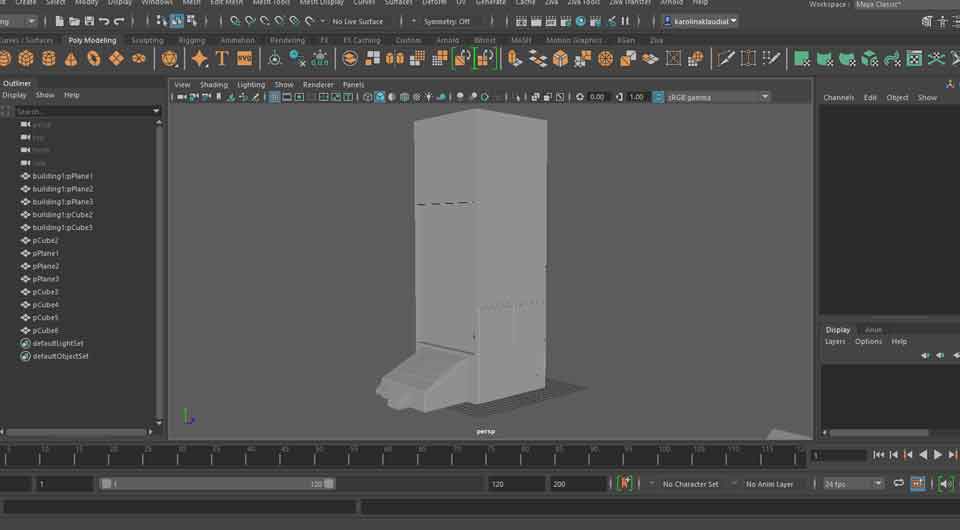
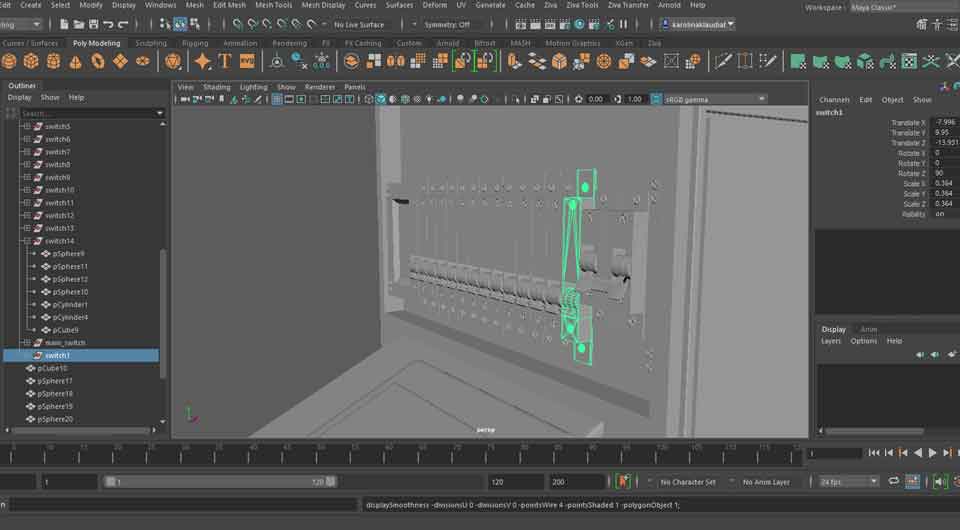
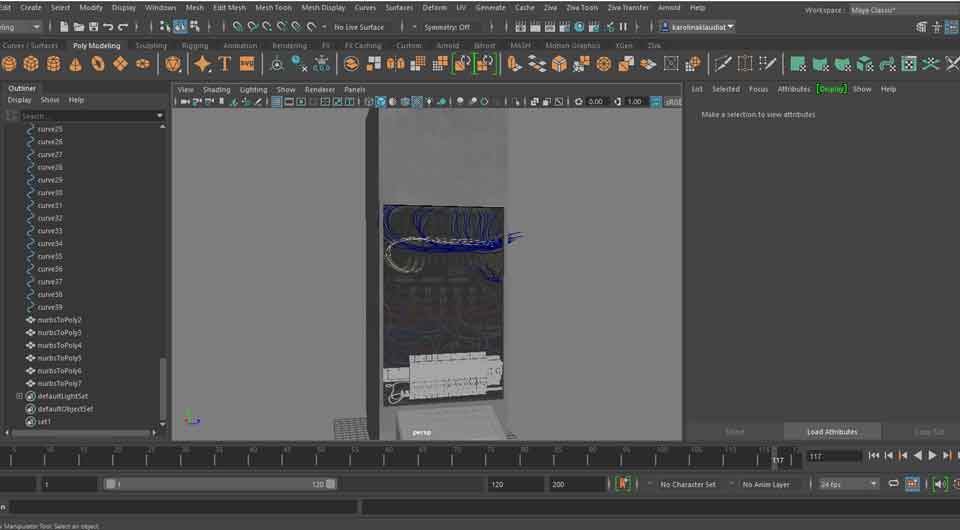
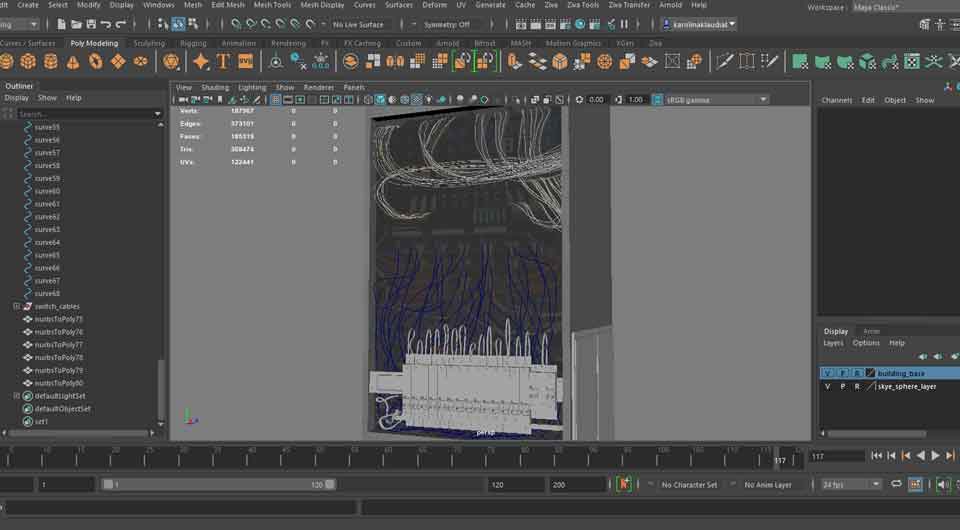
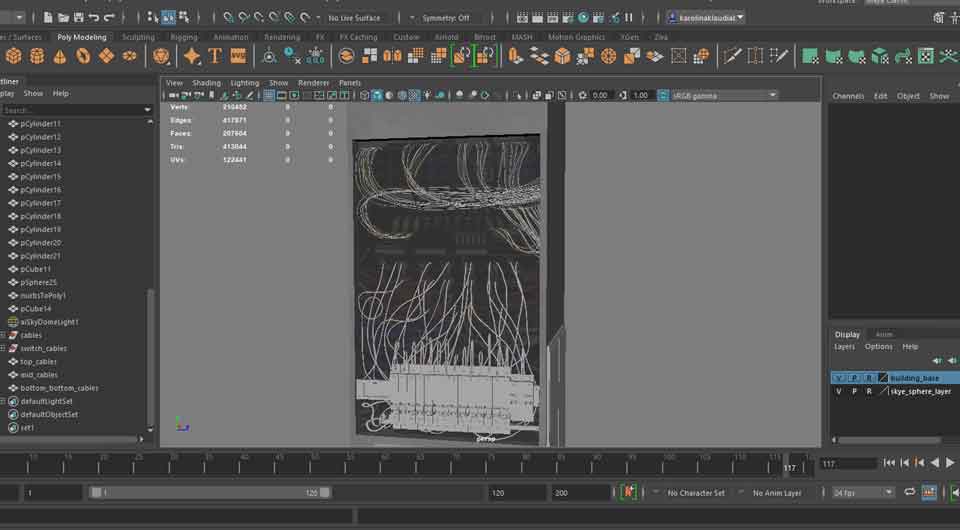
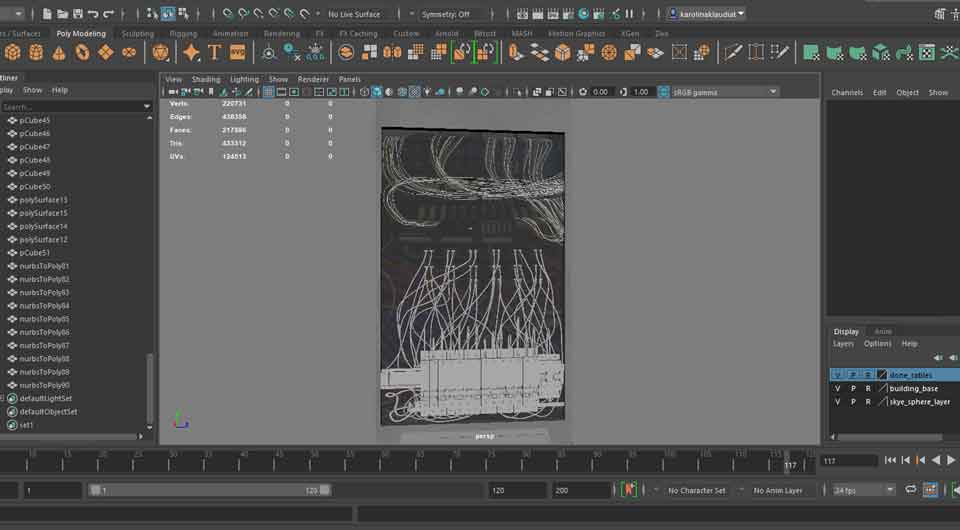
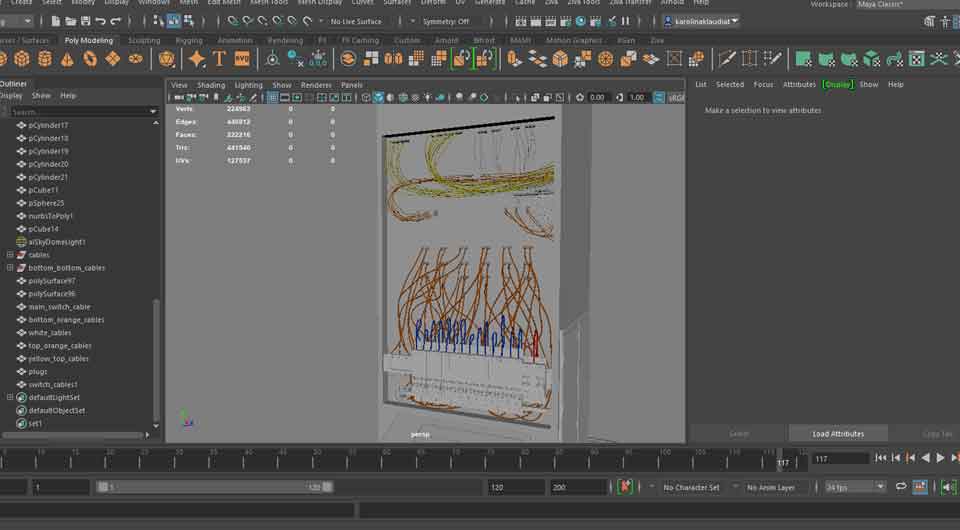
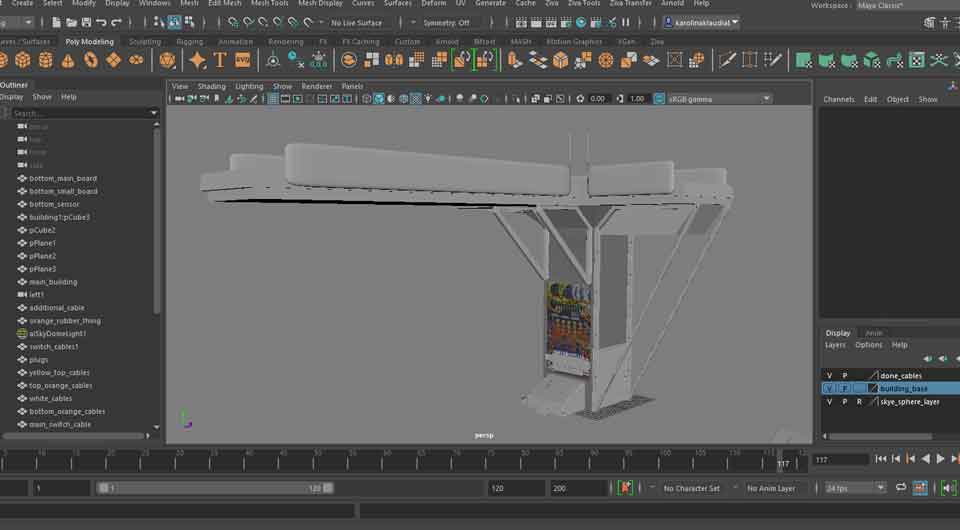
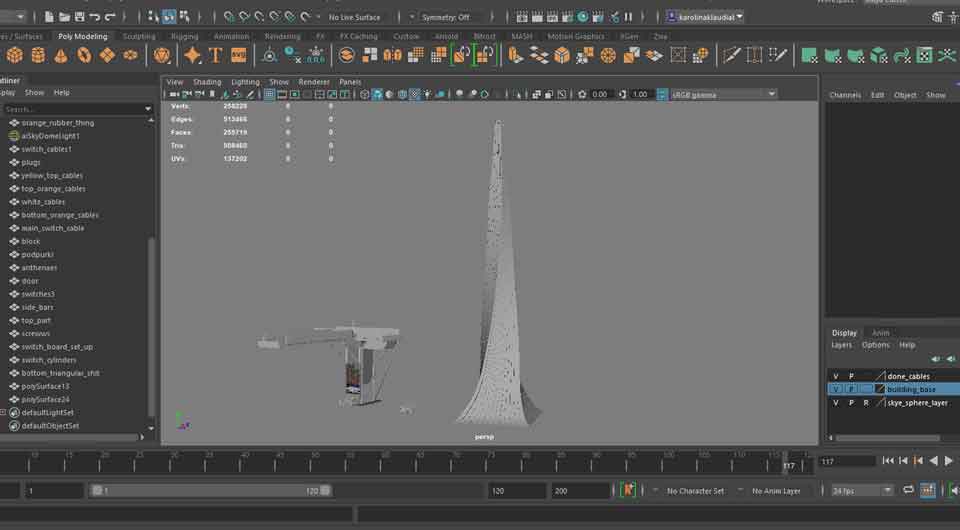
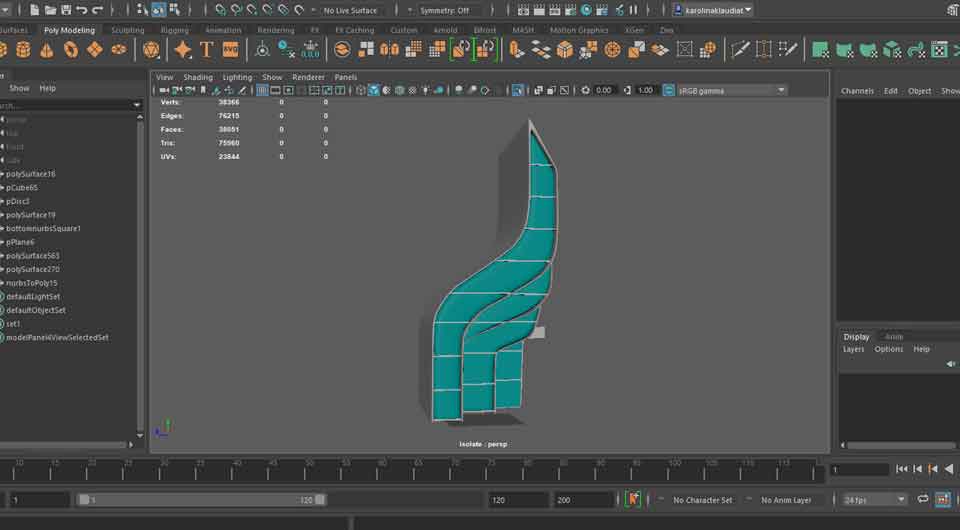
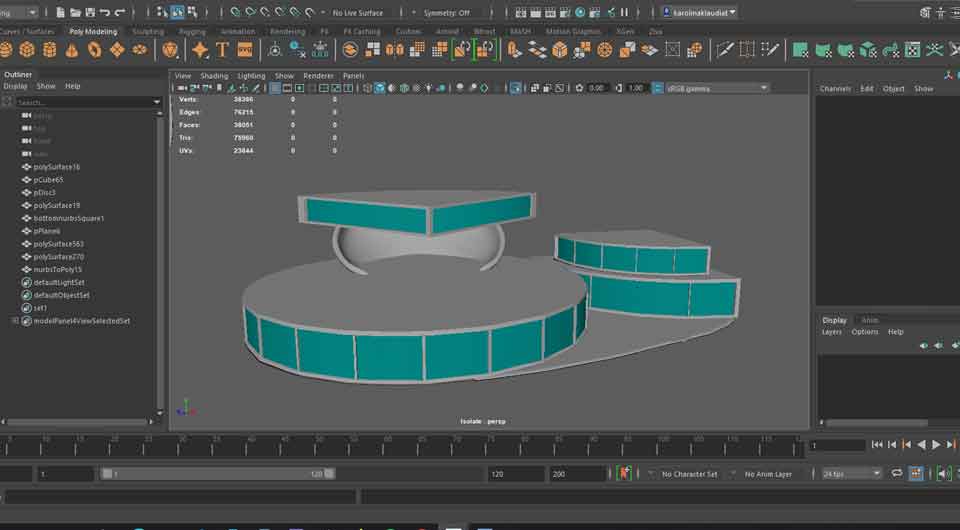
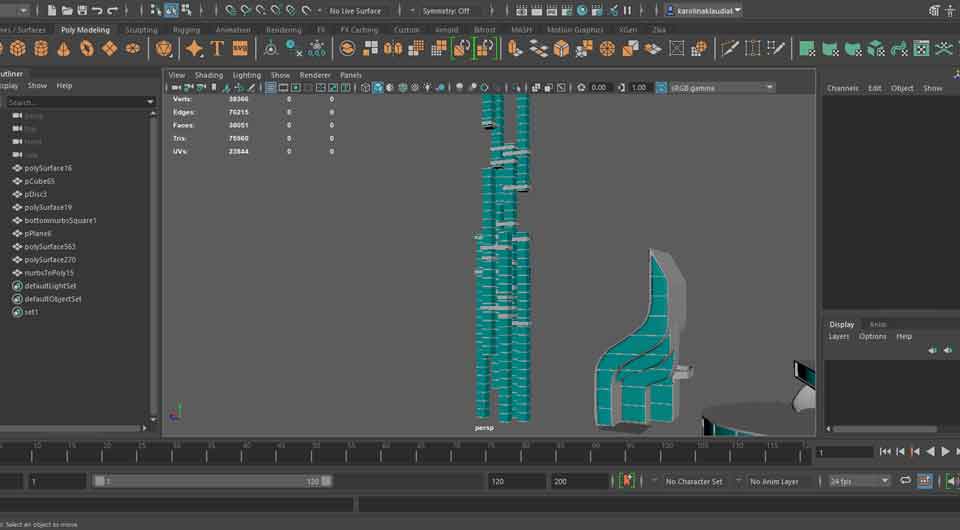
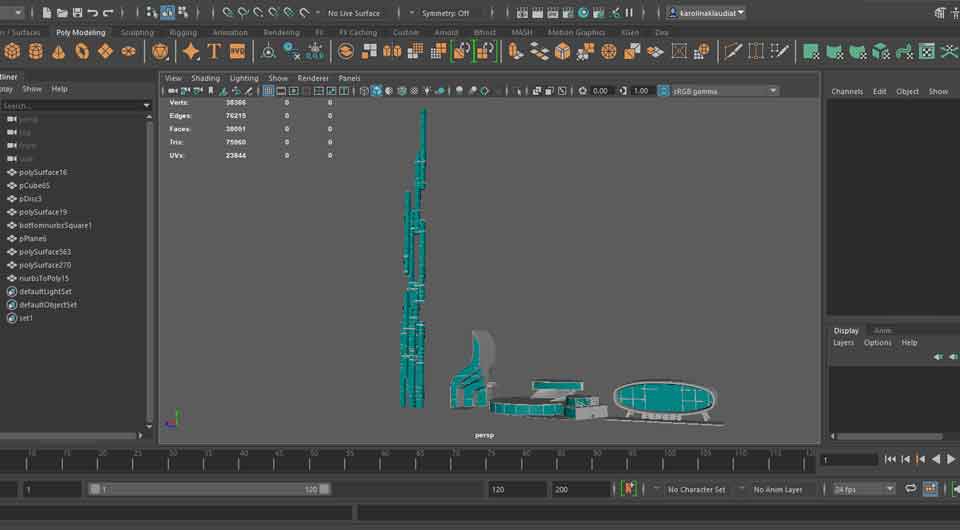
At this stage the environment was pretty much ready, so I had started the modelling of my part of the city. Below some screenshots of the process, The first building is documented in details and the rest just shows the finished buildings in the Maya workspace, as I thought that demonstrating my ability through the process one one most detailed building, should be sufficient and repeating this further eight times will just be a waste of everyone’s time.
The first building on the beginning of the gallery below -first nine pictures.
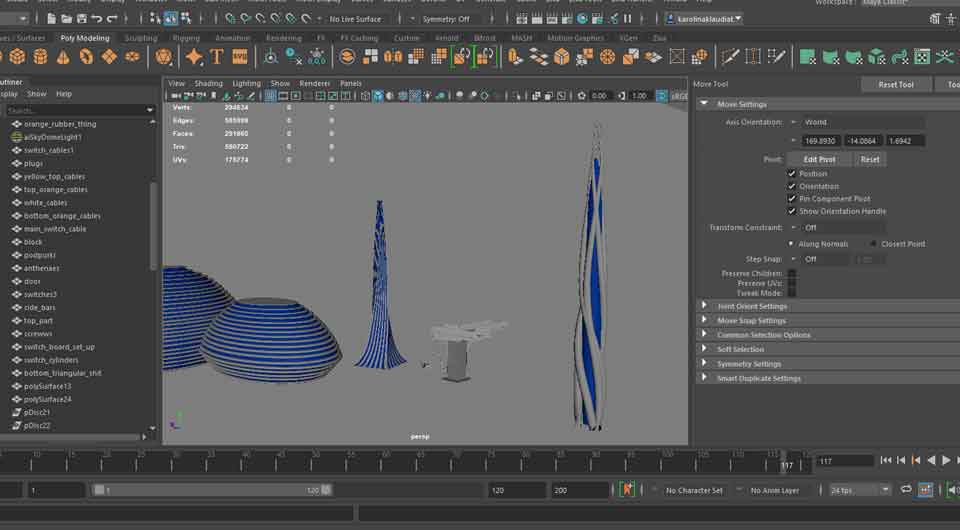
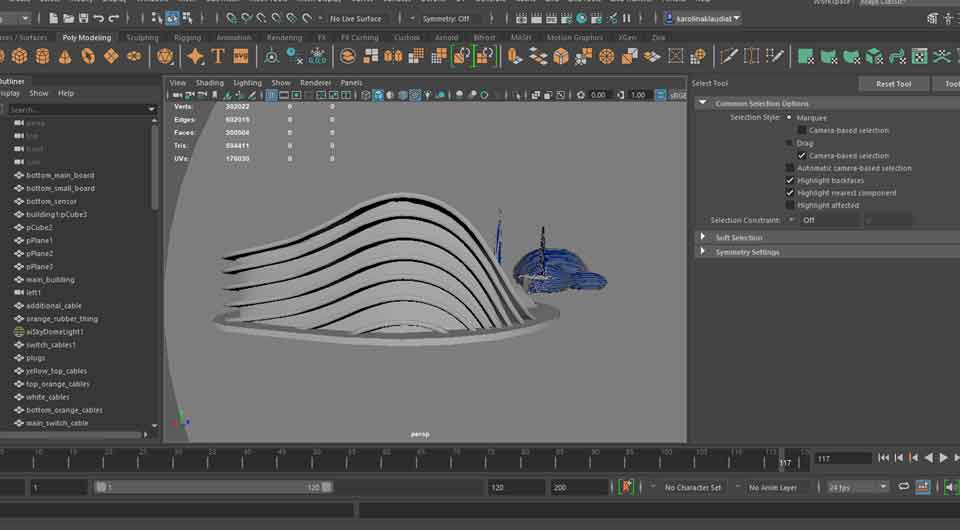
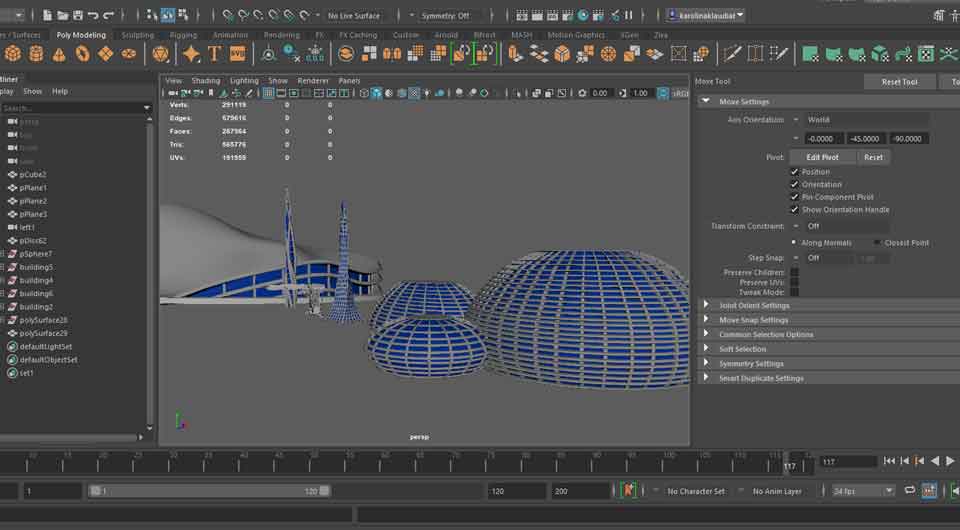
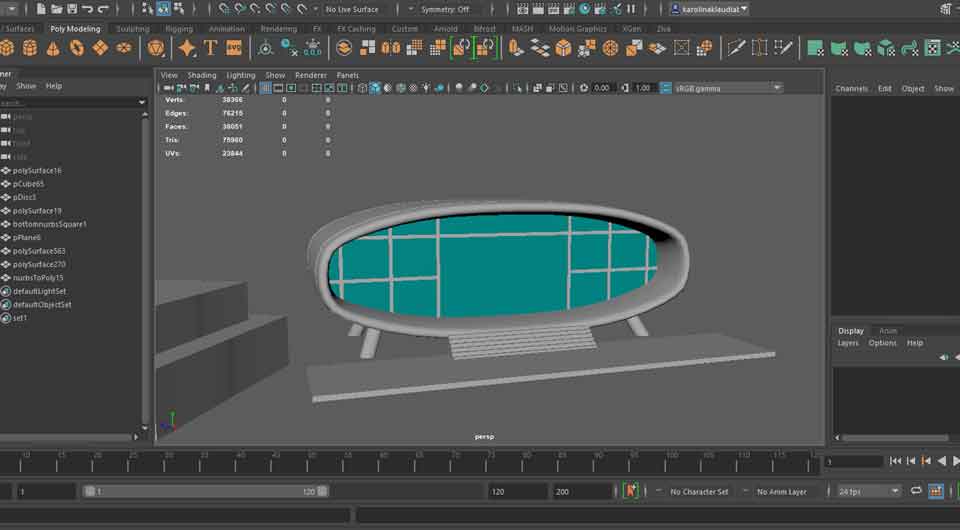
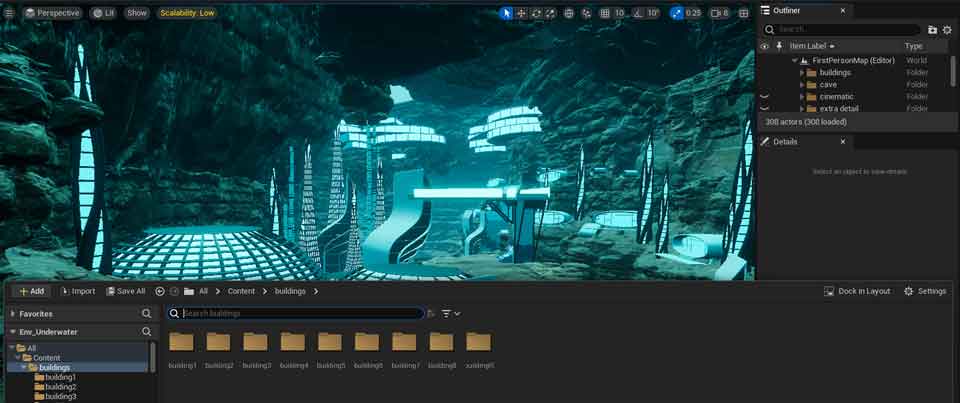
After the modelling I have placed the models within the environment in two stages, as at first I only made five models, but after placing them, I realised what I was missing and went back to model some more, more specific buildings (like the small round living pod on in the last line of previous gallery).
Below, building models in theirs respective folder inside of the Engine’s content browser.
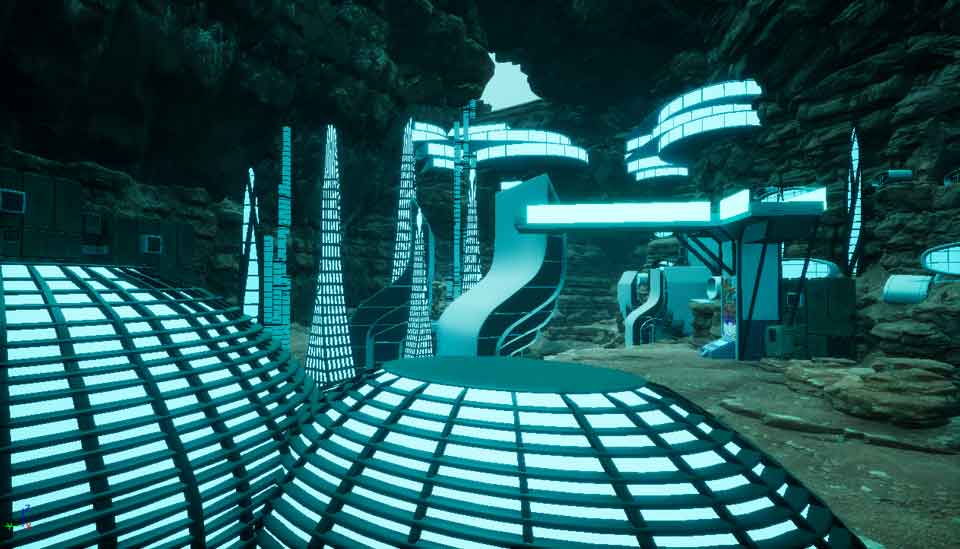
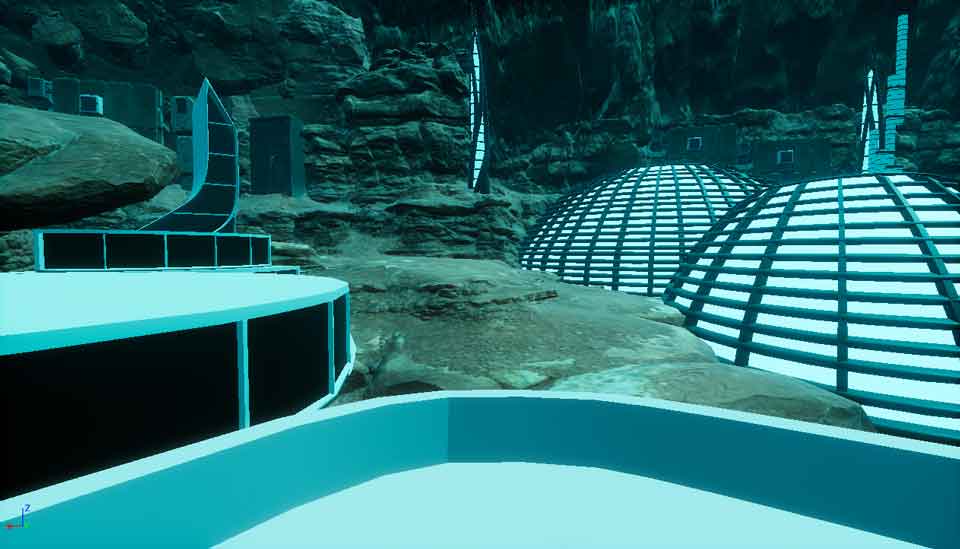
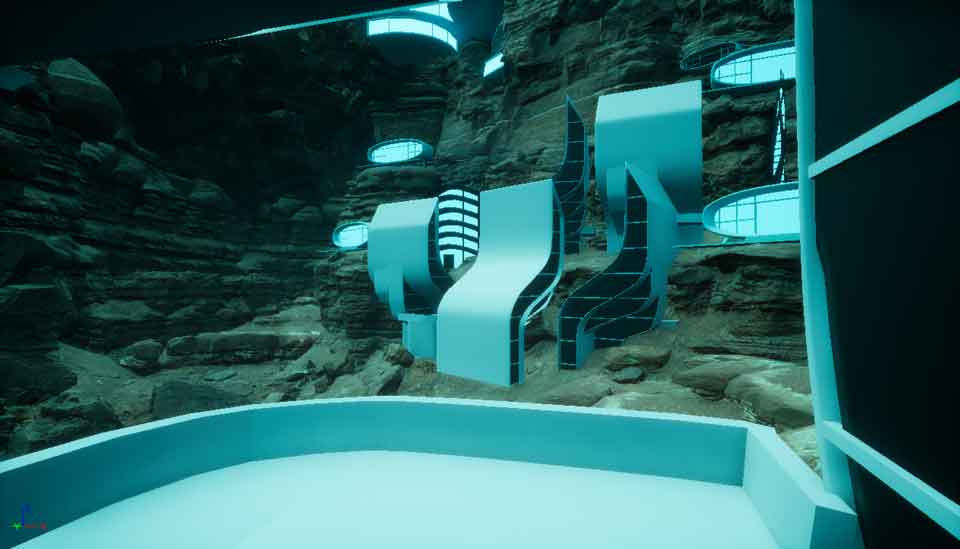
Below the first stage of placing the models, at the end of this stage I also added some more megascans in the form of some electrical boxes on the sides of the city (first picture of the gallery, in the left top half).
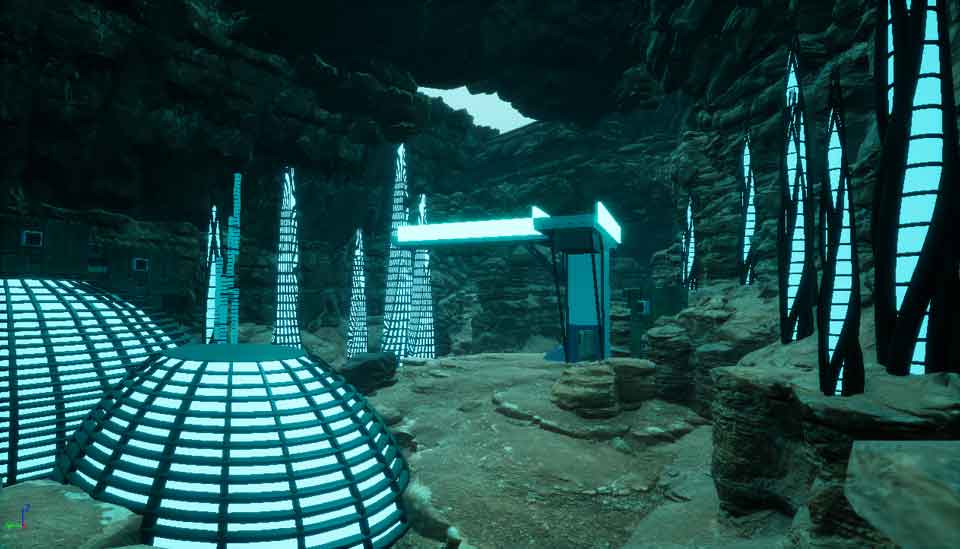
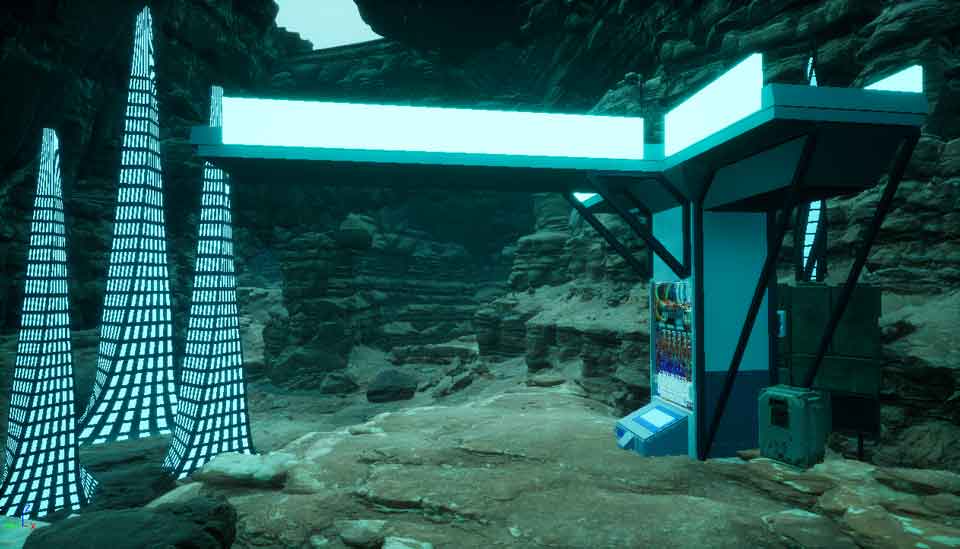
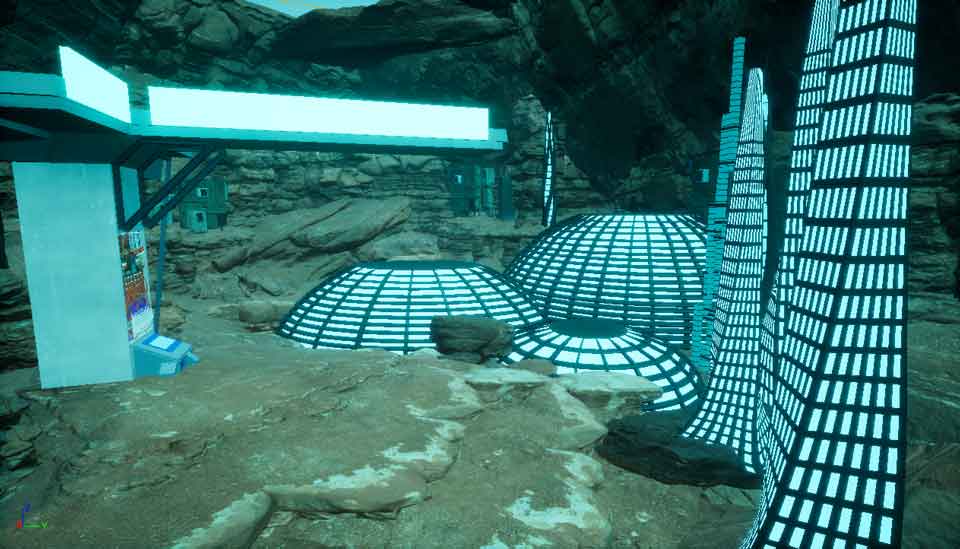
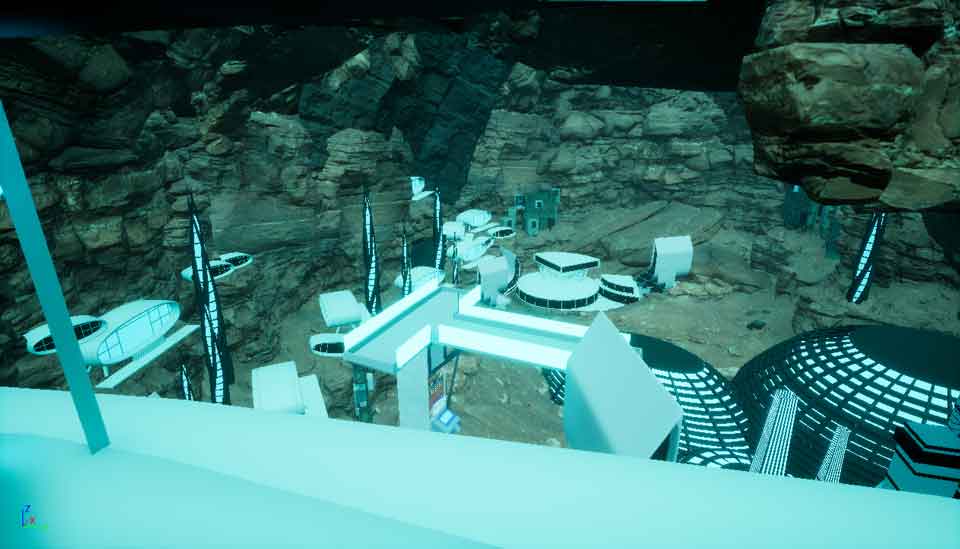
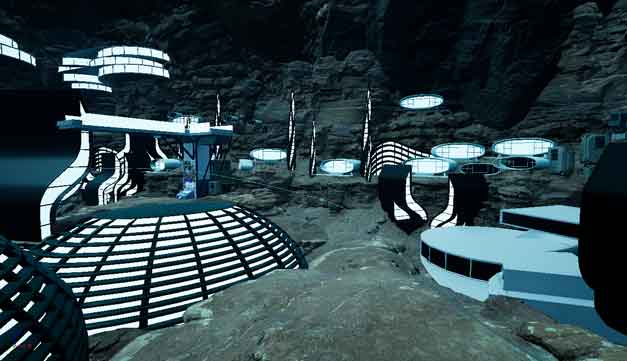
Below, the environment after modelling and placing the extra buildings.
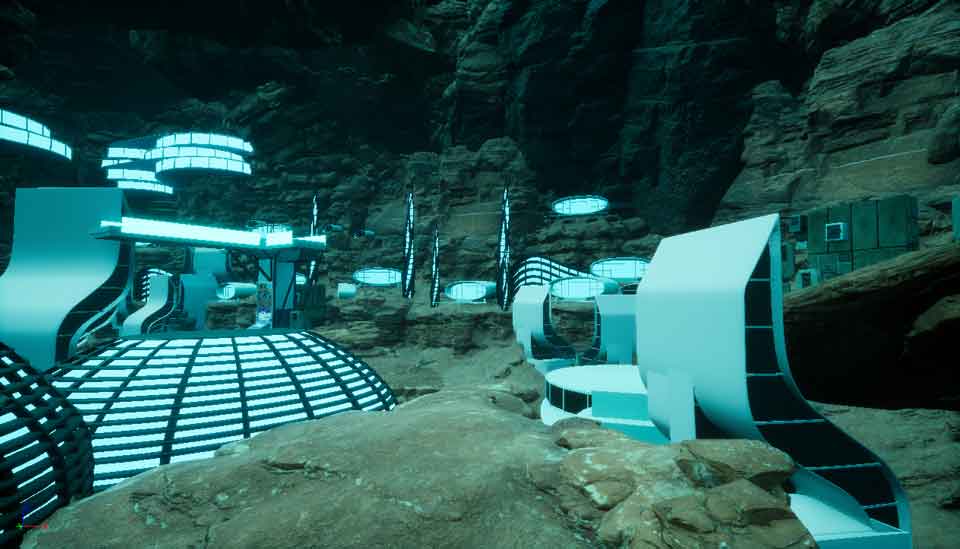
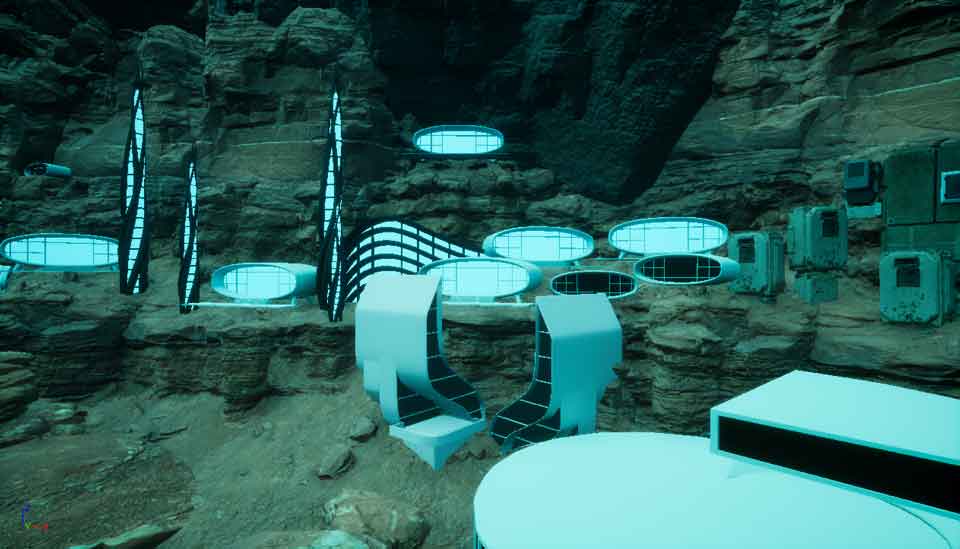
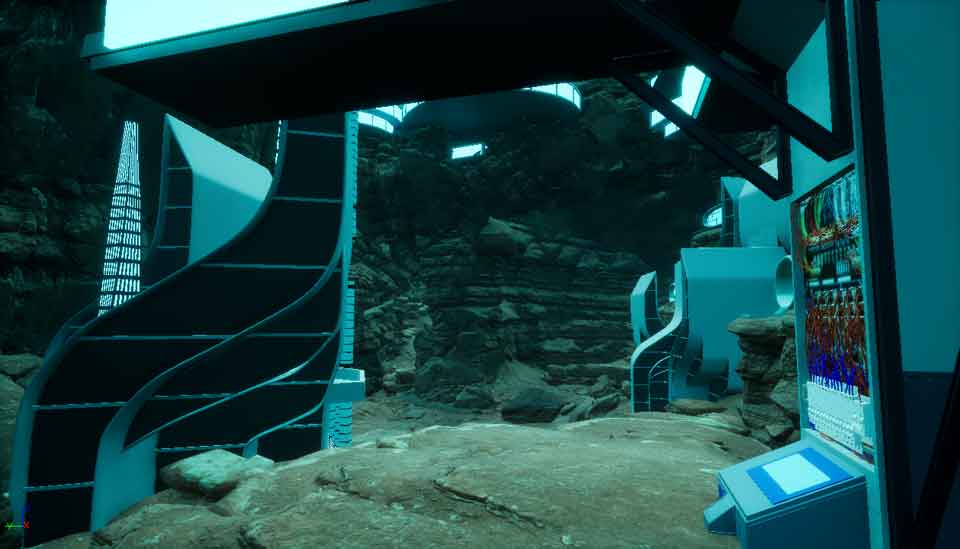
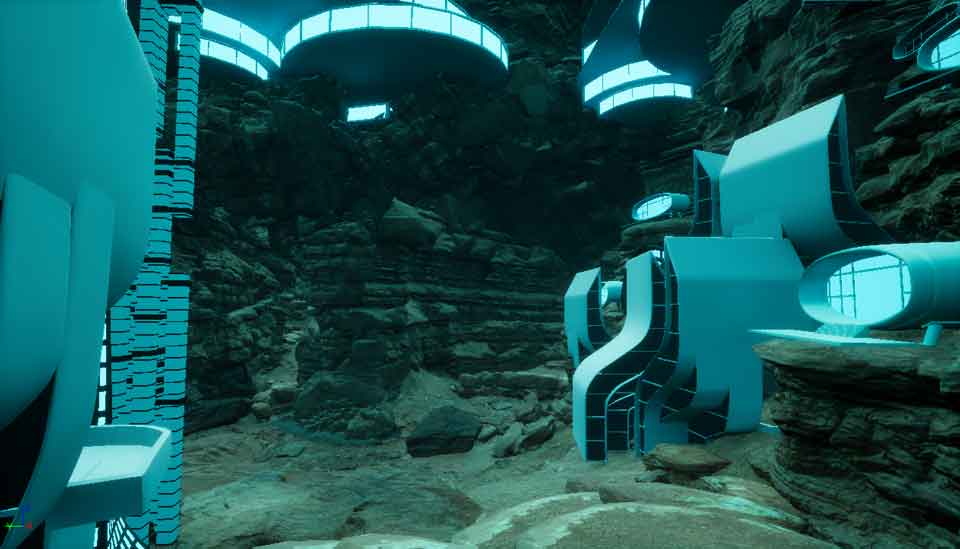
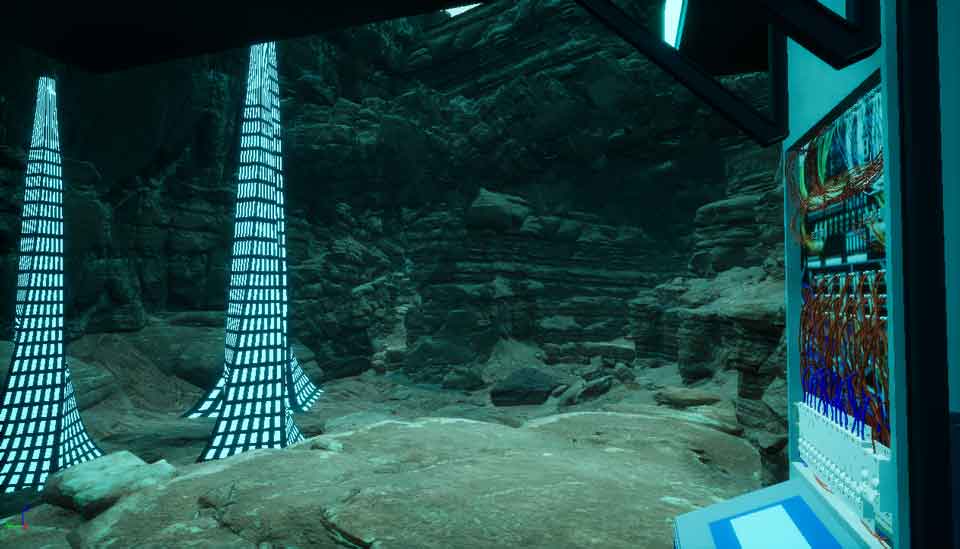
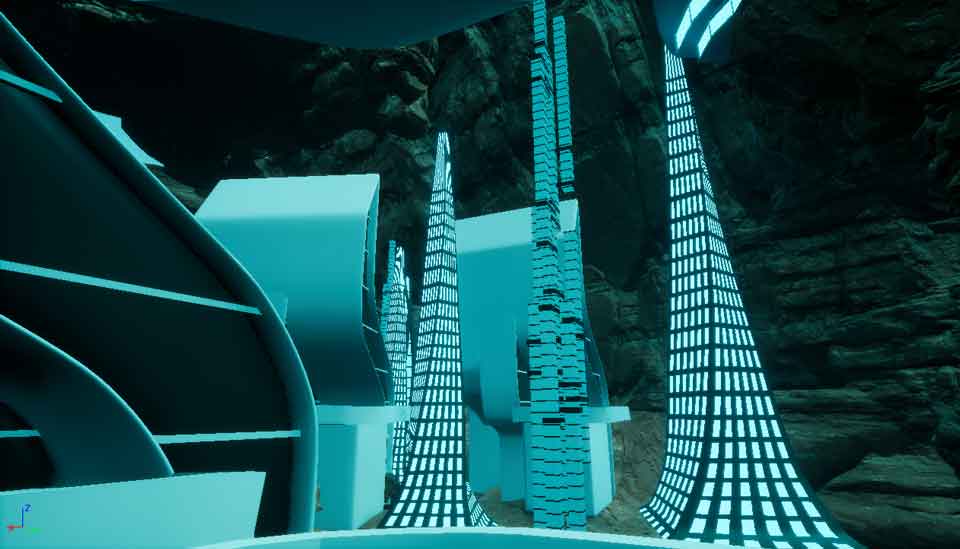
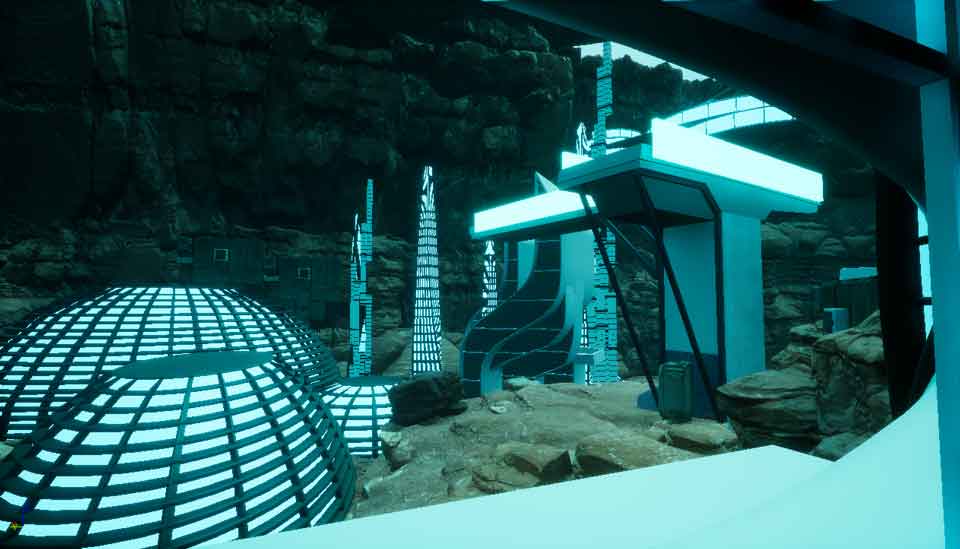
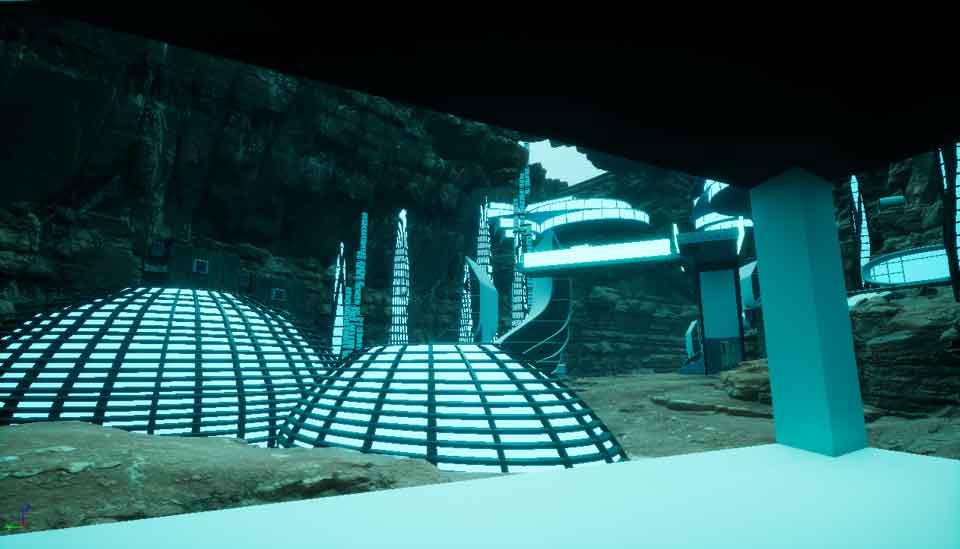
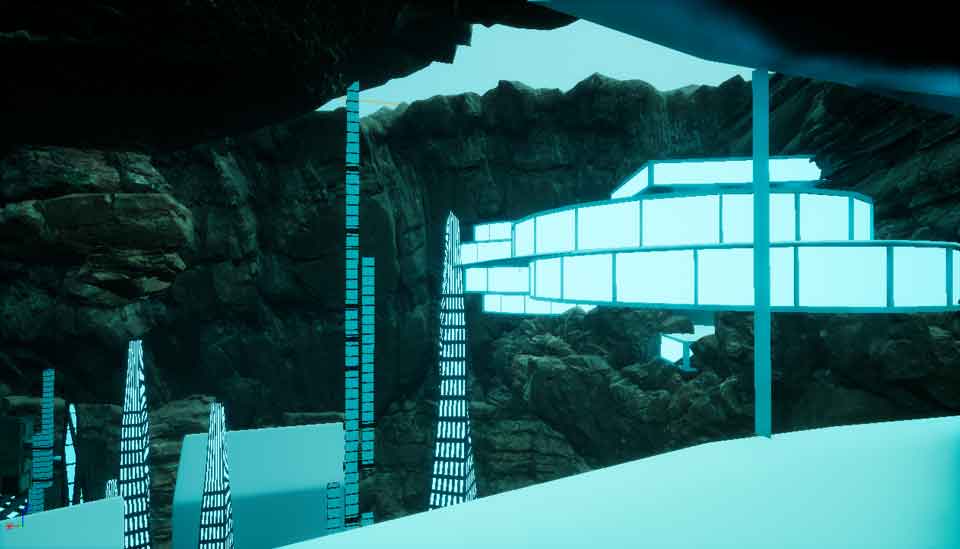
And in the next gallery, I decided to have some fun and see what views would the individuals living in this city have, so below there is a few screen shots showing views from windows or balconies, from both the living and the research facilities buildings (because I view this as a city that formed around a research facility).
This environment was not intended for this purpose so there can be some intersecting or general mistakes, that will not affect the image while shot form the intended perspective, nonetheless I really enjoyed looking around the city from the perspective of the ‘living spaces’ of the inhabitants. It somehow made me believe in the illusion I created by placing myself at that perspective, it also weirdly made me happy to see that this would be a possible city layout as most of the buildings actually had acceptable views and weren’t too crowded, also for me the city actually looked better from that perspective in comparison to a perspective of a bystander just moving besides the buildings. Those shots made this environment alive for me, however weird that sounds lol.
First six for living spaces and the remaining three form research facilities.


After placing everything, we decided that the colours used may be a little hard to tone down in the postprocess (and we also didn’t really like them), we decided to fix that in Engine before we moved on with the render and further grade.
Environment – Level Sequences – Camera movement and Render
To render an environment as a image sequence a sequencer and a level/master sequence has to be used. The process of creating the sequence and the issues I encountered explained below.
The sequence Is created from a drop down list on the top of the viewport (alternatively from the top menu), after which it is edited, adjusted and rendered through a sequencer editor (discussed further down below).
Picture below shows the sequences created in the content browser underneath a viewport with a level sequence icon on the middle.
I started with keyframing the position of a camera while free handling it in the editor, but this gave me errors of camera making a full 360 turn before it got to the intended position, I have found out that this is called a ‘gimbal lock’ and is caused by the camera moving on all three axis and after reaching 360 degrees having to go back to the 0 before continuing on its rotation (for example if I would to, over a few keyframes, try to rotate the camera by 370 degrees from its original position, the camera would have to go to 360, and back to 0 to add that last ten, as a angle of 370 degrees doesn’t actually exist). I had that problem previously and never figured it out until now, I’m still however not sure how to fix it (with the freehand camera), but thankfully I have found a solution – CameraRig-Rail.
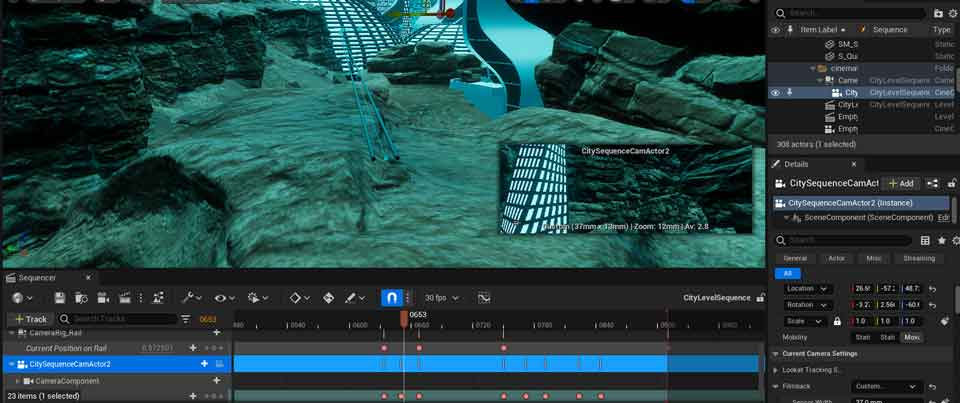
On the picture below I am displaying the beginning of a Rail designed for the camera to move on, as well as the sequencer timeline keyframing the position of the Rail and the came on the rail, in the editor below the viewport. This way, I was able to achieve the exact movement I needed by limiting the rotation of the camera and overcoming the issue.
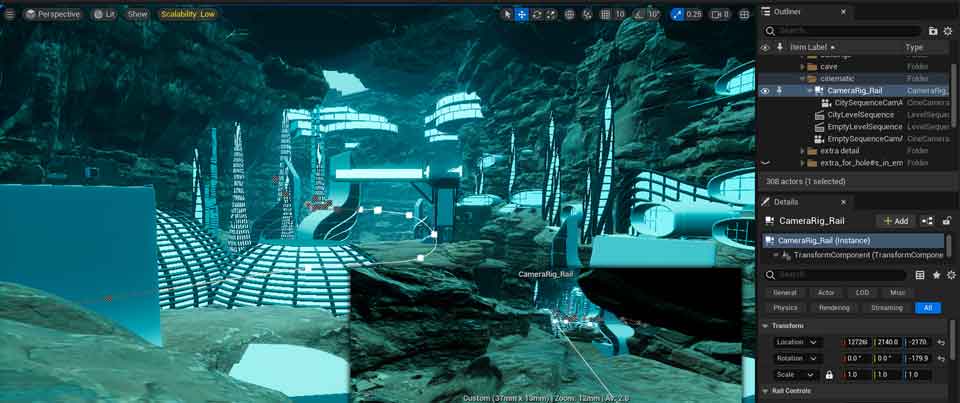
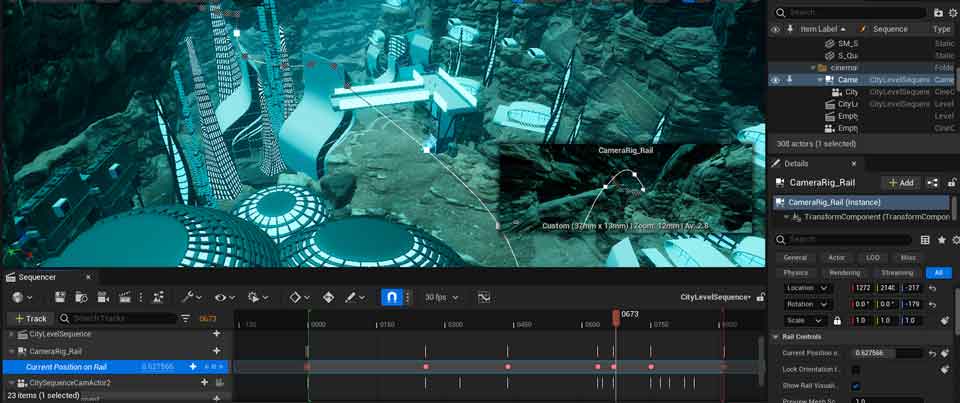
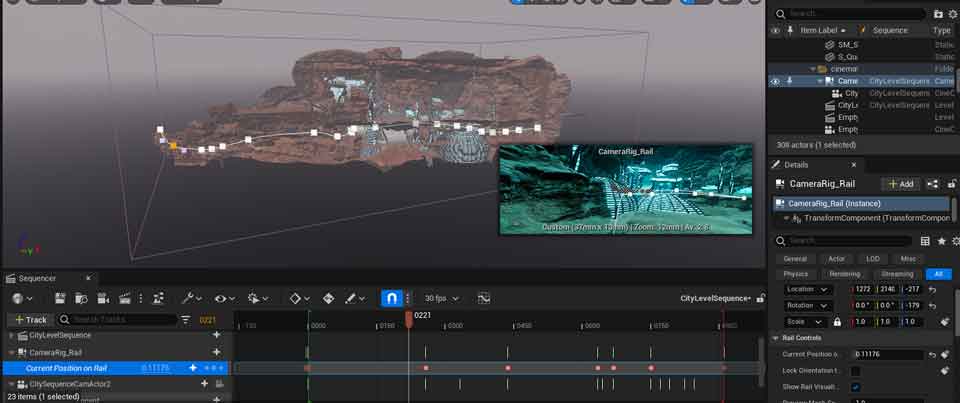
On the pictures below I show the trail of the Rail, and subsequently the camera from different perspectives.

To end this section, here is a draft of the final movement of the camera through the city scene, also showing the sequencer and partially what it is used for and how.
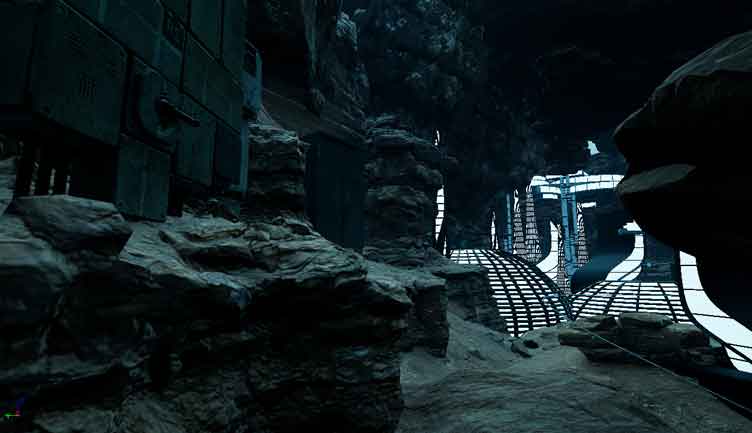
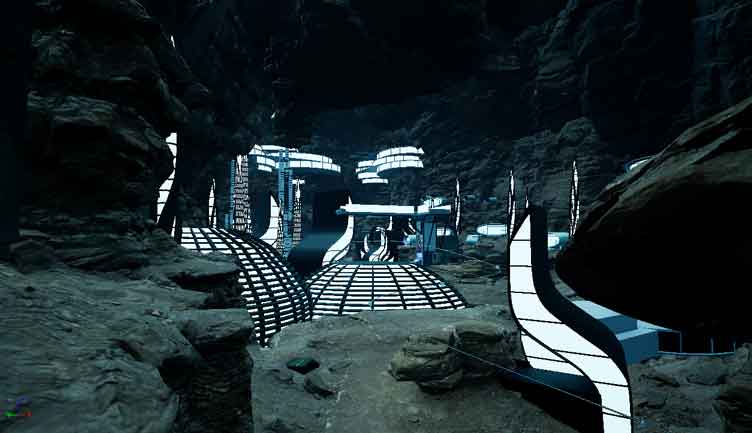
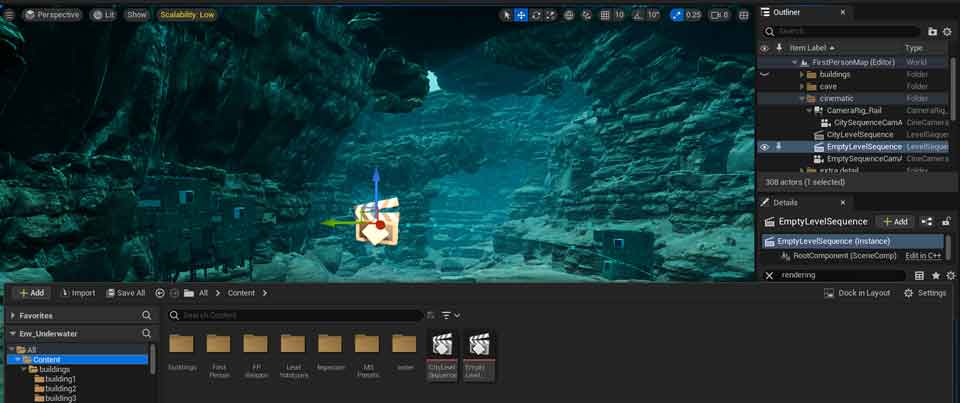
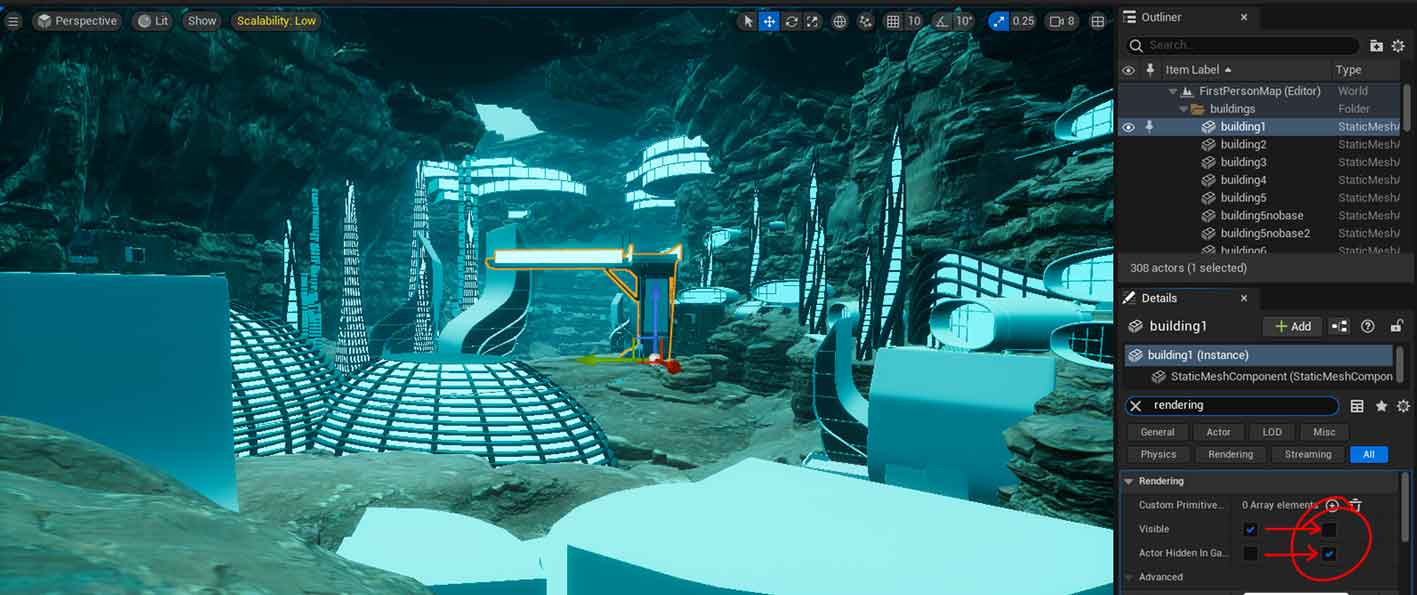
Afterwards we decided that we will add another scene that will be fully comped into an empty CG environment. For this I was asked to provide an empty version of this environment or a newly built extension of this set. I decided to hide all the building I have previously put into this environment (process in the picture below) and create a new level sequence, rendered from the other side of the environment.
This scene was designed to be one sided as I only anticipated to render it from one direction, so to use it from both, I had to revise some areas of the environment and fix any holes or misalignments in the rocks, as well as make sure the scene is completely empty. Also instead of just rendering the cave, I went deeper into the smaller cave, I prepared for the fish, and rendered from there, to ensure some variety and the full use of the environment, as well as a little extension my partner on this project can decide if she wants to use or not. I also made sure the sequence is quite slow, to make sure she can do with it as she wishes, without being limited by the render (slower footage looses less if sped up, as opposed to a fast 24fps footage that is stretched to make up for more time and slower pace, so I made it exaggerated slow).
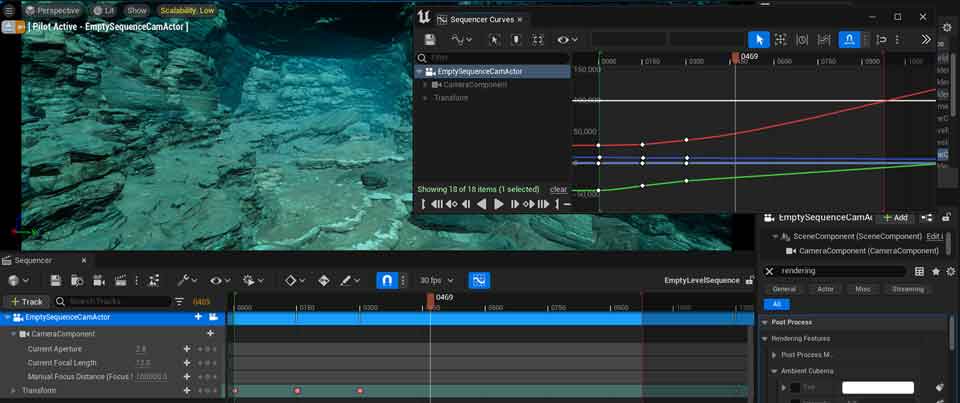
Below, a draft of the empty scene footage, I – this time – made by only keyframing the camera (no rig), with a graph editor I used on the picture below.
Final Environment
Below a couple of videos of the final environment after all the changes and adjustement, all ready to render.
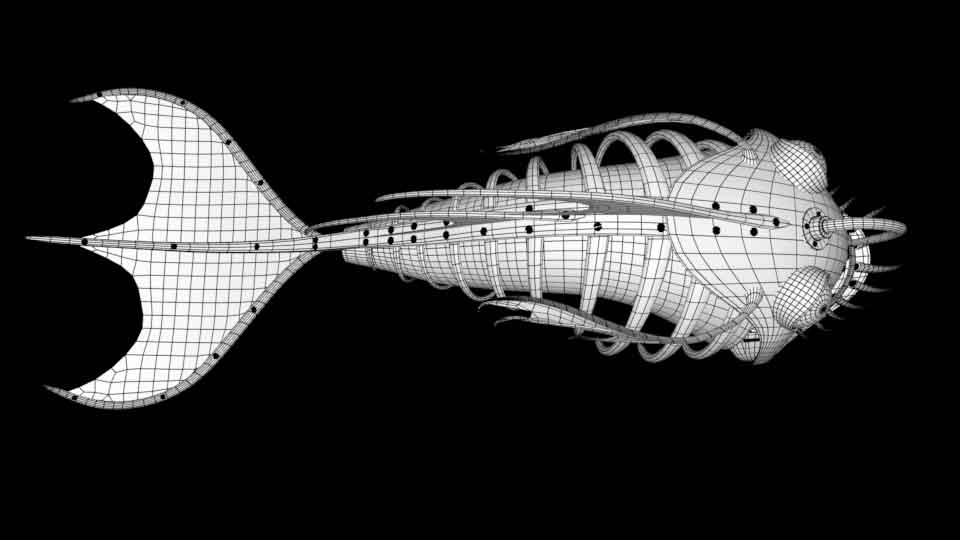
Mechanical Fish, JN-09 – CG Process
I have modelled a mechanical fish for this project, which will emerge out of the fog and darkness at one point at the end of the city, making the submarine/camera flee through the previously mentioned tunnel.
Below, just a few screenshots of the general process of modelling, I did go into the detailed process multiple time previously on this blog, so I am going to leave that out in this case.
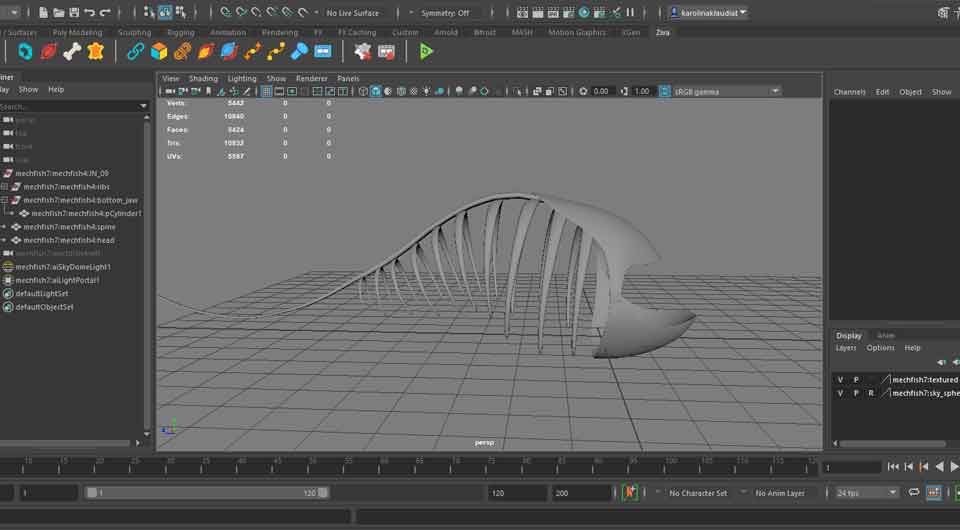
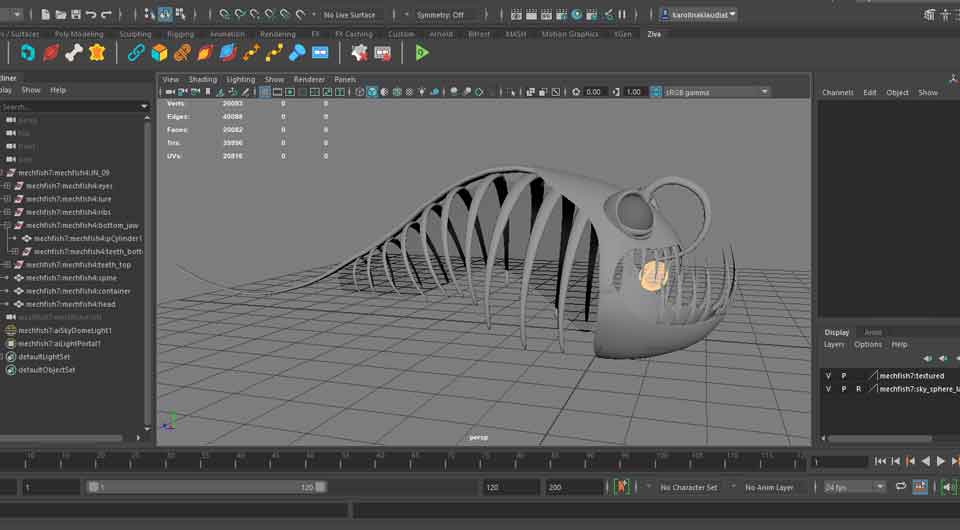
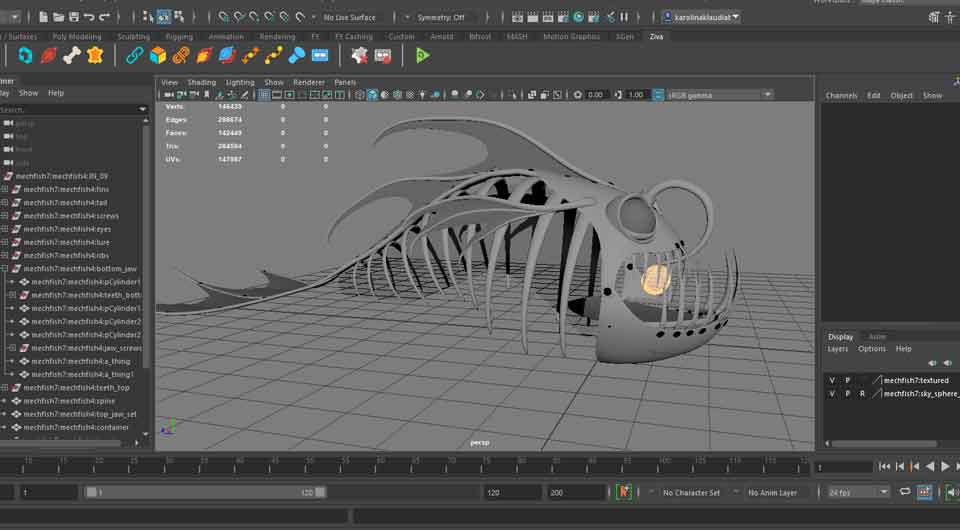
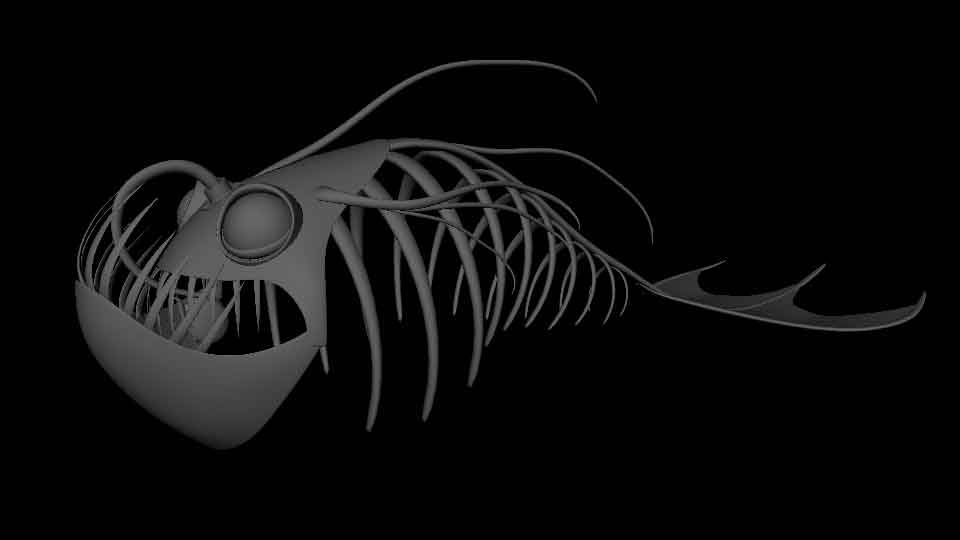
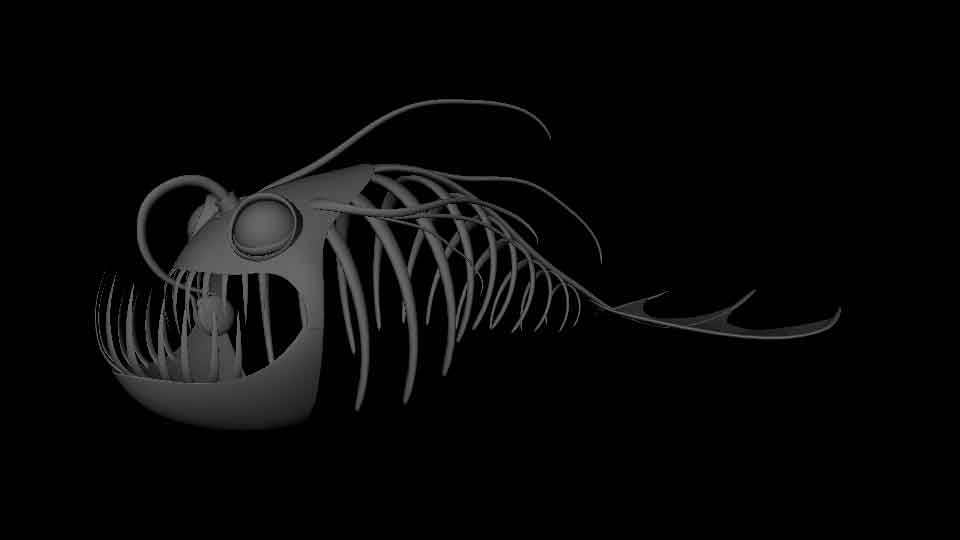
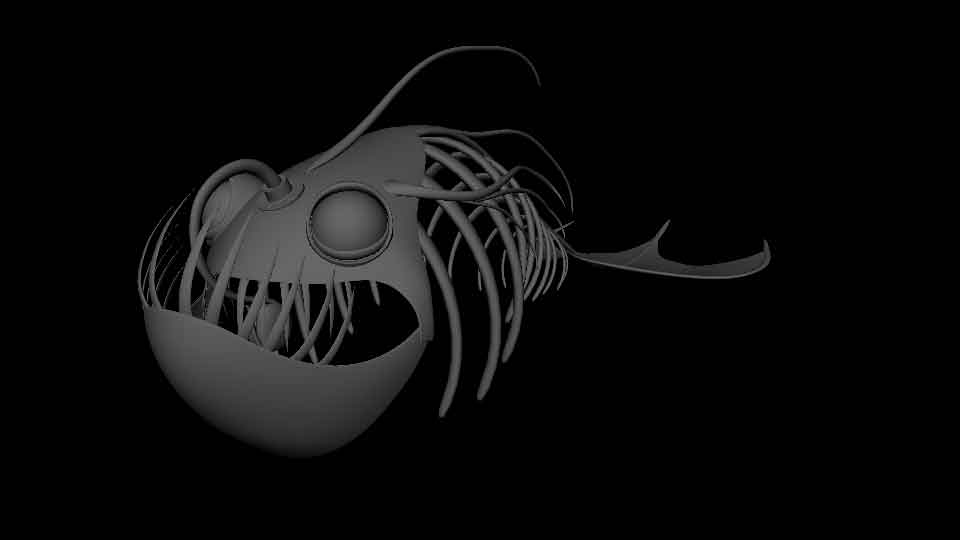
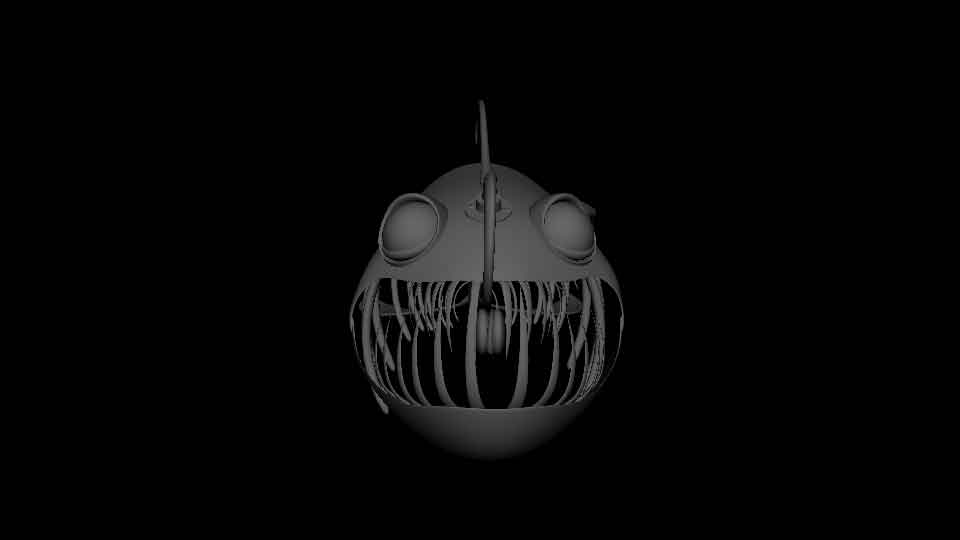
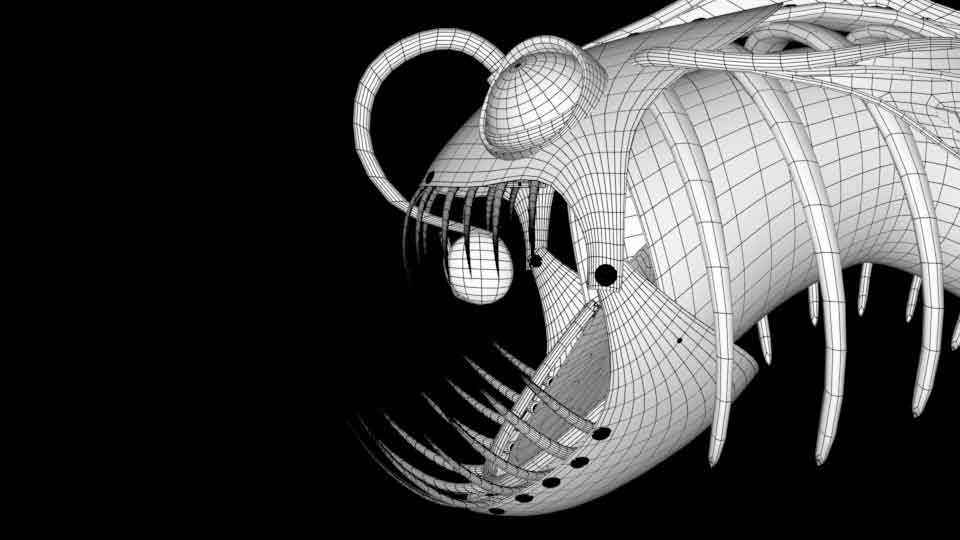
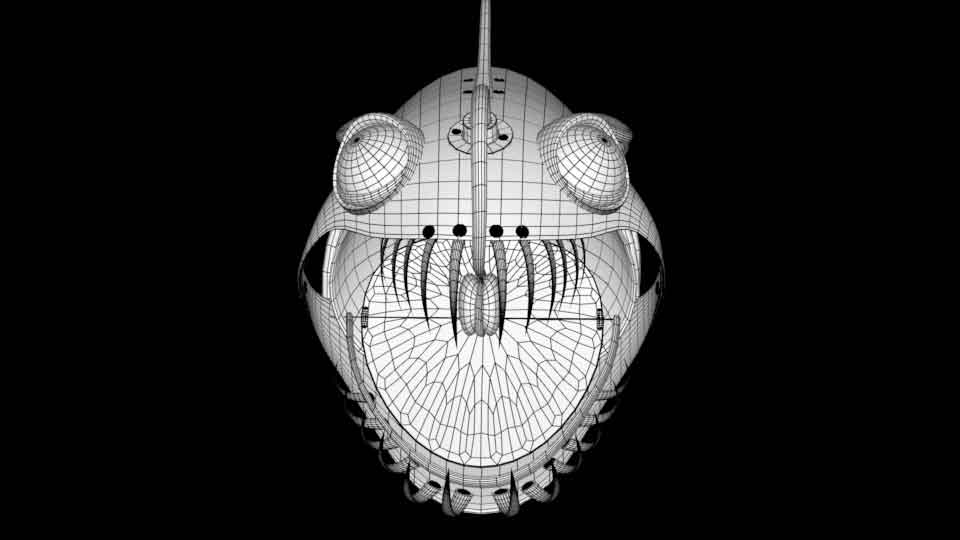
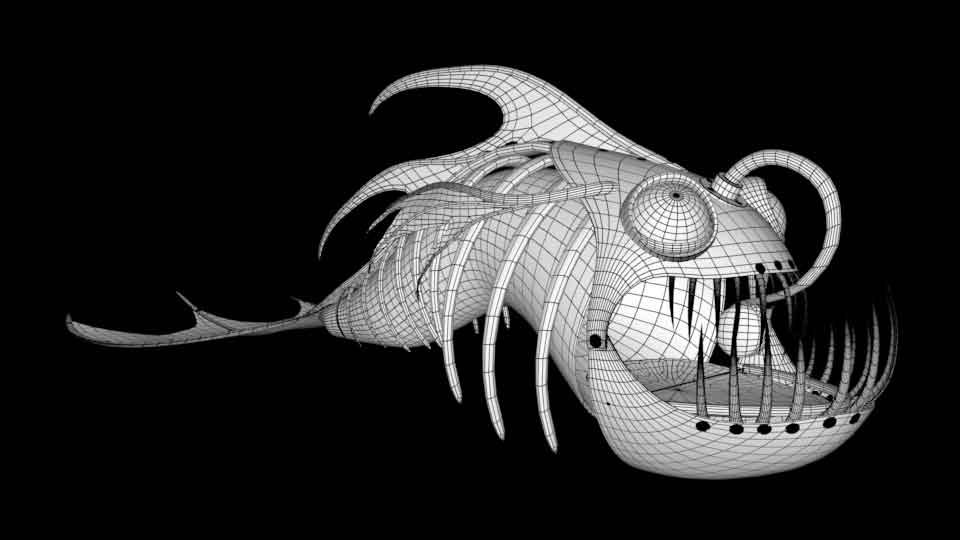
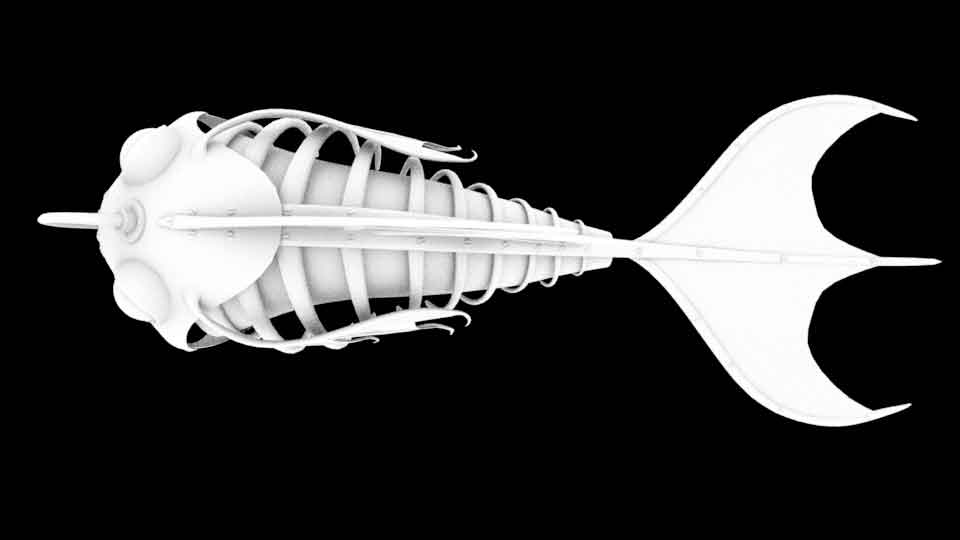
The finished model of the fish in basic material in Maya. Third picture of the gallery shows its mouth fully opened.

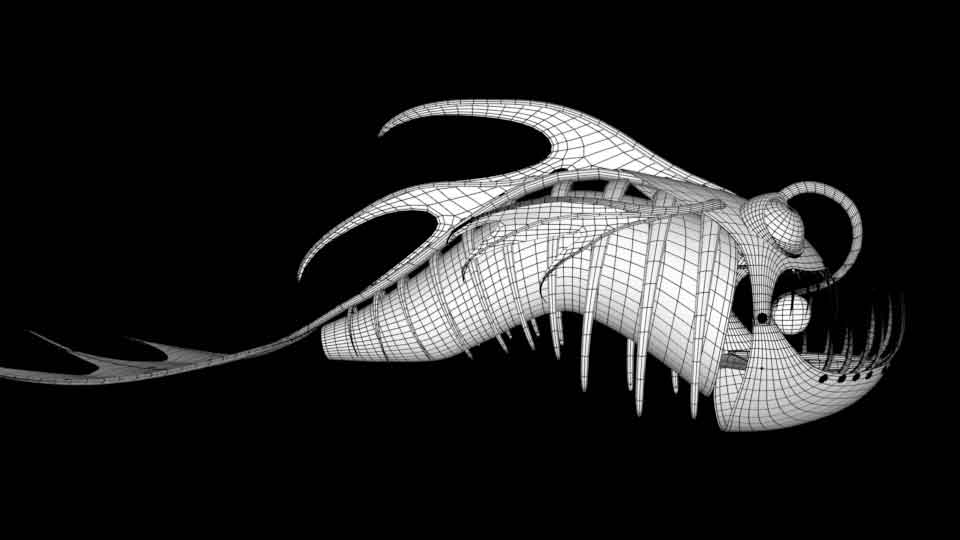
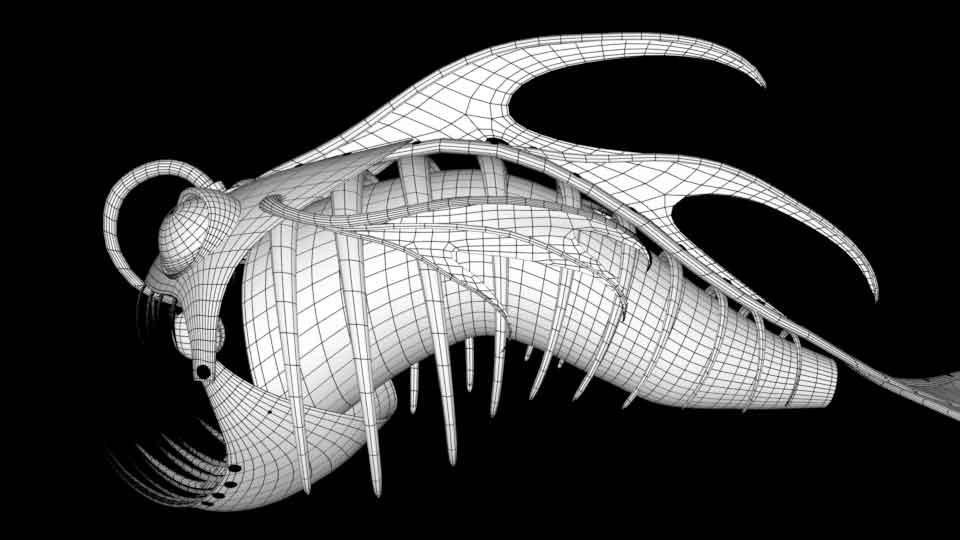
The wireframe of the fish.
The UV’s and the checker board on the element to ensure the right distribution.
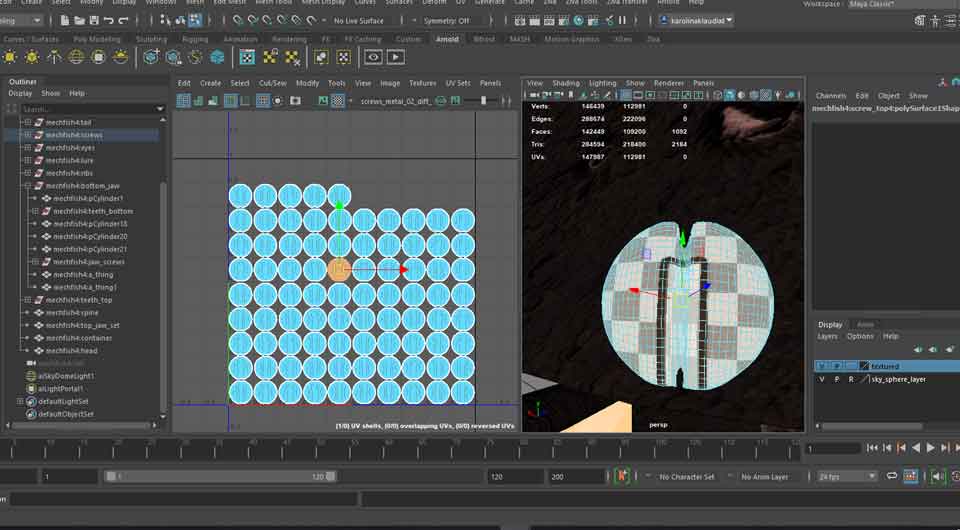
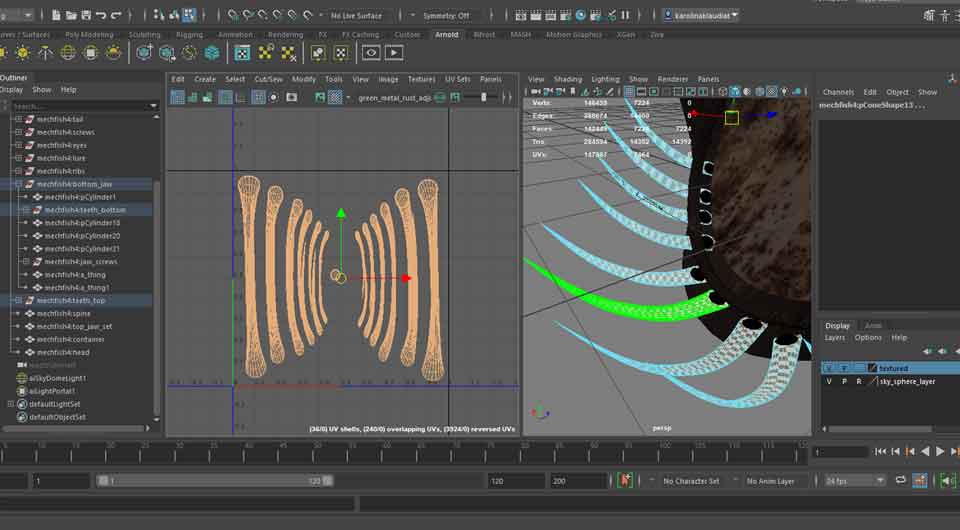
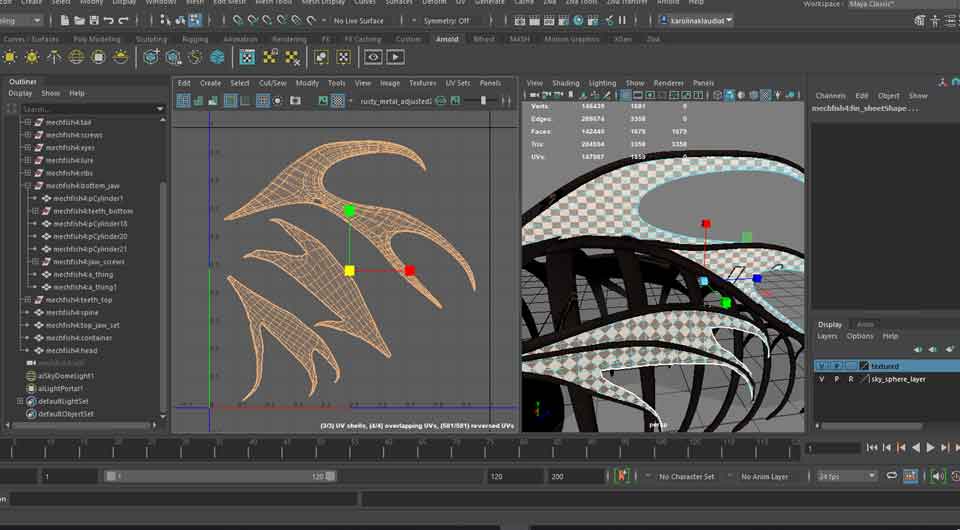
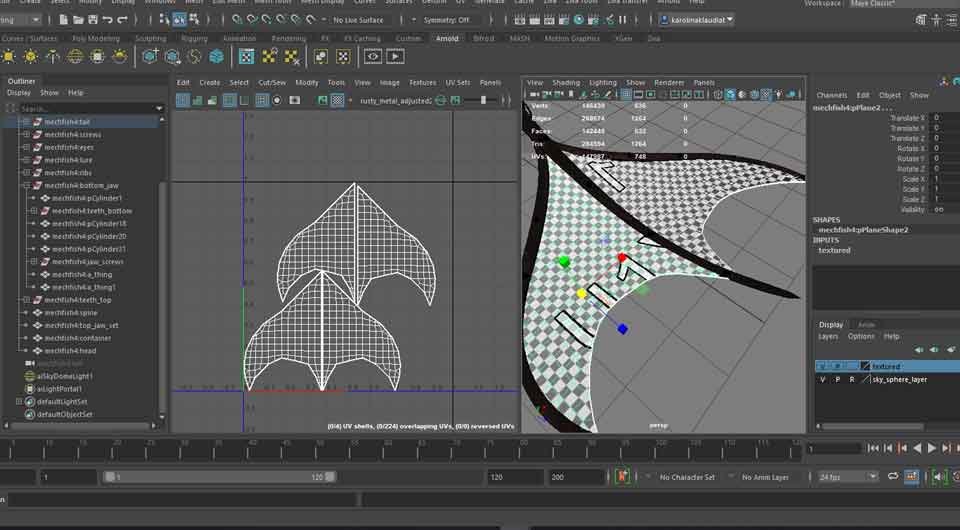
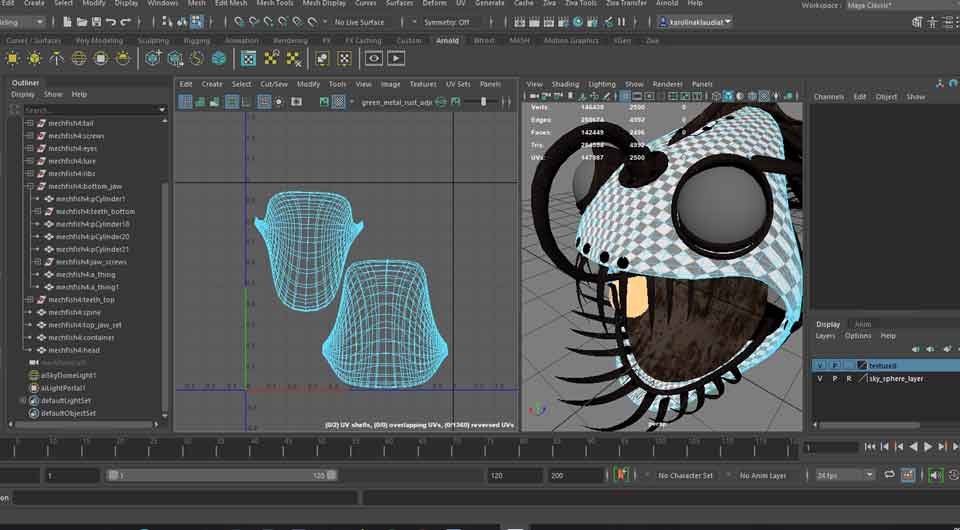
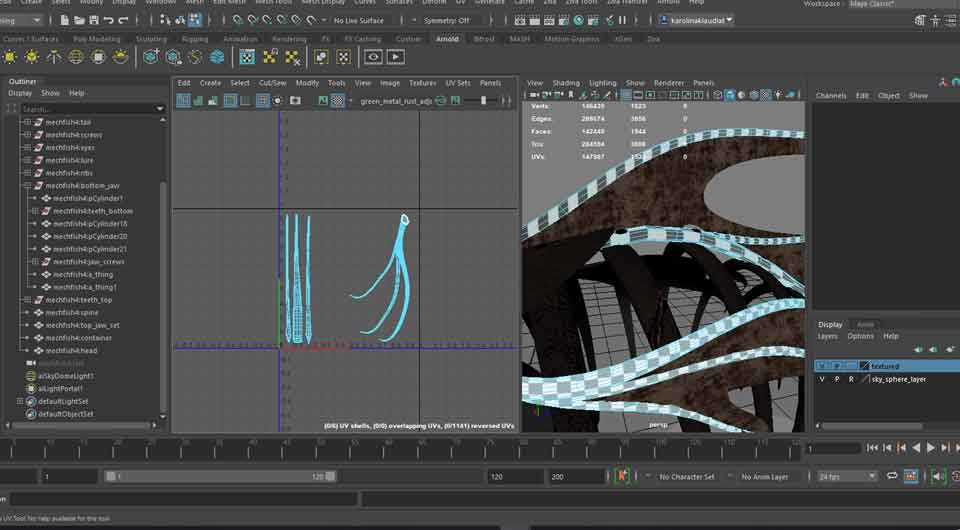
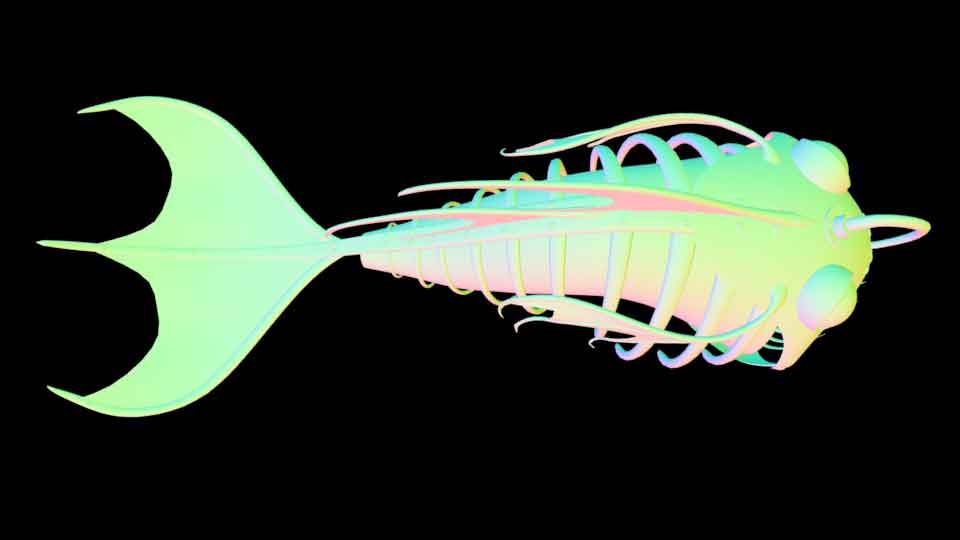
Three checks to ensure the correctness of all the elements, a. ambient occlusion, b. normal and c. UV’s


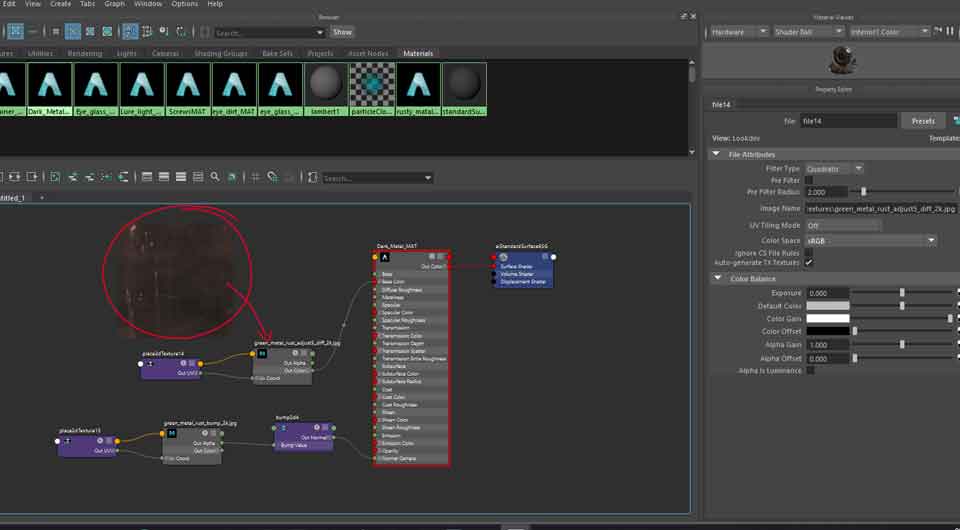
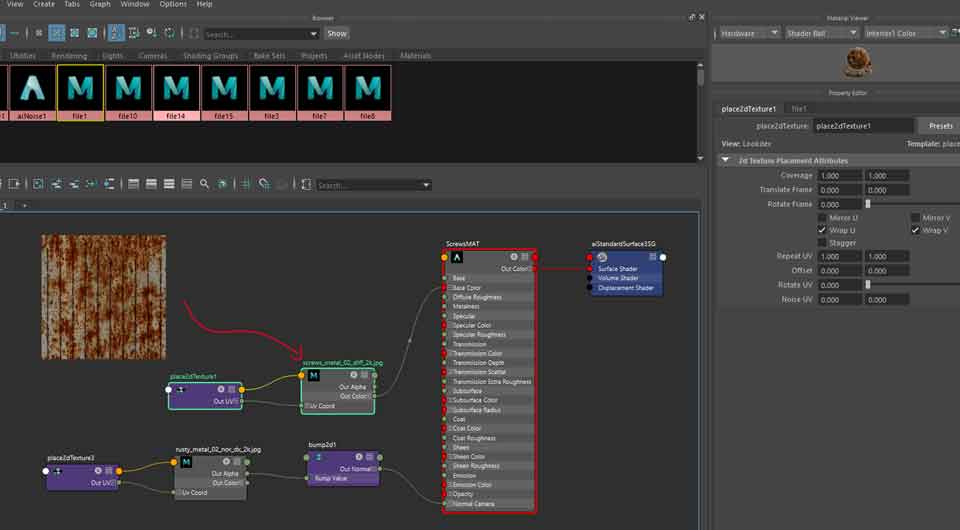
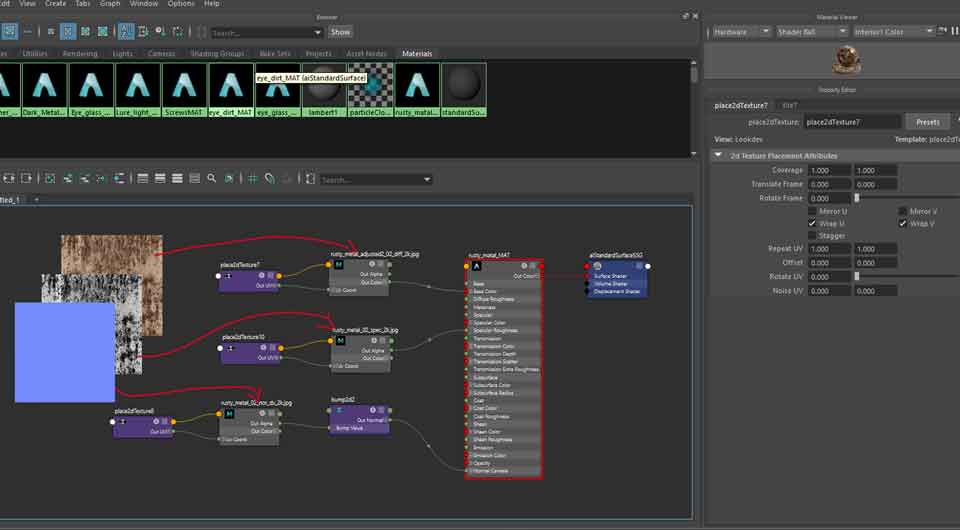
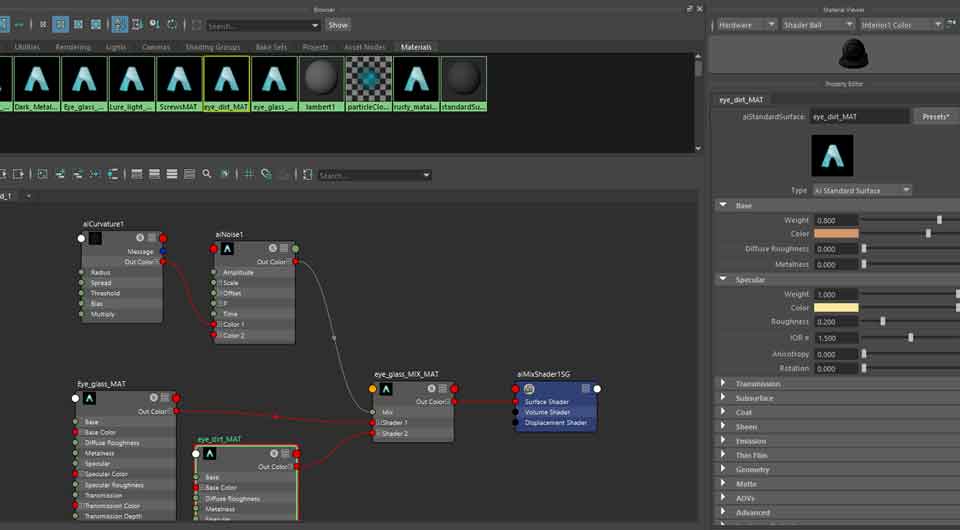
Some screenshots for the material process in Maya, from left, 1, Dark Metal – Main fish body material, 2, Screws material, 3, Fins and sensor trap material, and 4, they eye material.
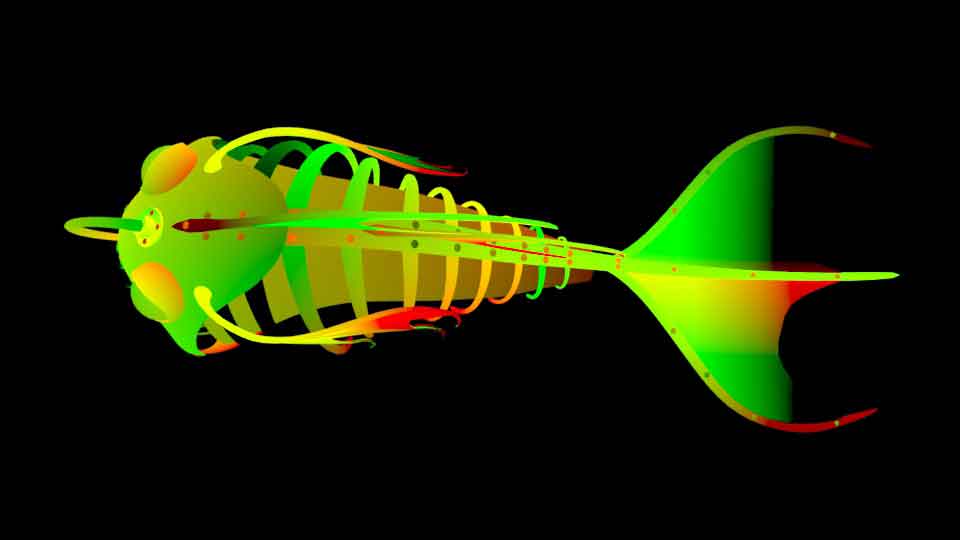
Fully textured fish robot in a full lighting, to display the model.
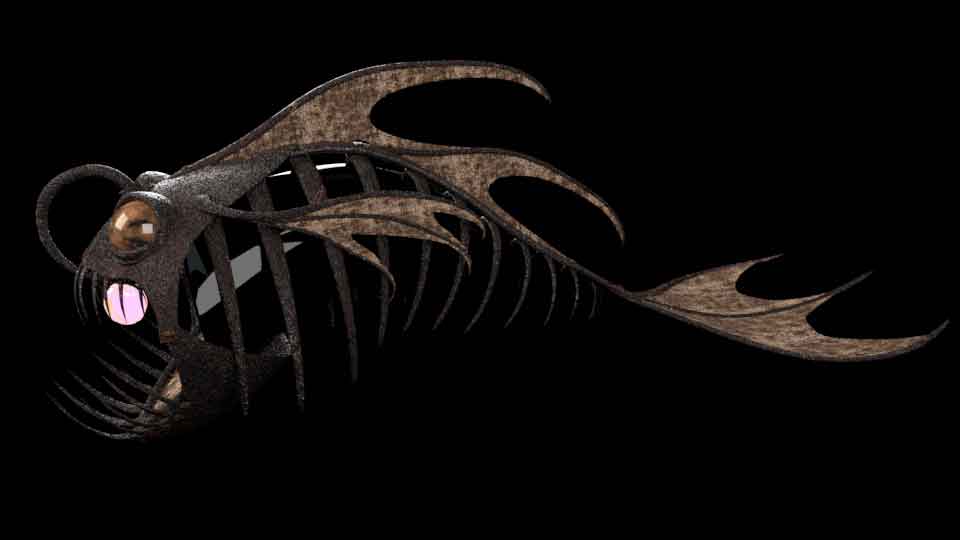
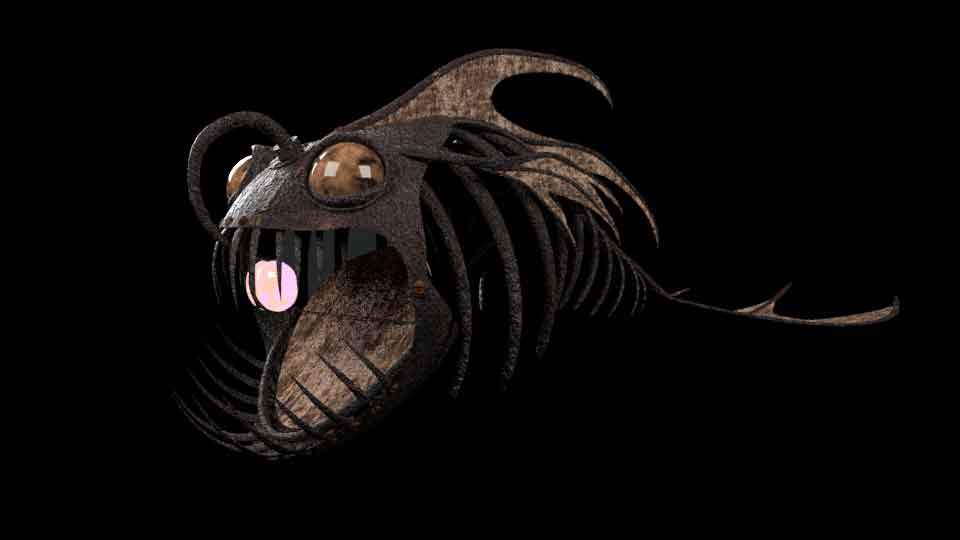
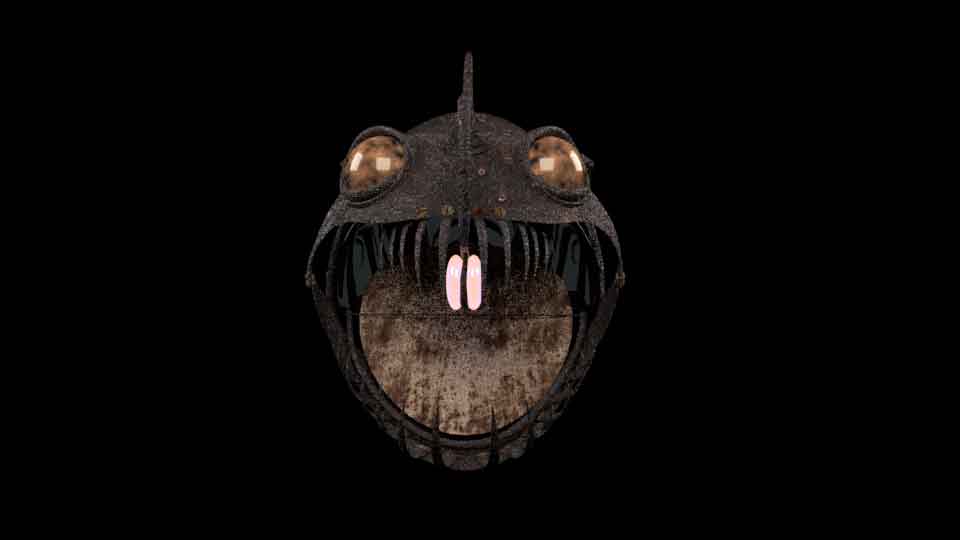
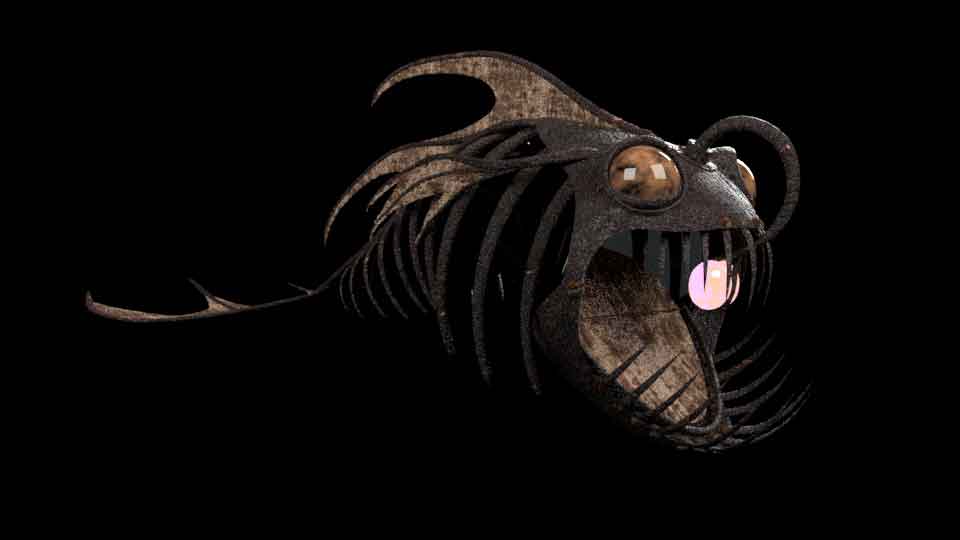
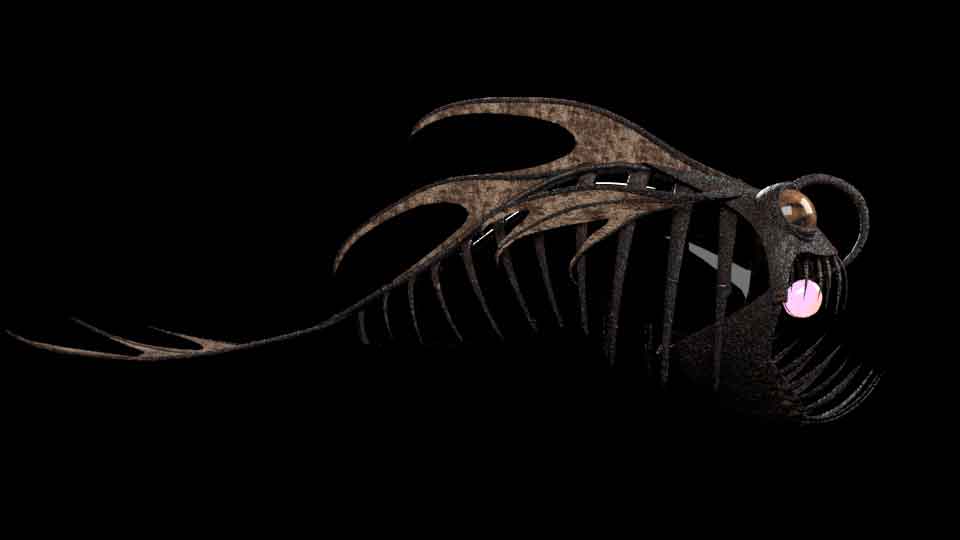

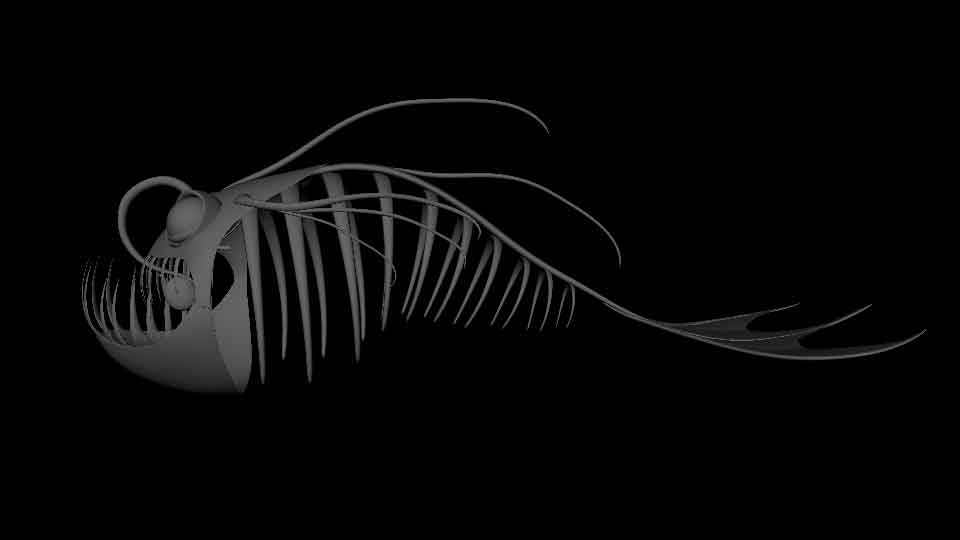
Fully textured fish robot in a intended lighting, to display the model in the correct way, as intended for the final.


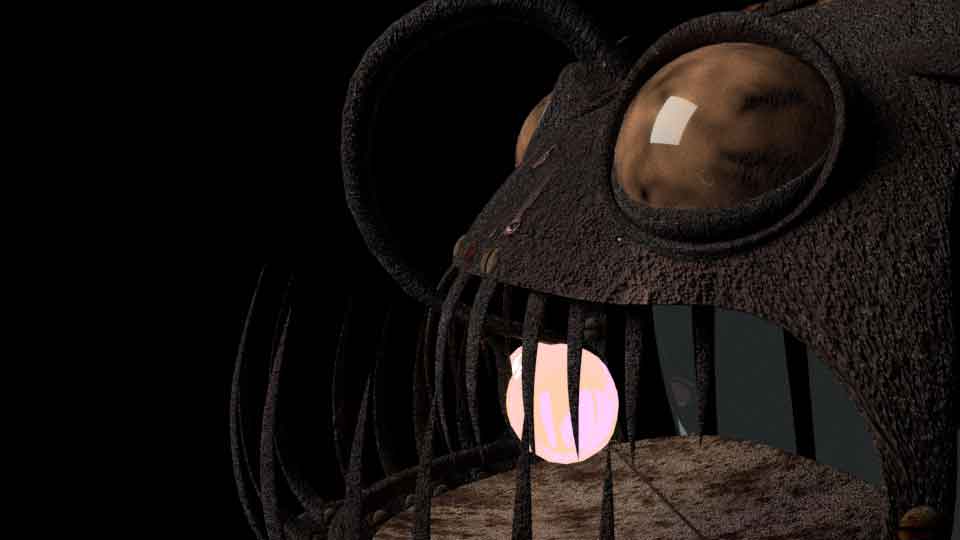
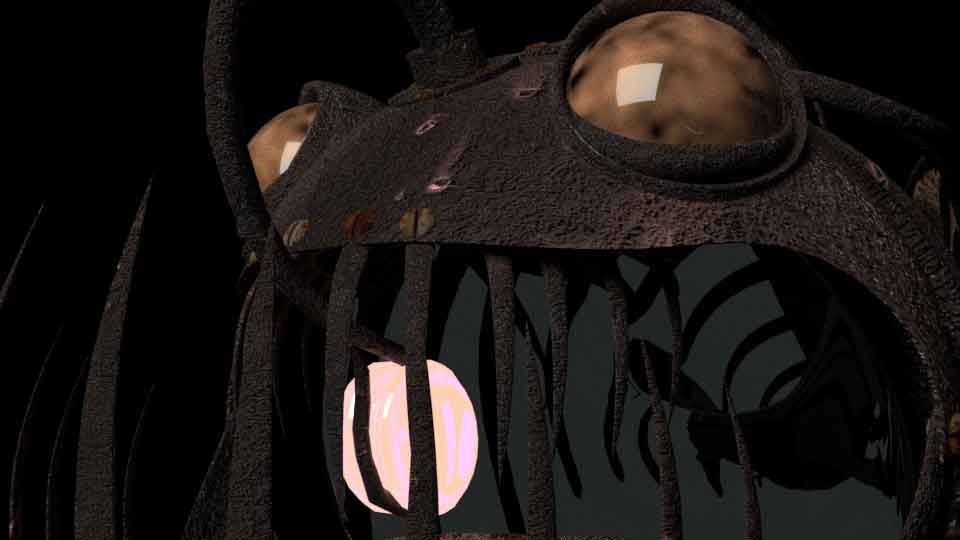
Jane (JN-09) is a science creation used to roam the depths of the seas unnoticed by other (possibly intelligent creatures) and collect information. It lures creatures but the light (angler fish), senses them when they enter its mouth and traps then in (venus flytrap) a container situated inside its ‘ribcage’ by ‘swallowing’ the creature. this particular model (JN-09) is designed to release the small creatures while keeping the large ones, hence the lack of a fully closing mechanism (in here, the large creatures wont escape when the mouth is closed but the small ones can, for example in between the teeth). Then the fish is travels back to its research facility of origin and releases the creature caught in a designated place or when the scientist commands it to (programming or release button).