Collaboration Project
Karolina Bieńkowska – Director, Concept Artist, Costume Designer and Artist, CG generalist, DMP artist
Alessia Forzinetti – DMP Artist, Compositor, VFX artist
Nora Bouchtat – SFX make up artist, Performance, Music
Shemia Codjoe – Music, Costume Artist
For this project I have decided to collaborate with fine art, 3D animation and games, games and possibly music production students in terms of creating an underwater performance scene/ music video. The idea is to shoot a dance performance on a green screen and through postproduction place it in an underwater scene with CG elements in the form of sea creatures swimming around.
1. Idea Development
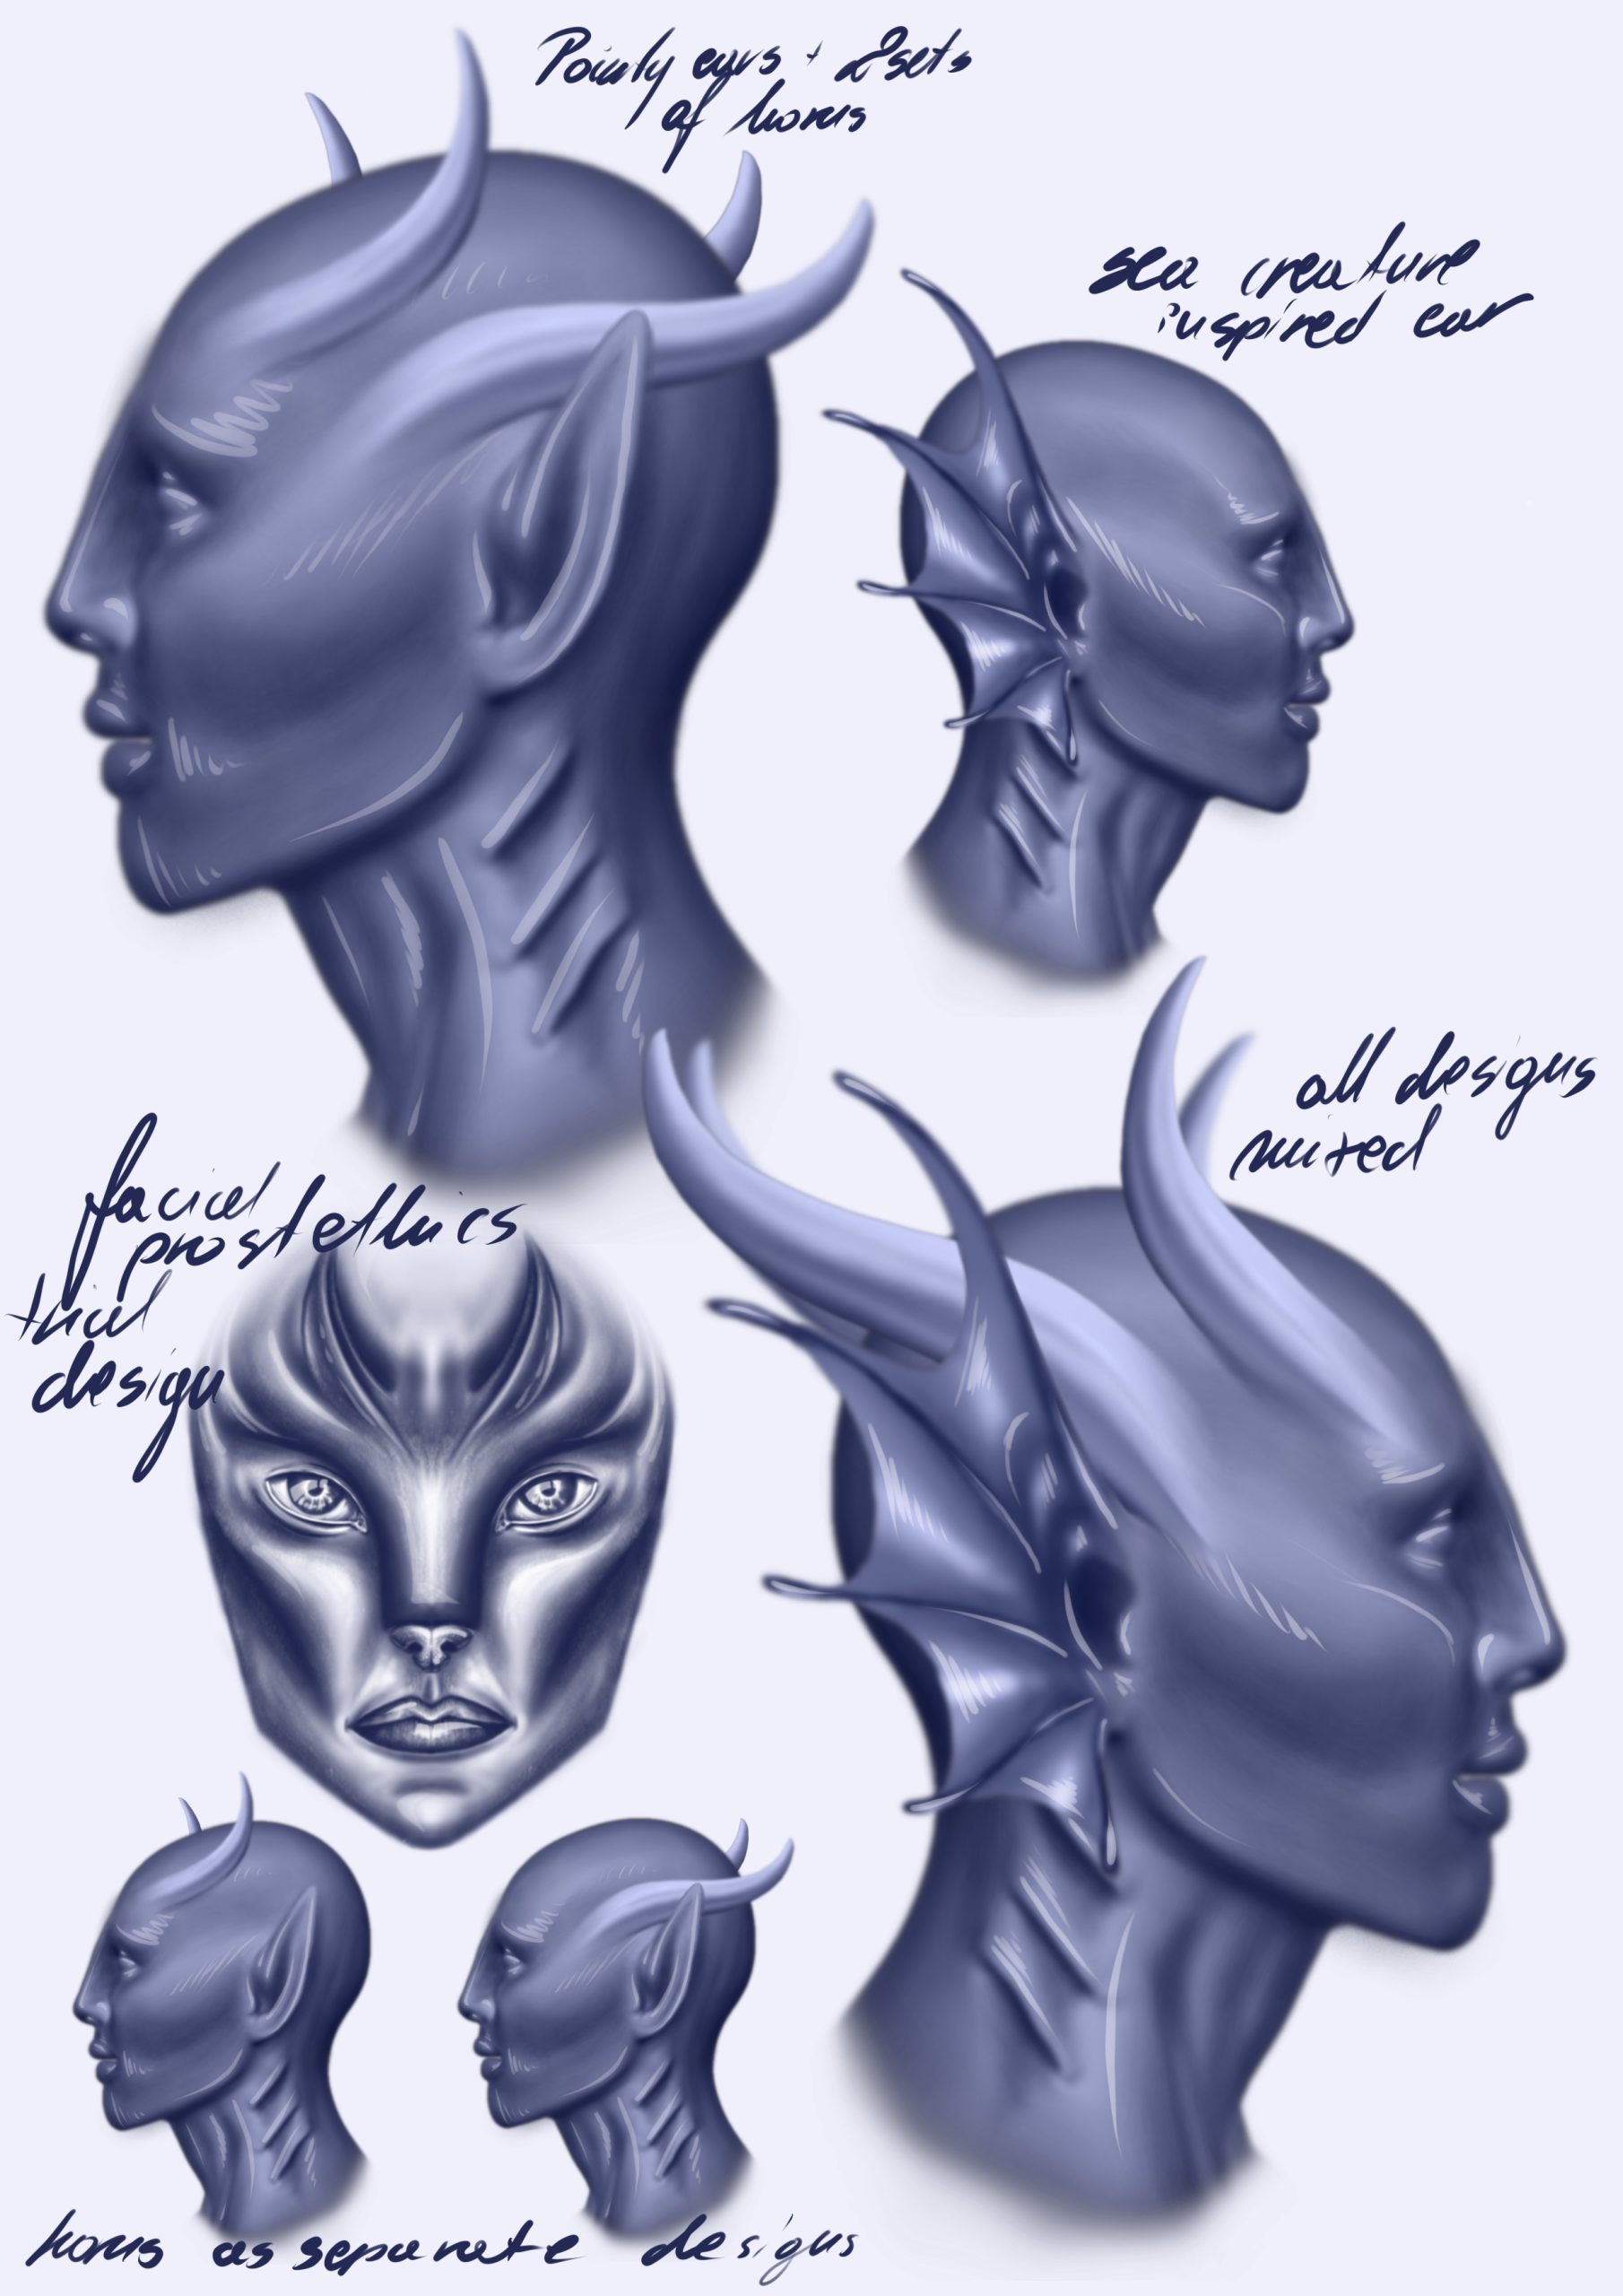
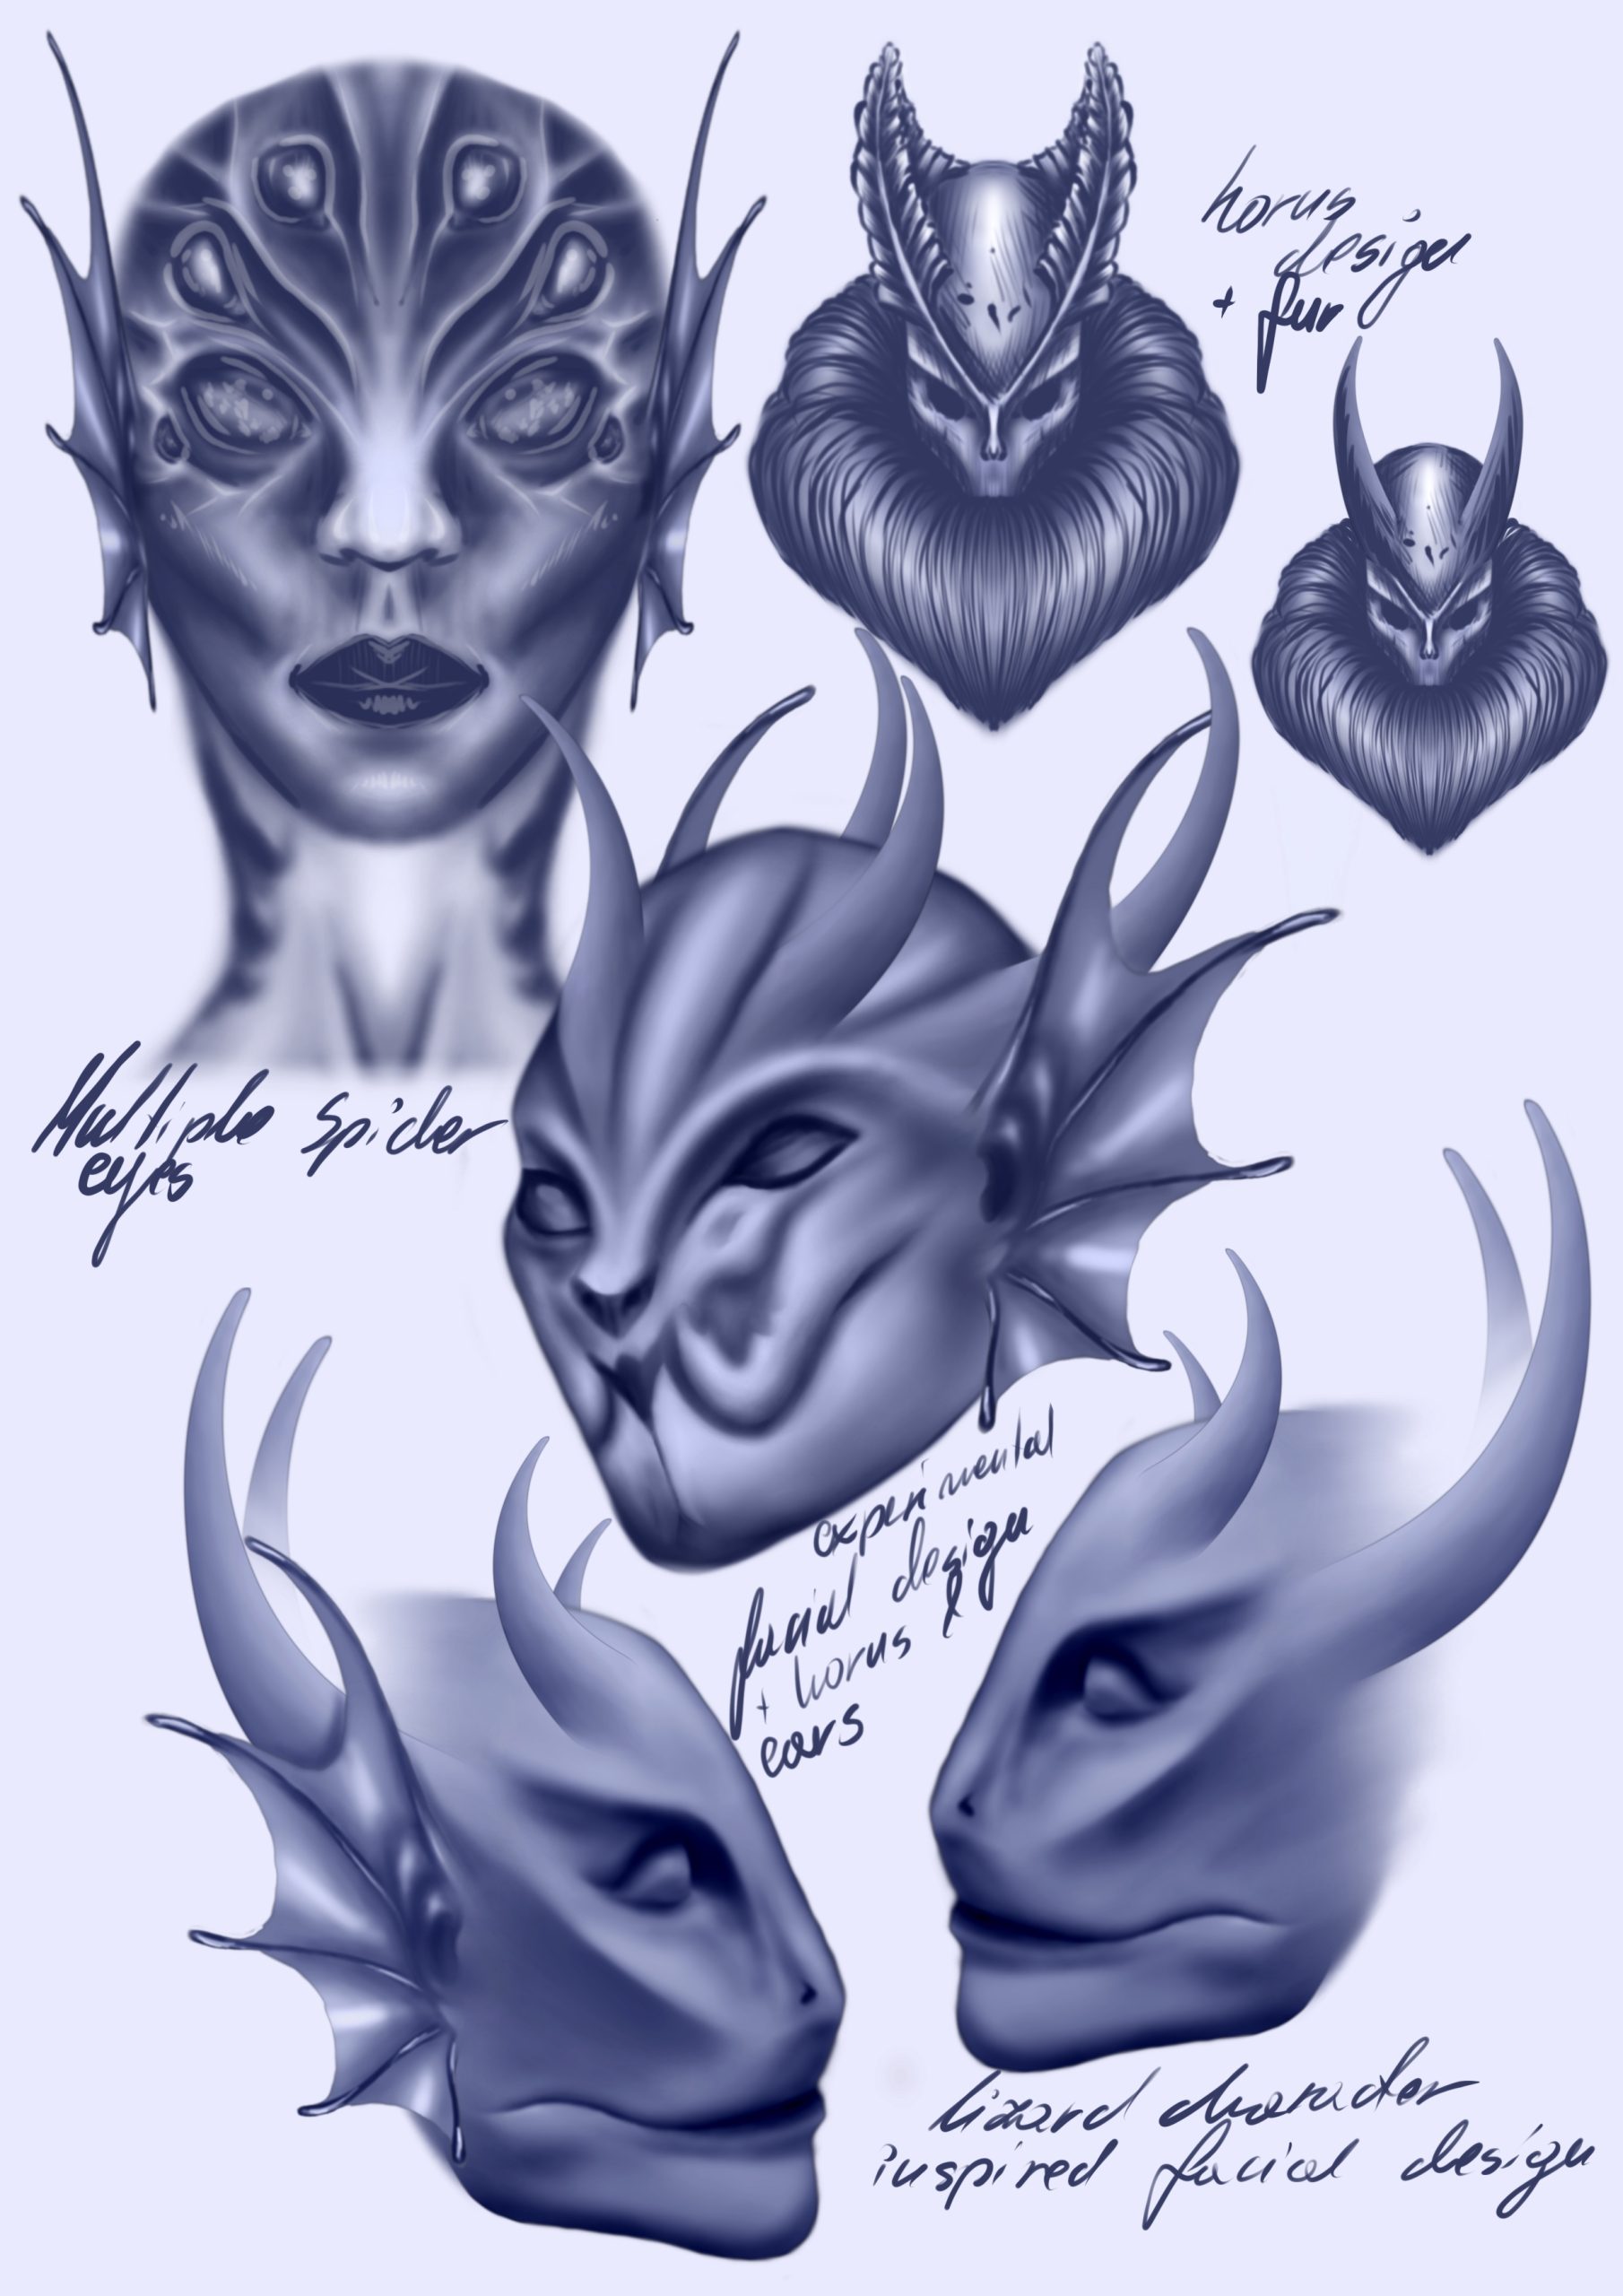
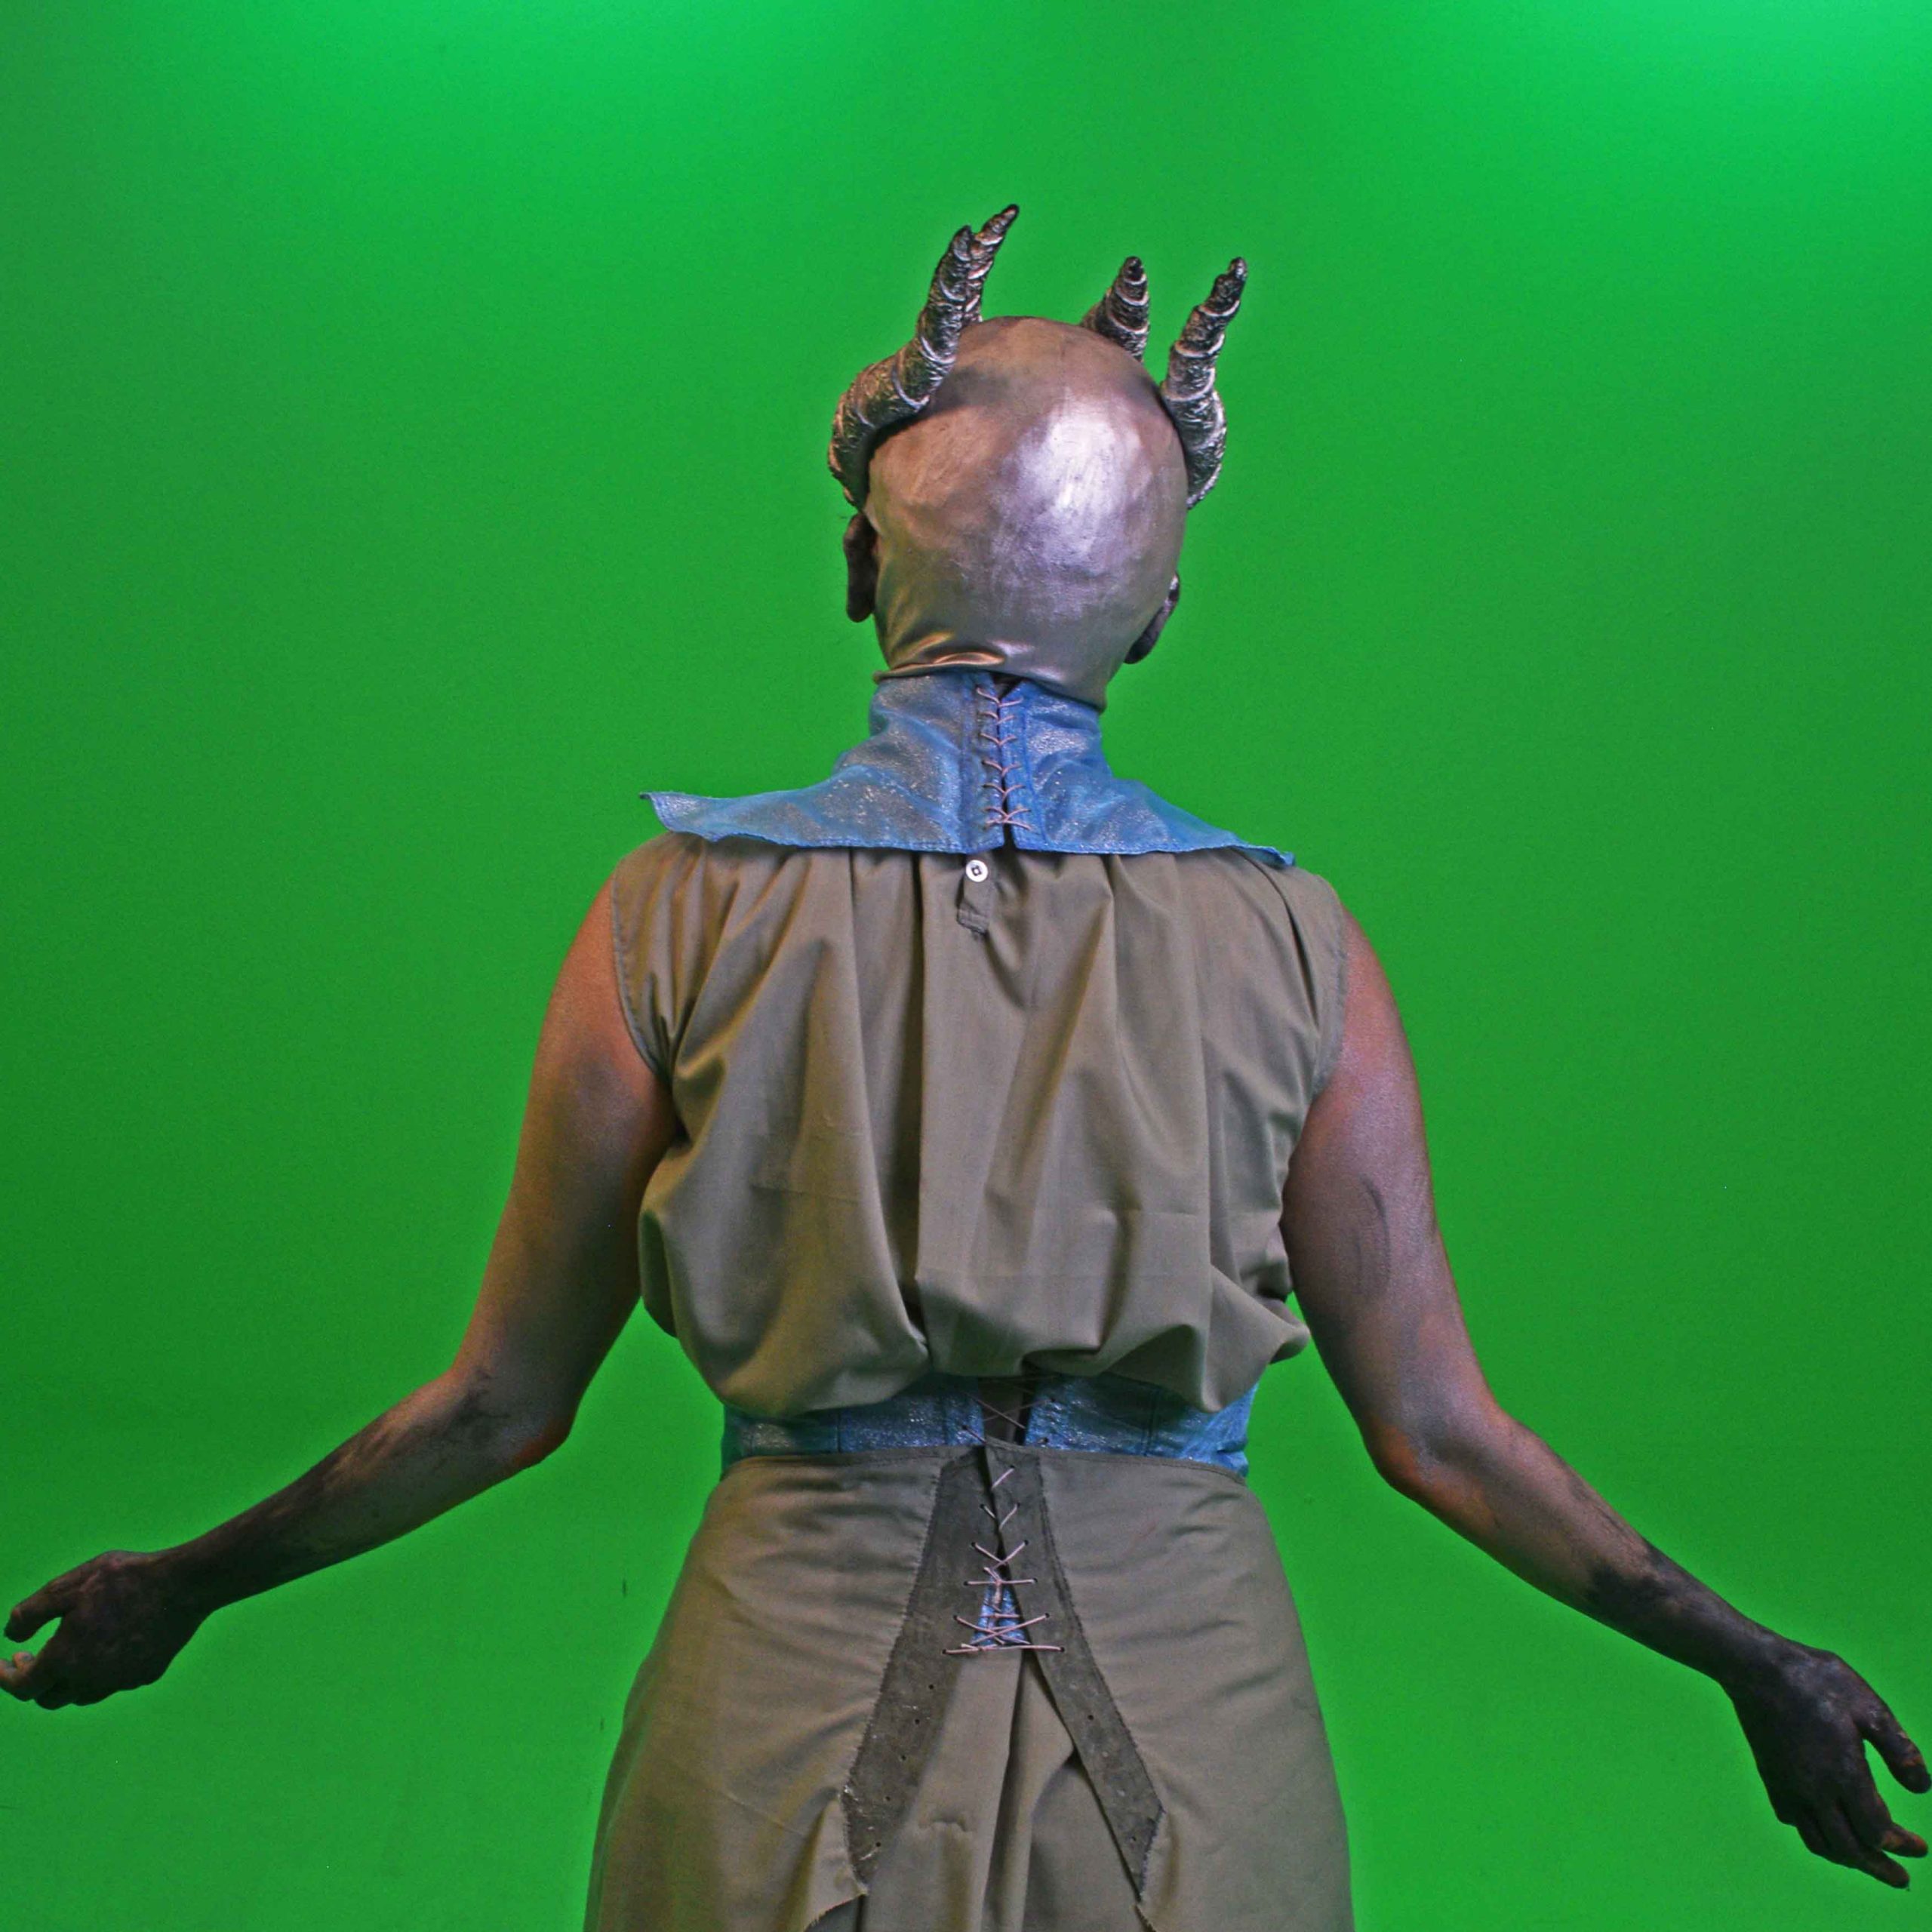
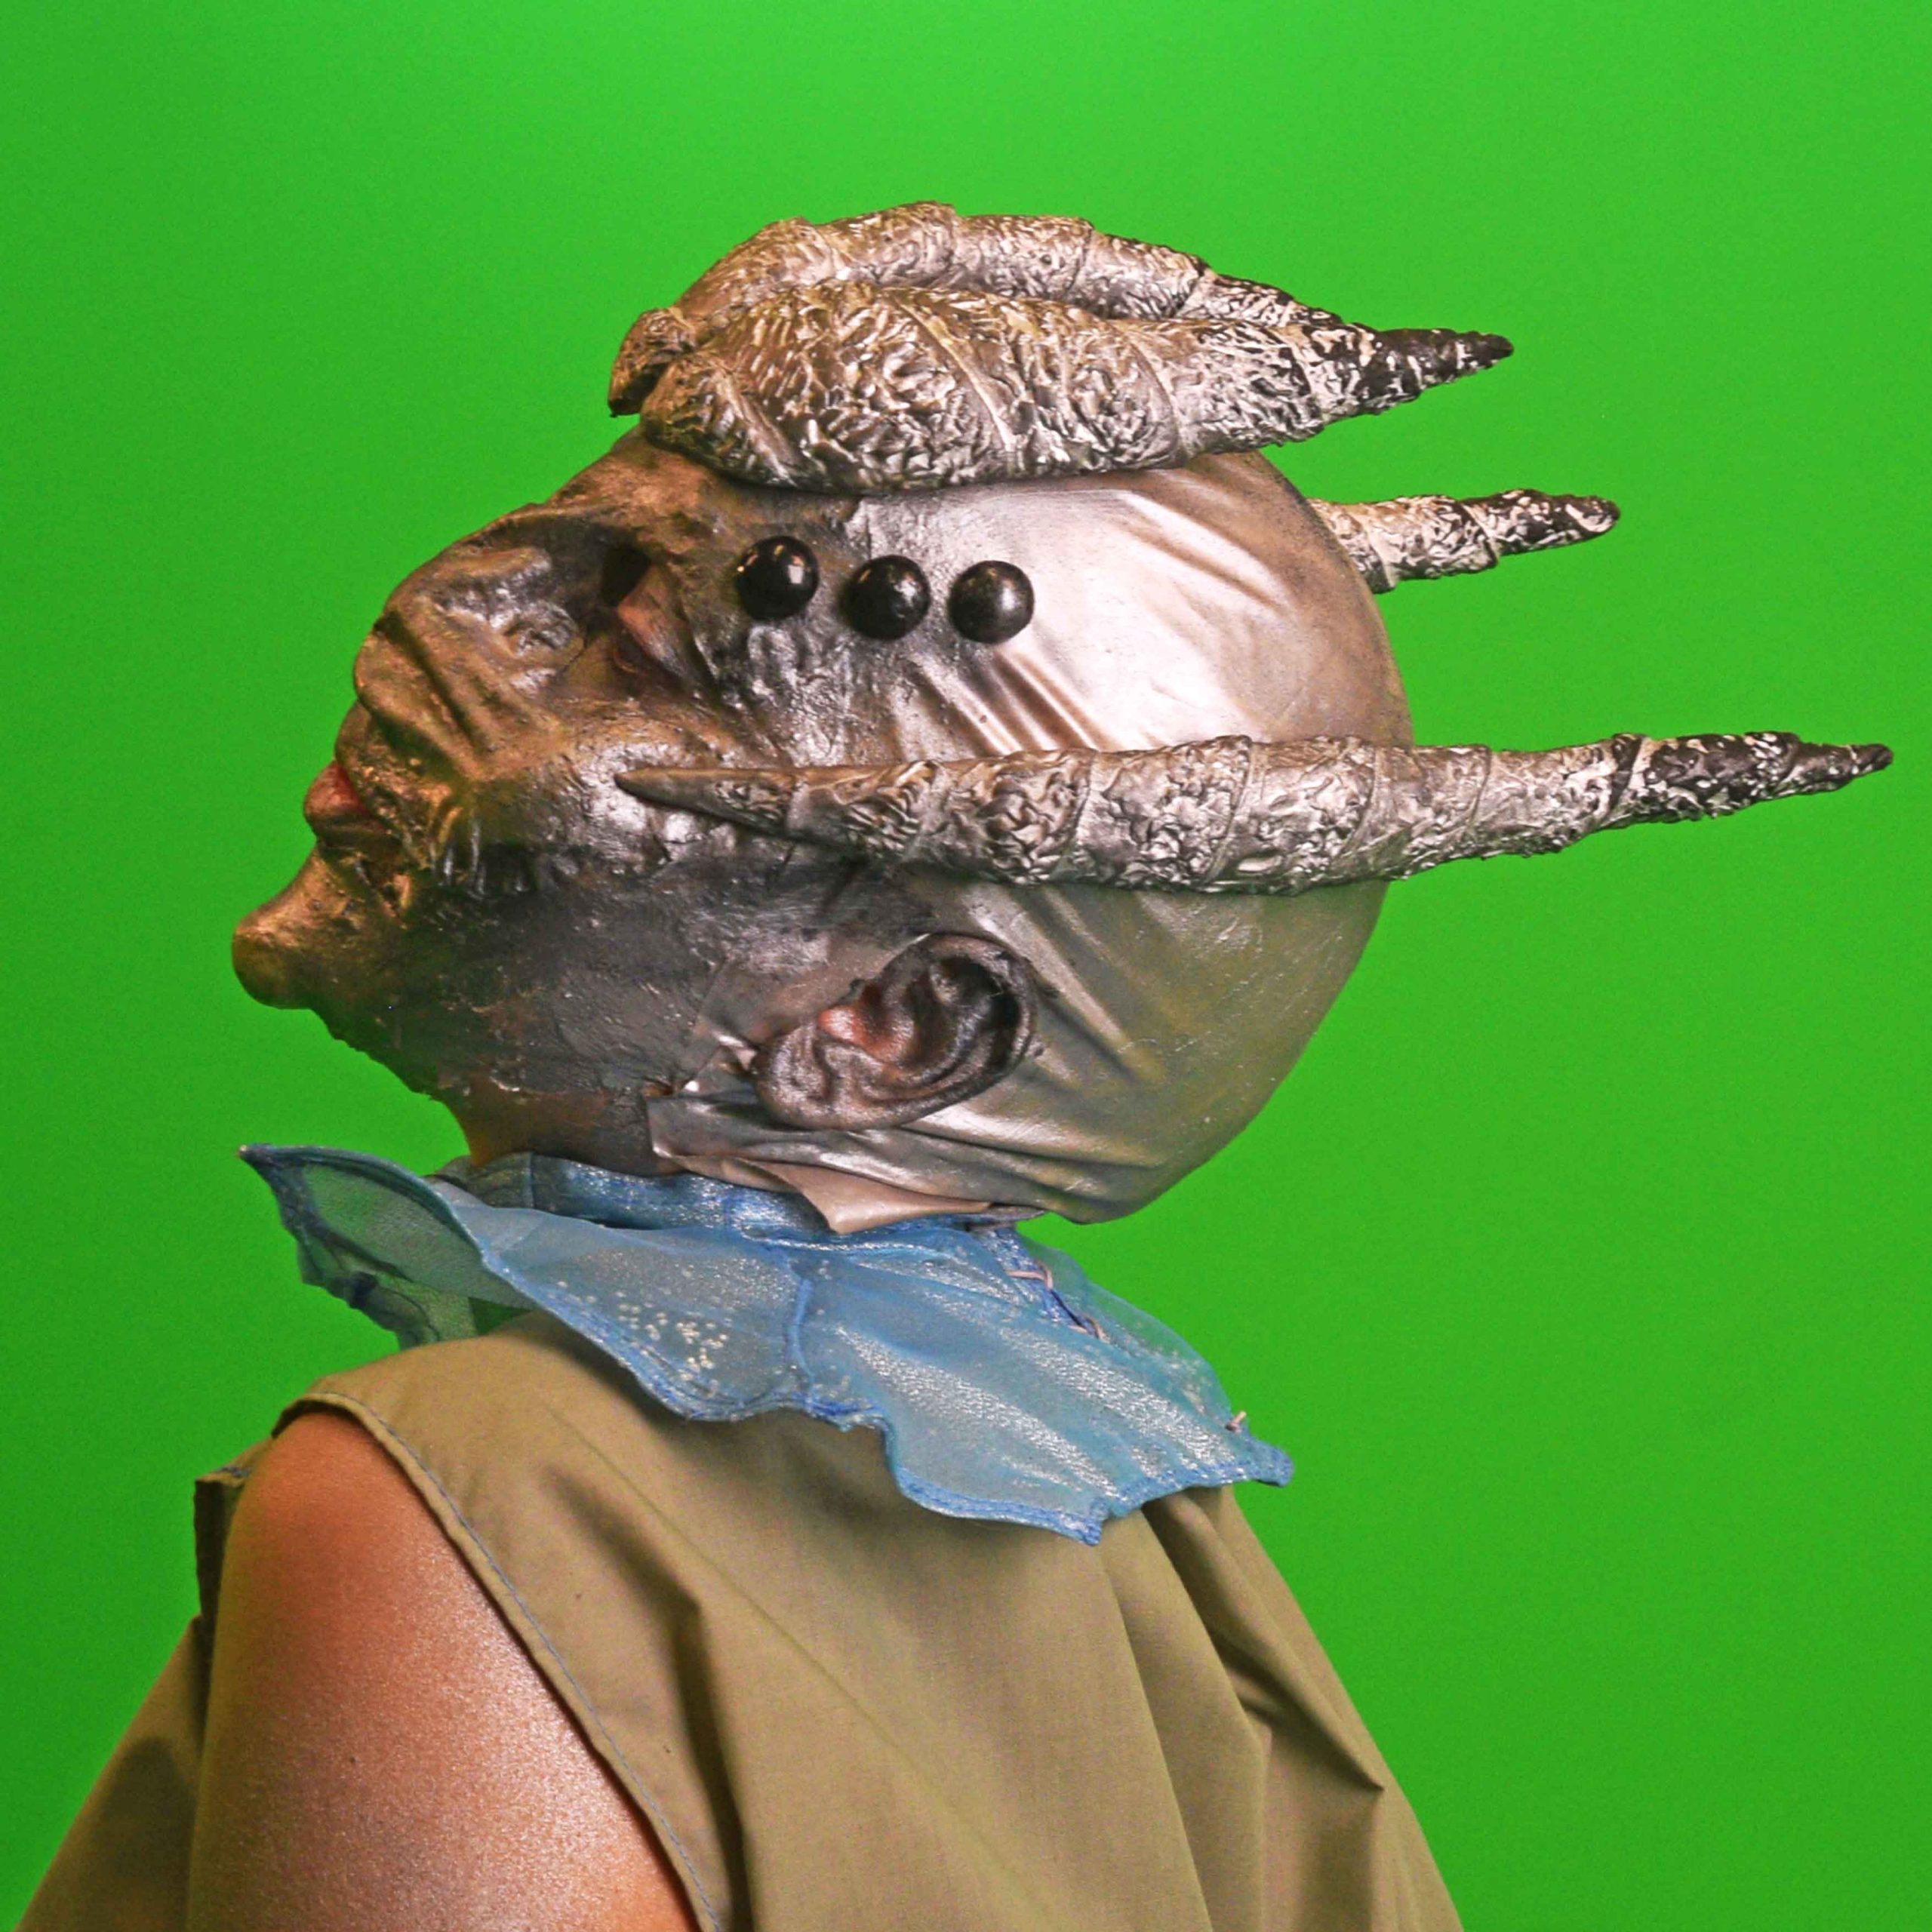
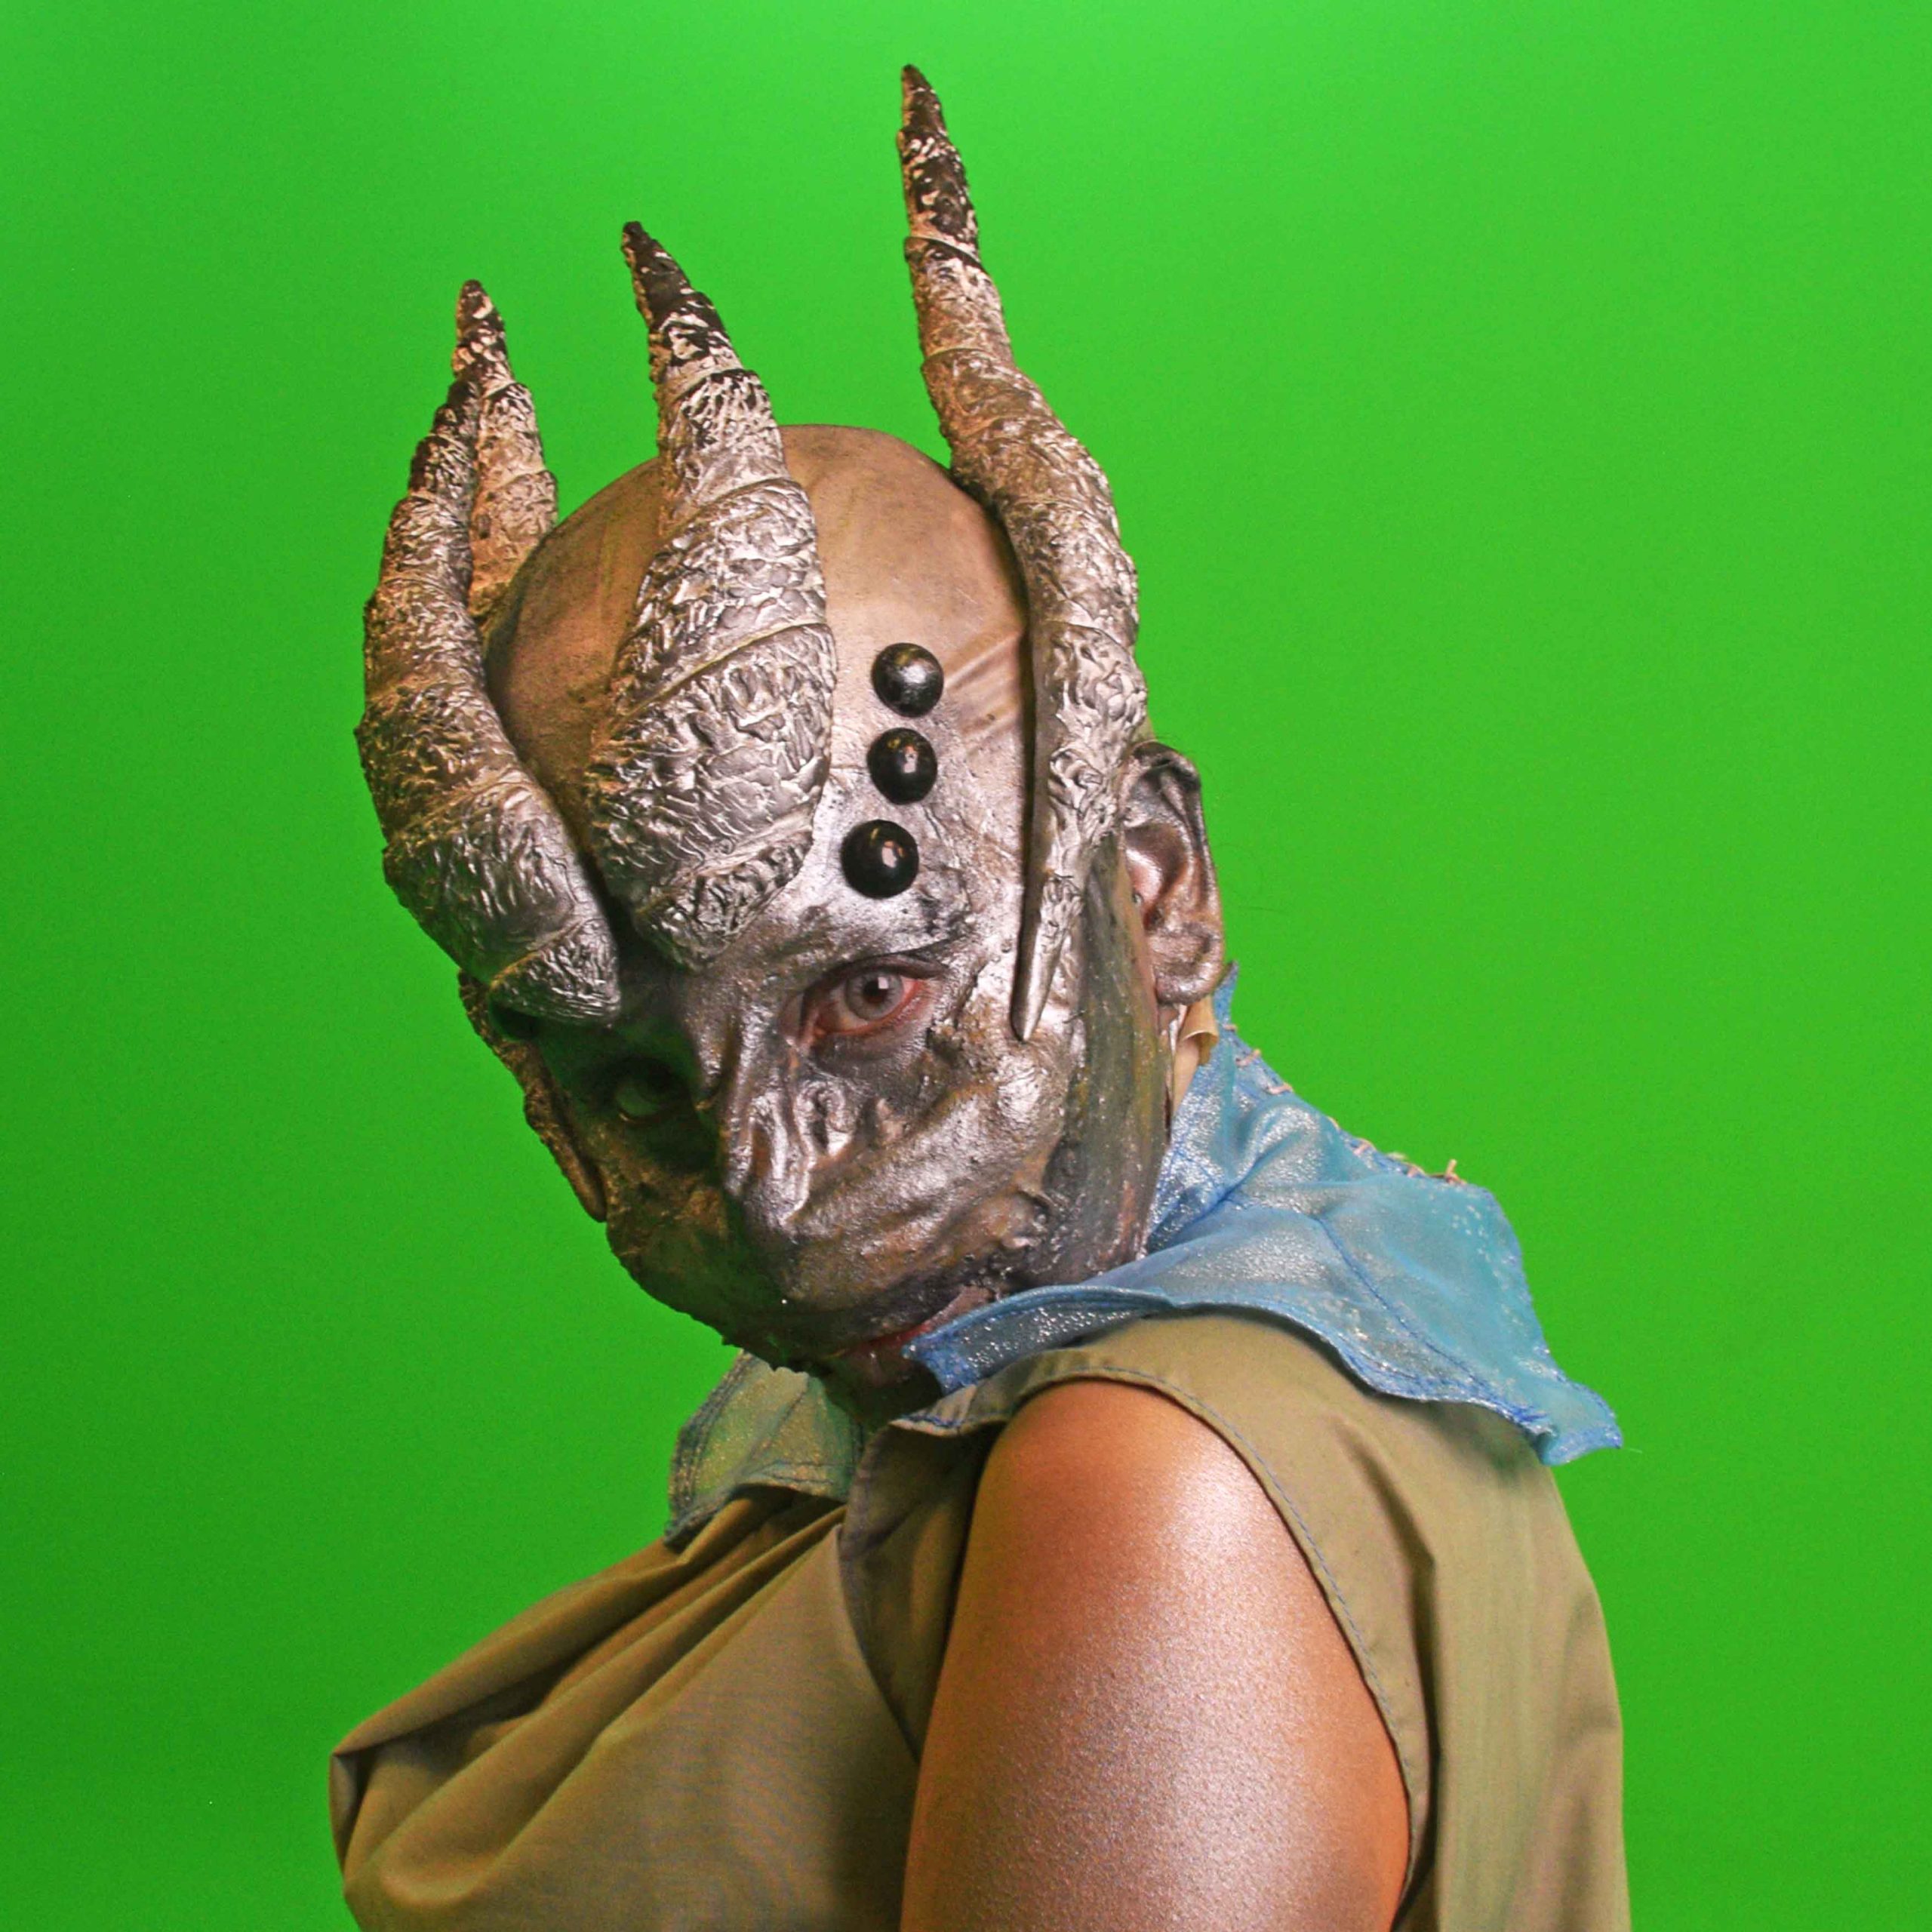
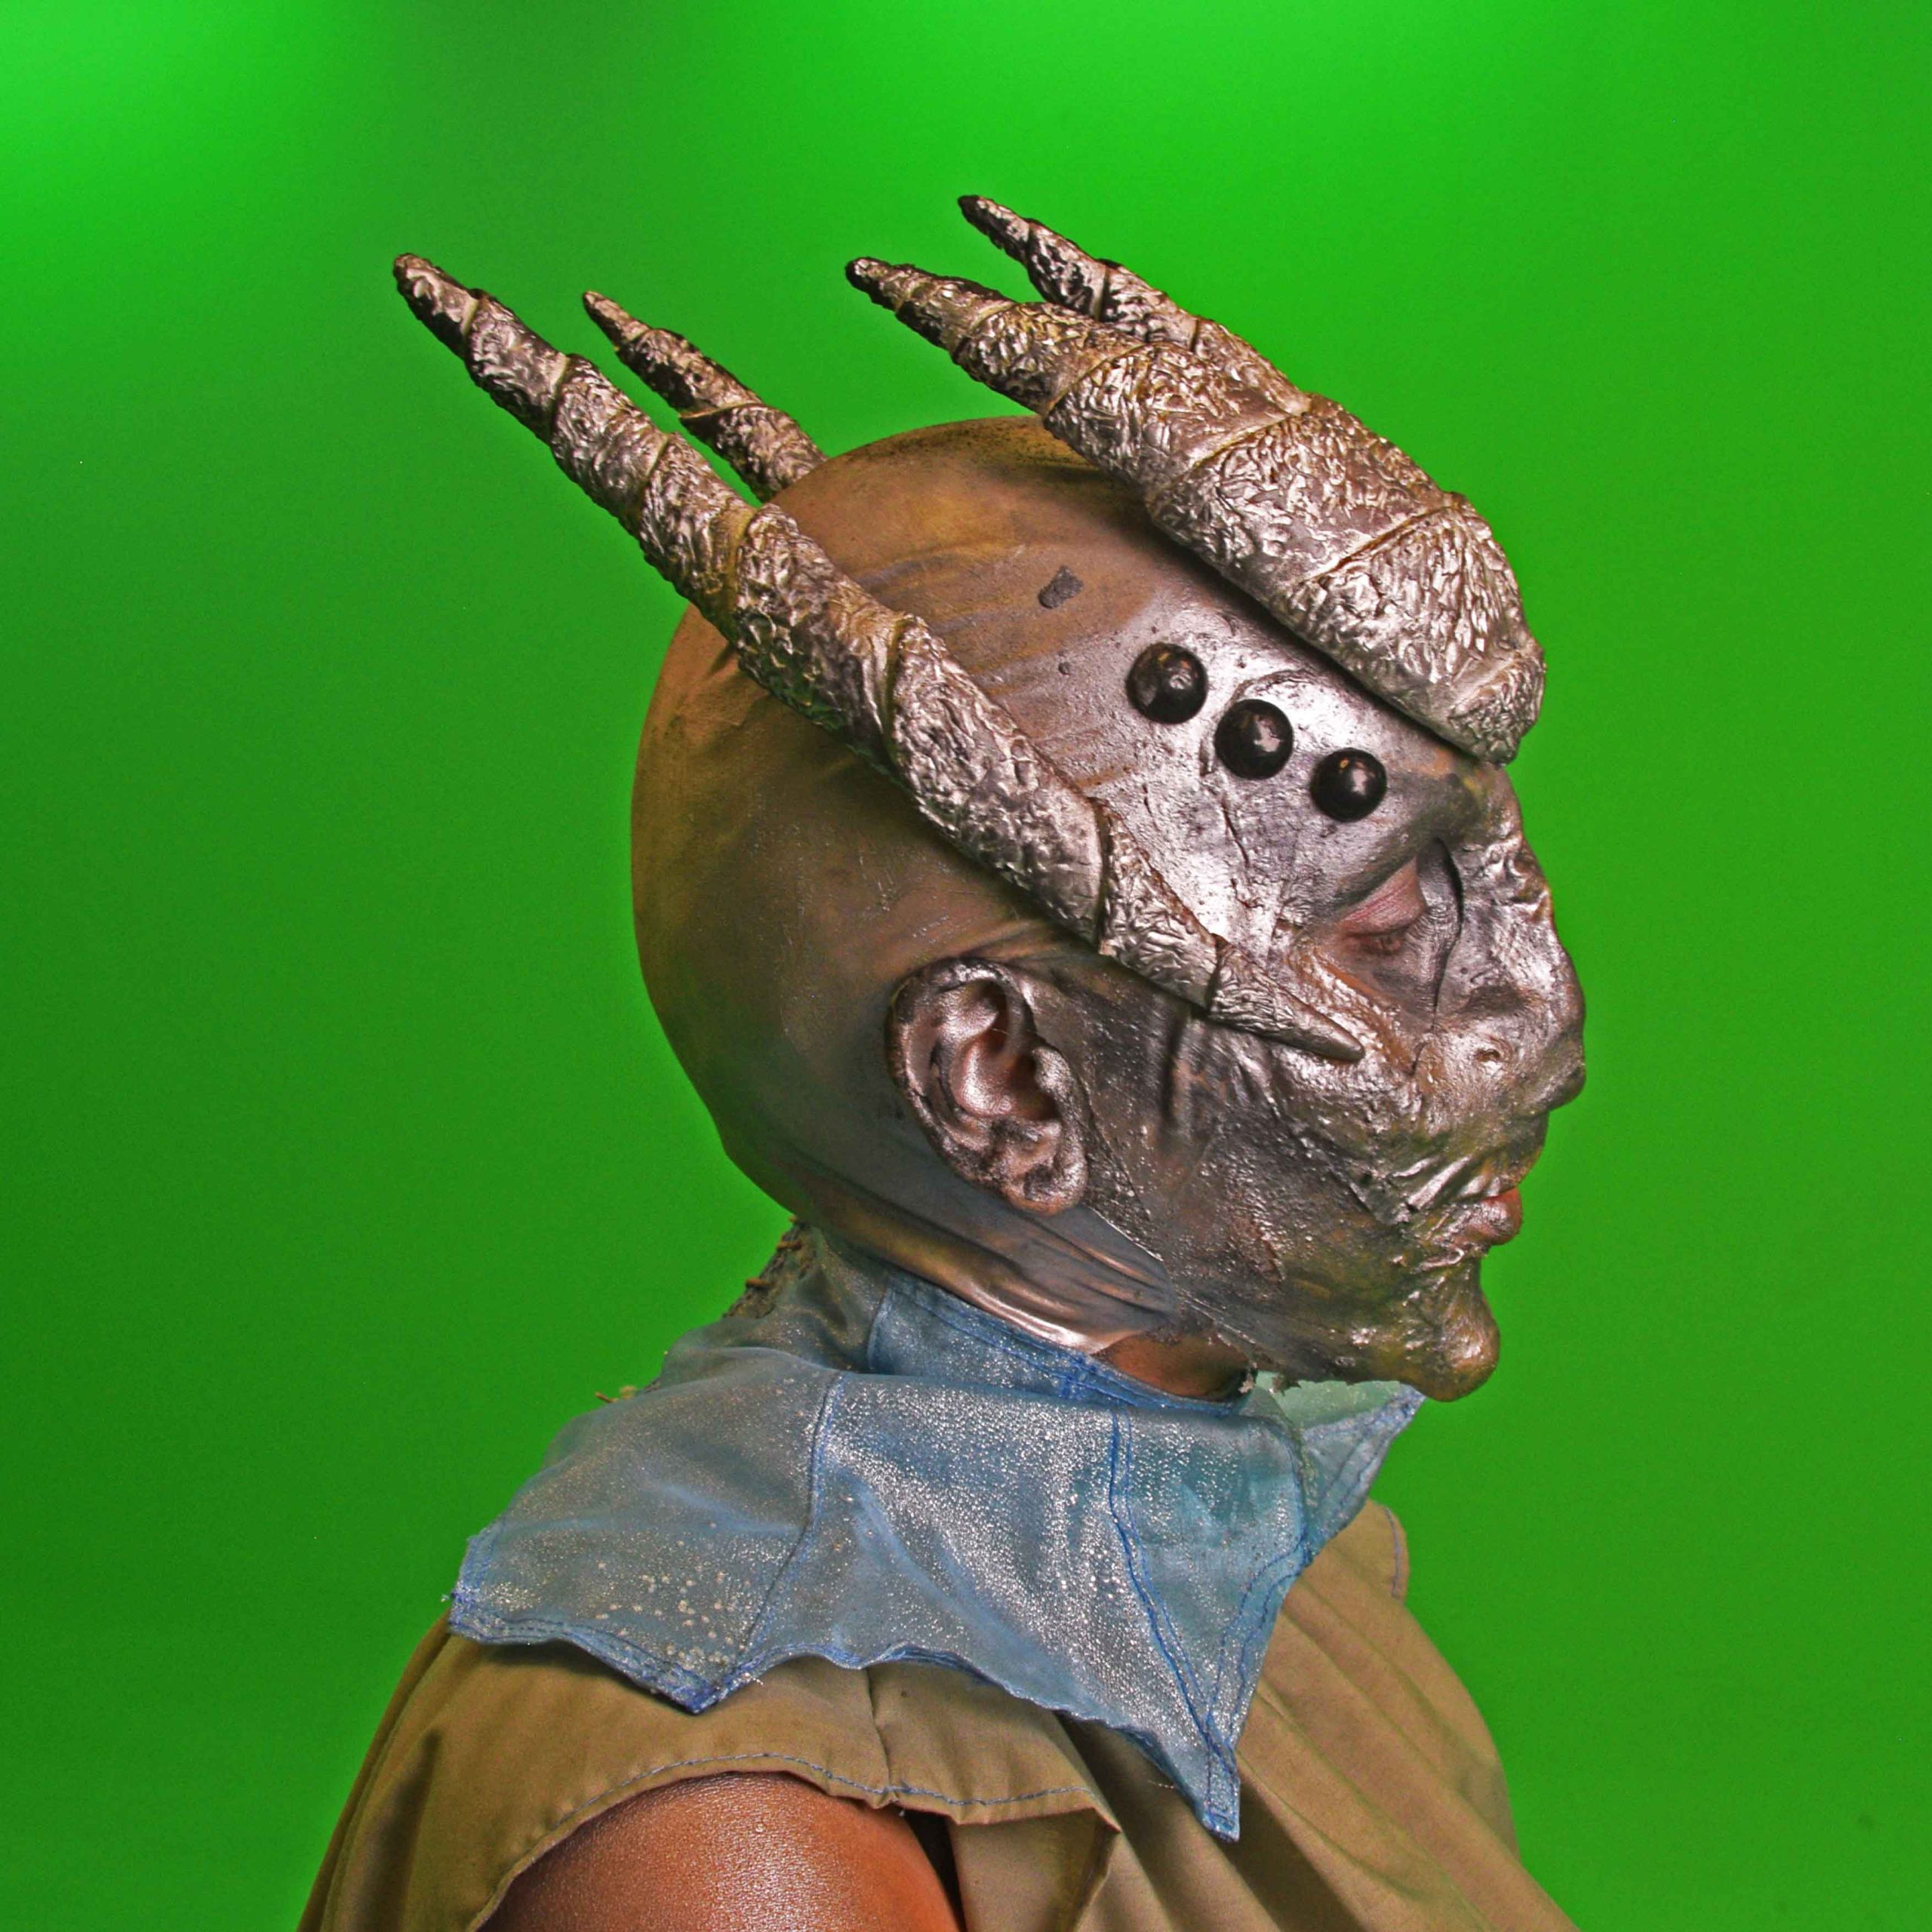
Concept art as well as idea development of the head piece (horns, ears) and the prosthetics make up to visualise the concept.
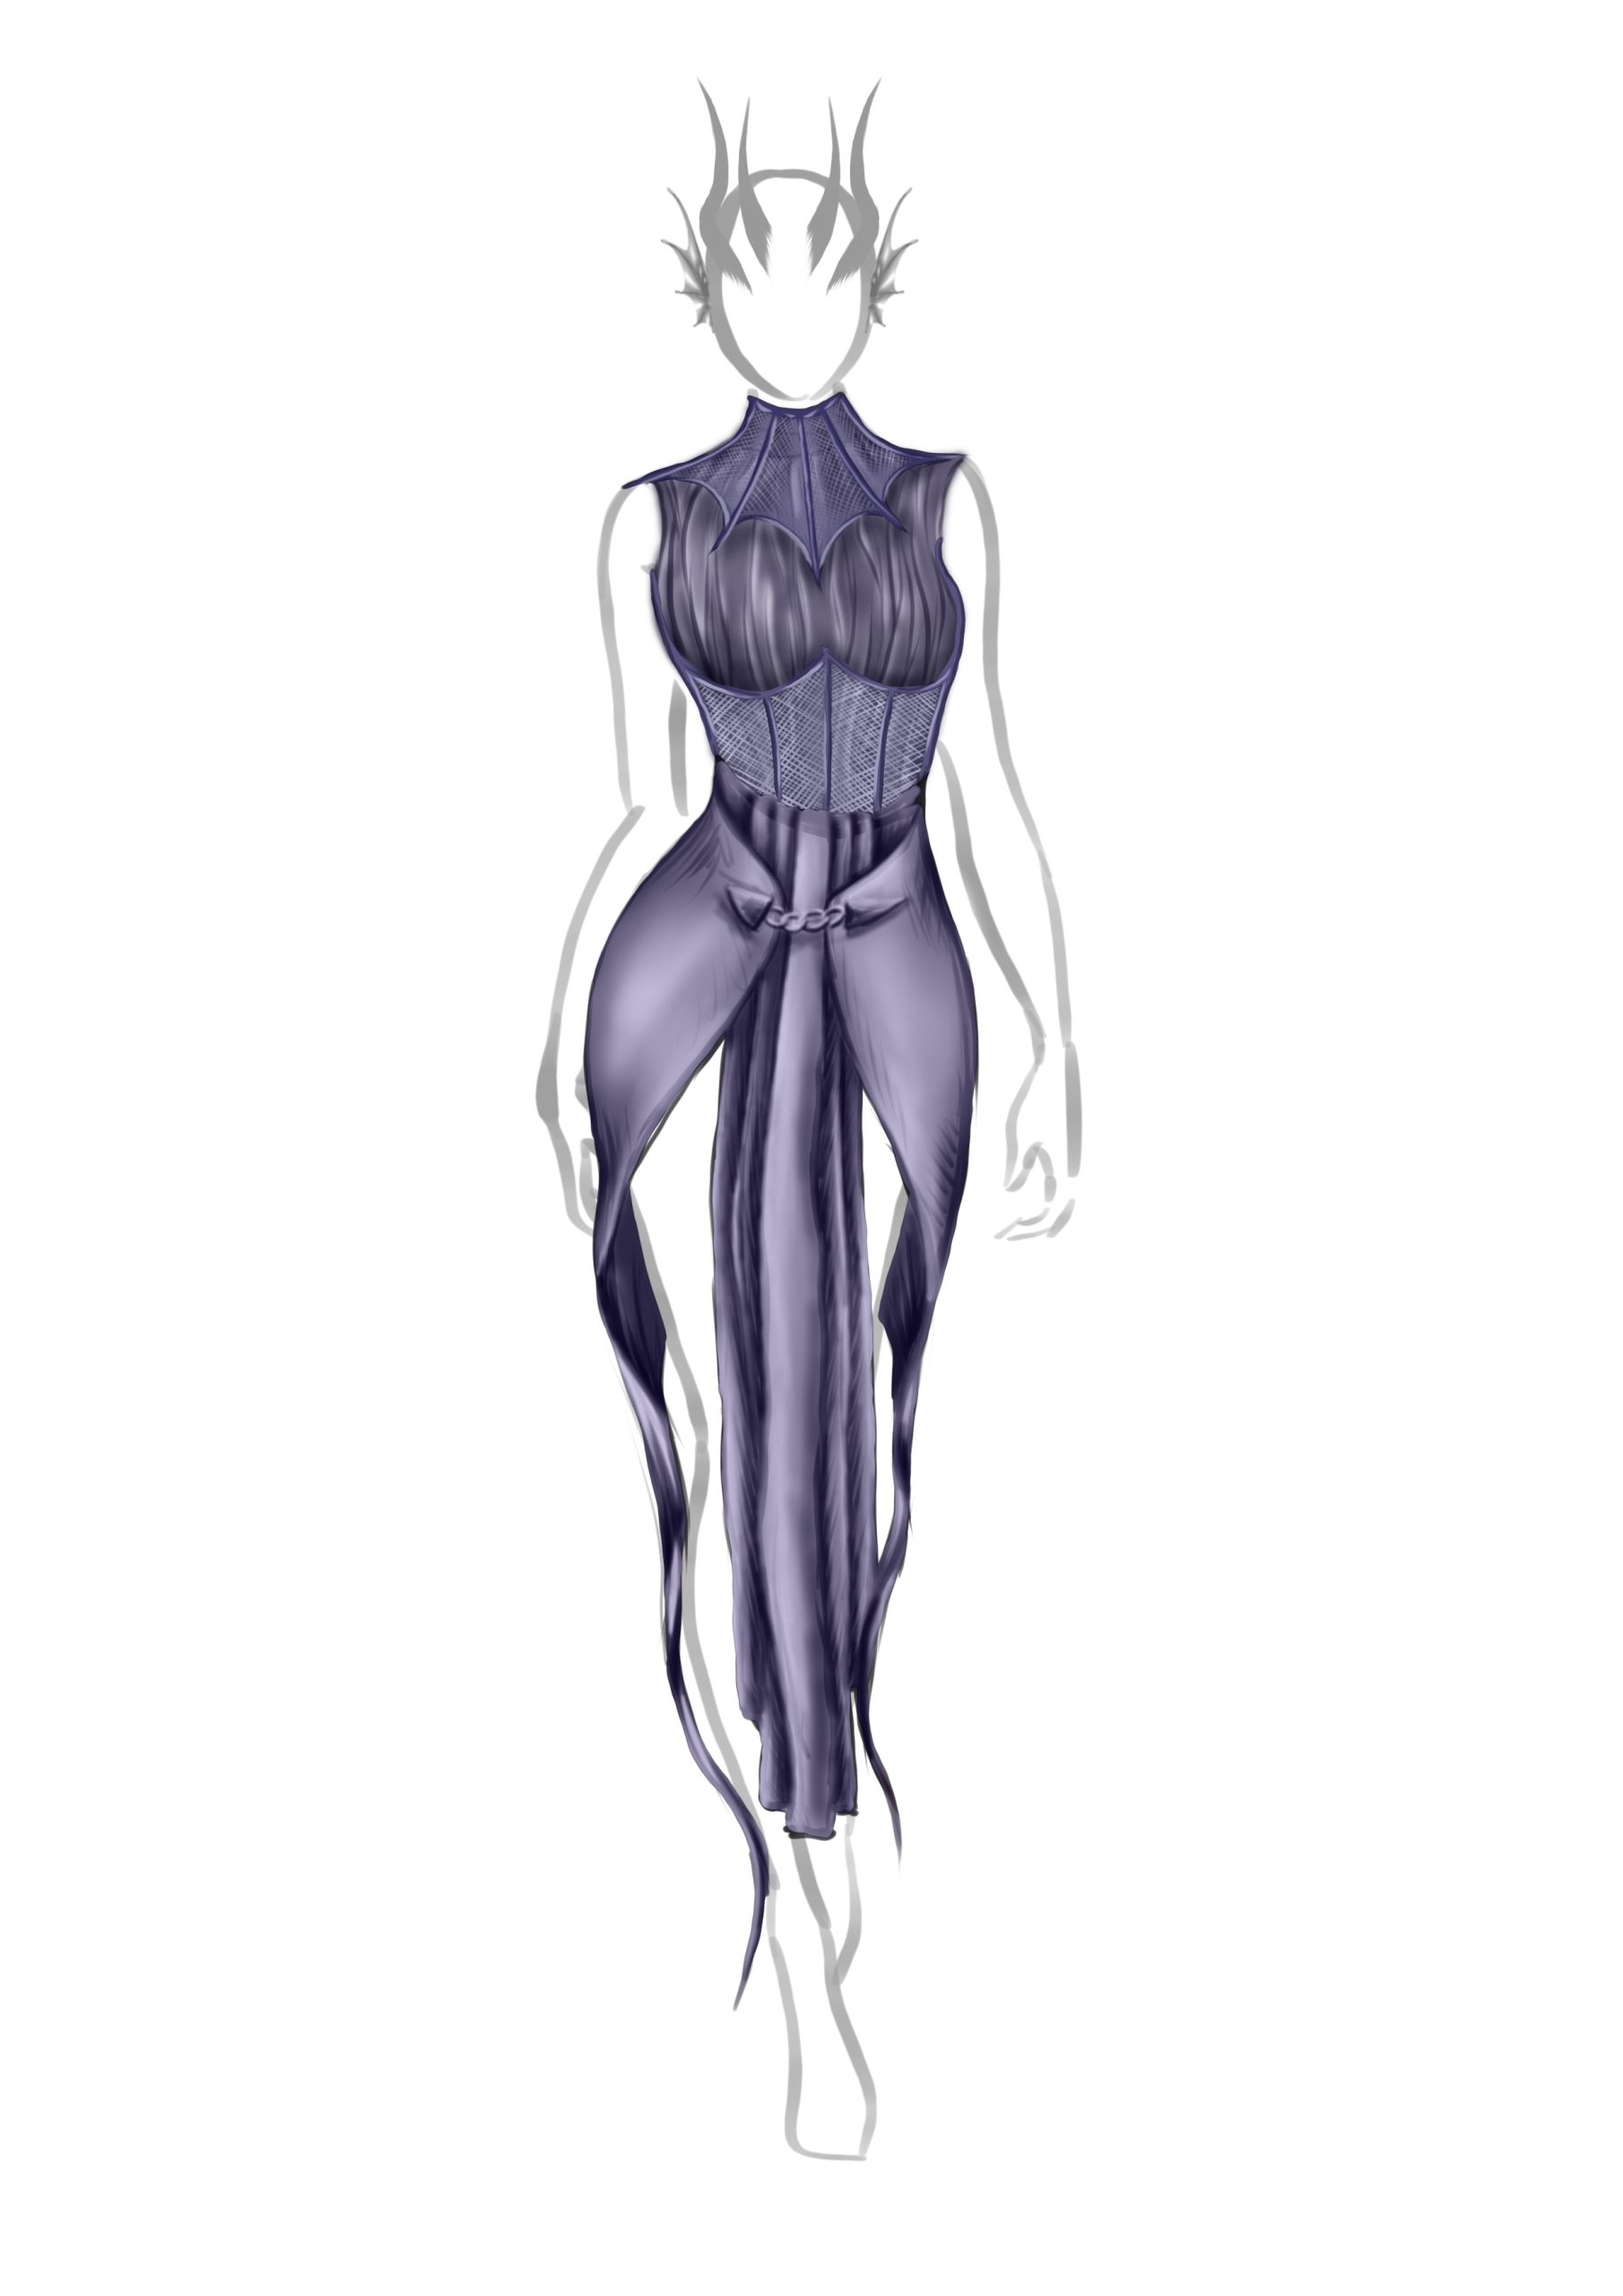
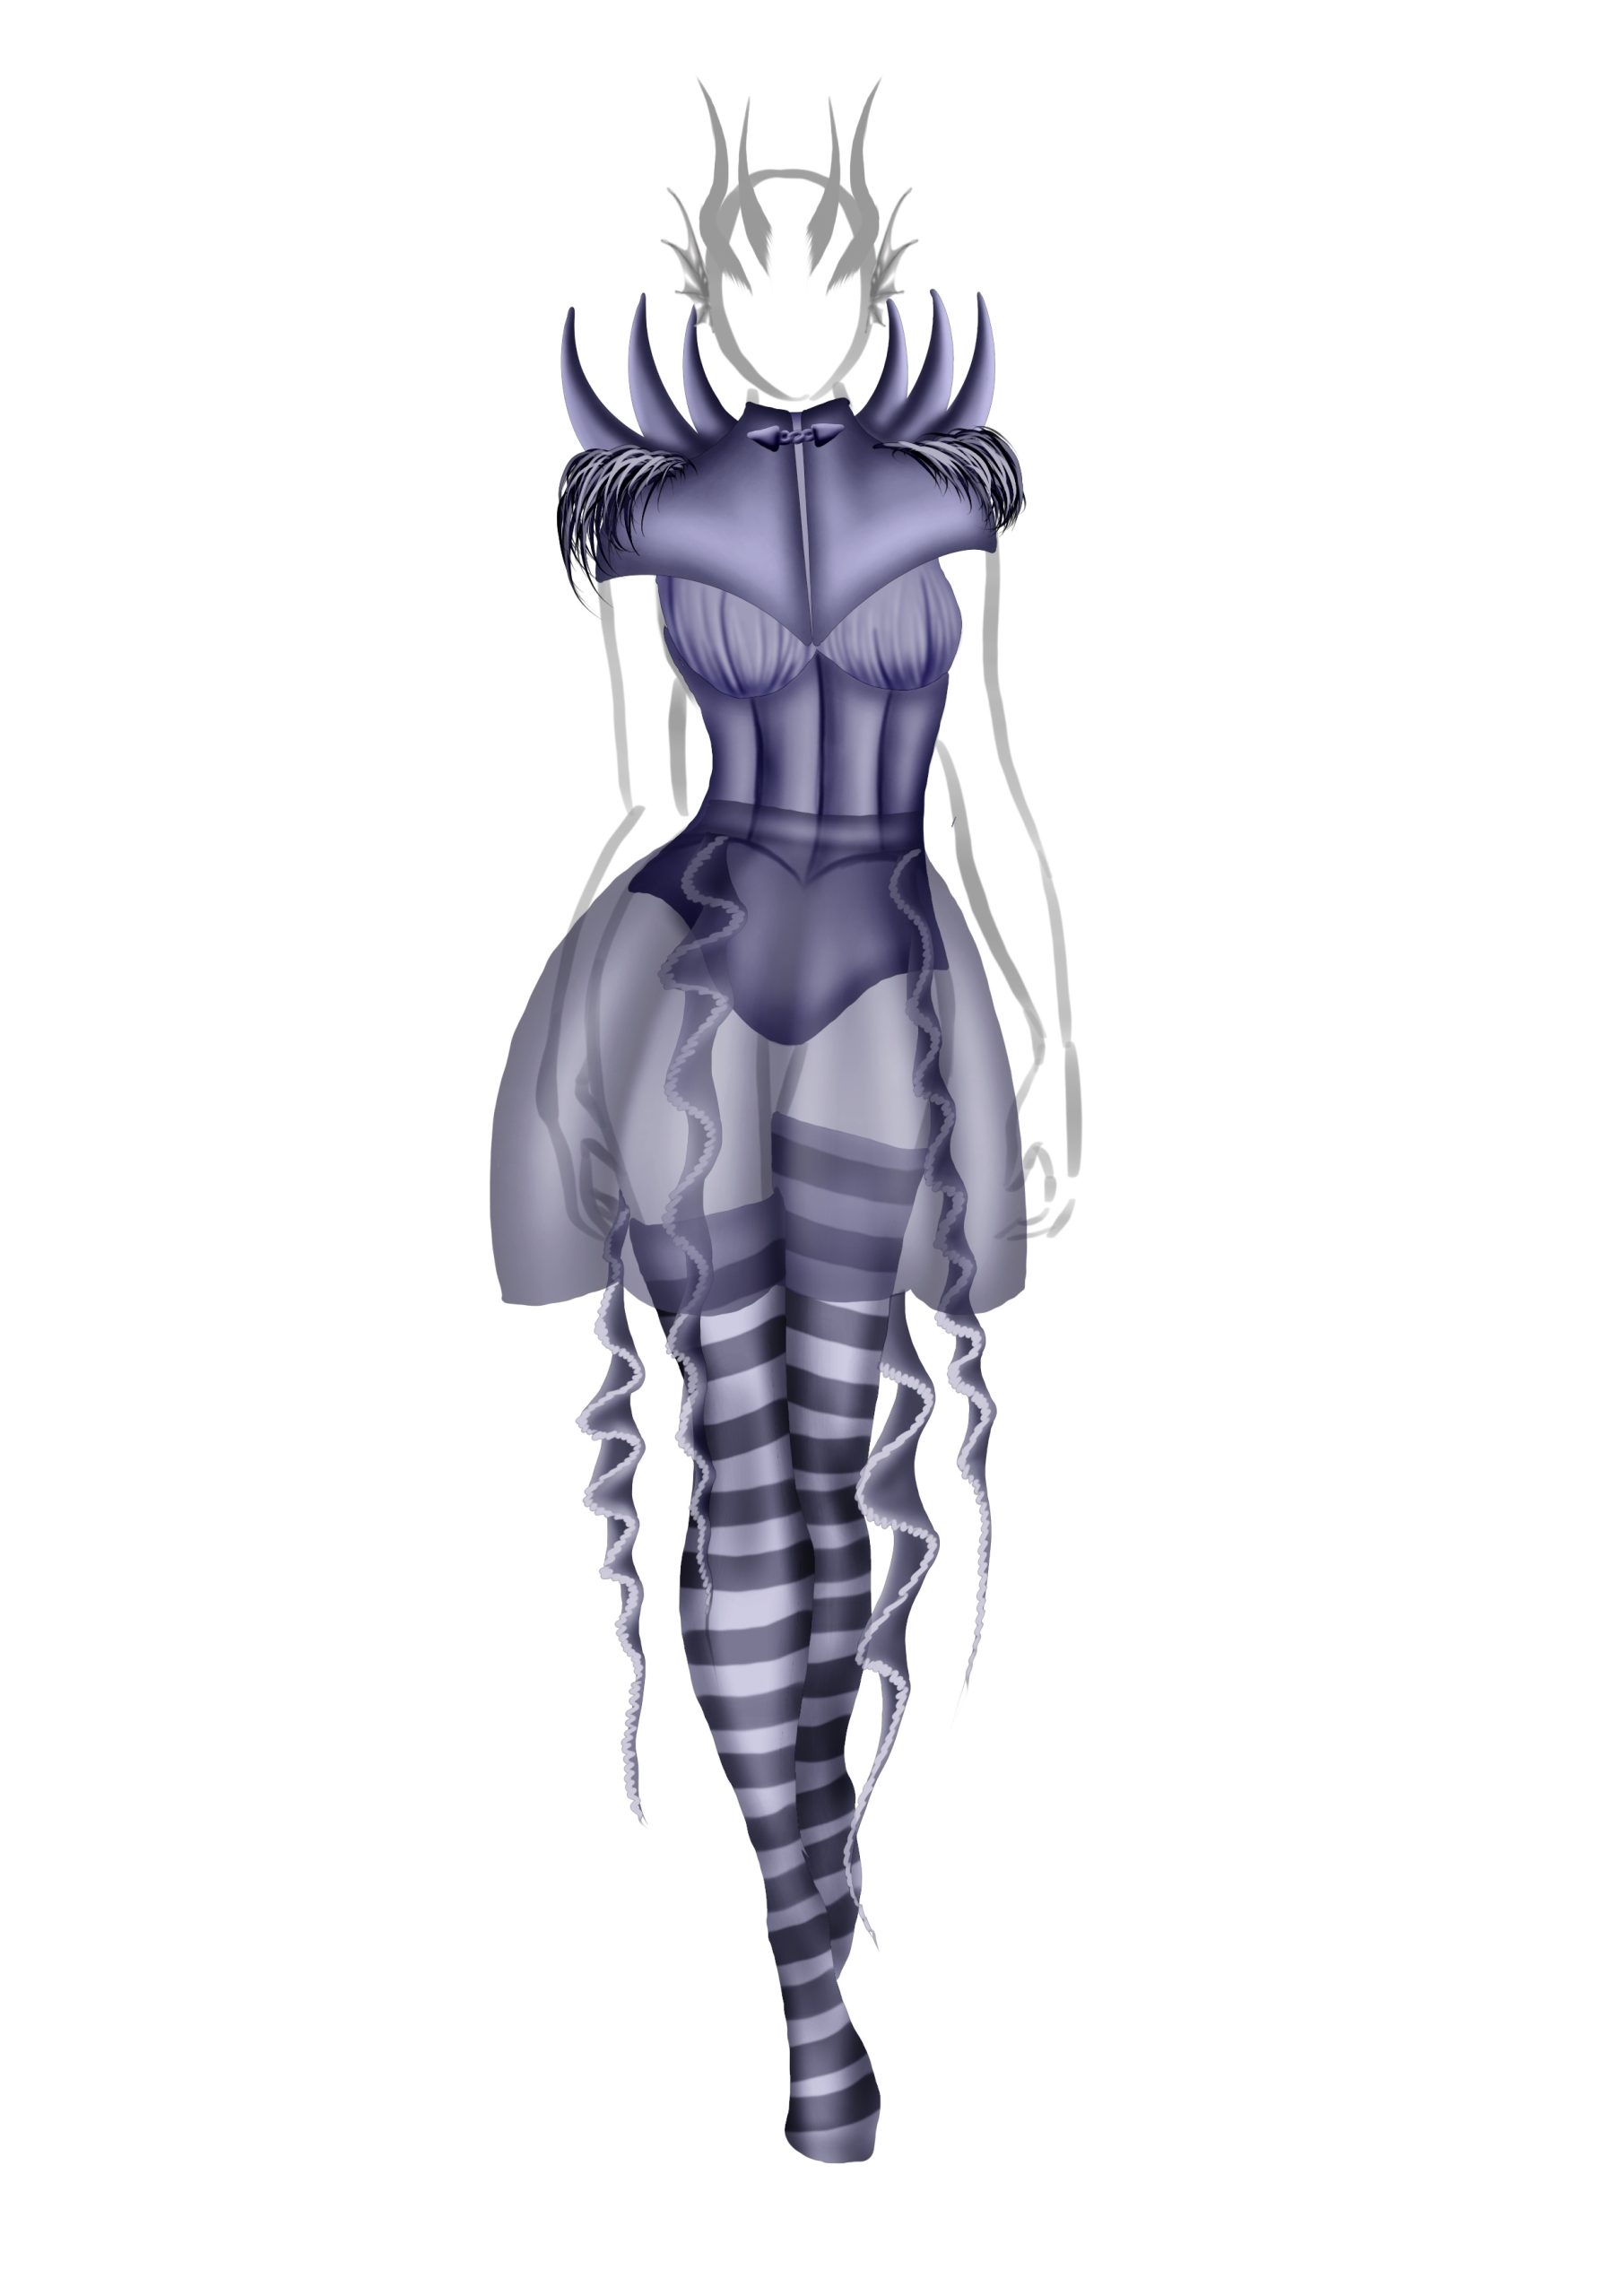
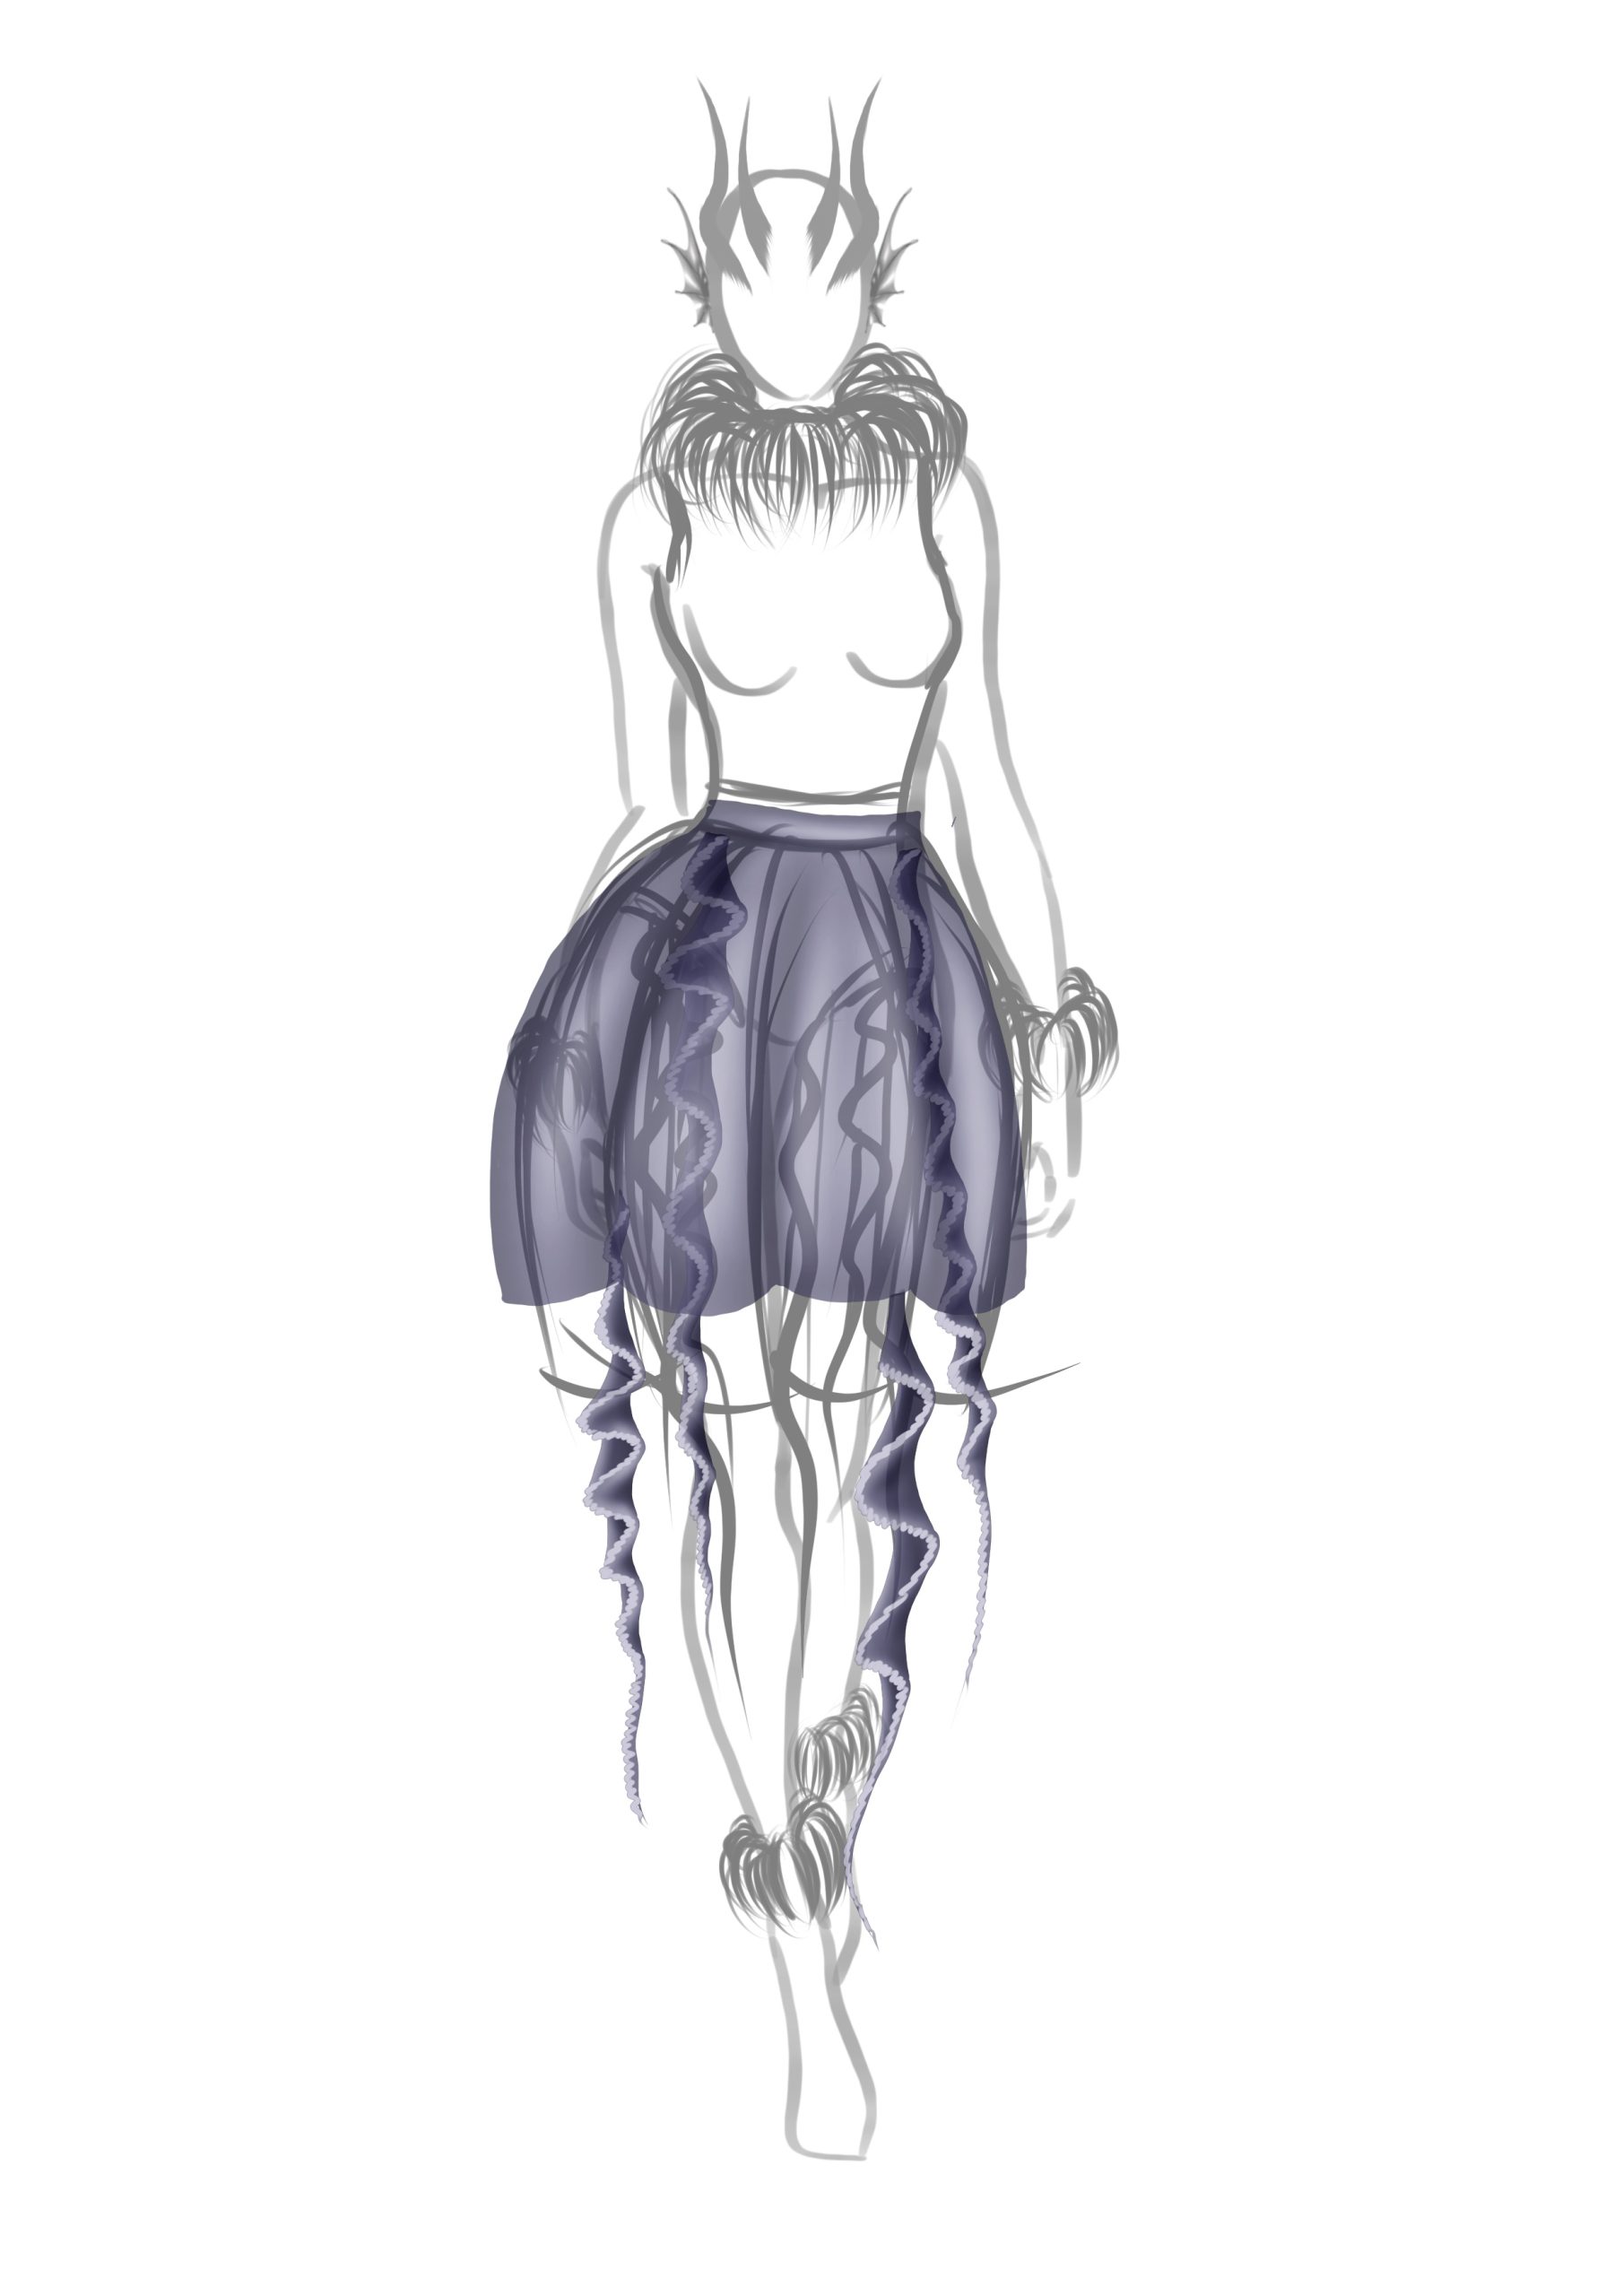
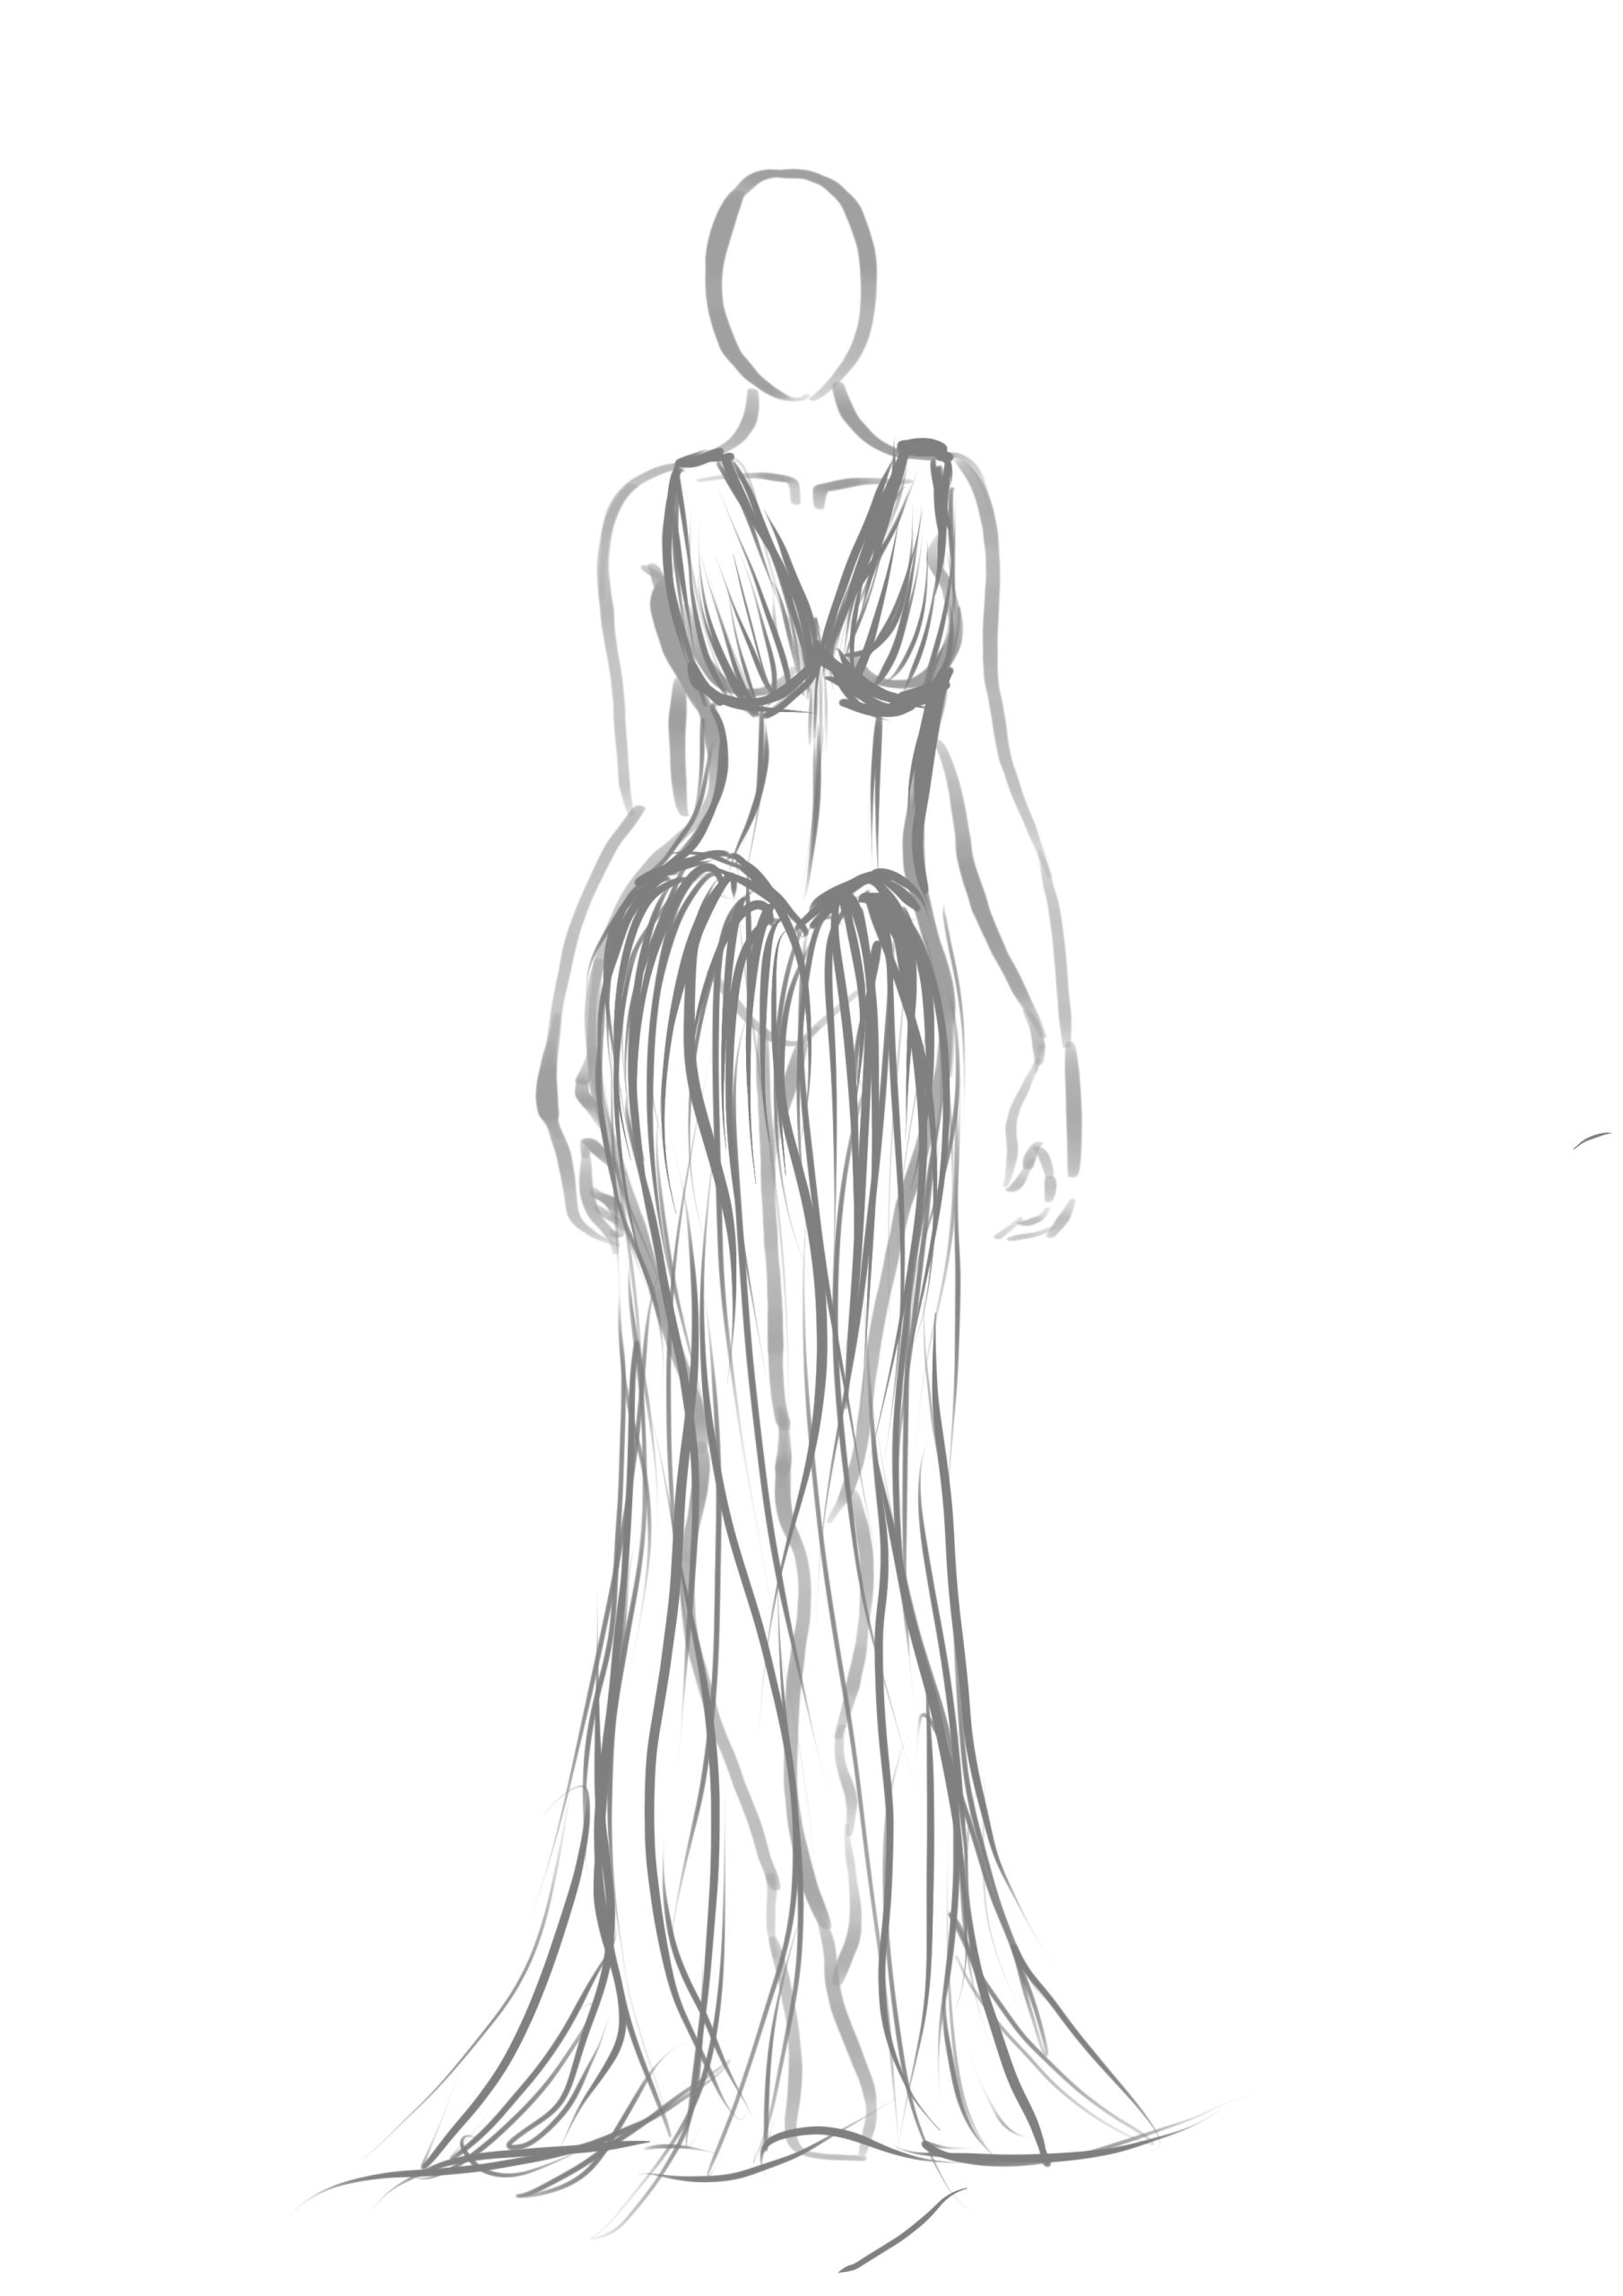

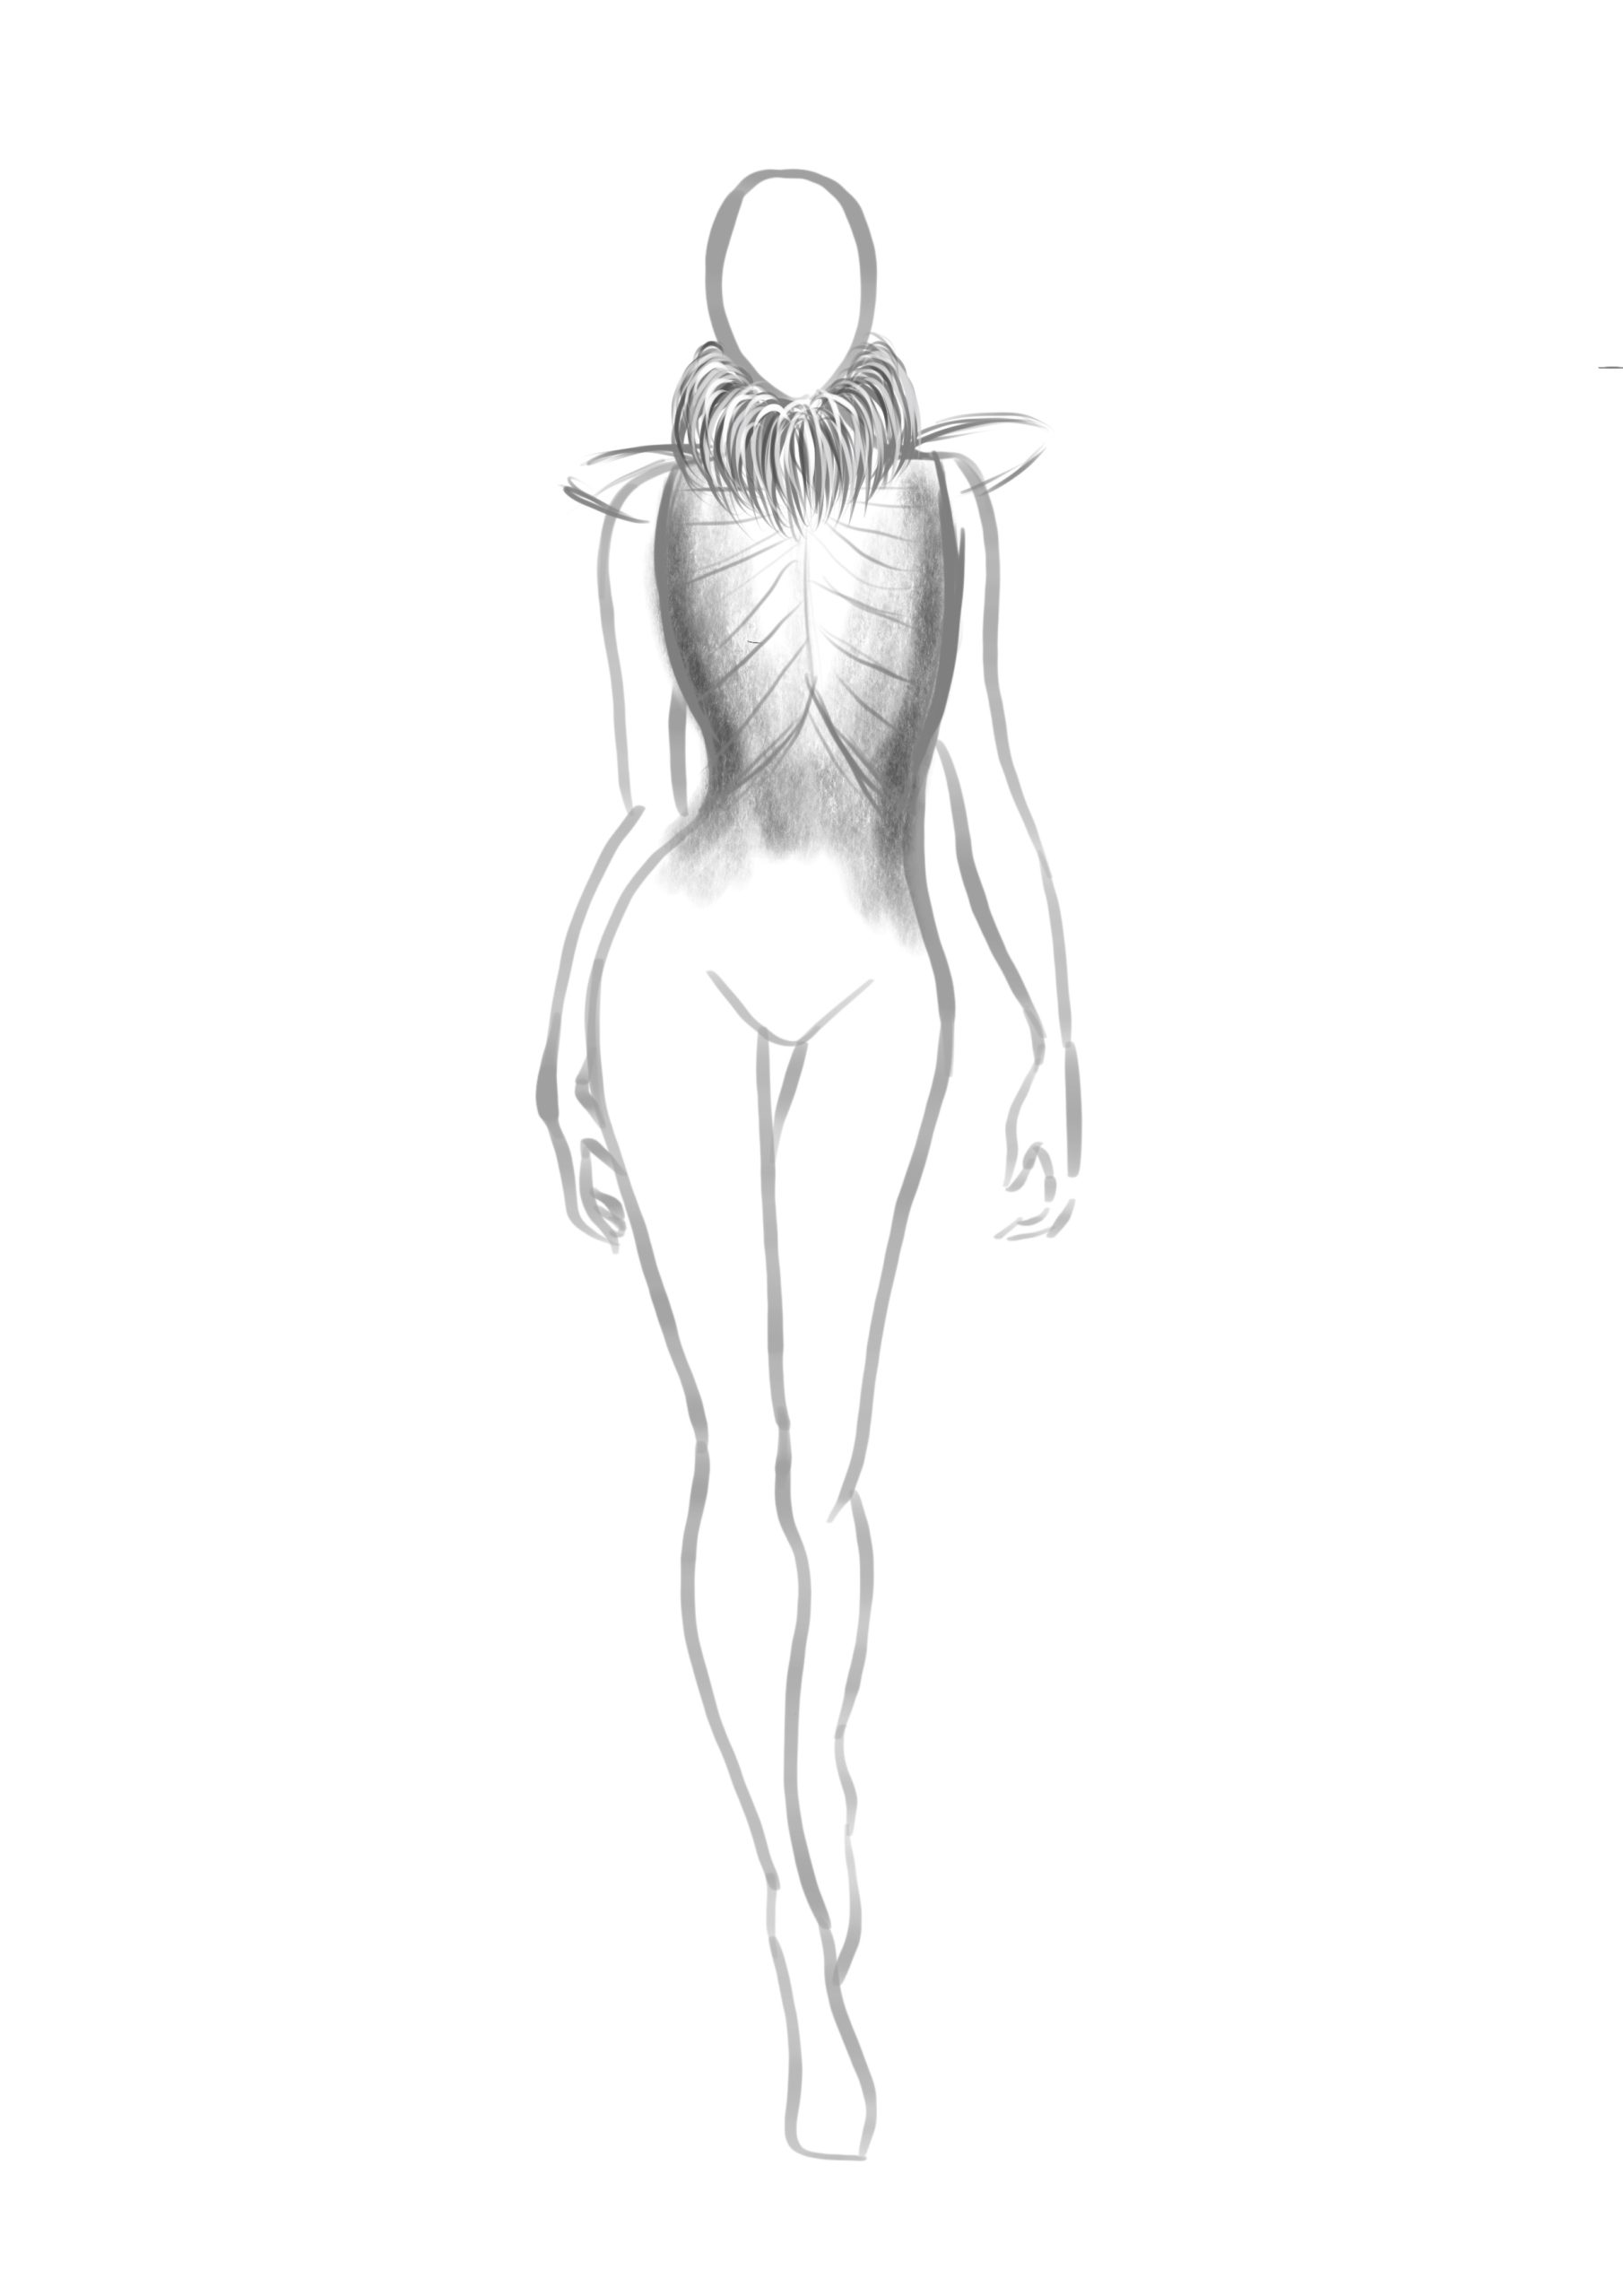
Costume design and idea development, as well as some other rough sketches of possible ideas before we chose.
Style frame – a quick collage visualising the idea.

Costume Work
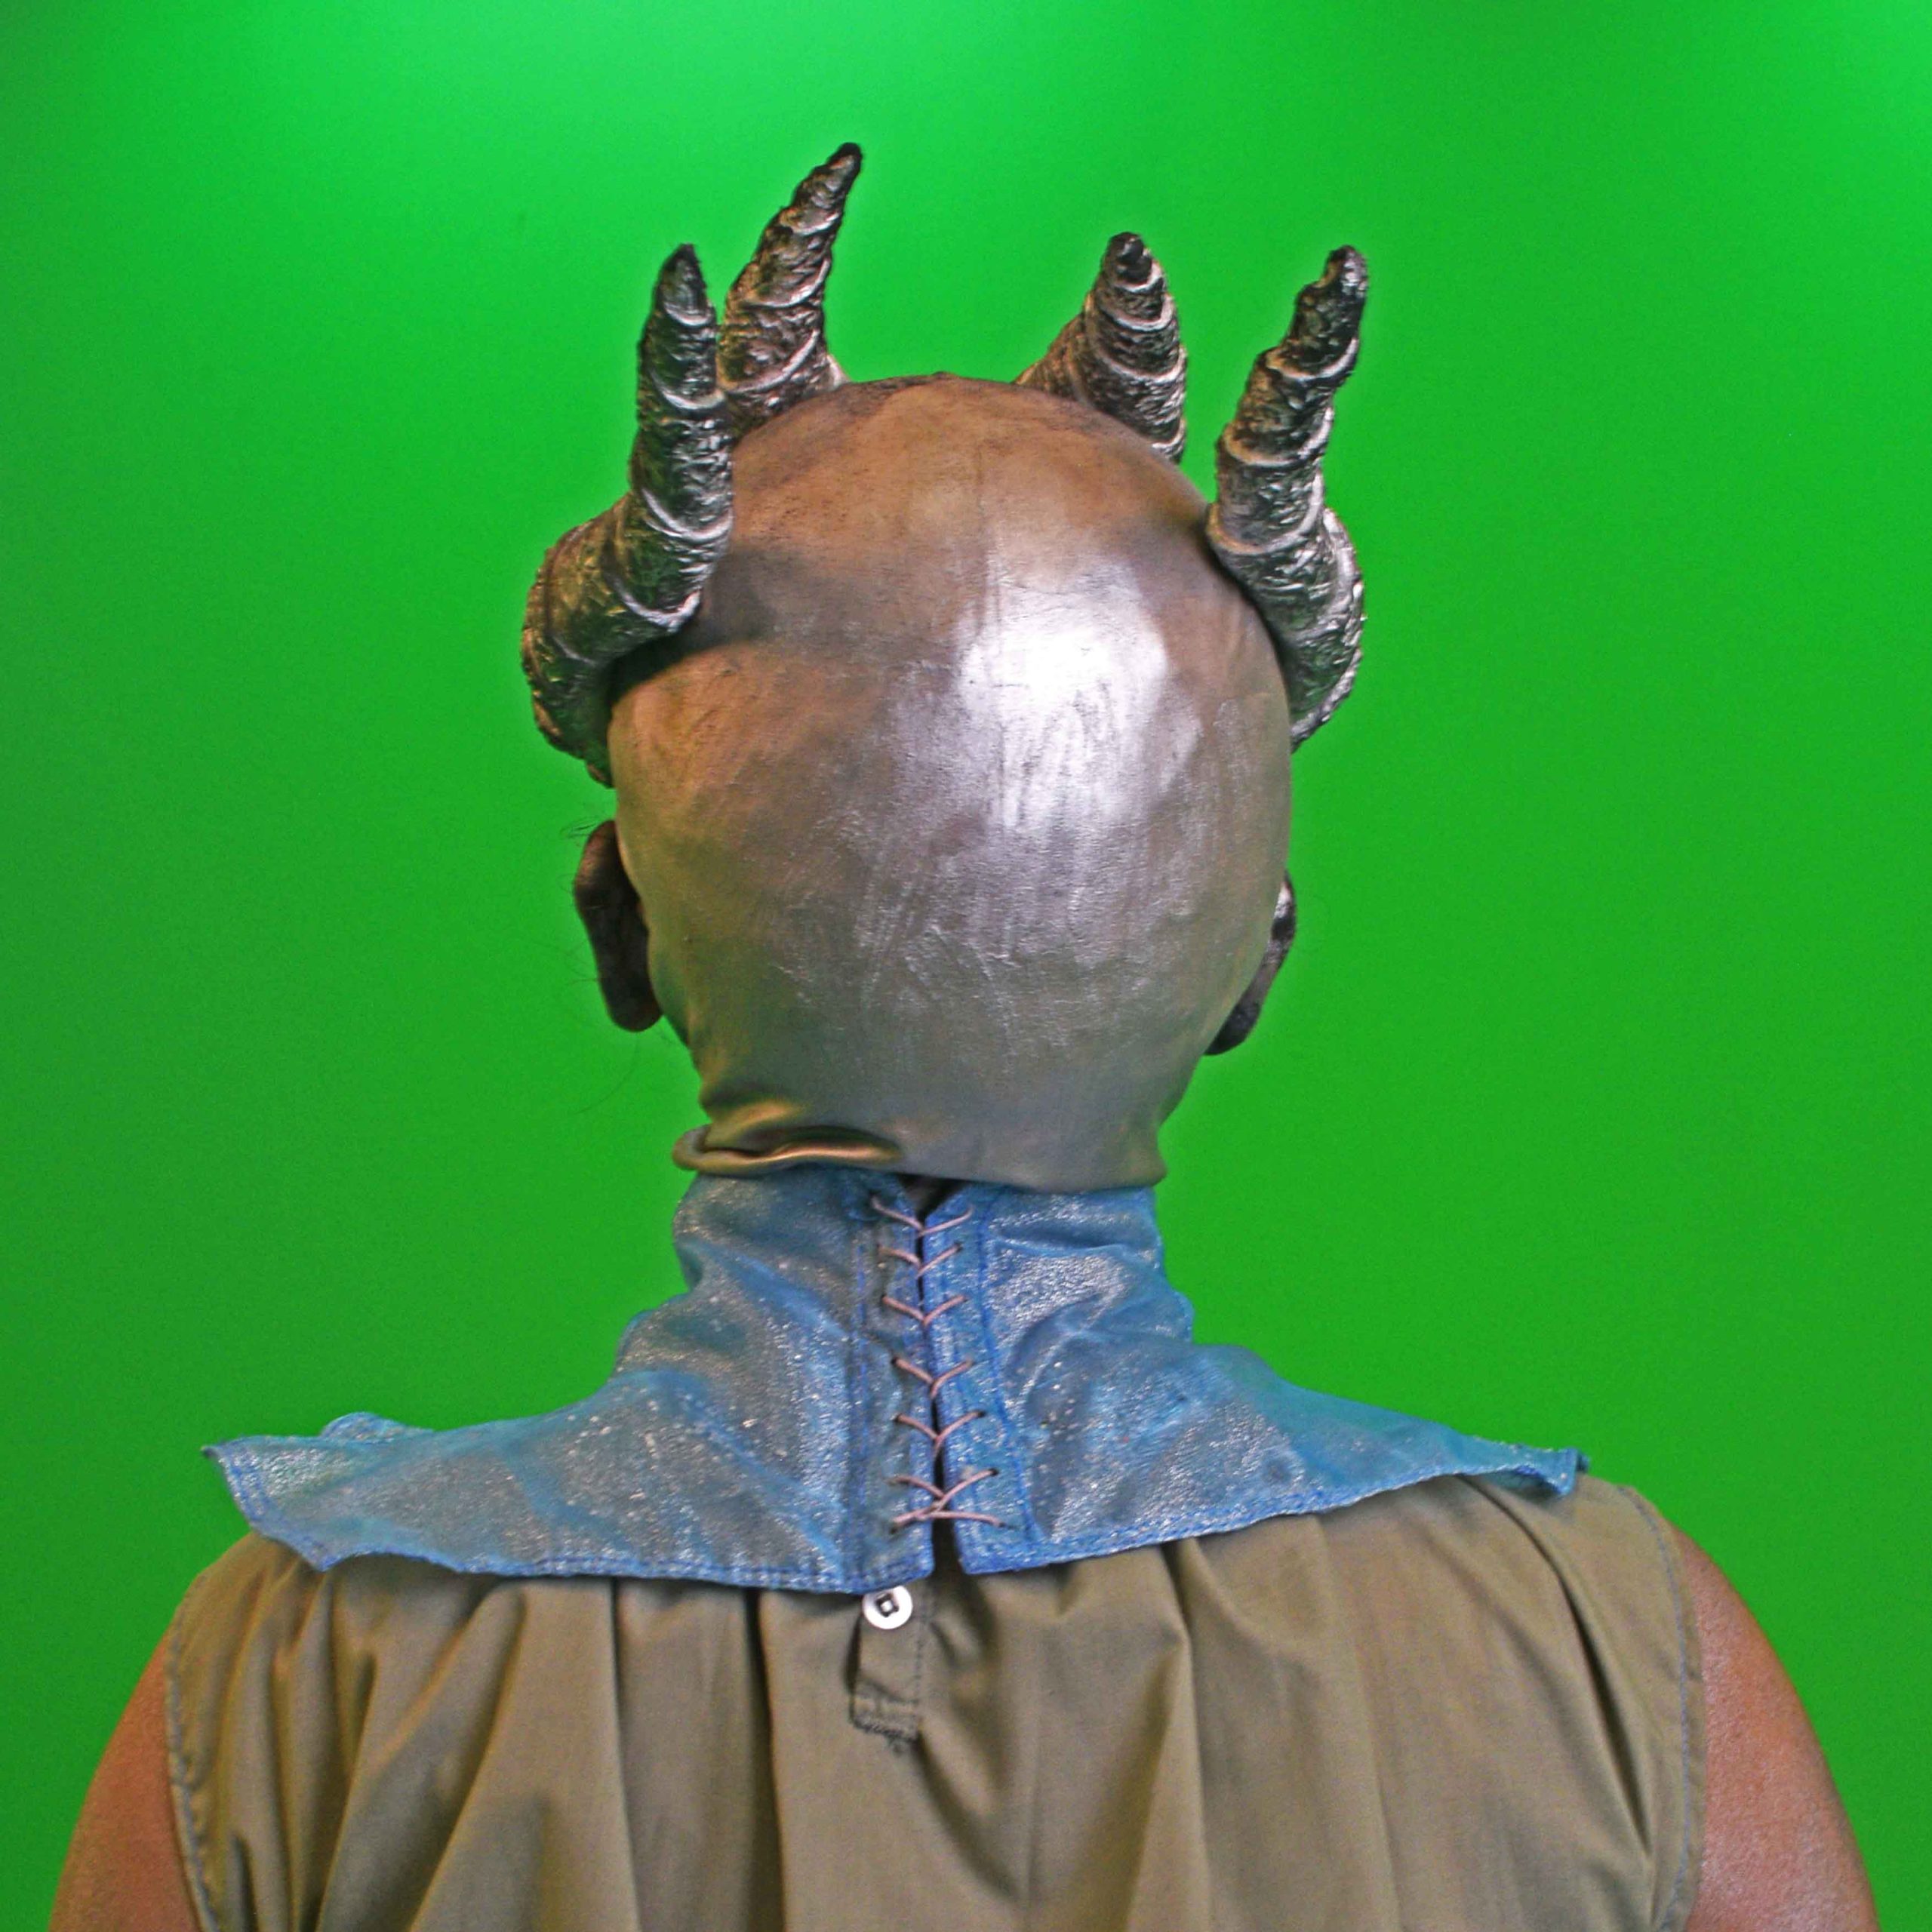
Costume
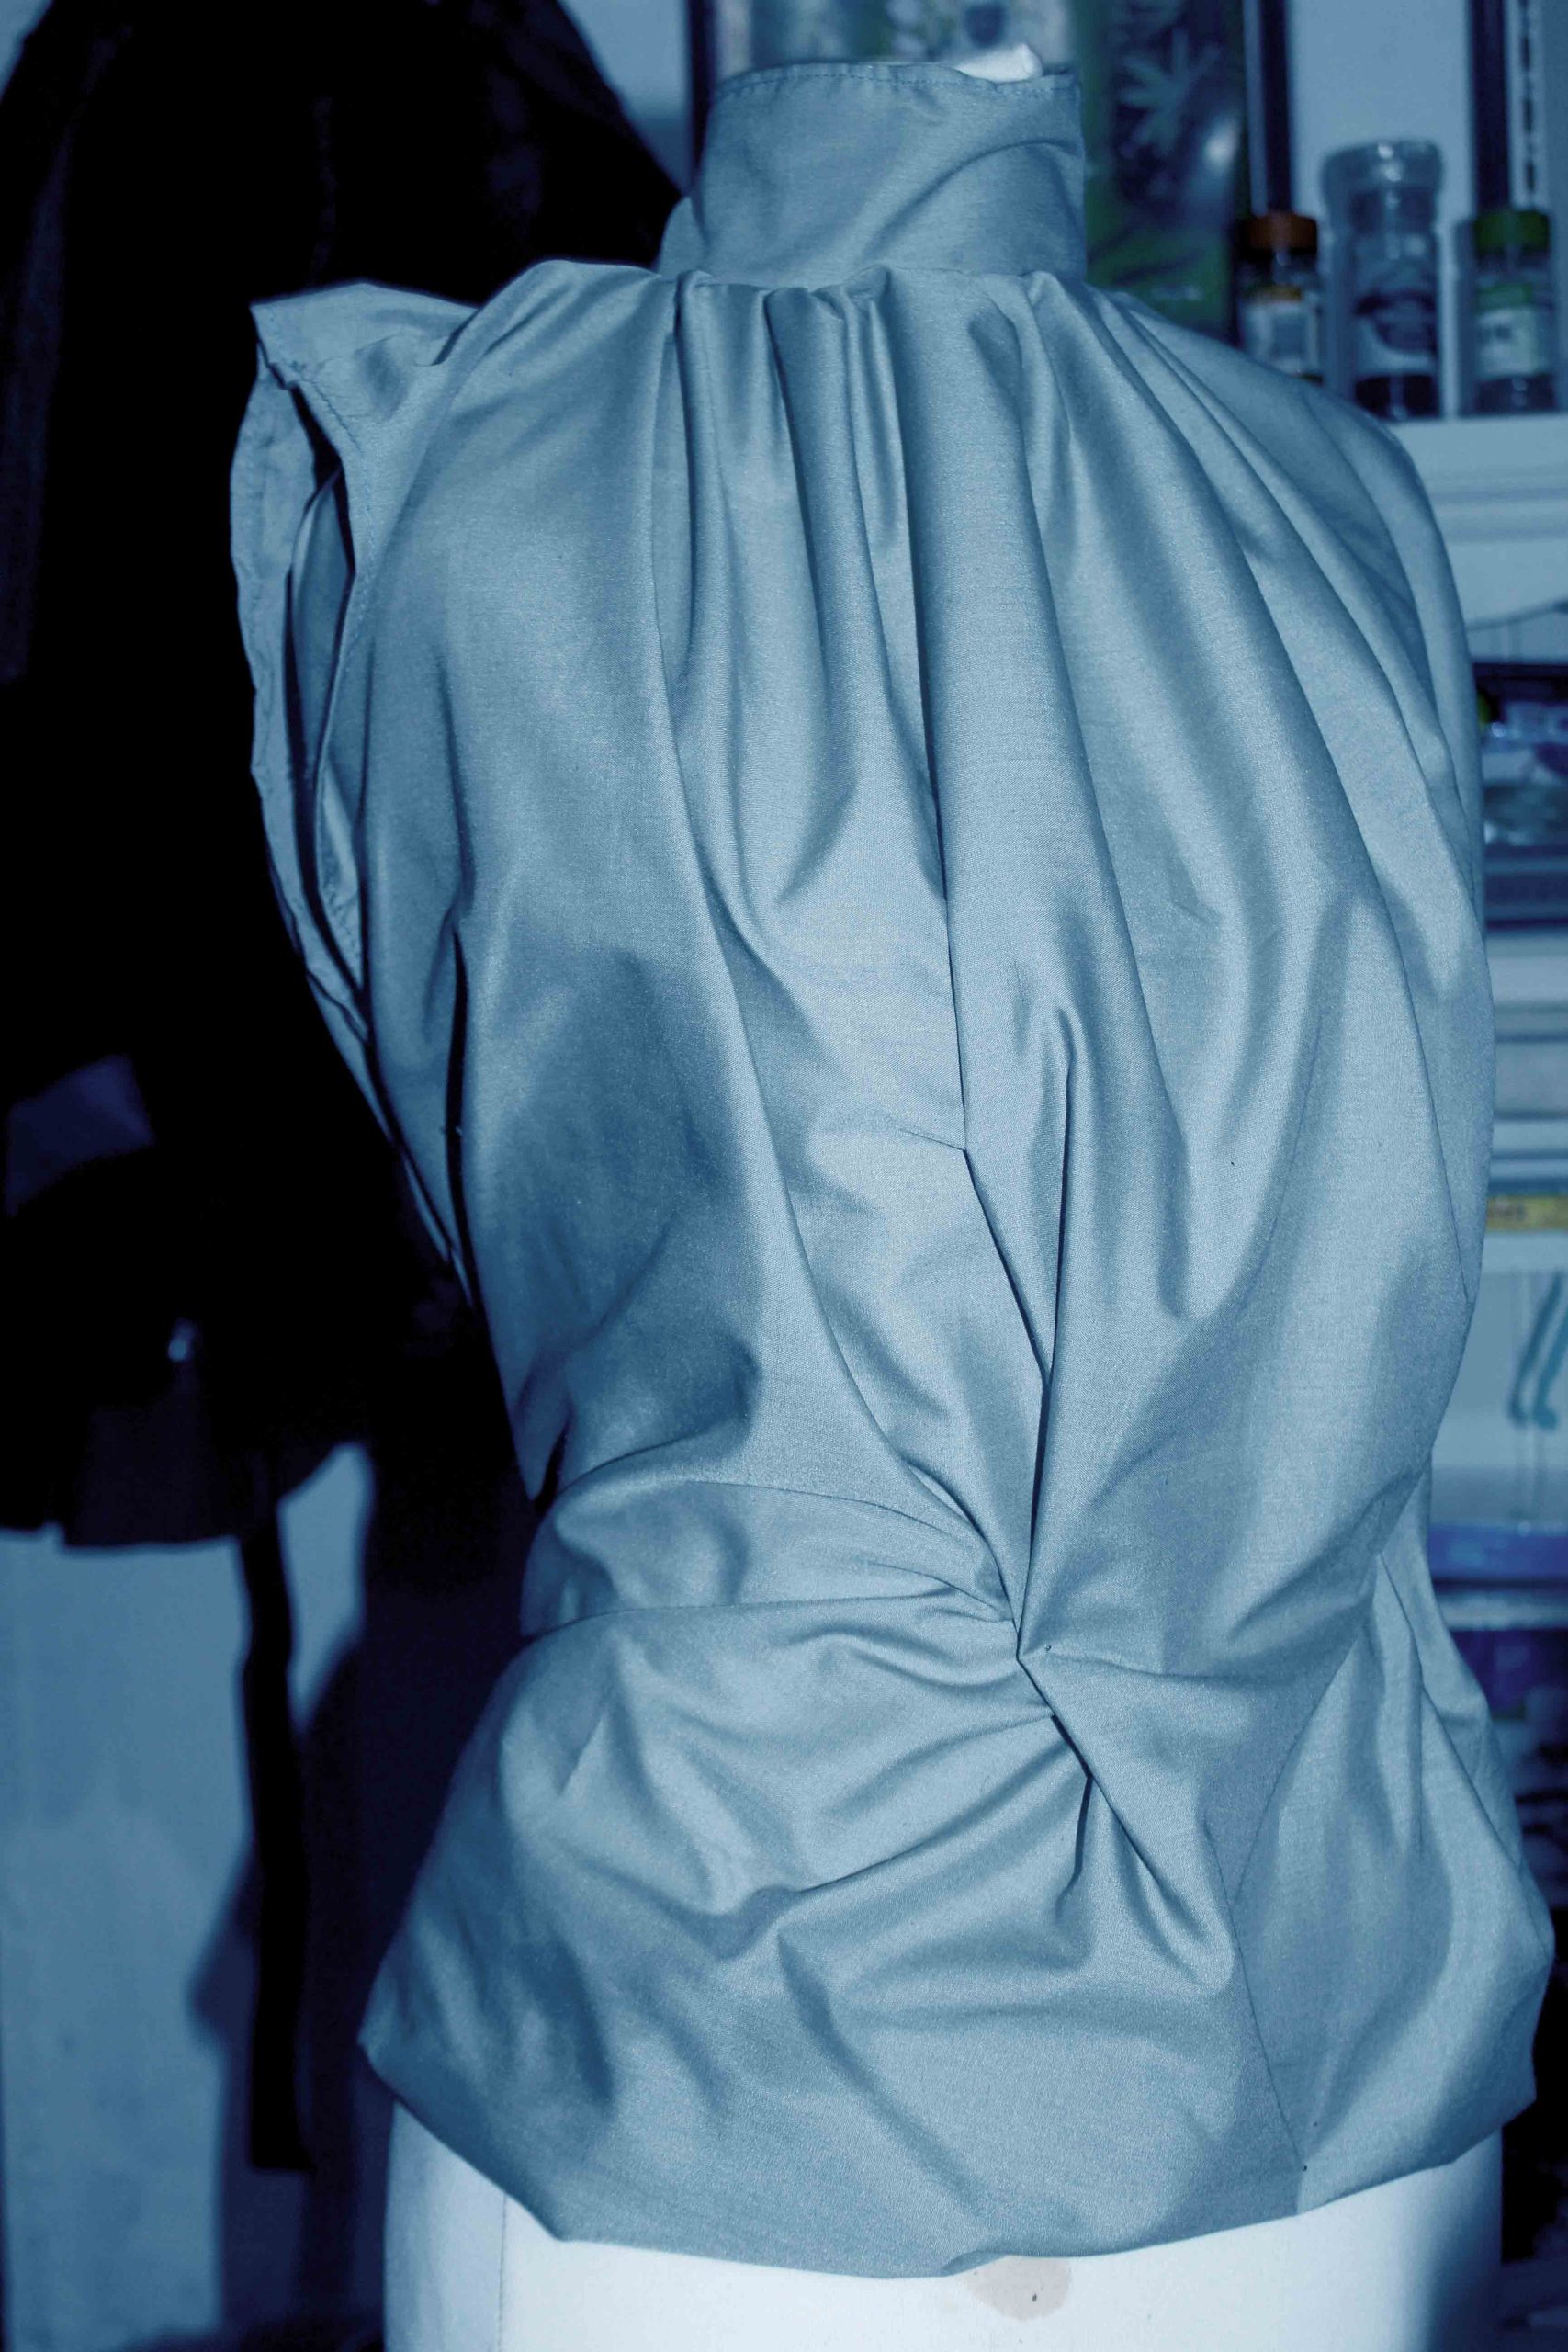

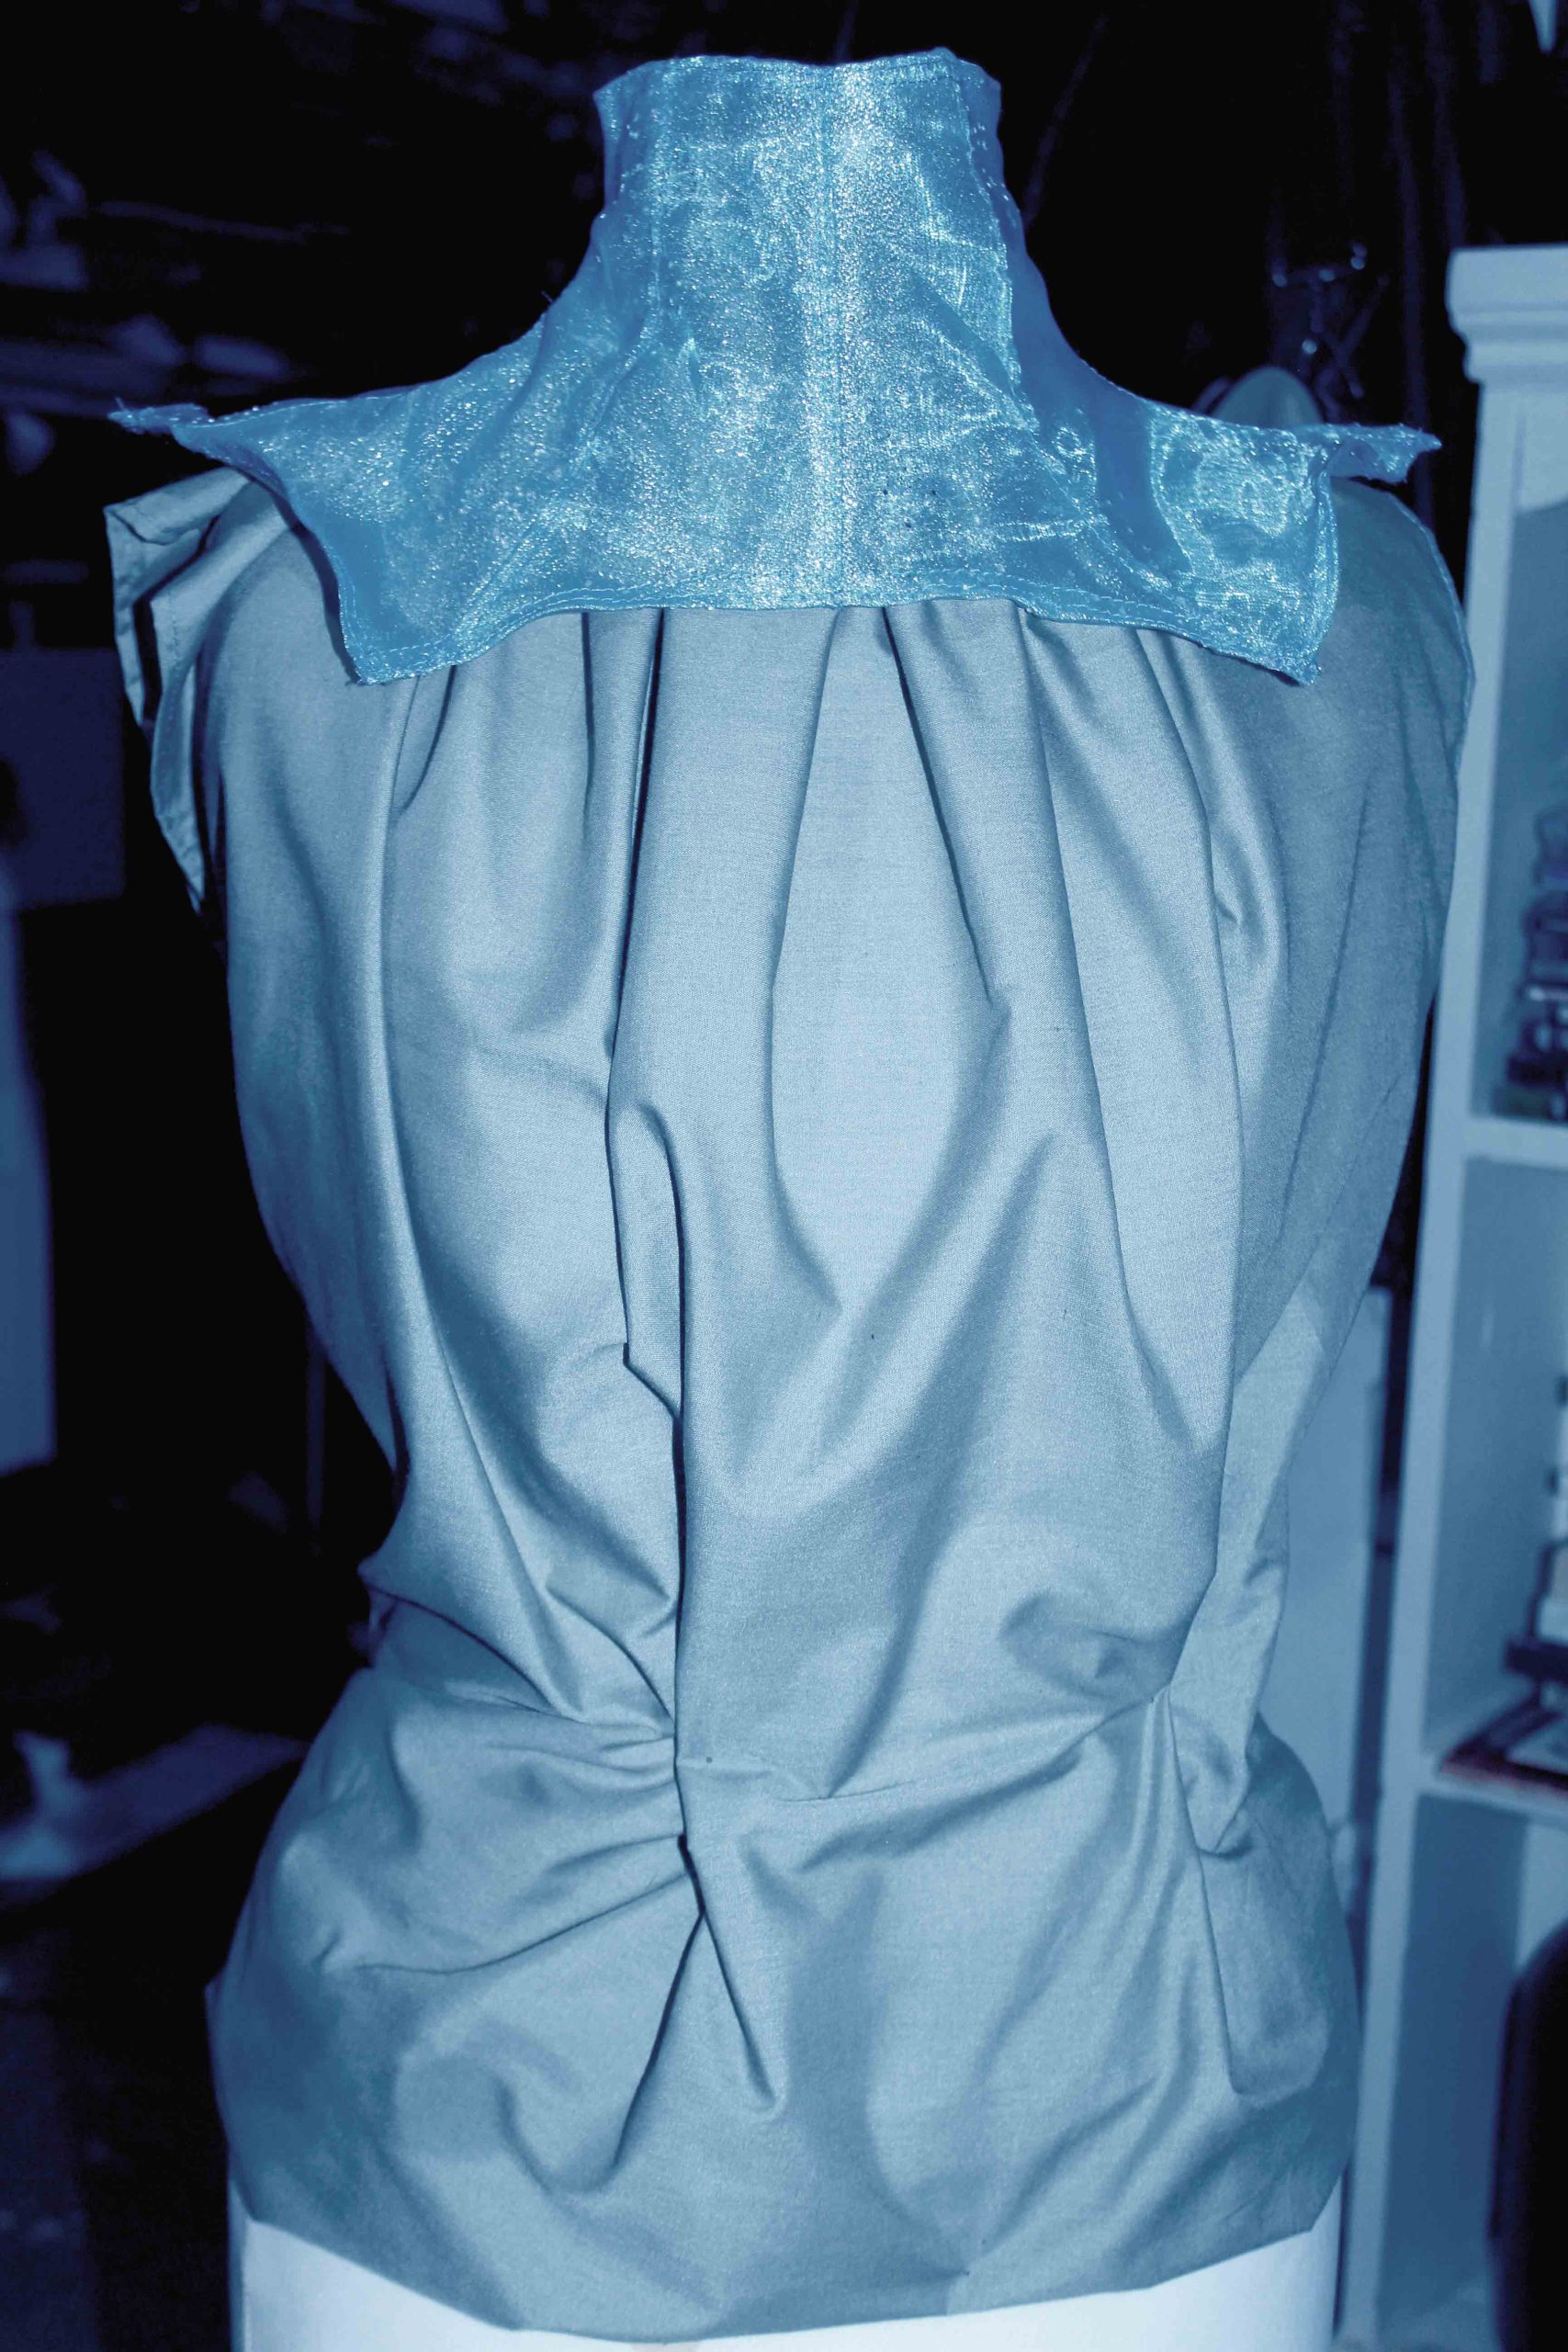
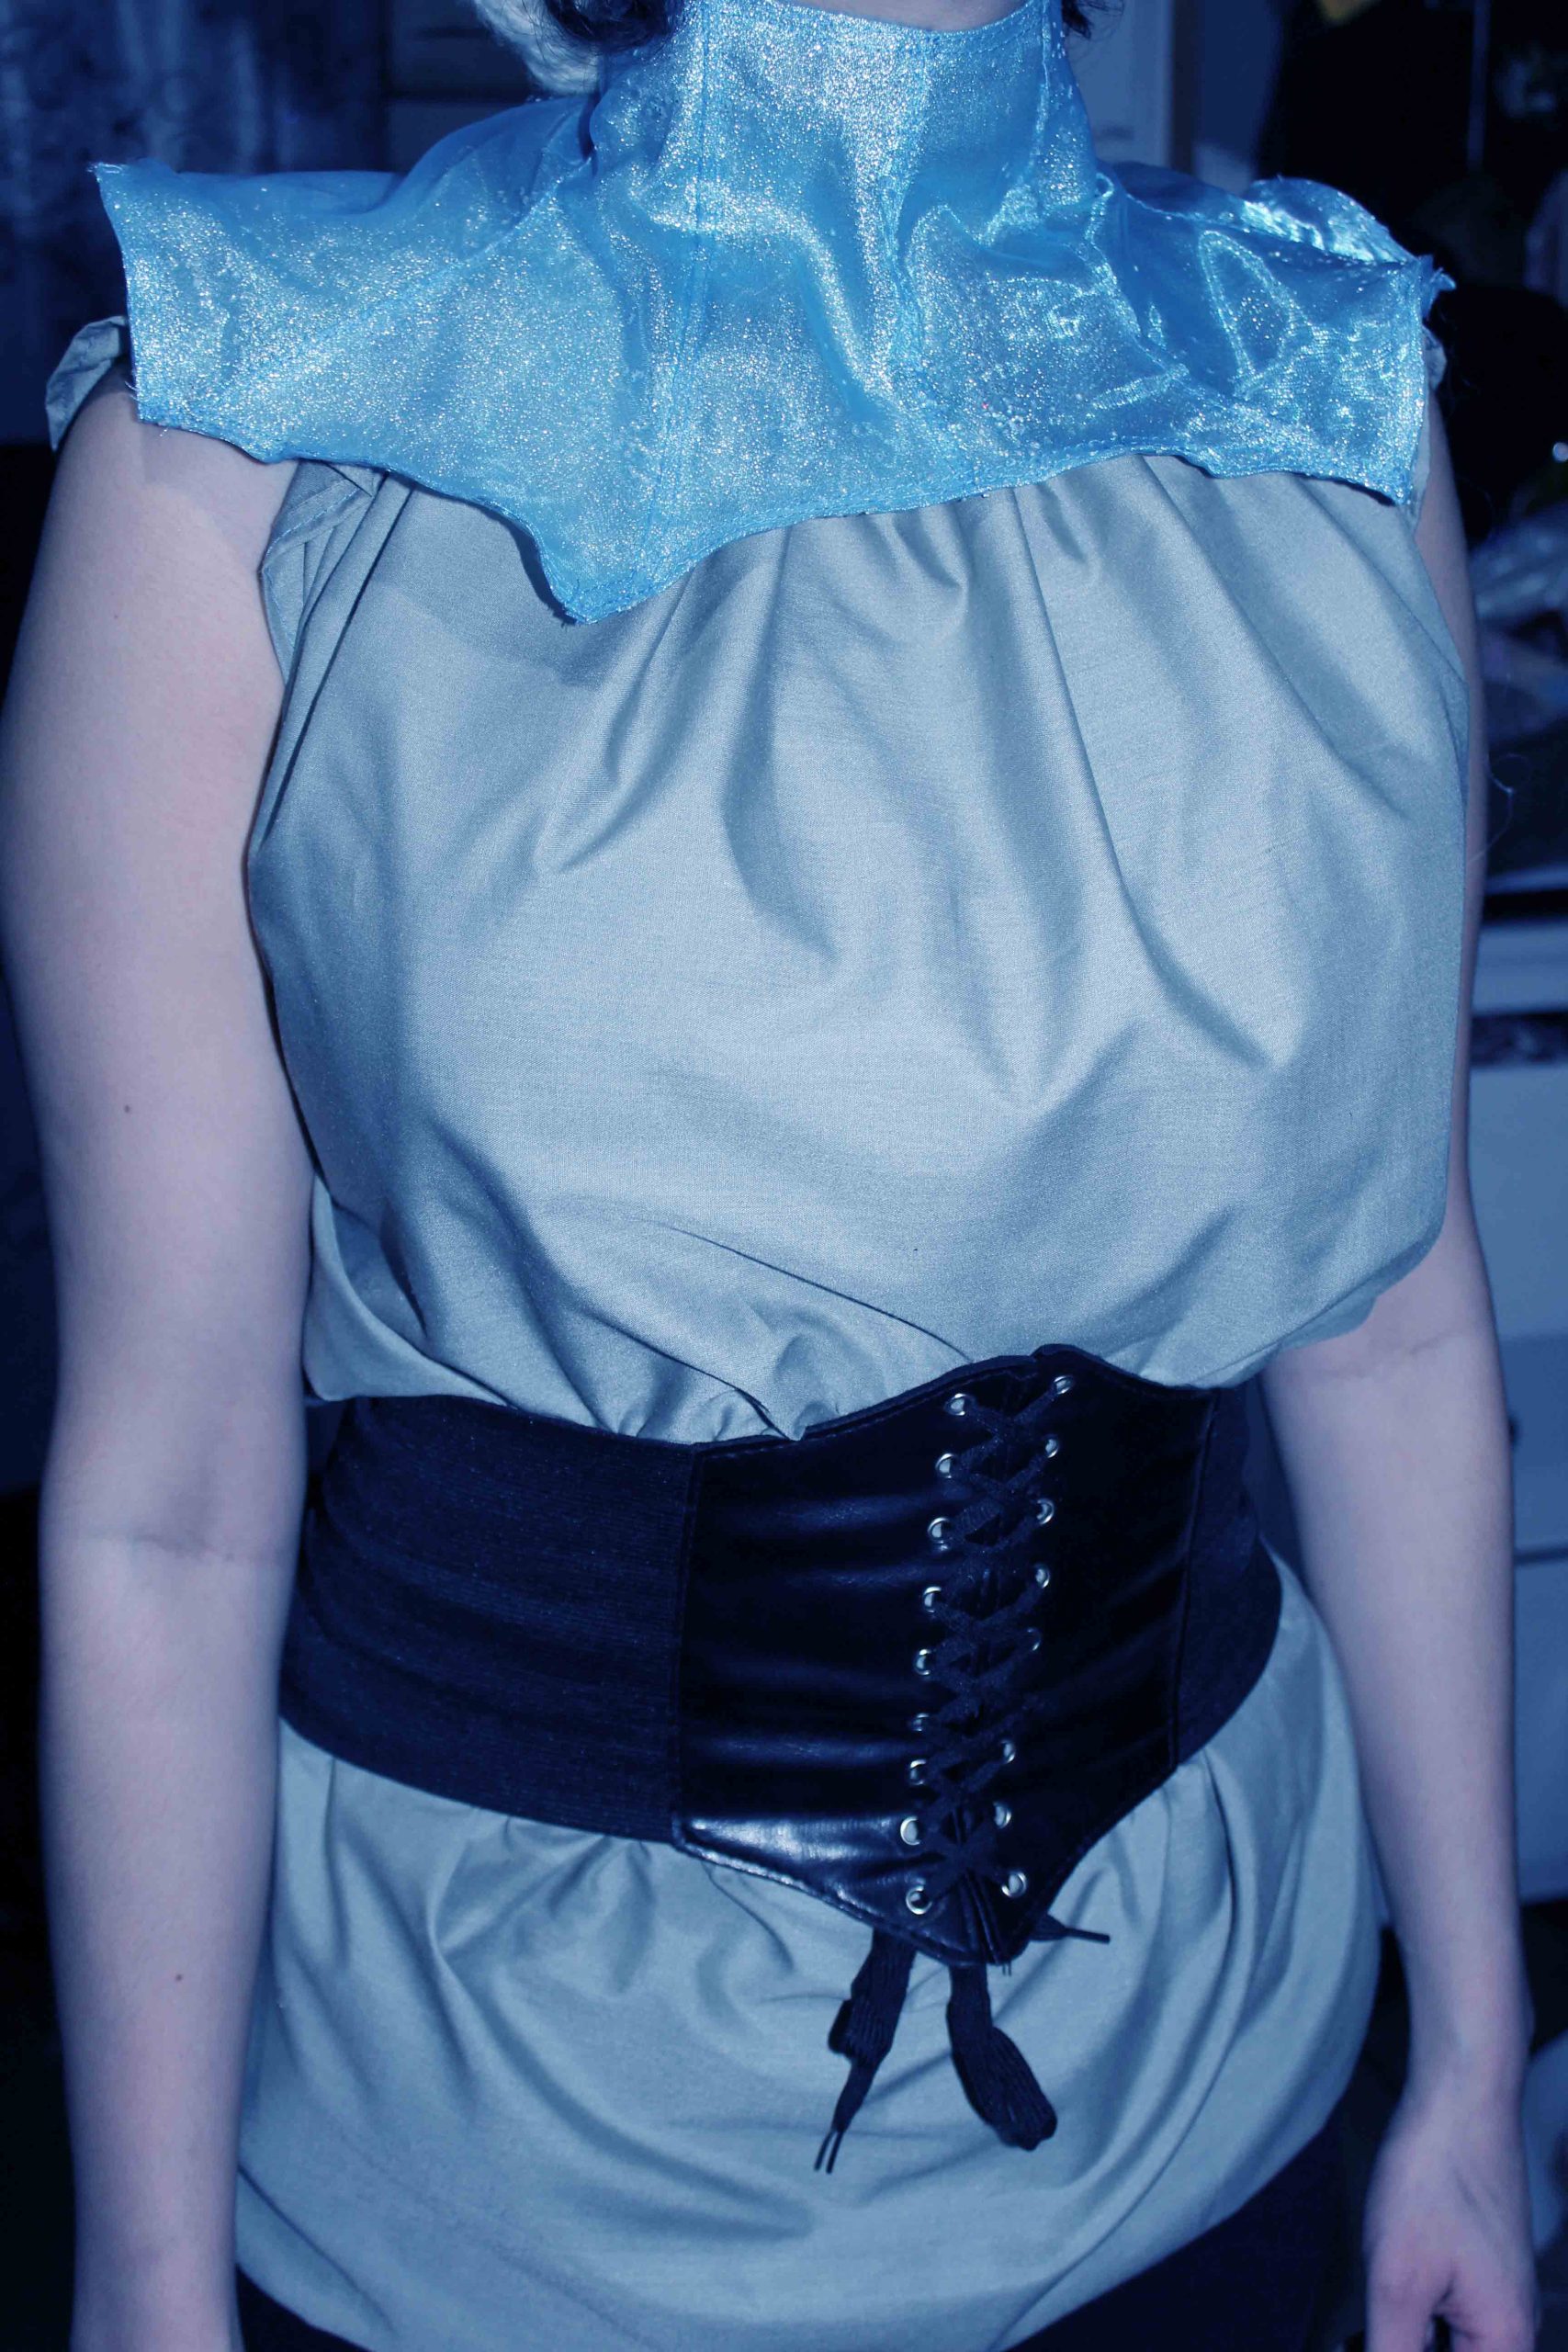
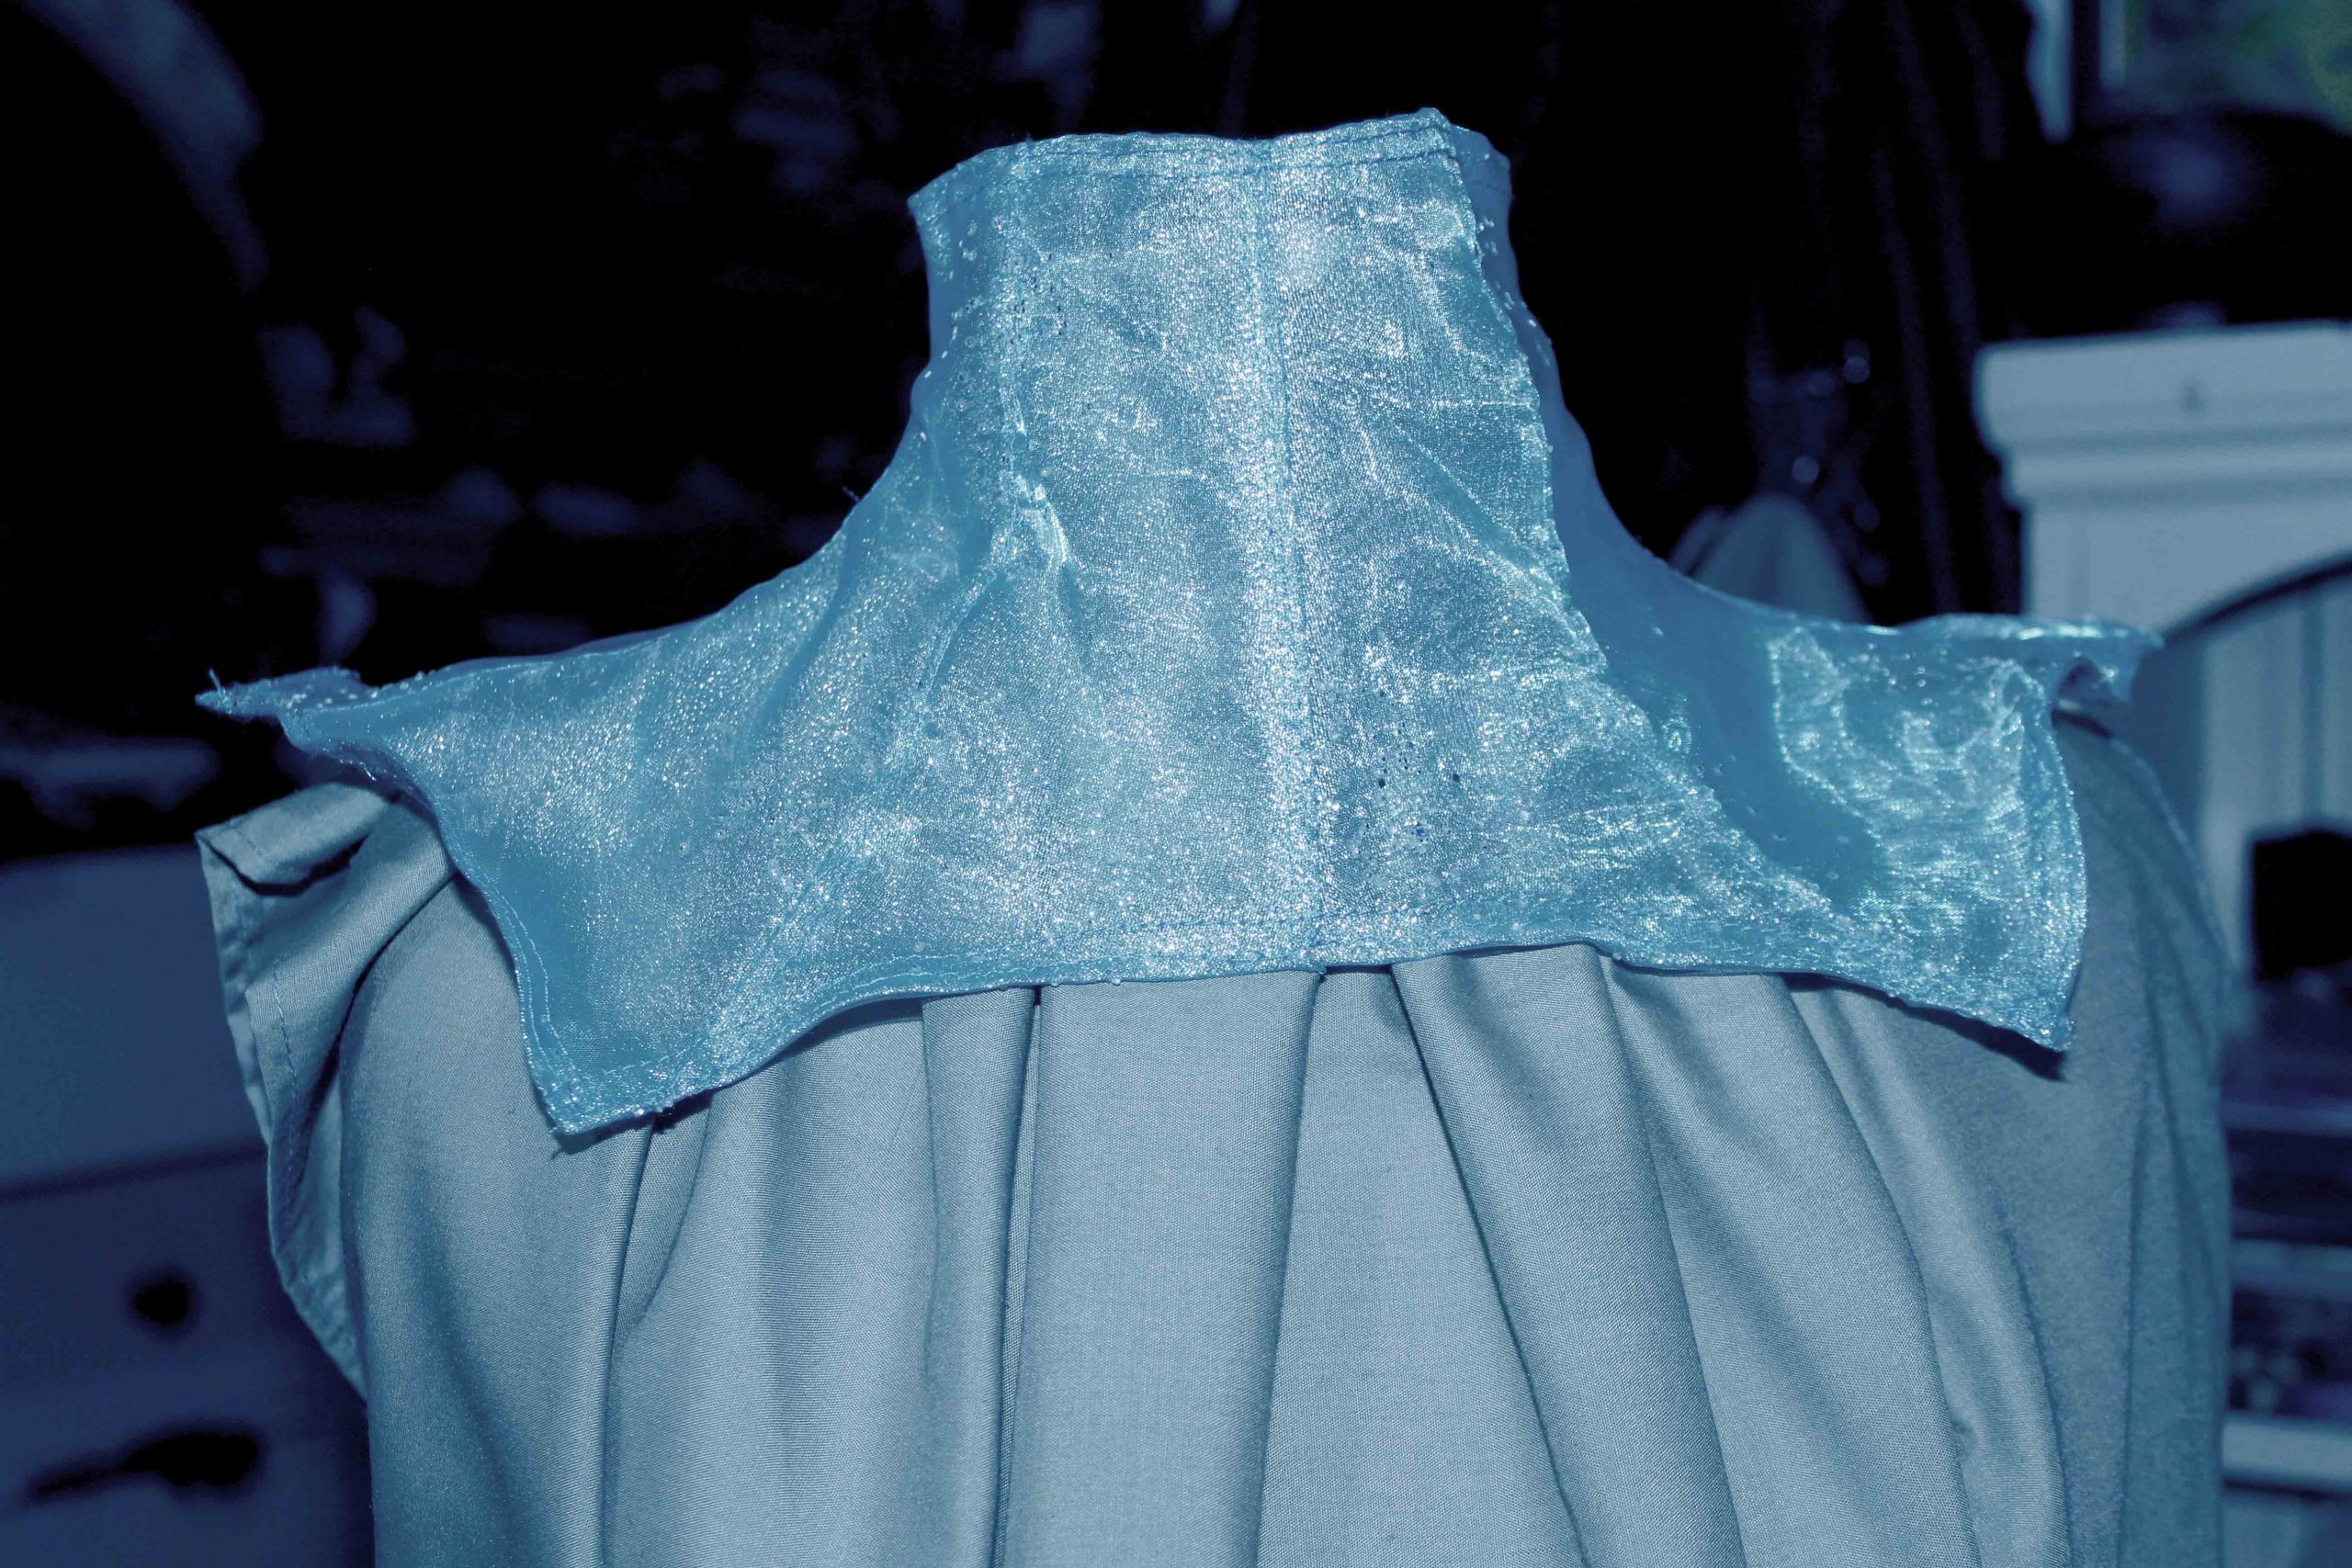
The first stage of the costume making, the shirt and the neck piece finished, except of the buttons to close it. The corset used only to visualize the final idea, we wont use it for the final design, we will make one from scratch to match the neck piece.
SFX Make Up
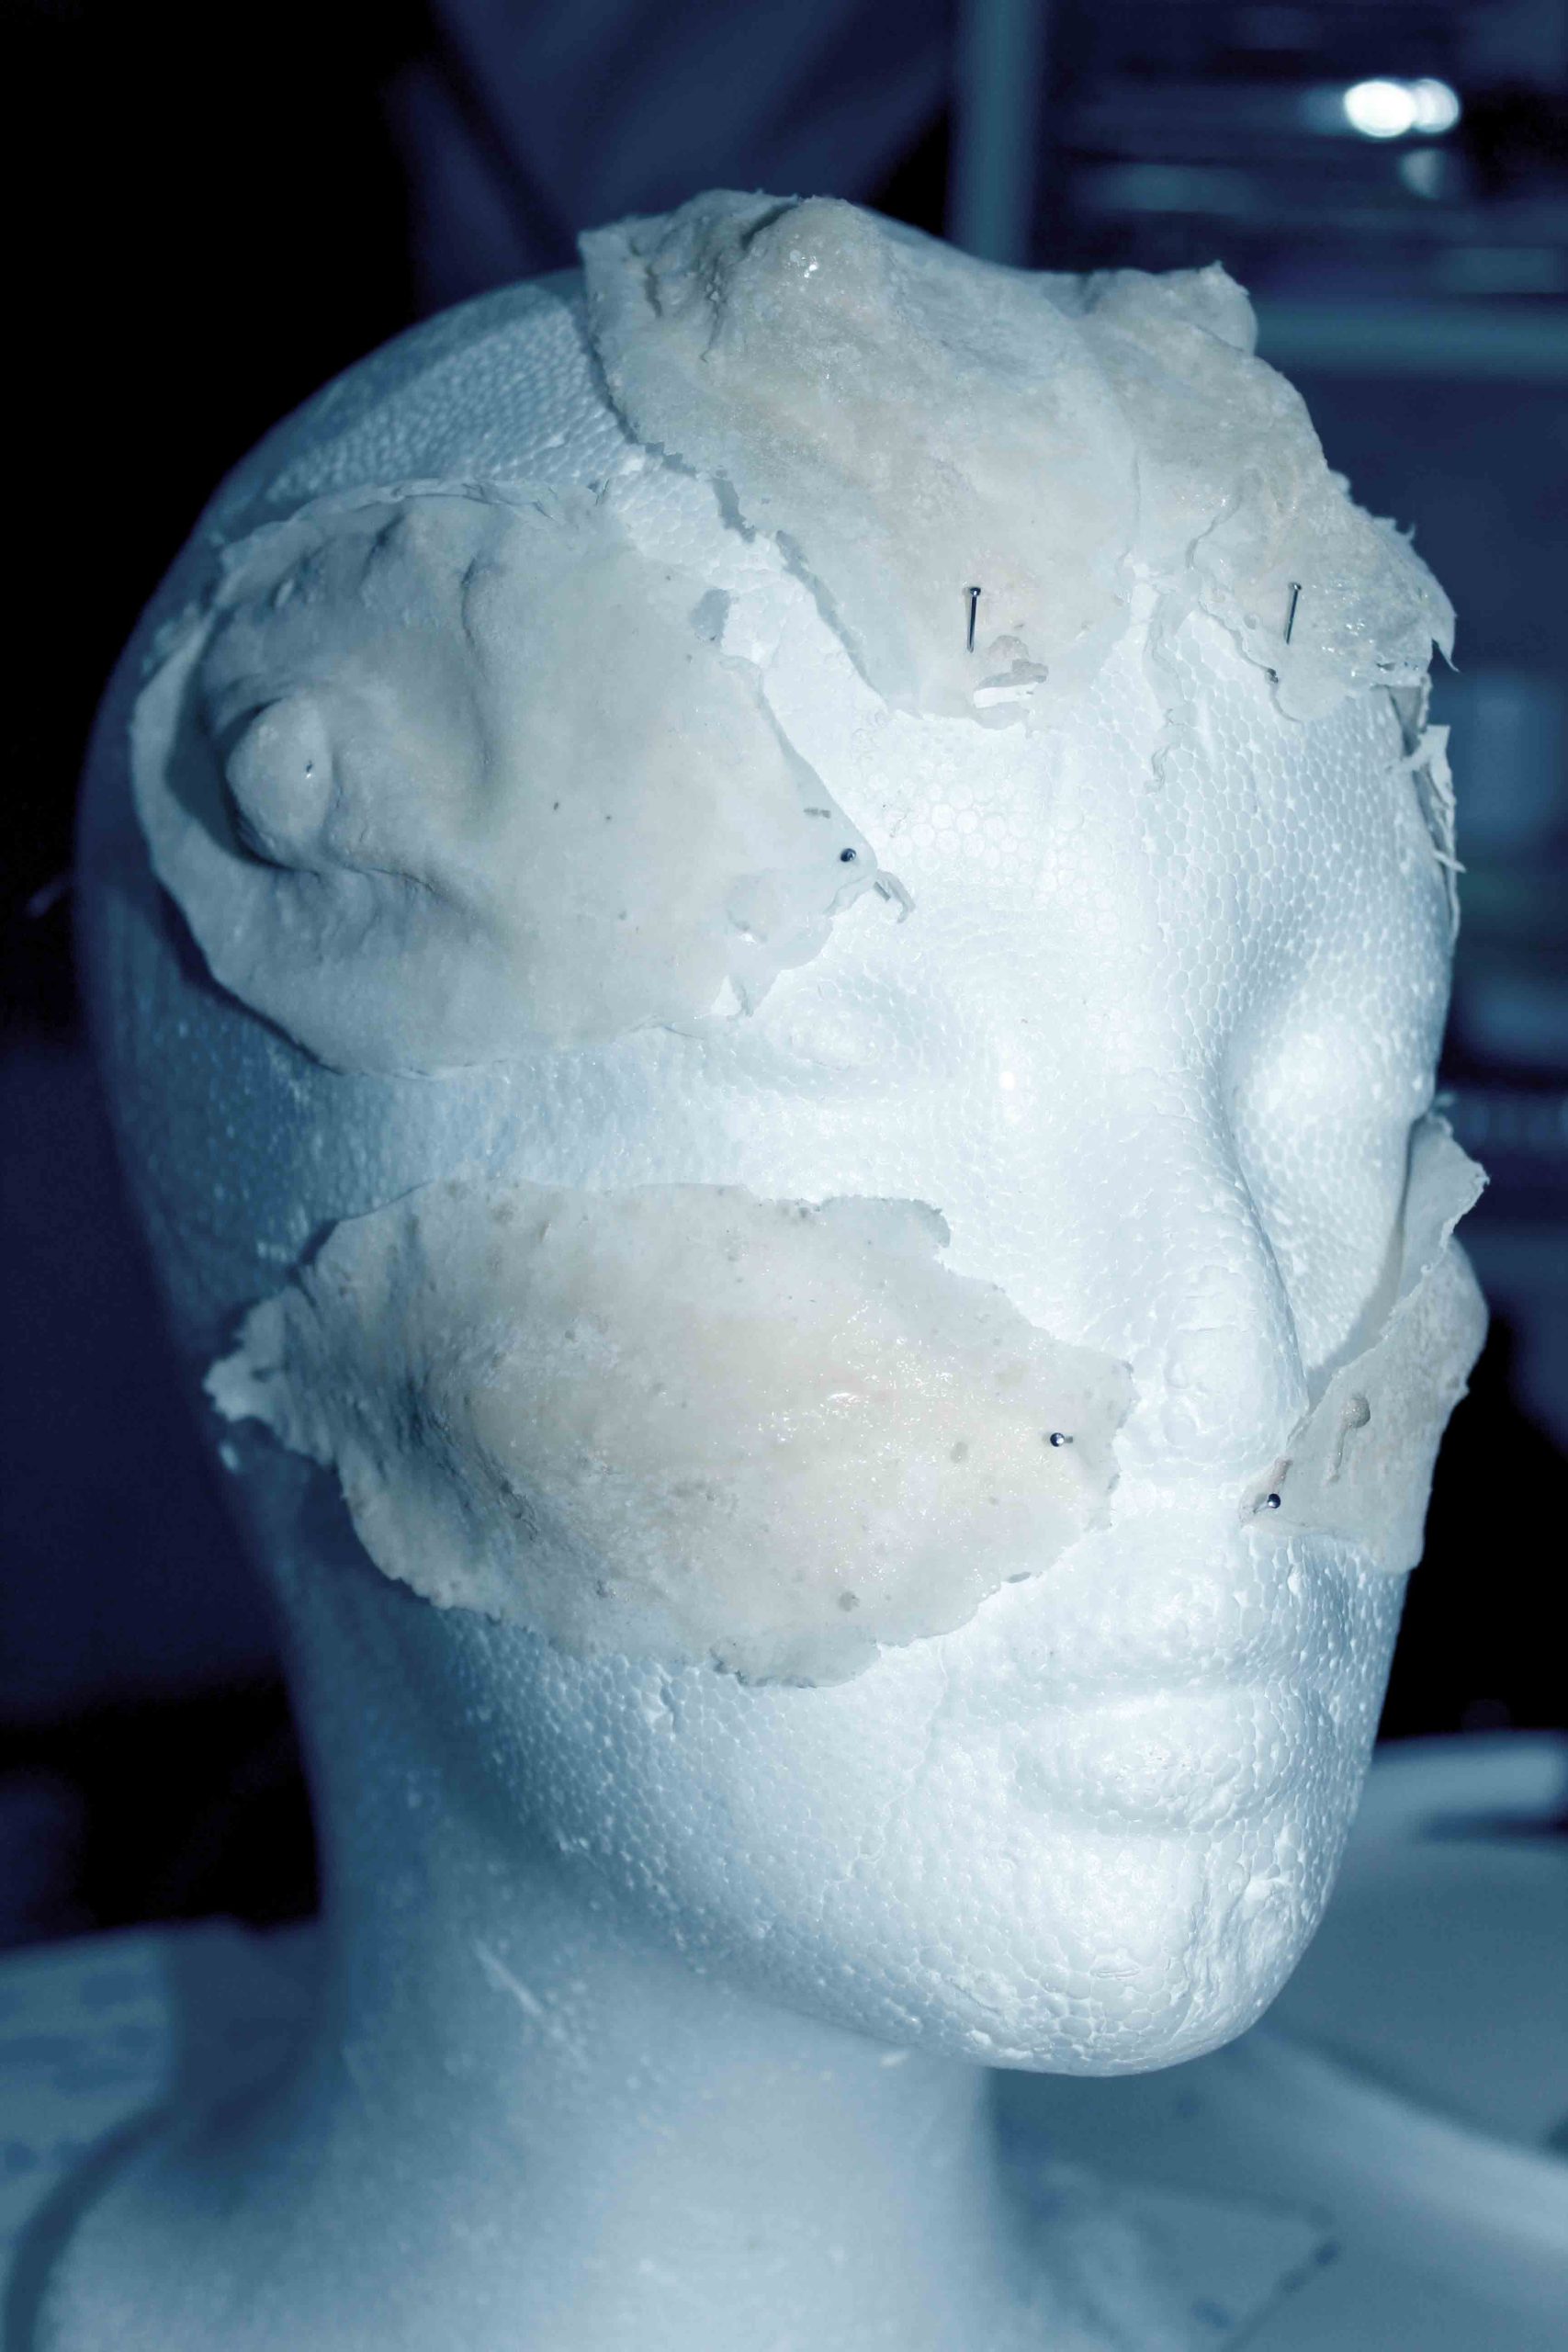
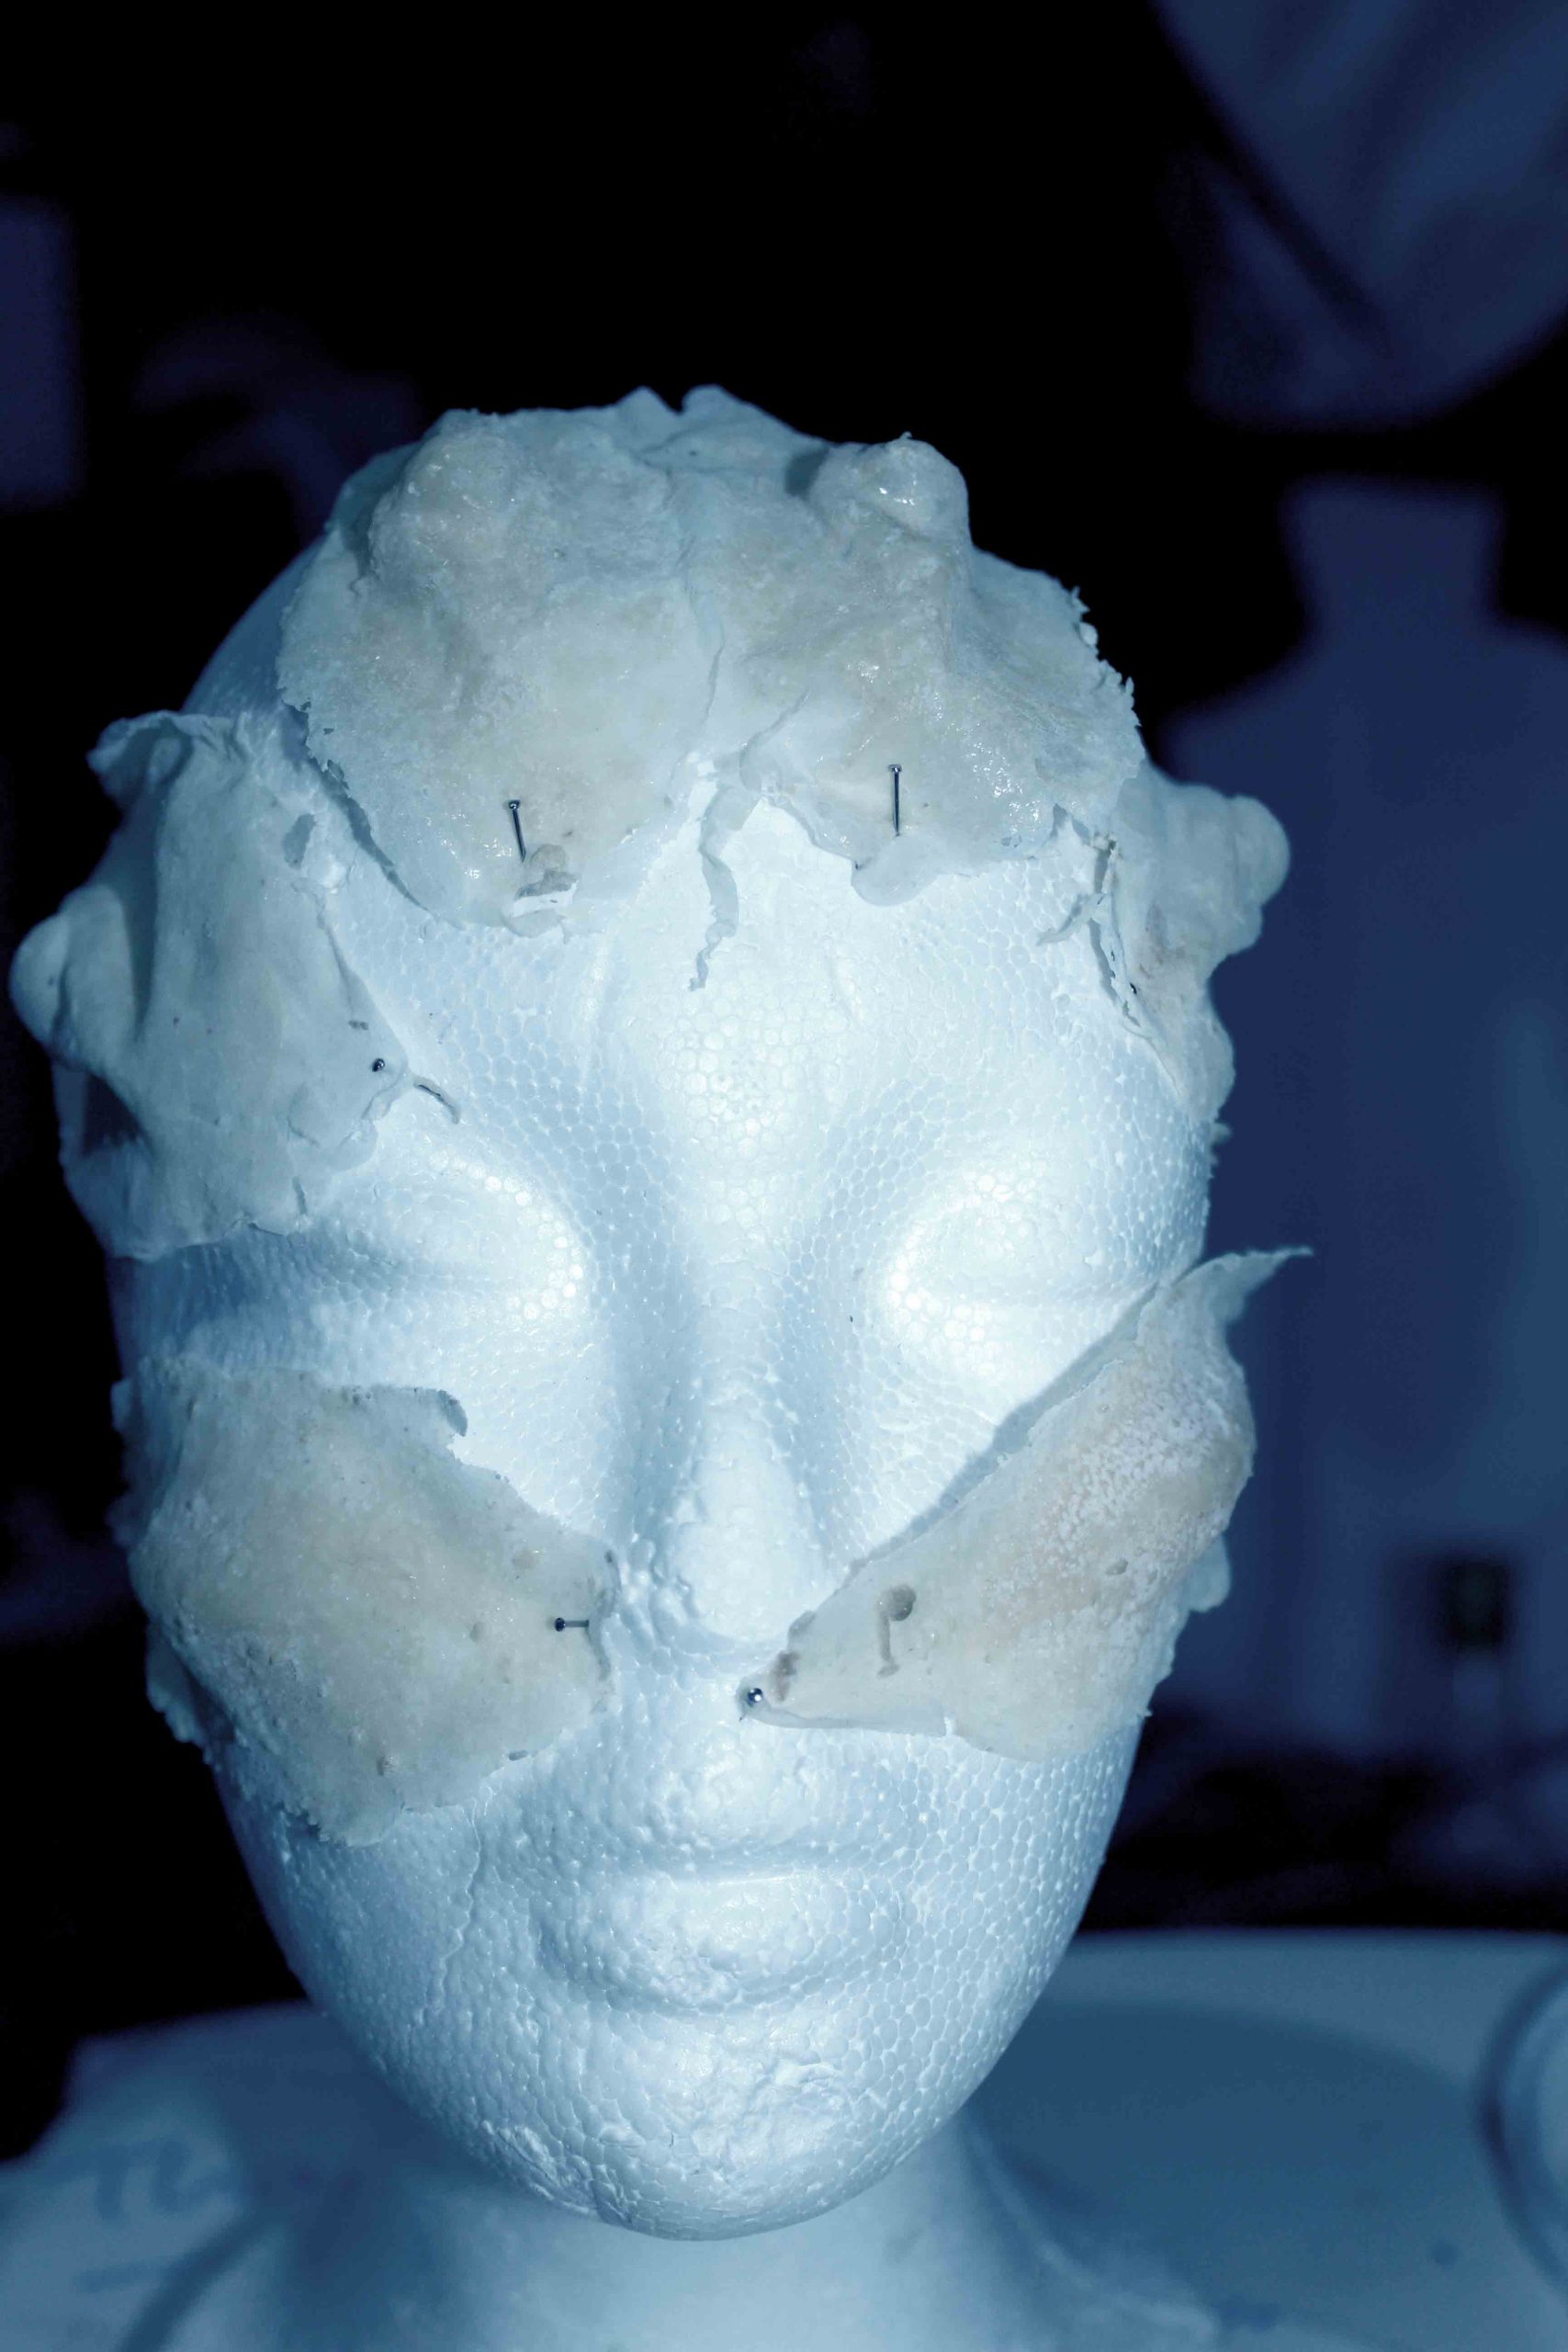
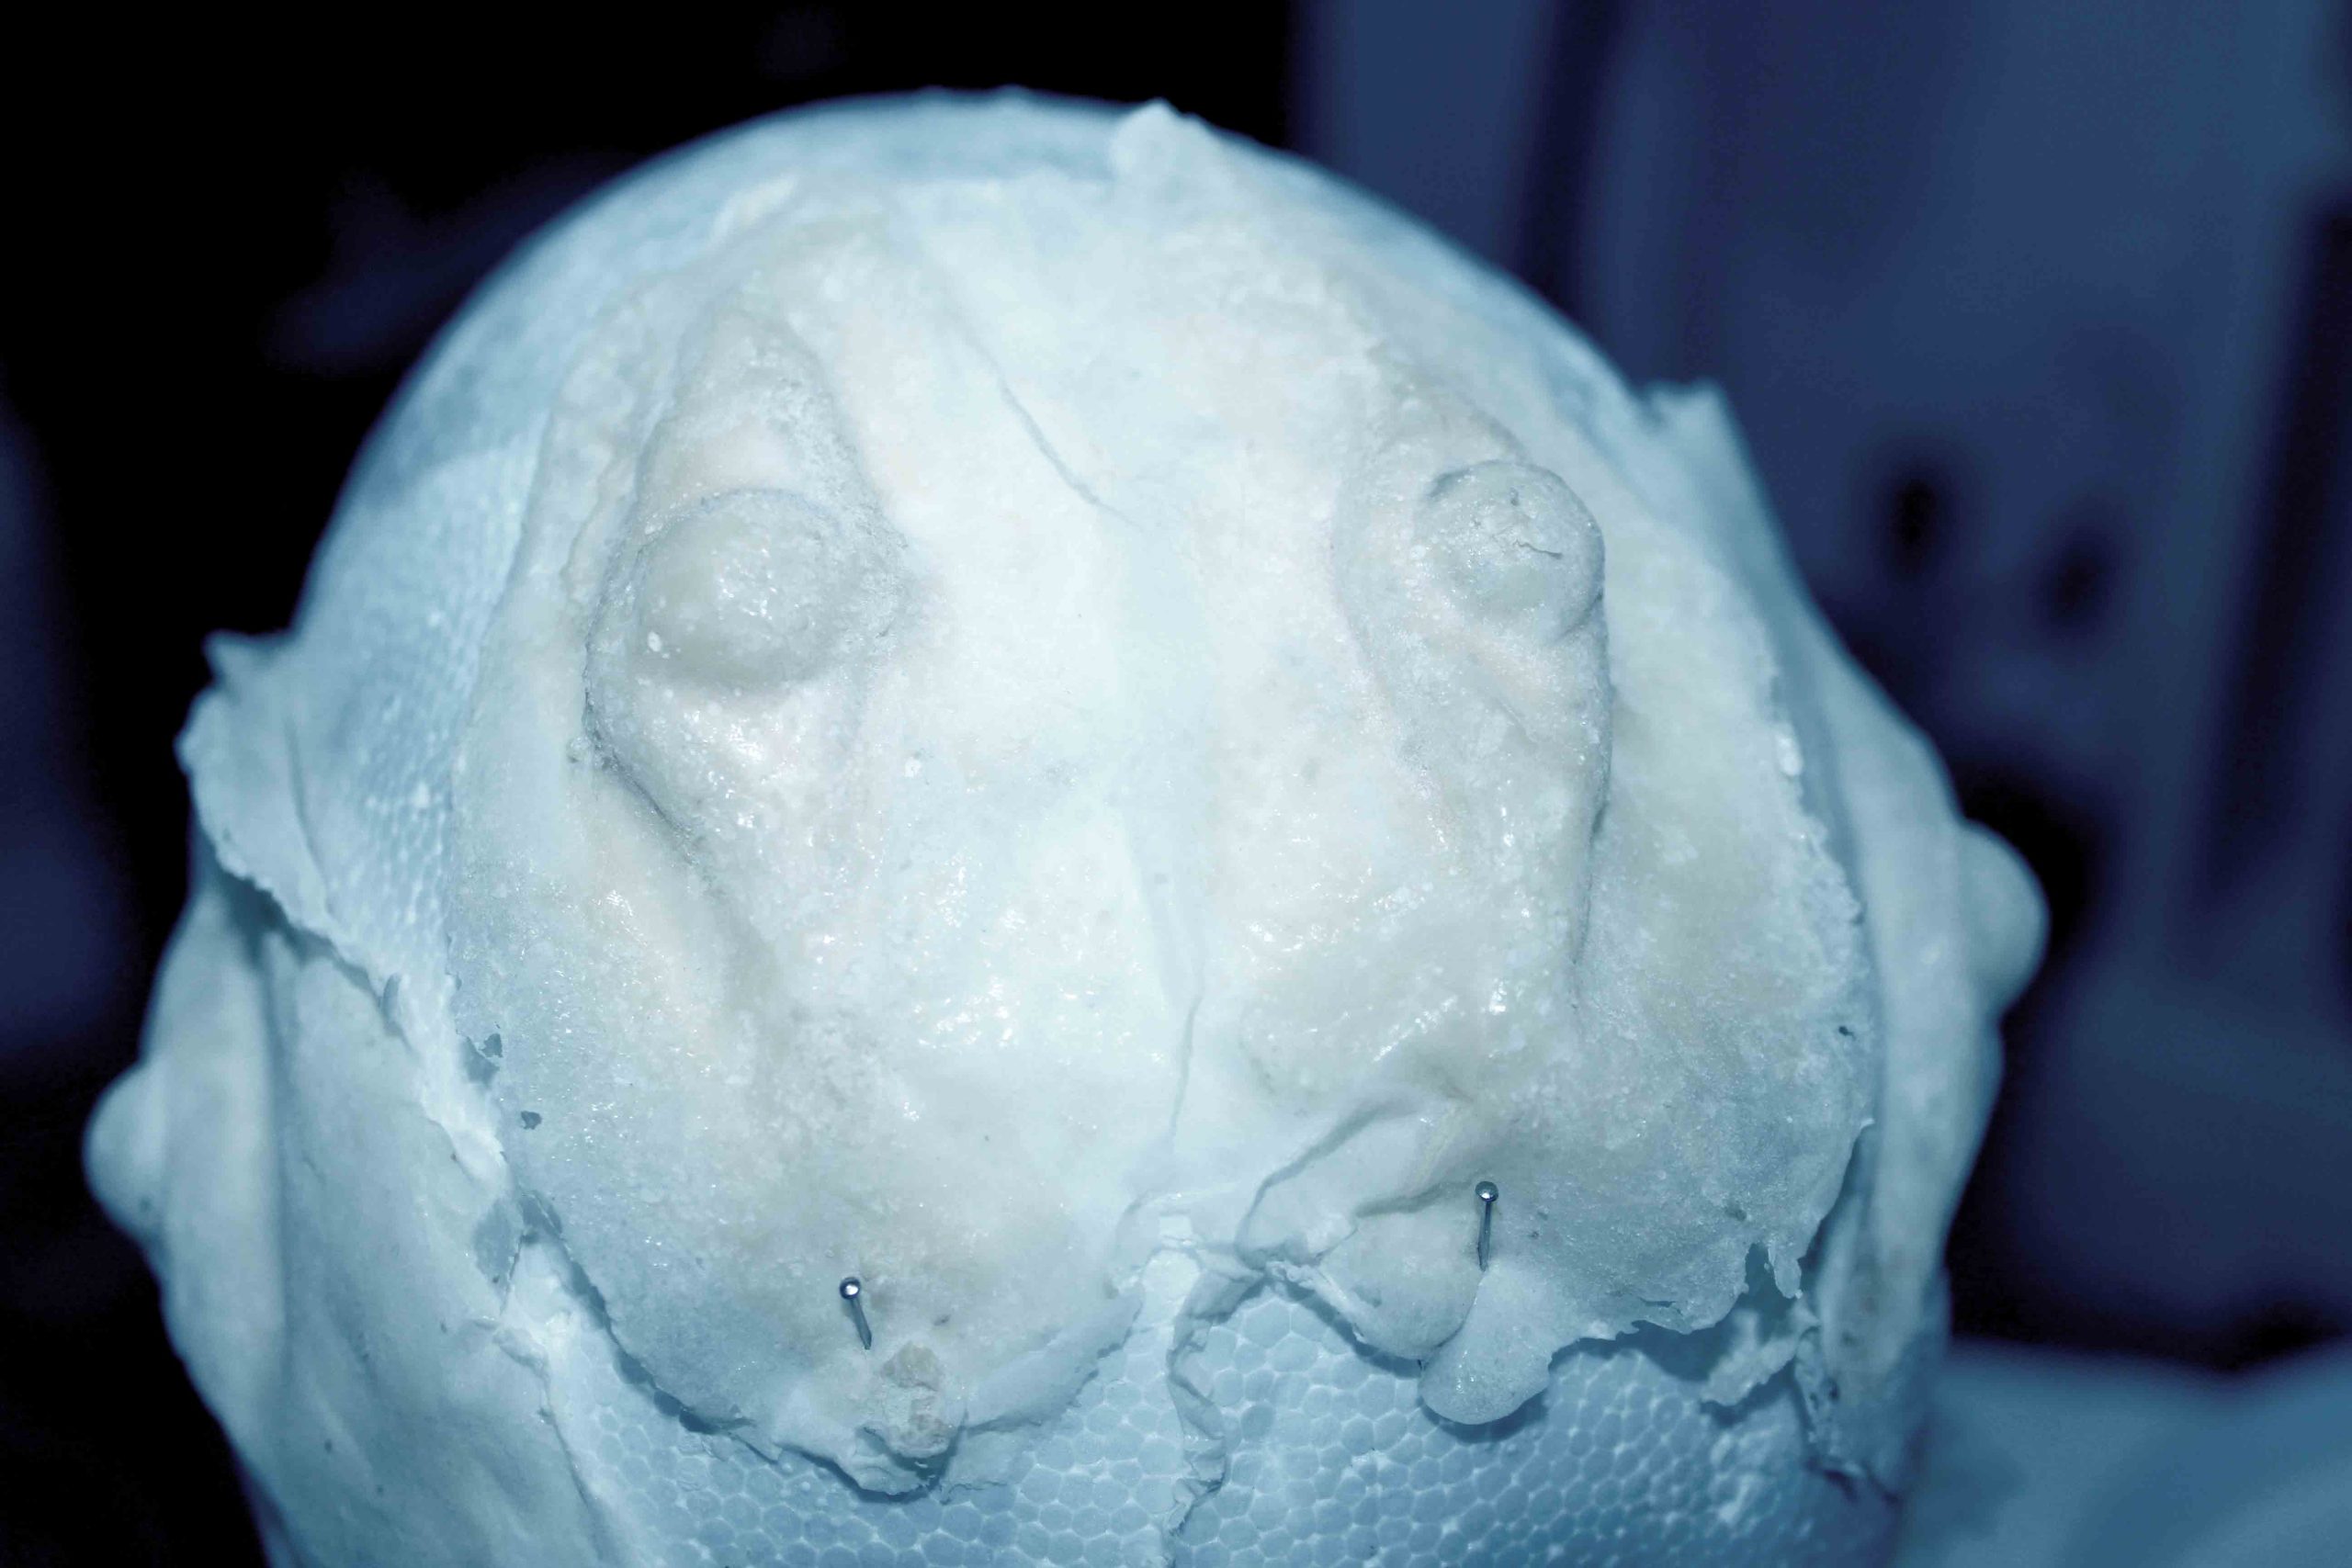
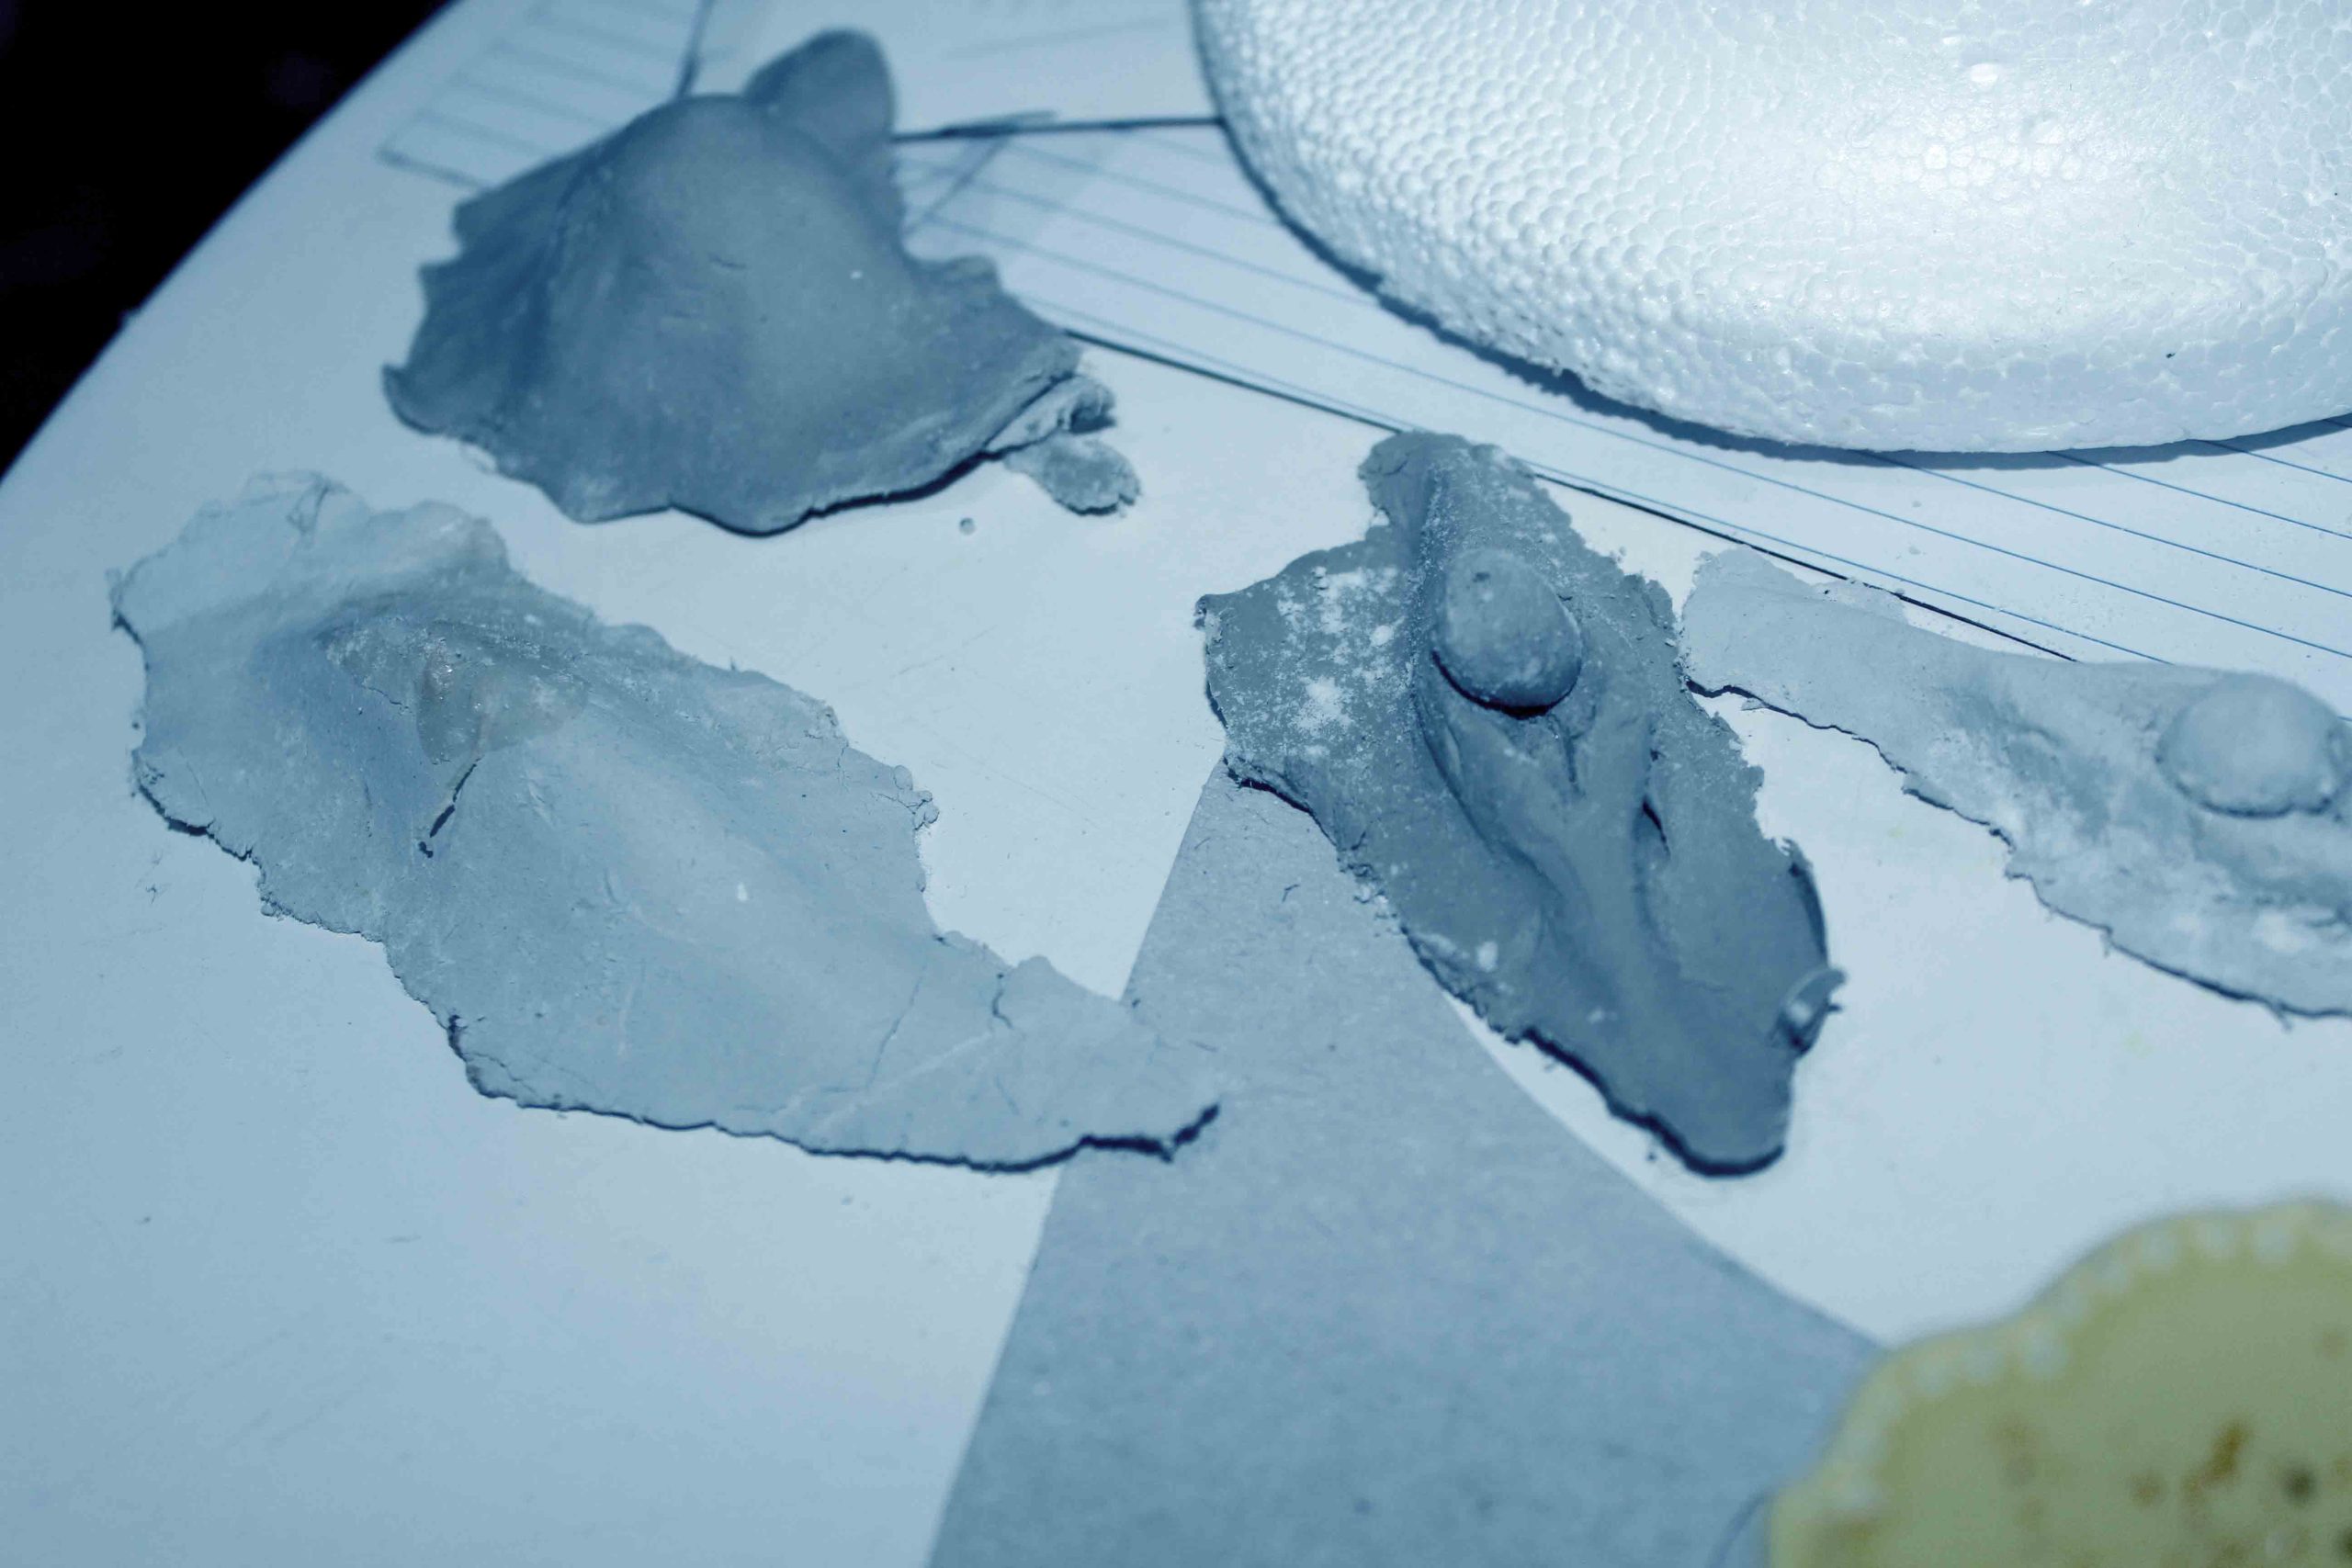
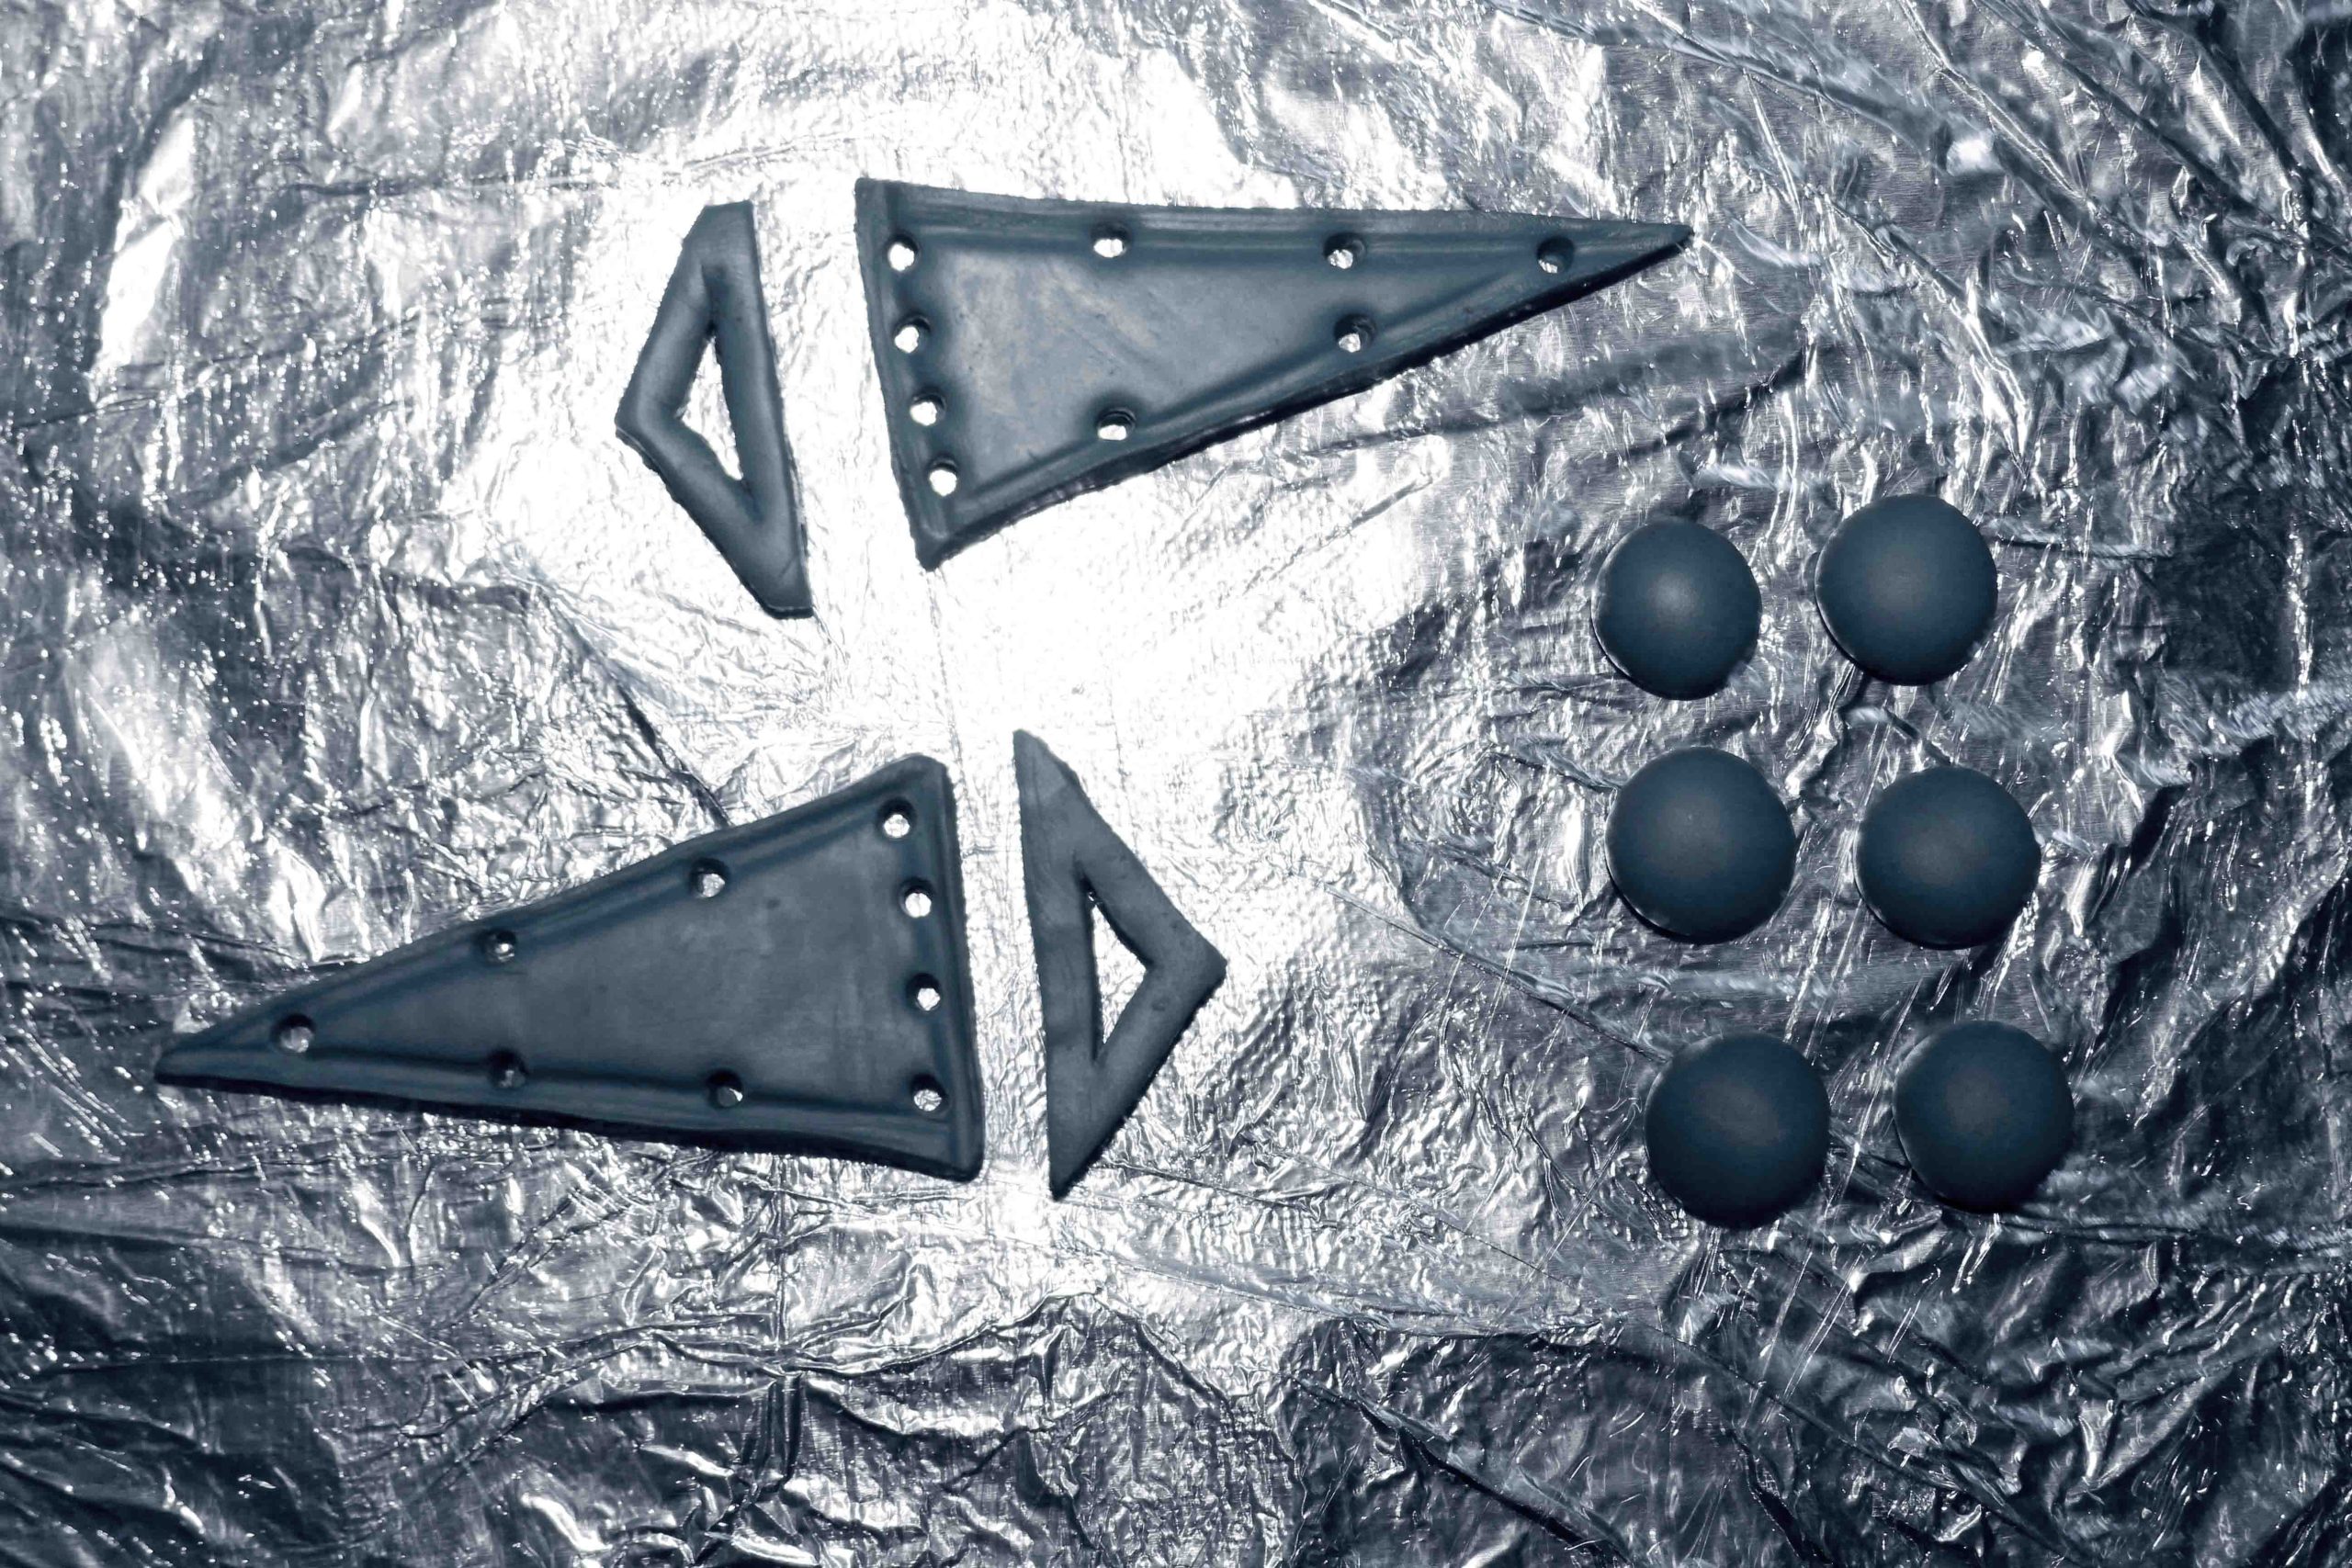
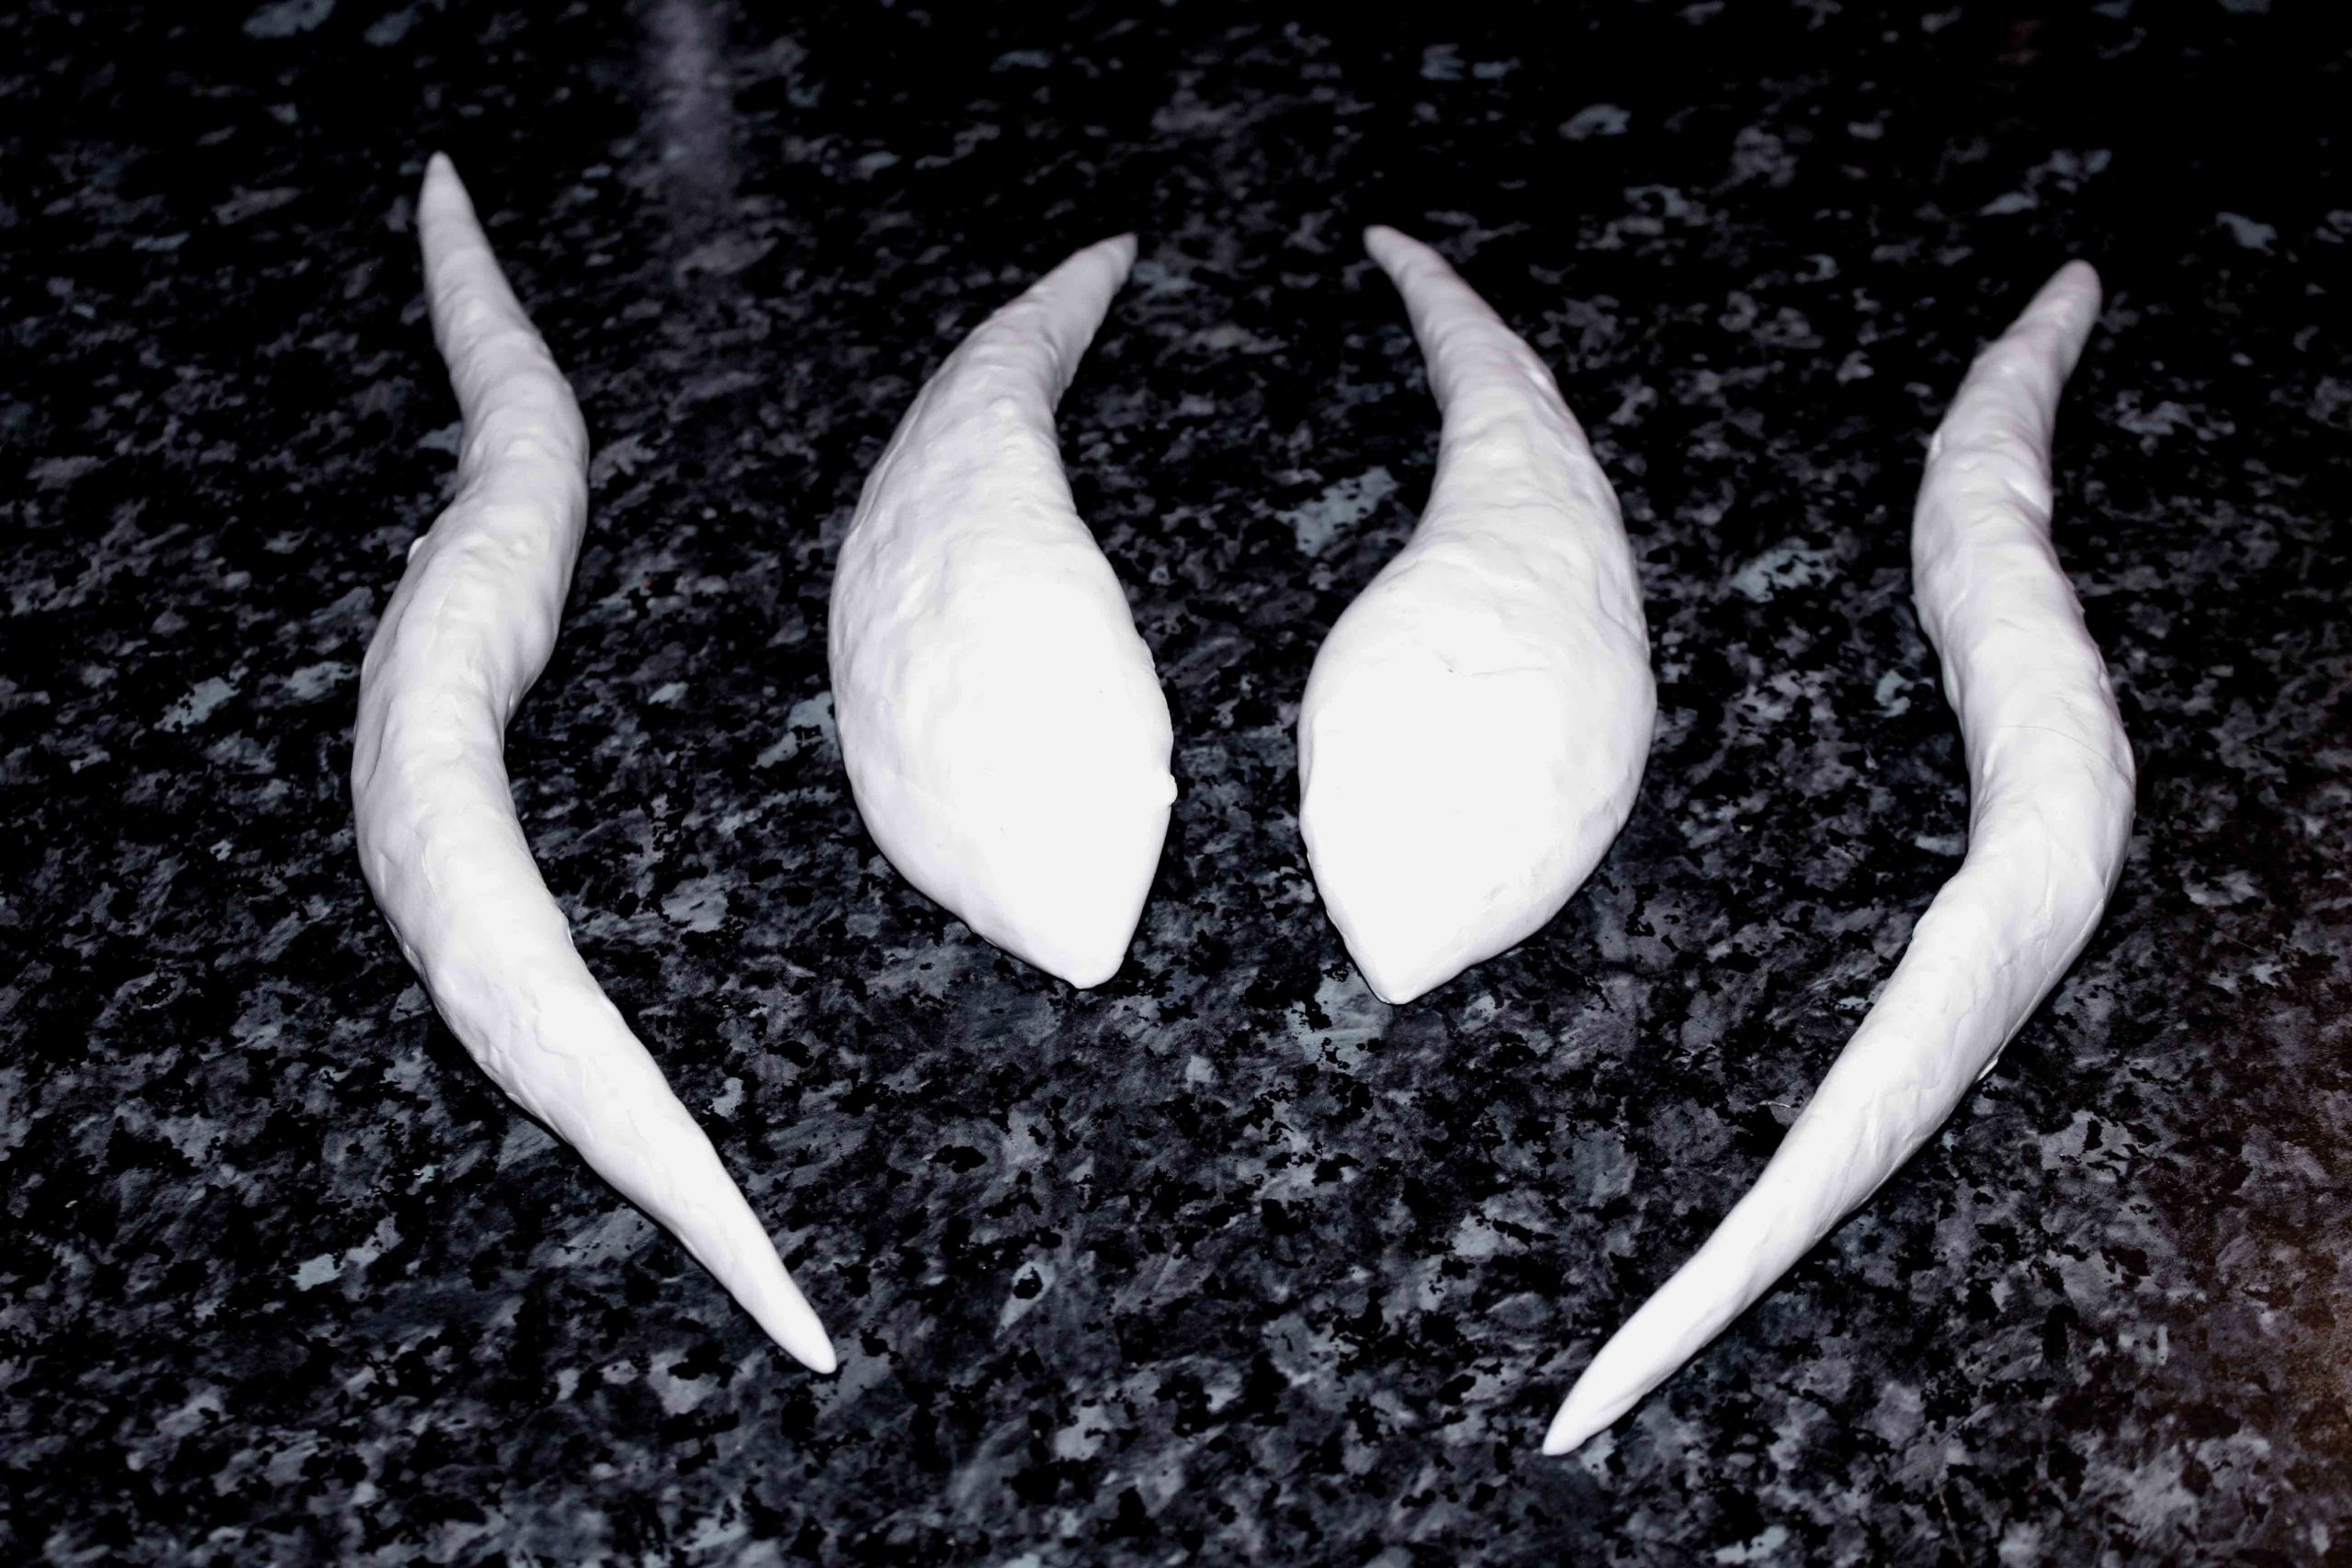
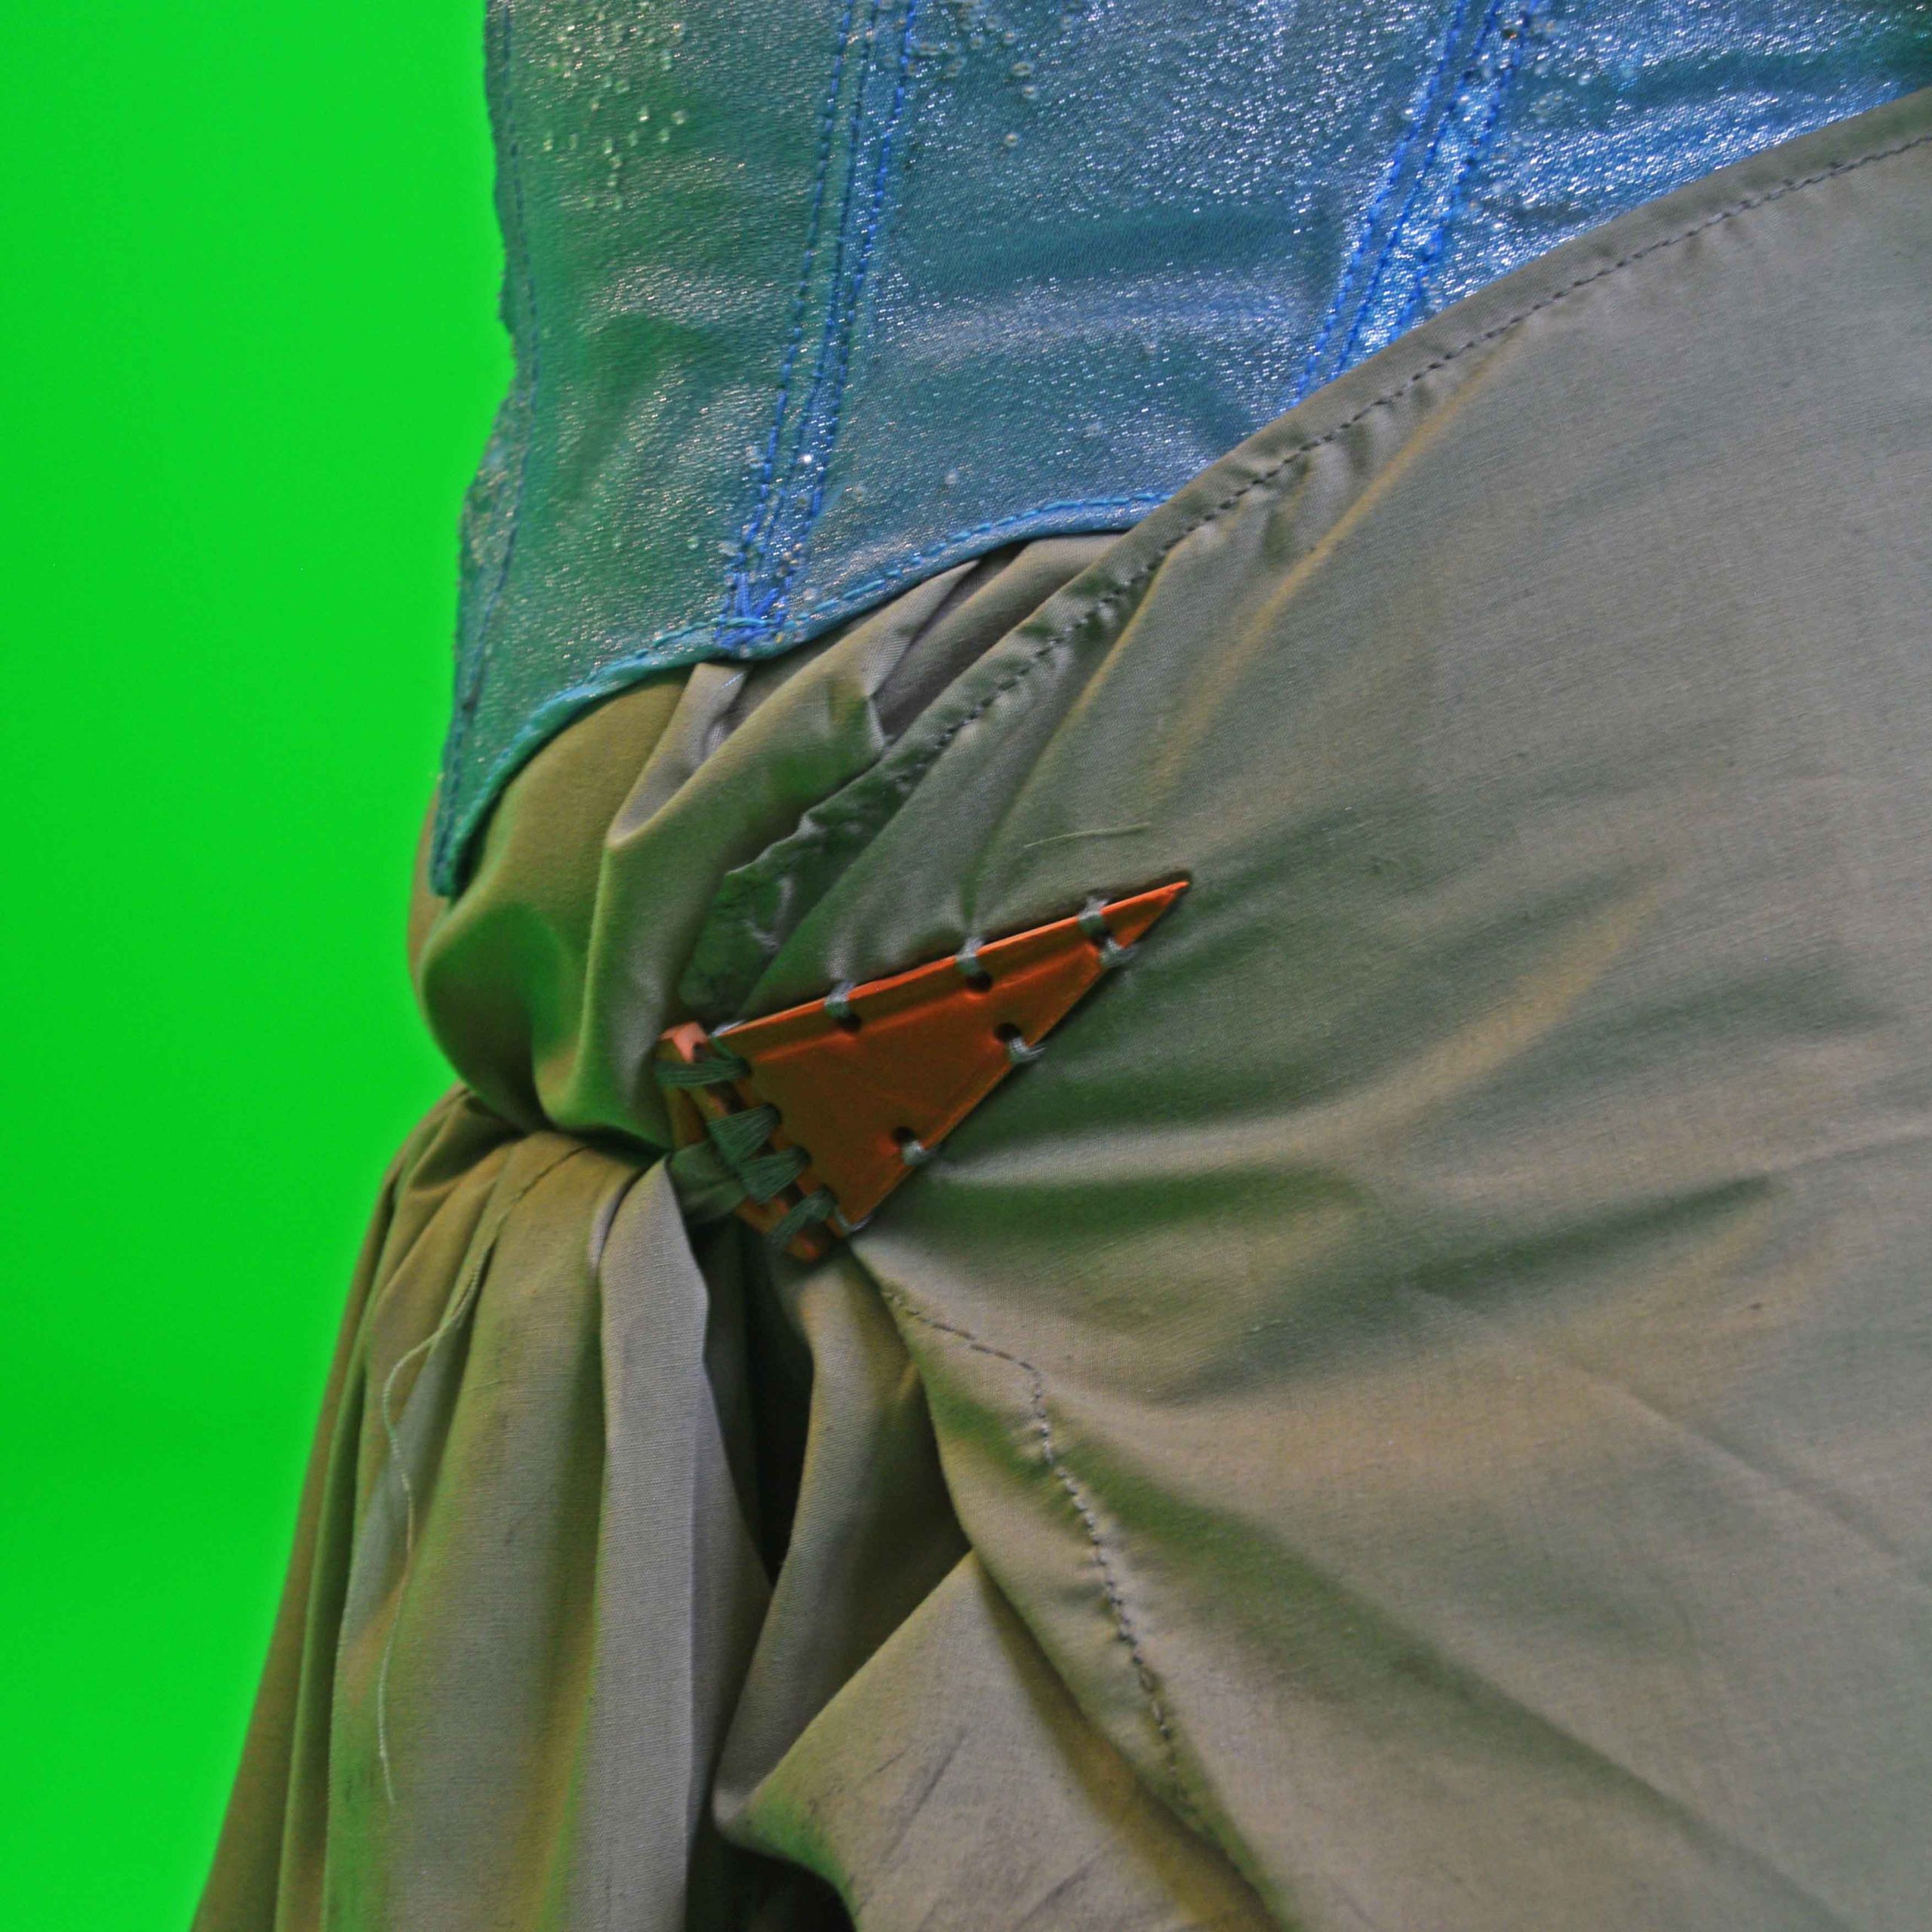
Some work done on the prosthetic make up, clay pieces of the costume (fake skirt/cape clasp) and the basic shape of horns prepared for further work.
2. Process
Costume
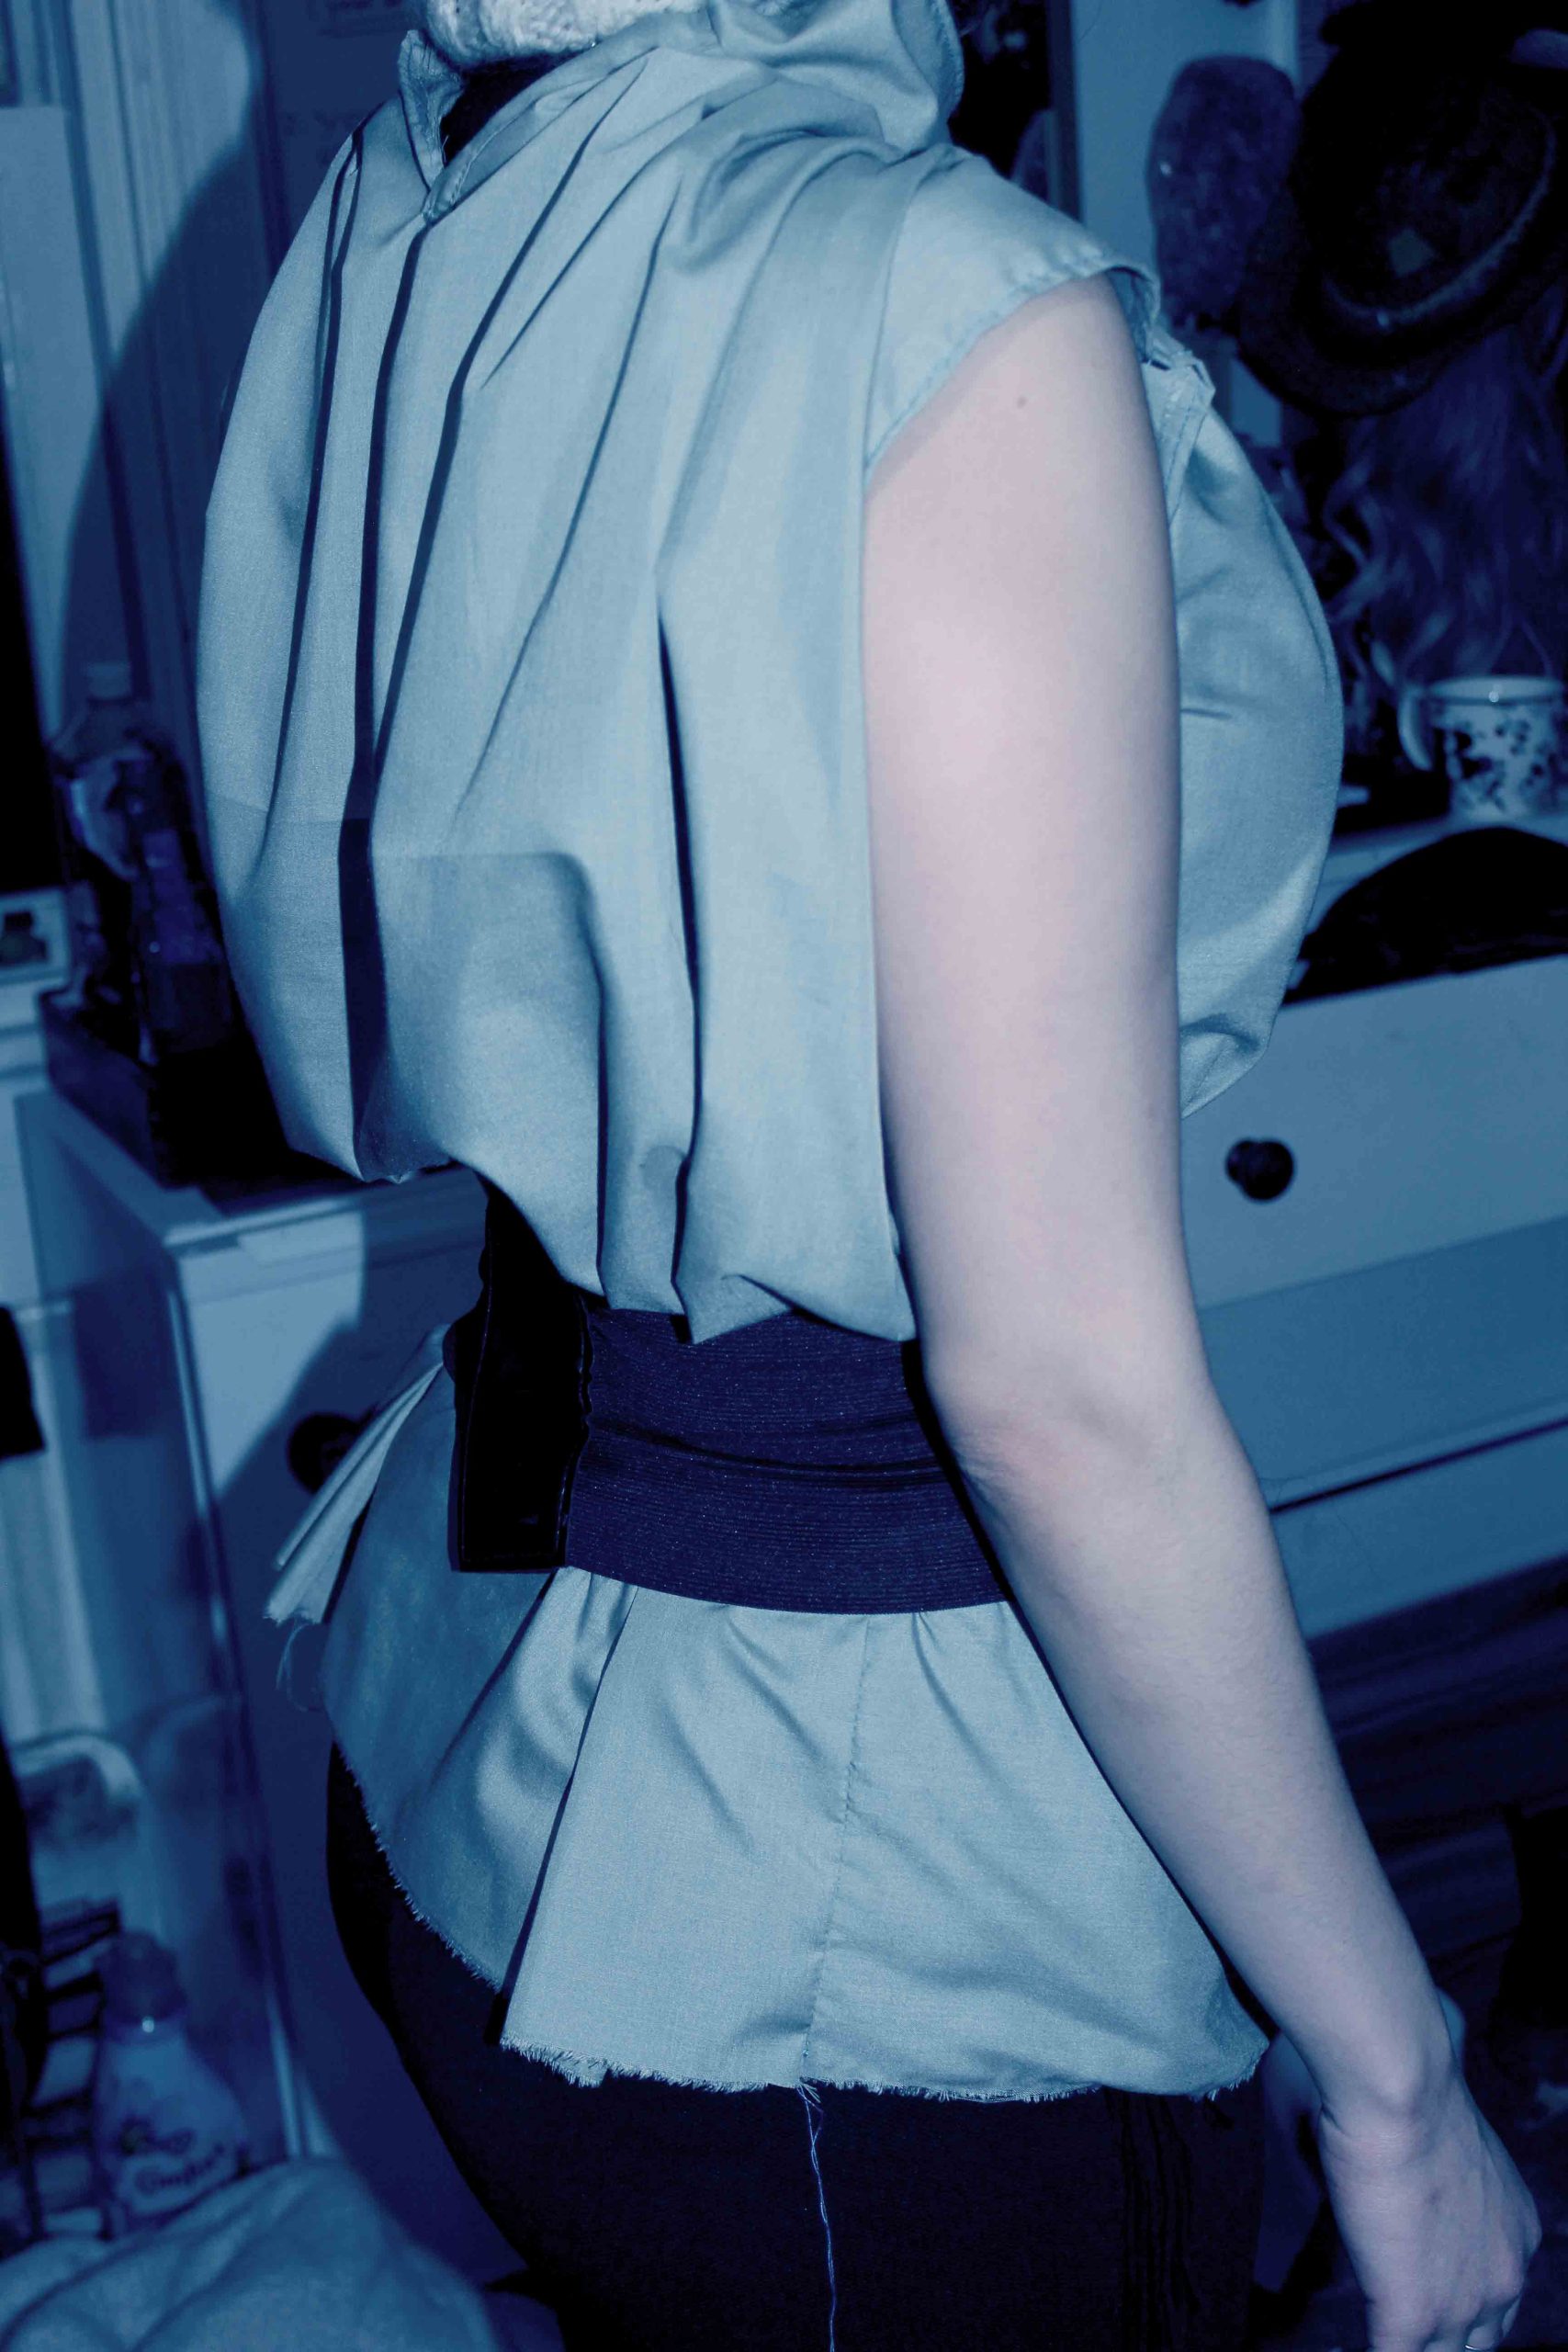
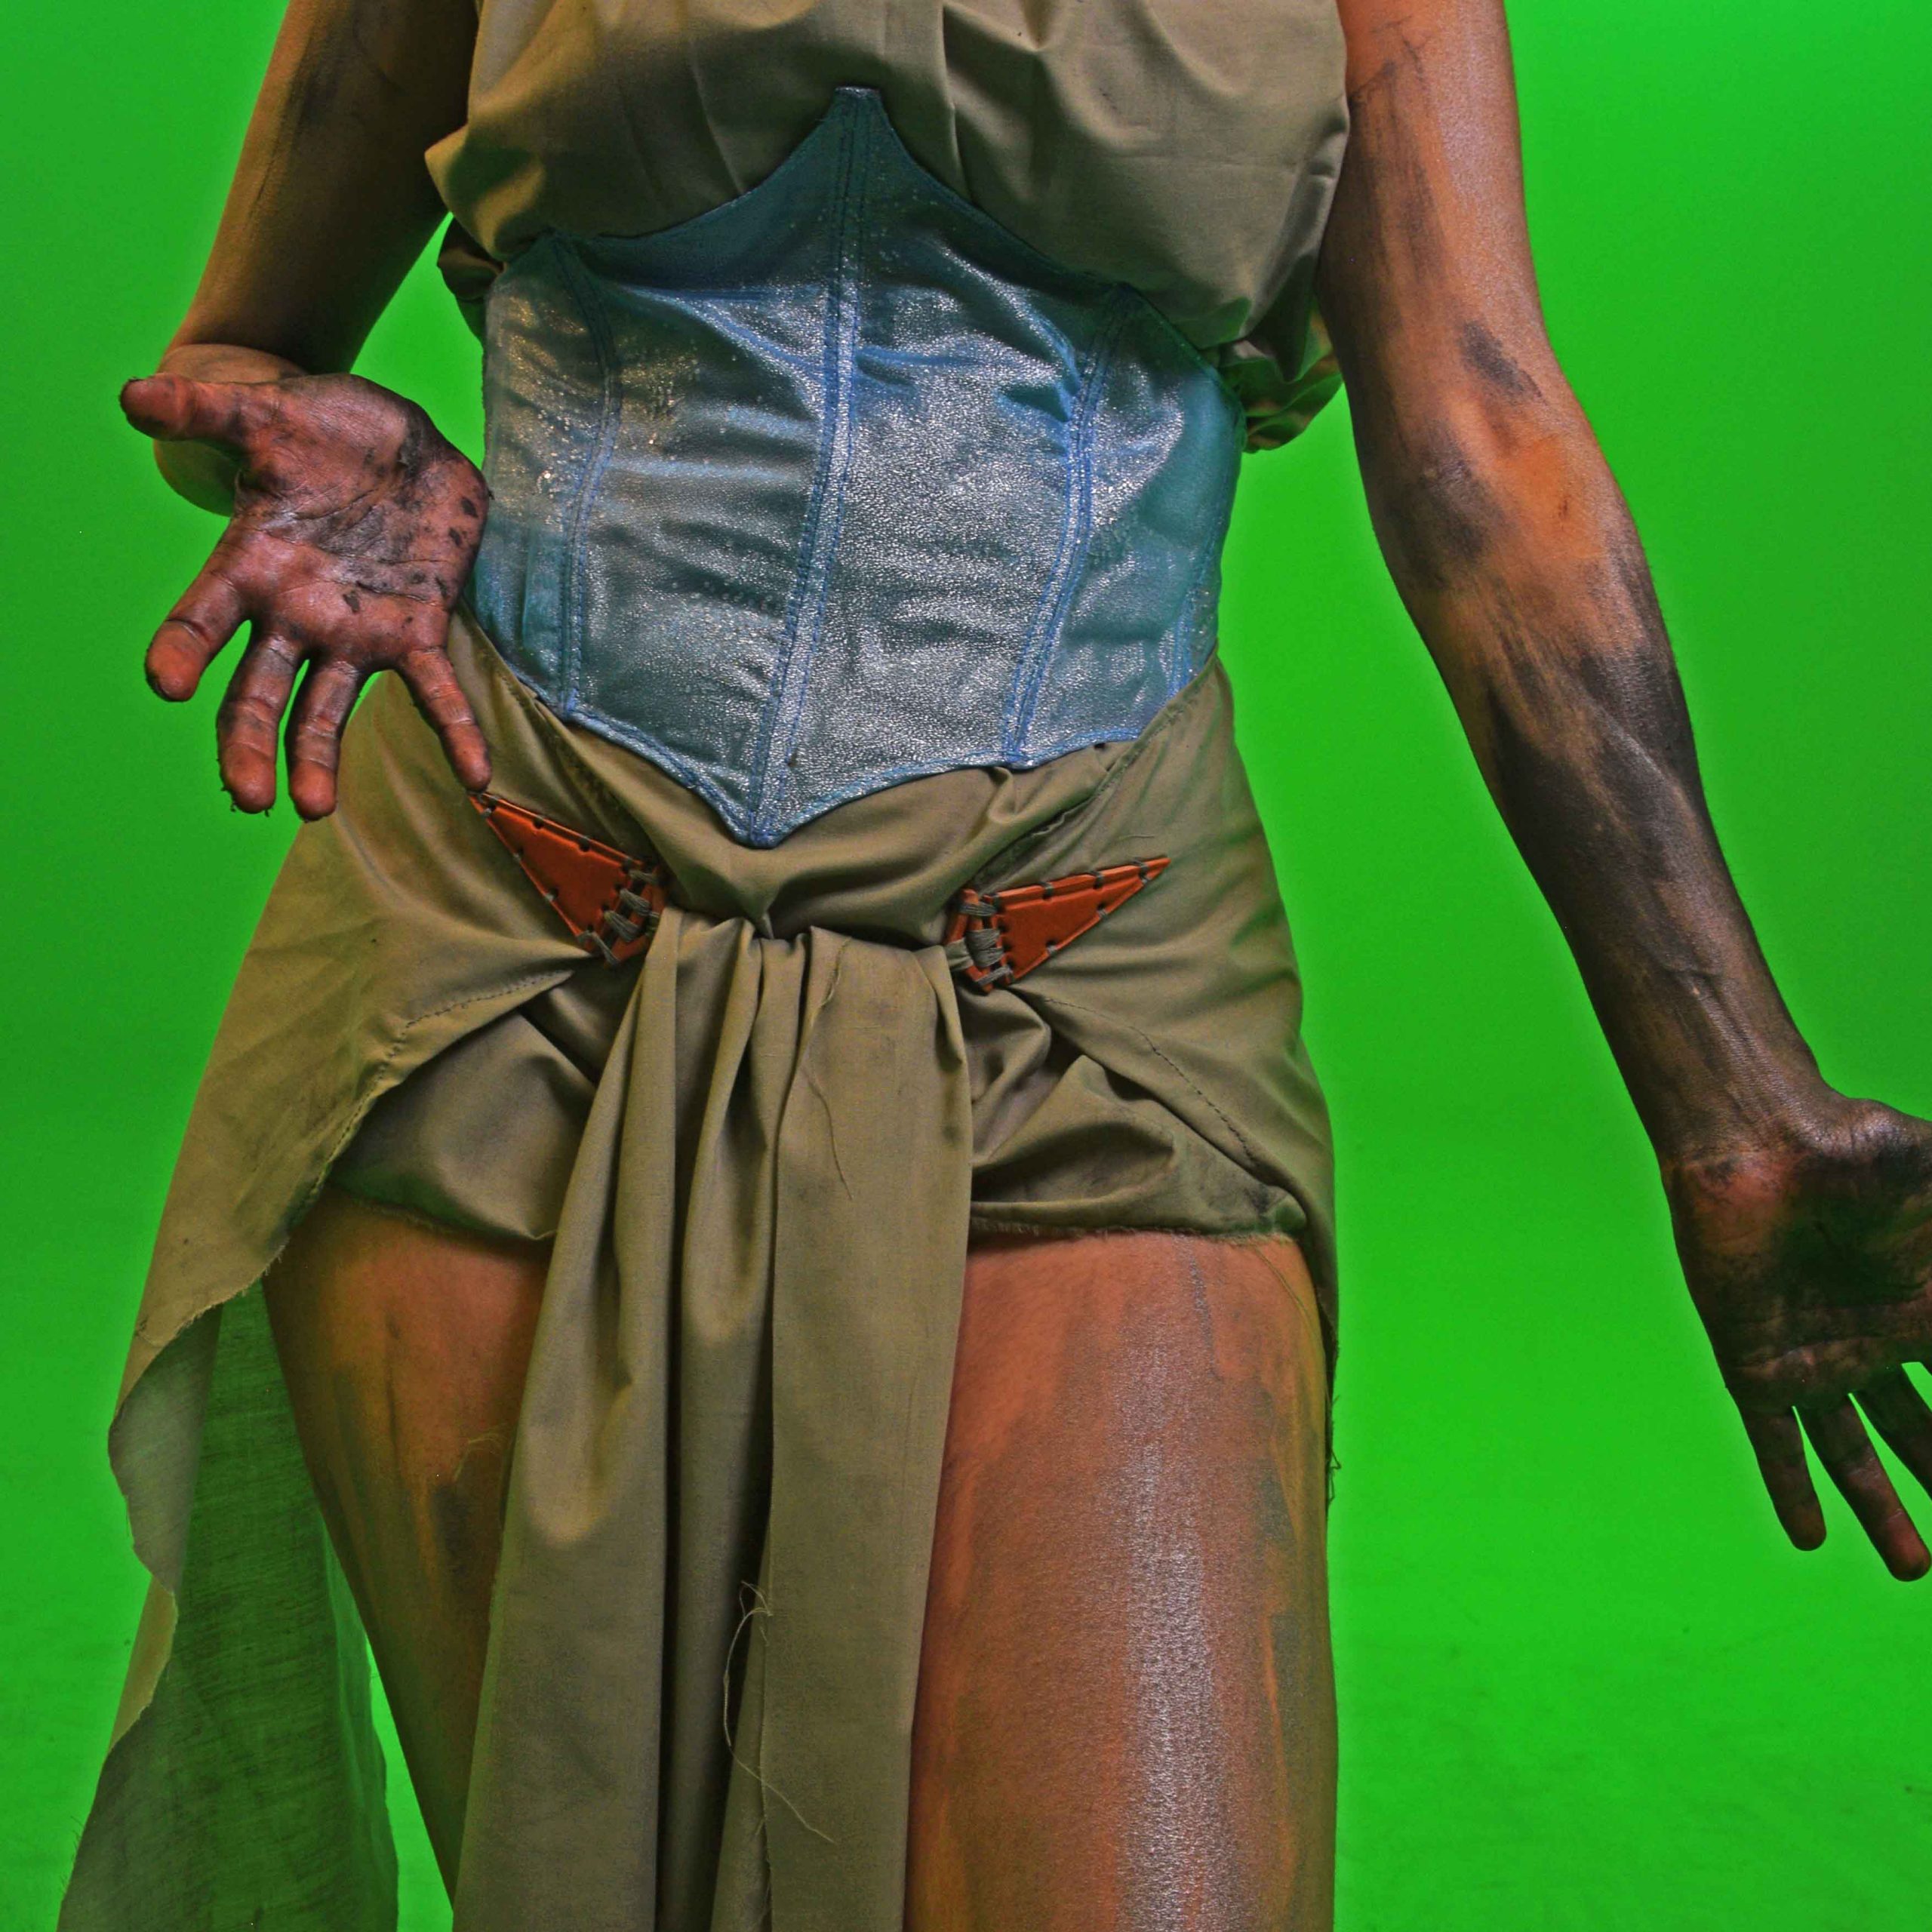
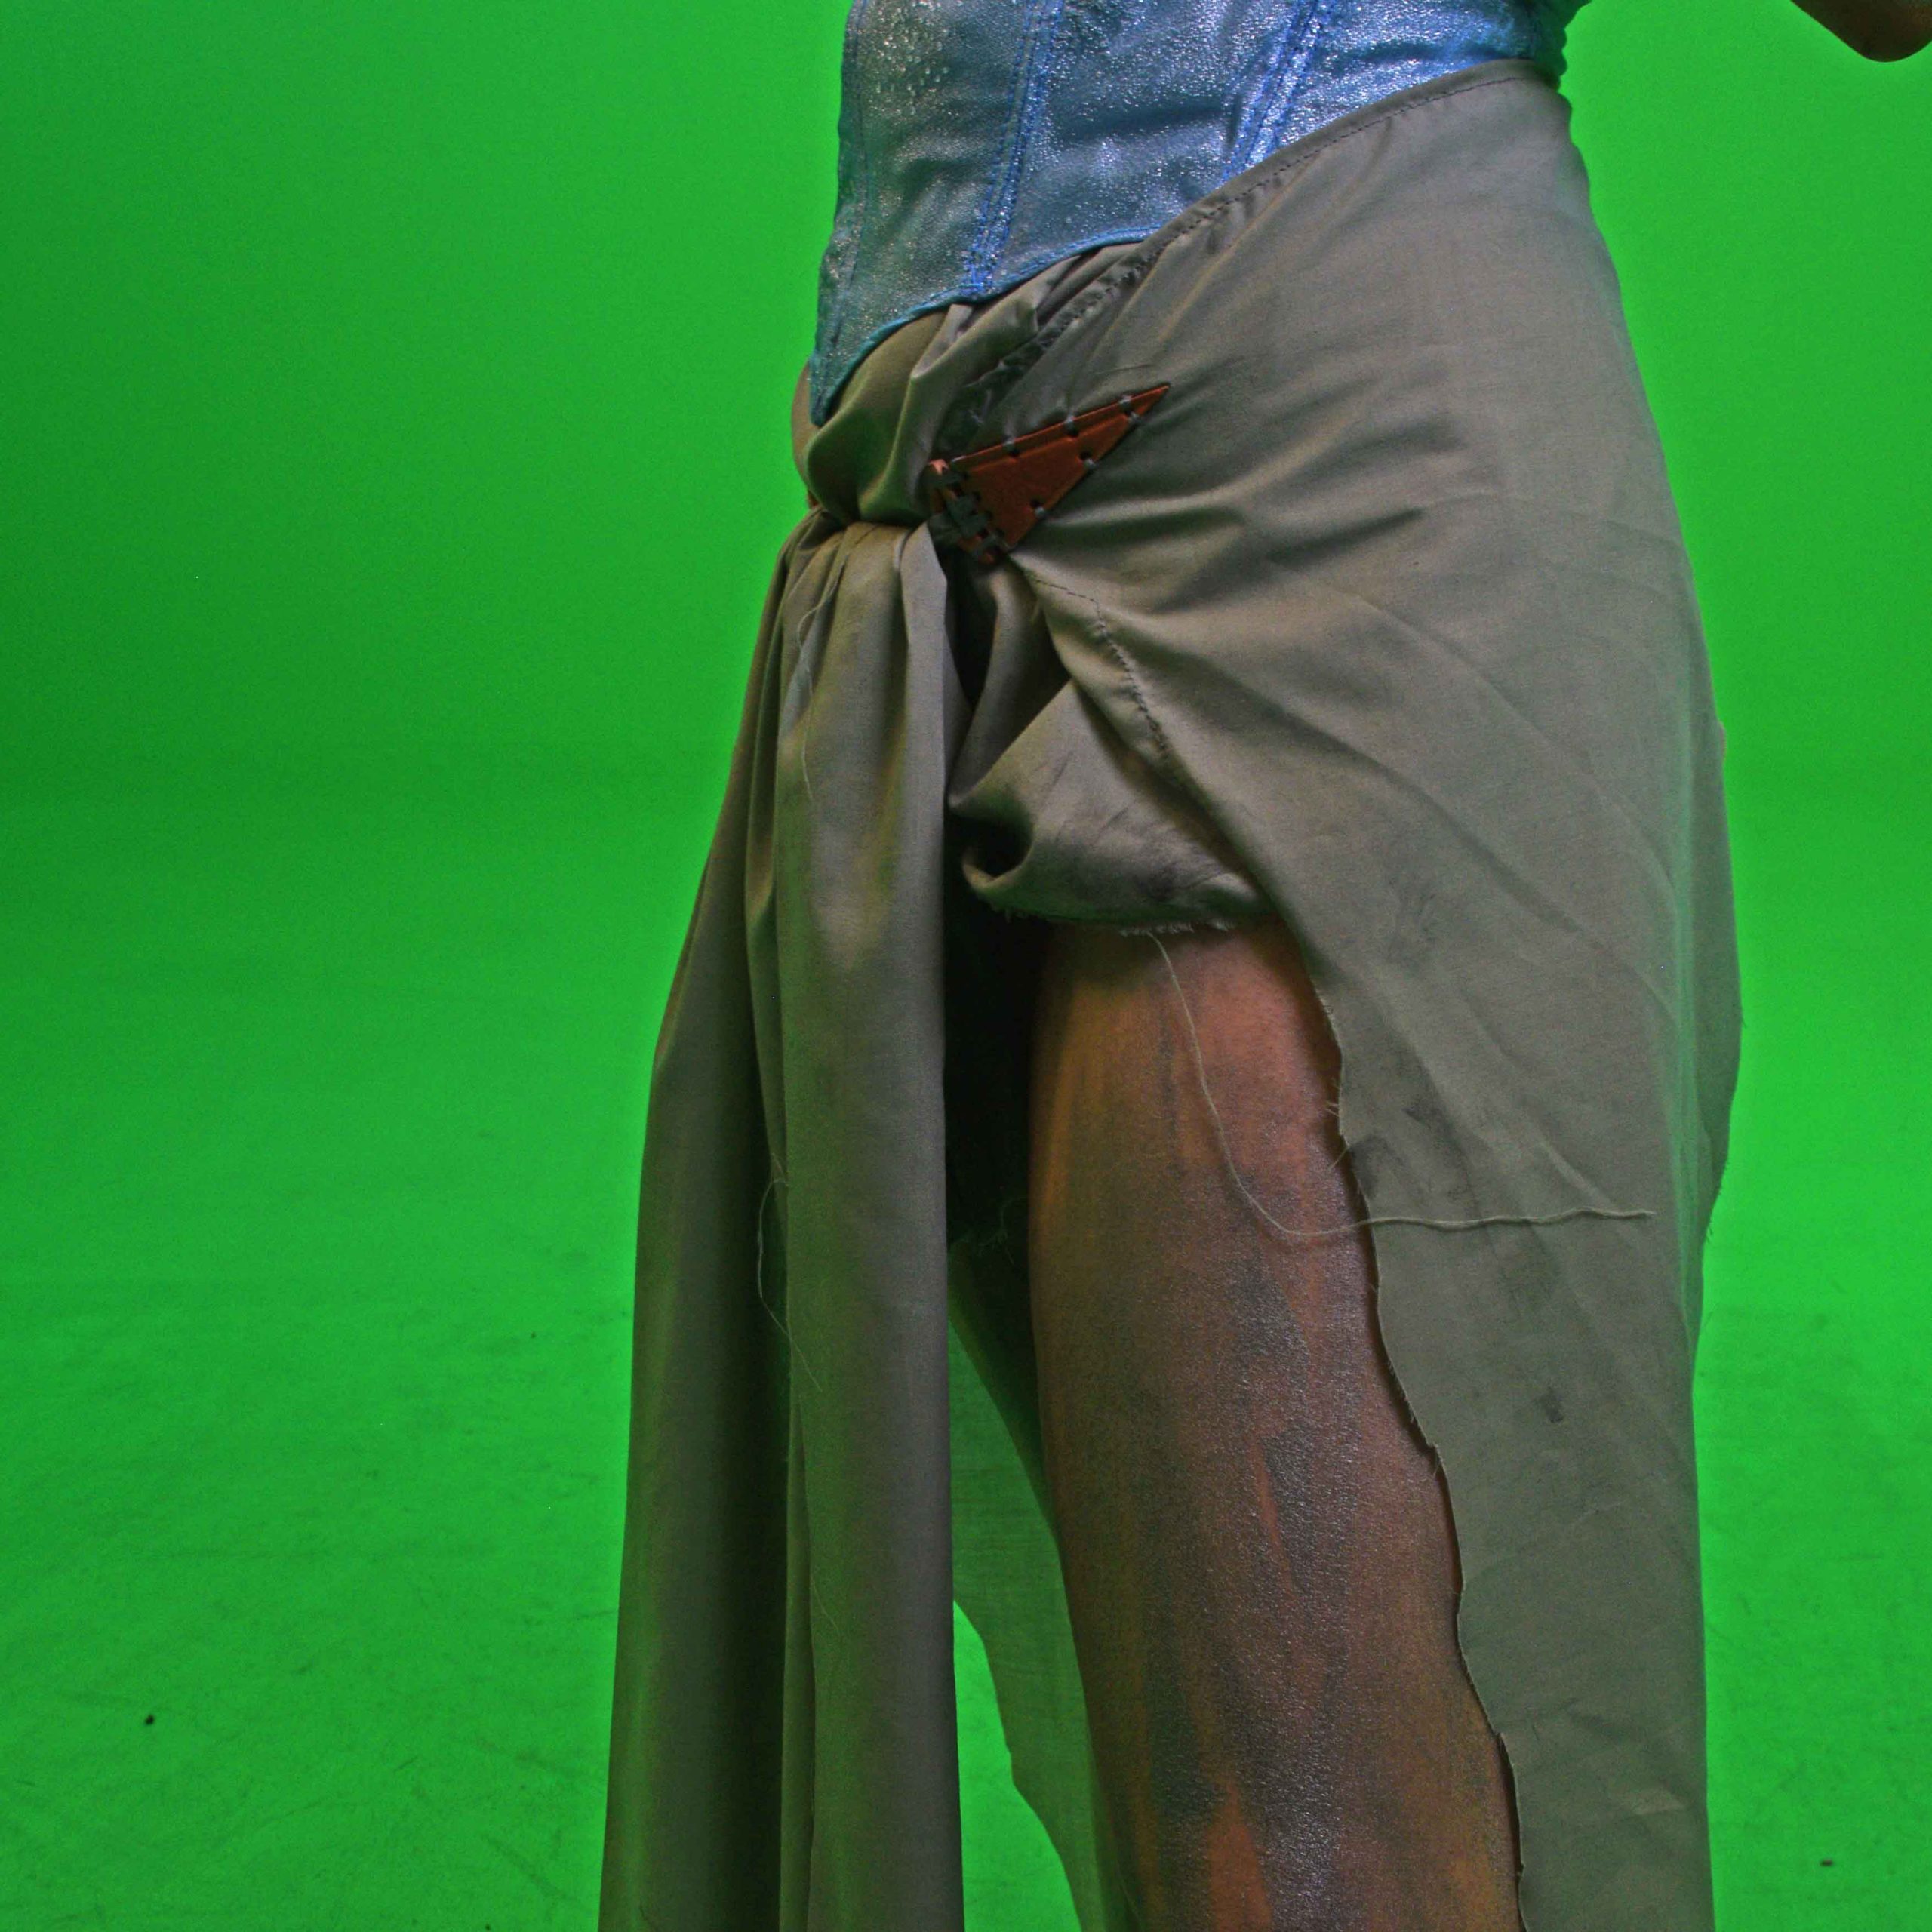
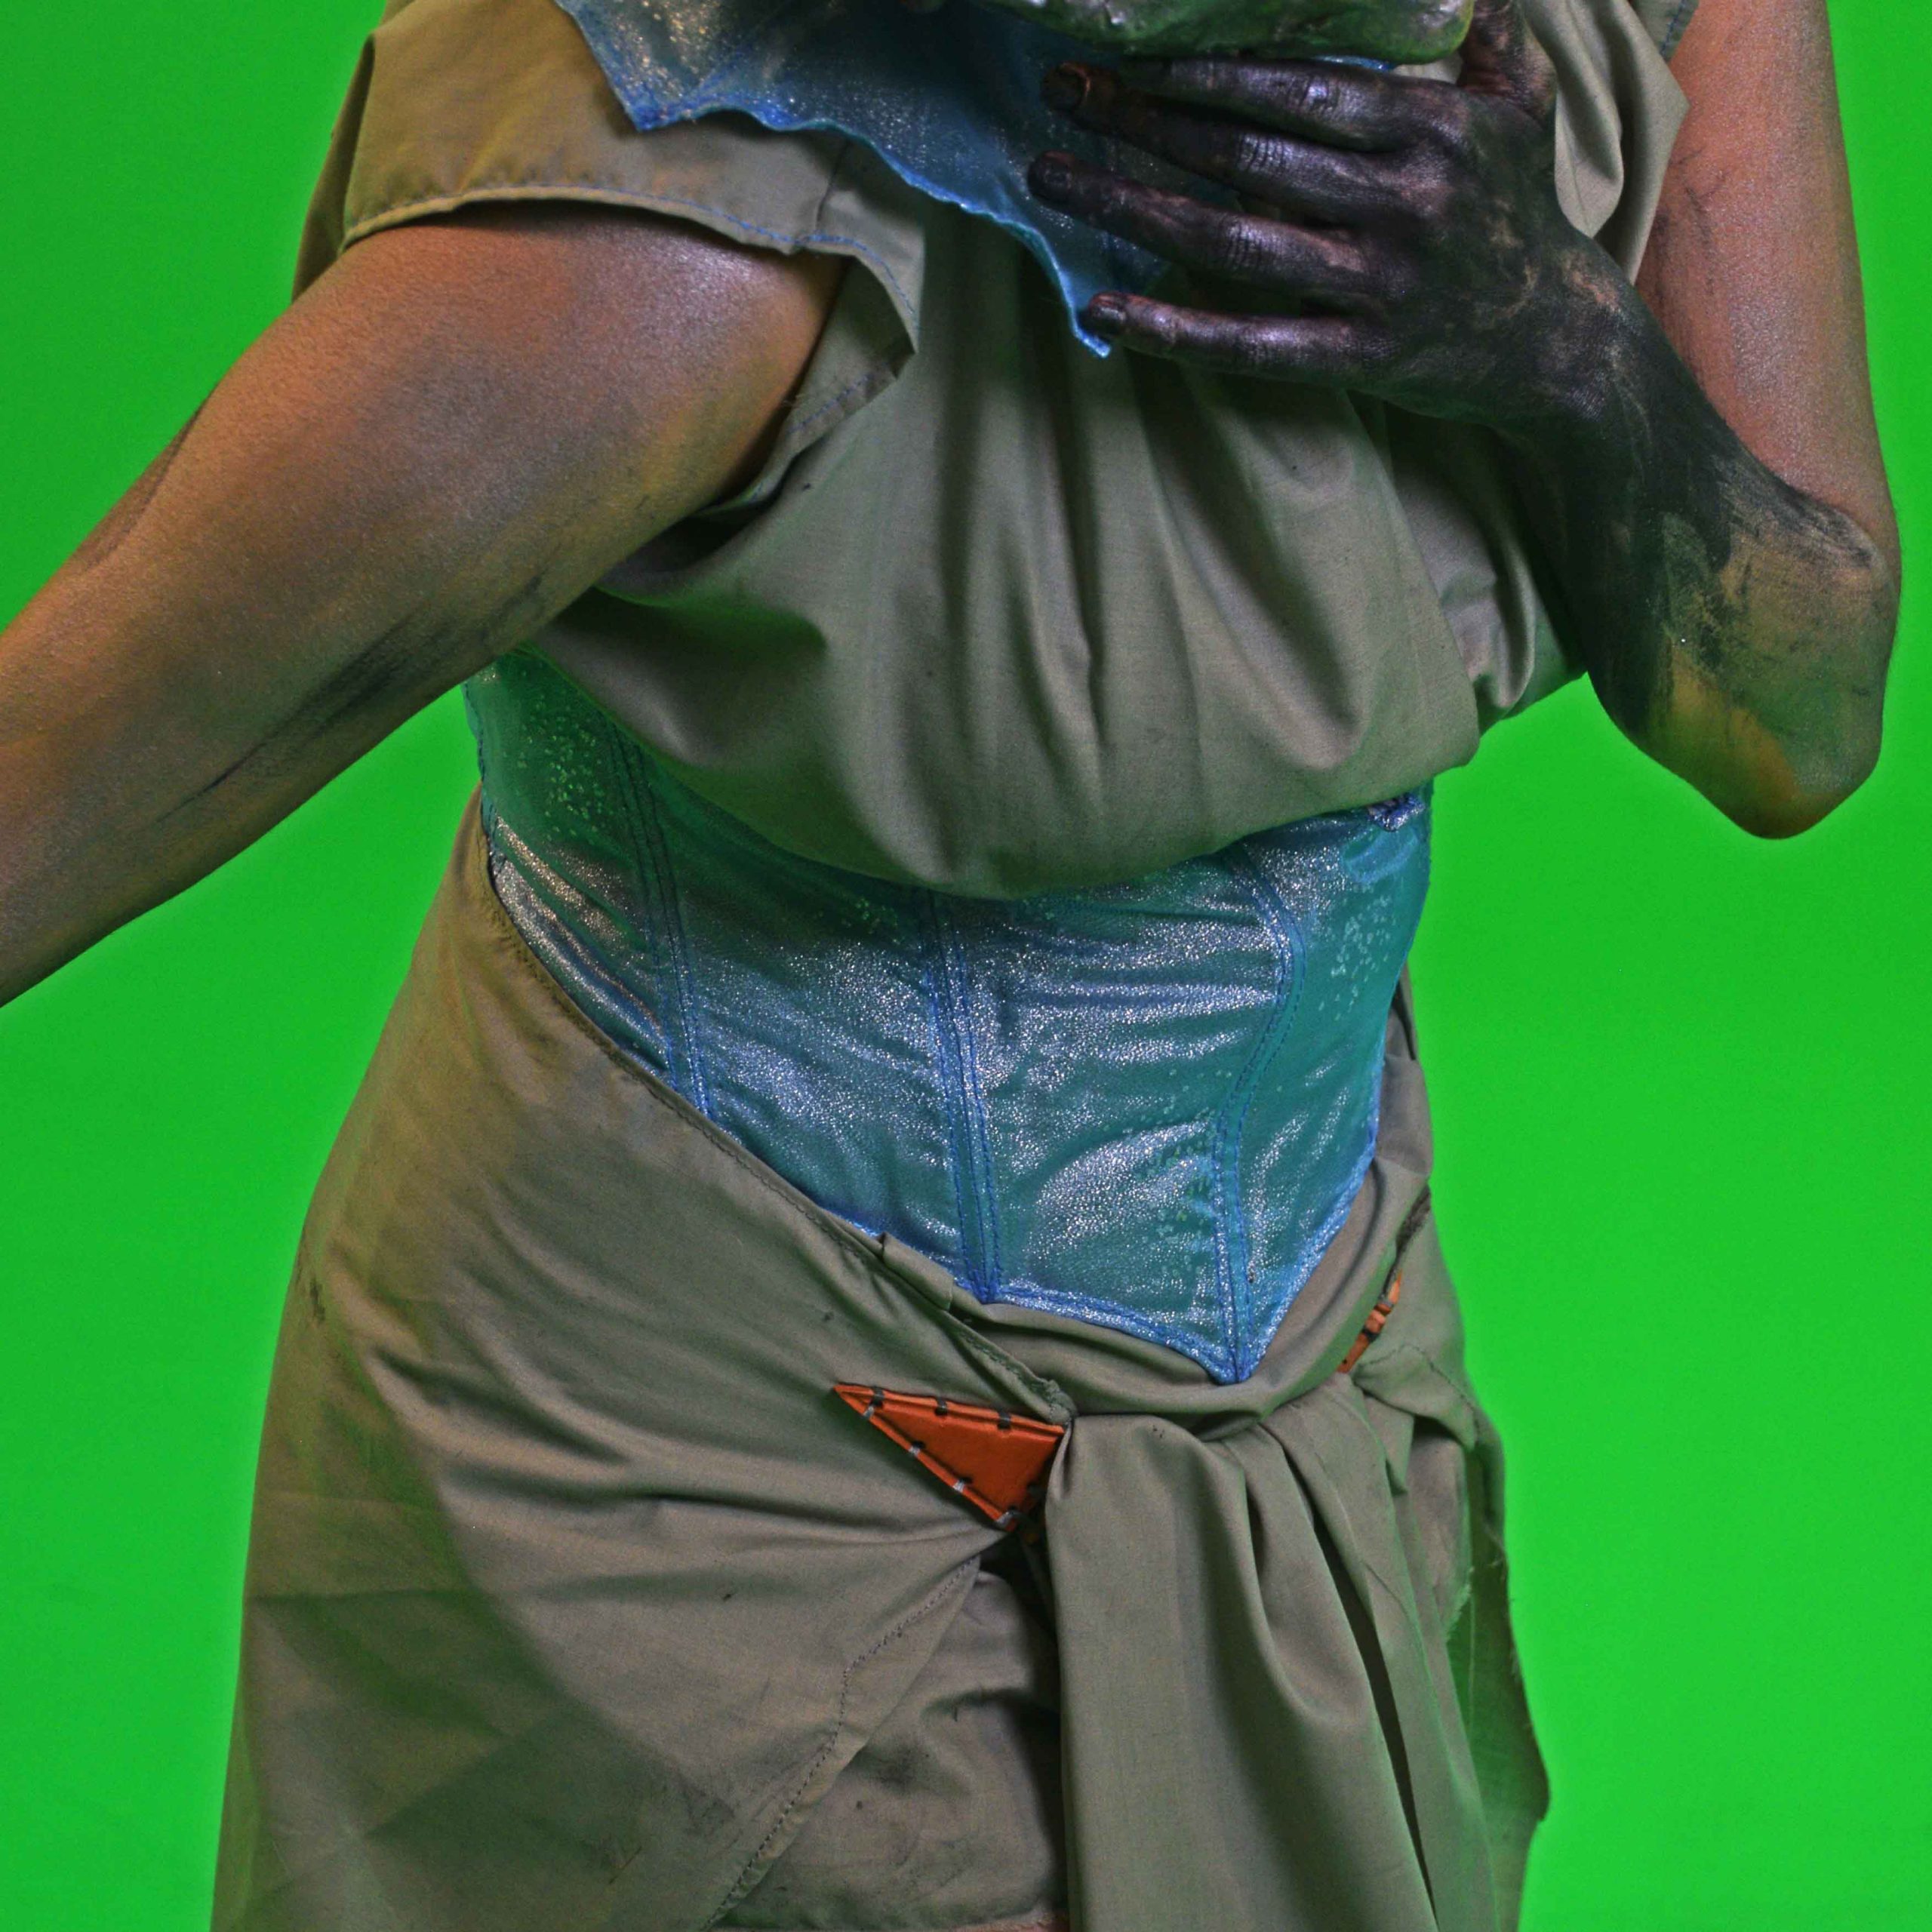
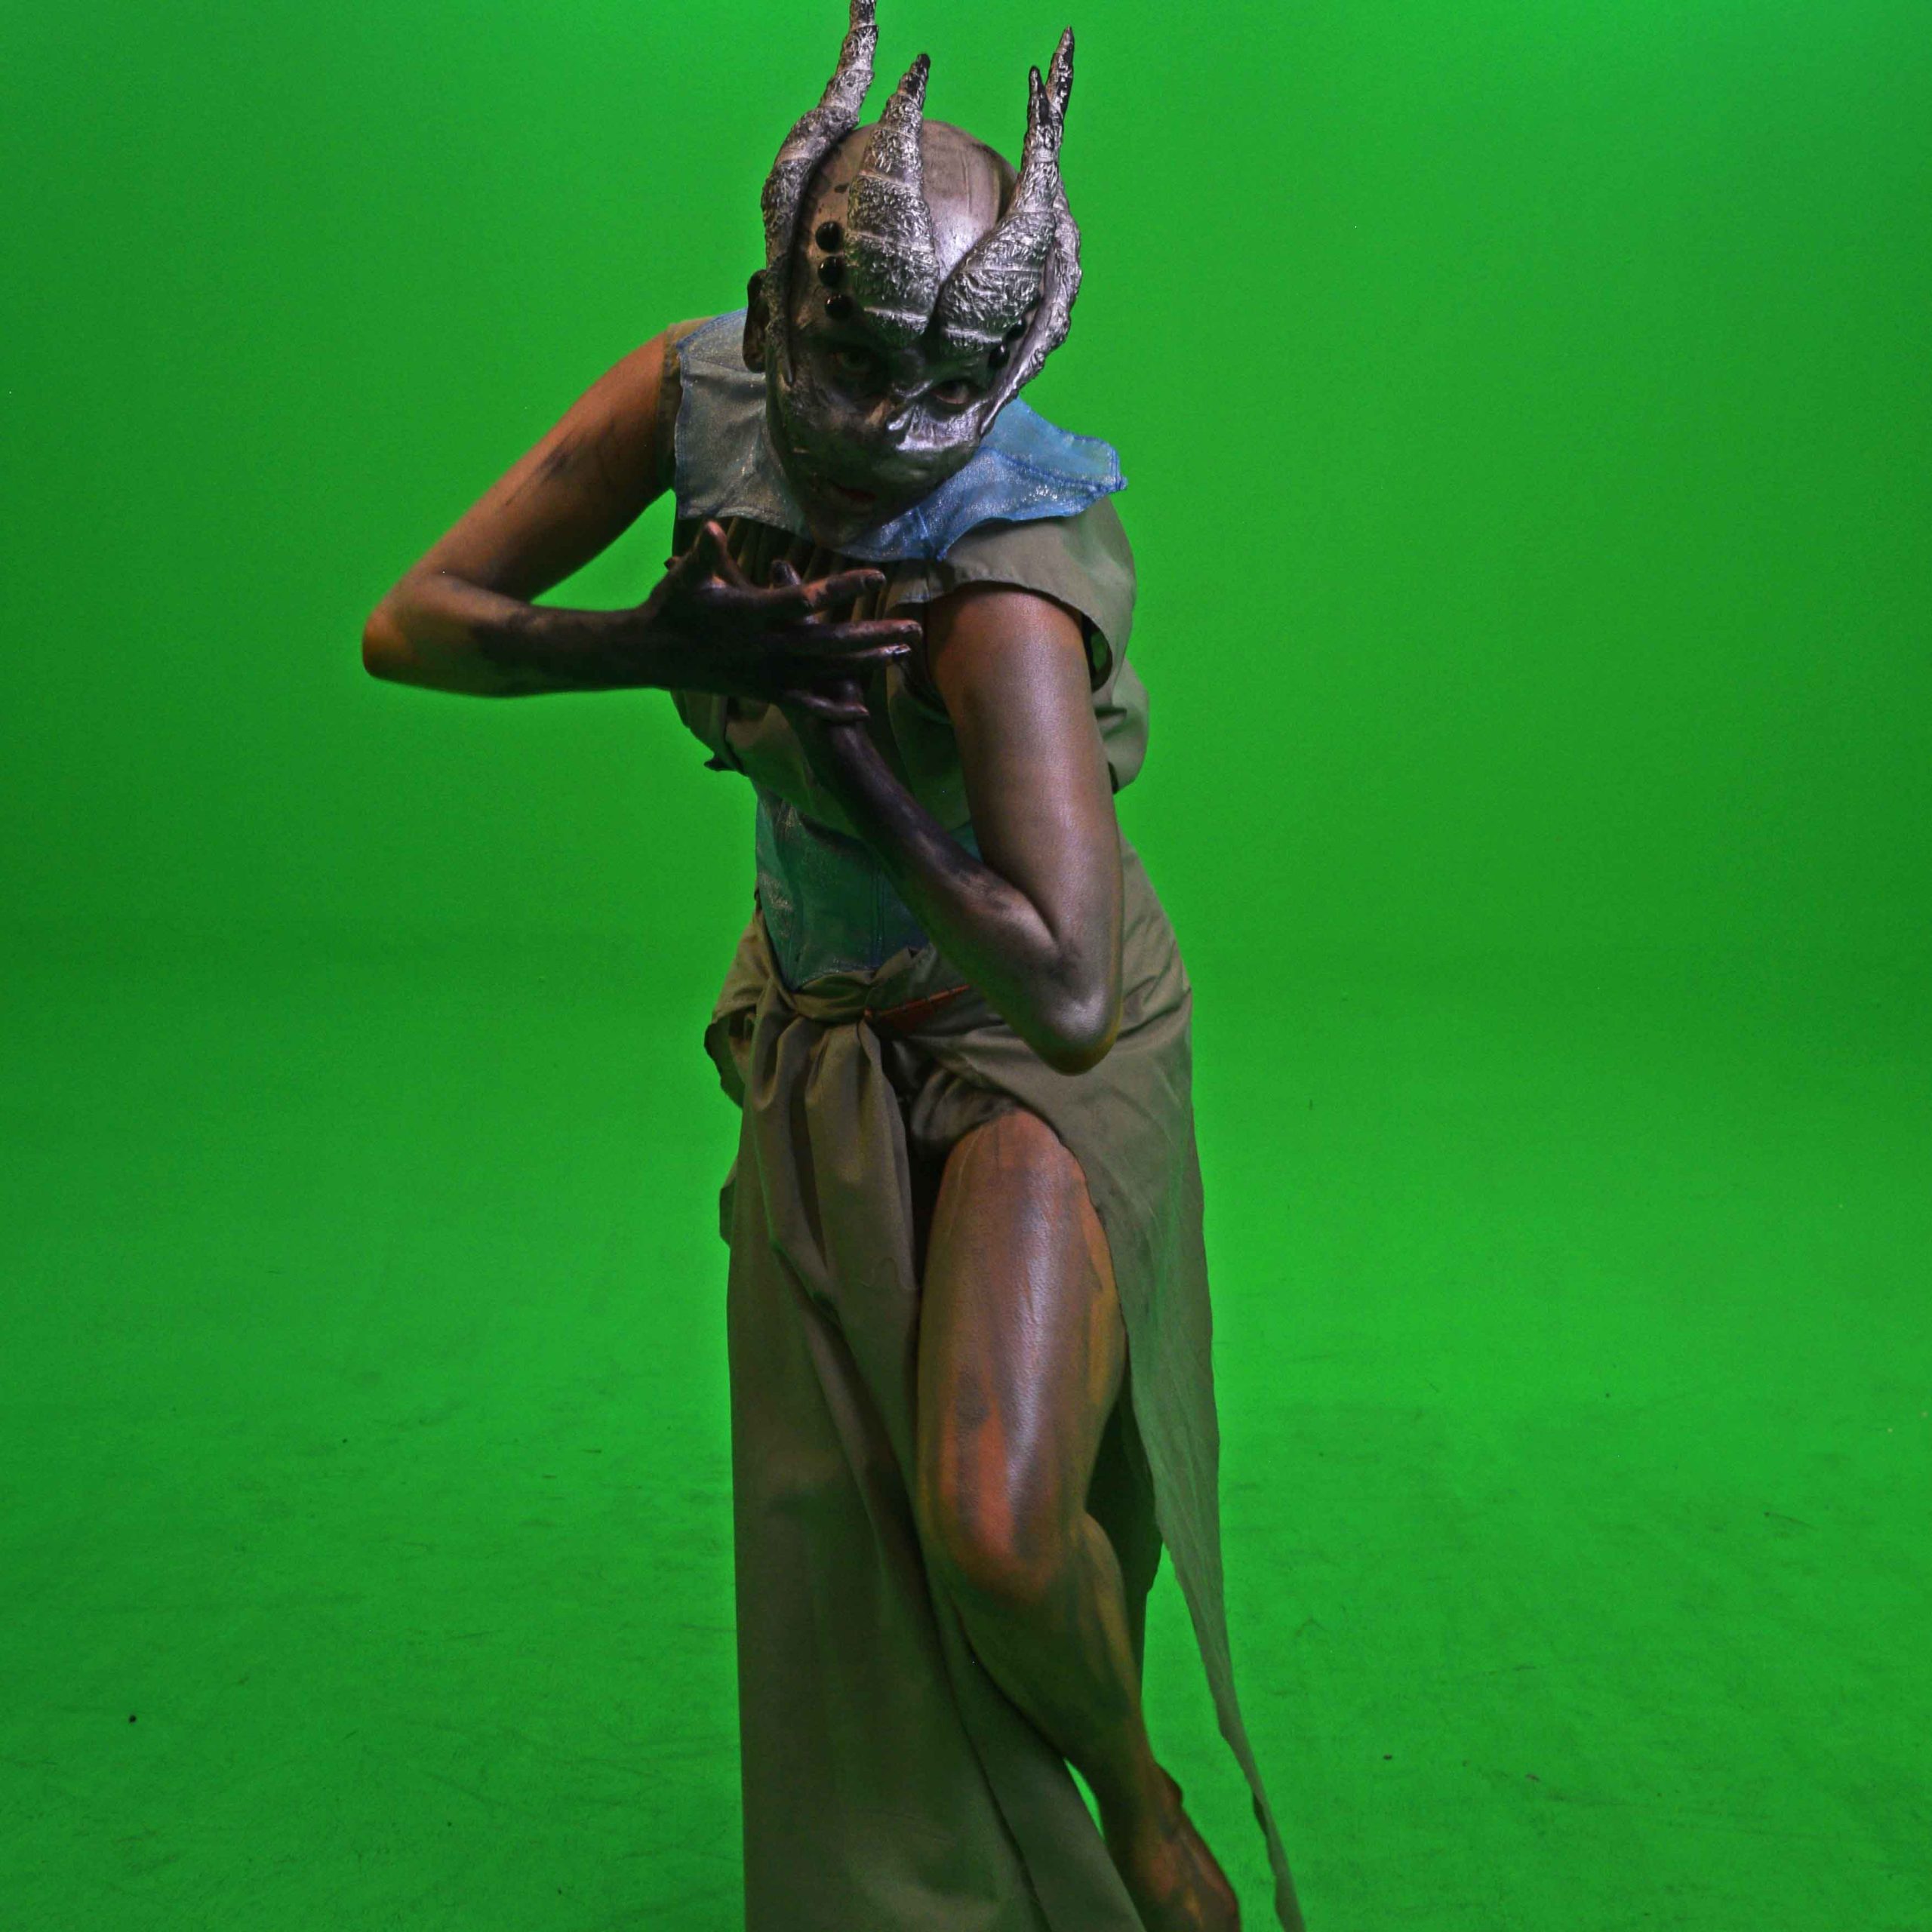
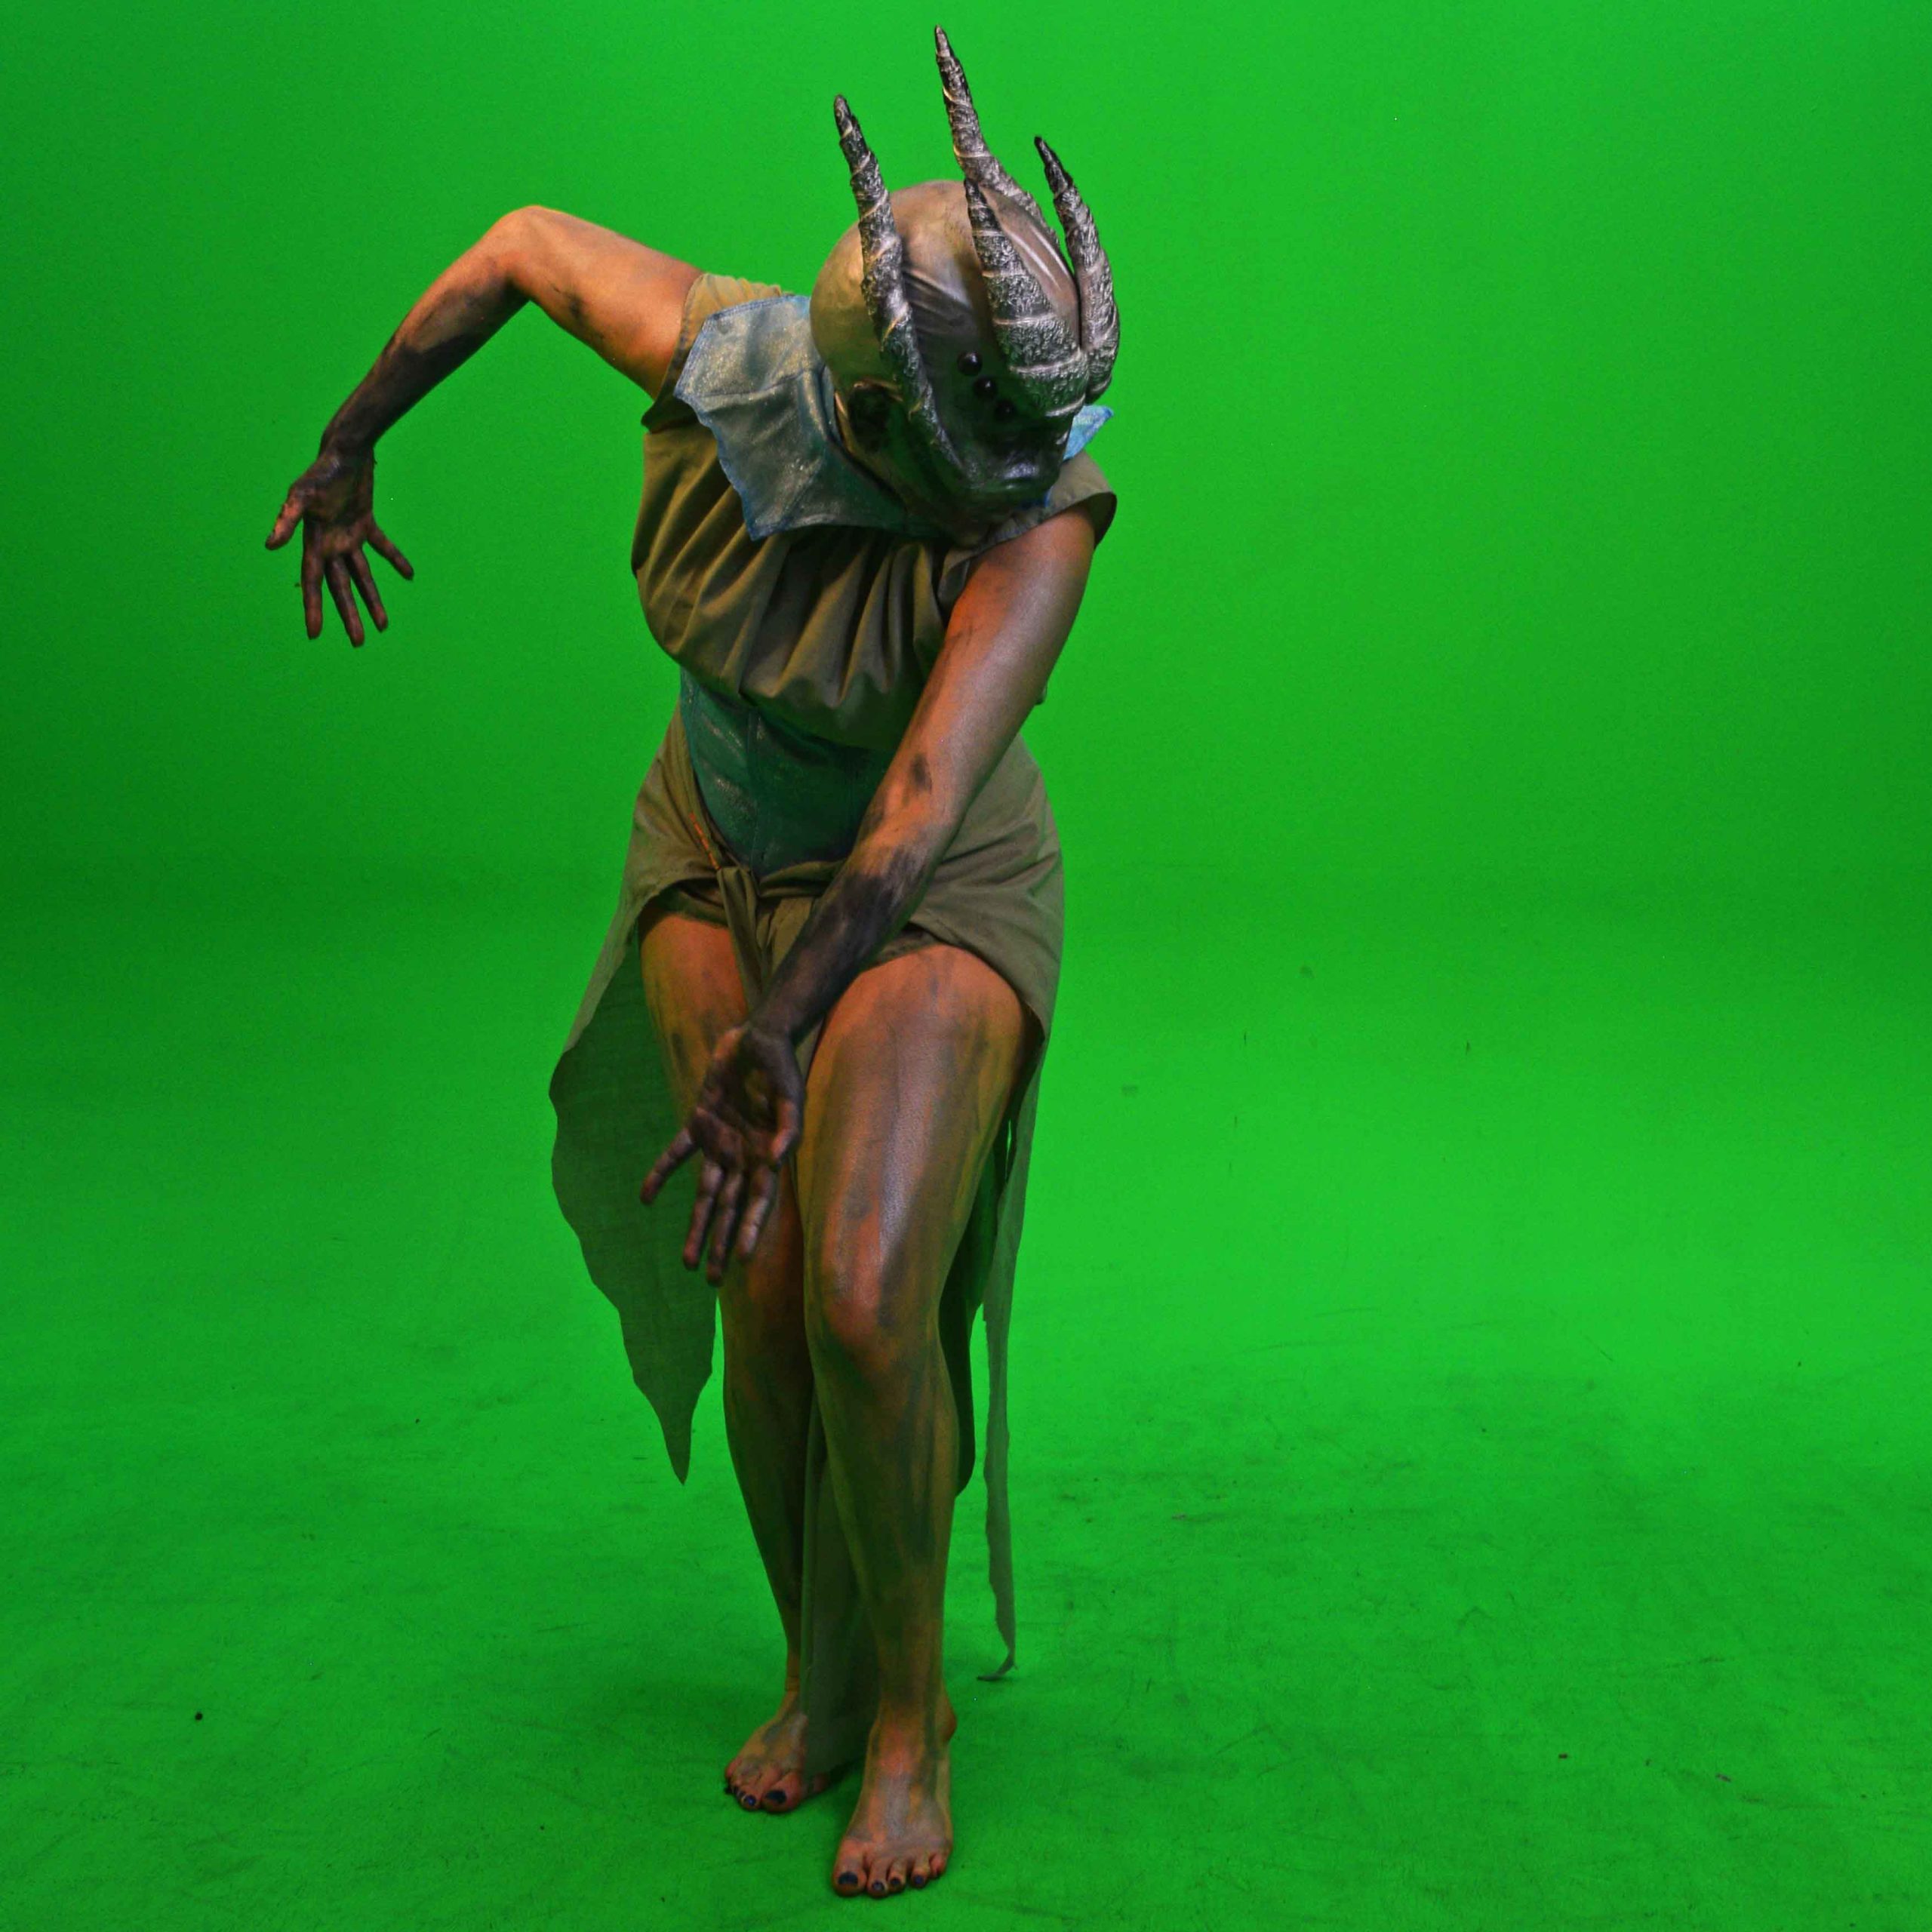
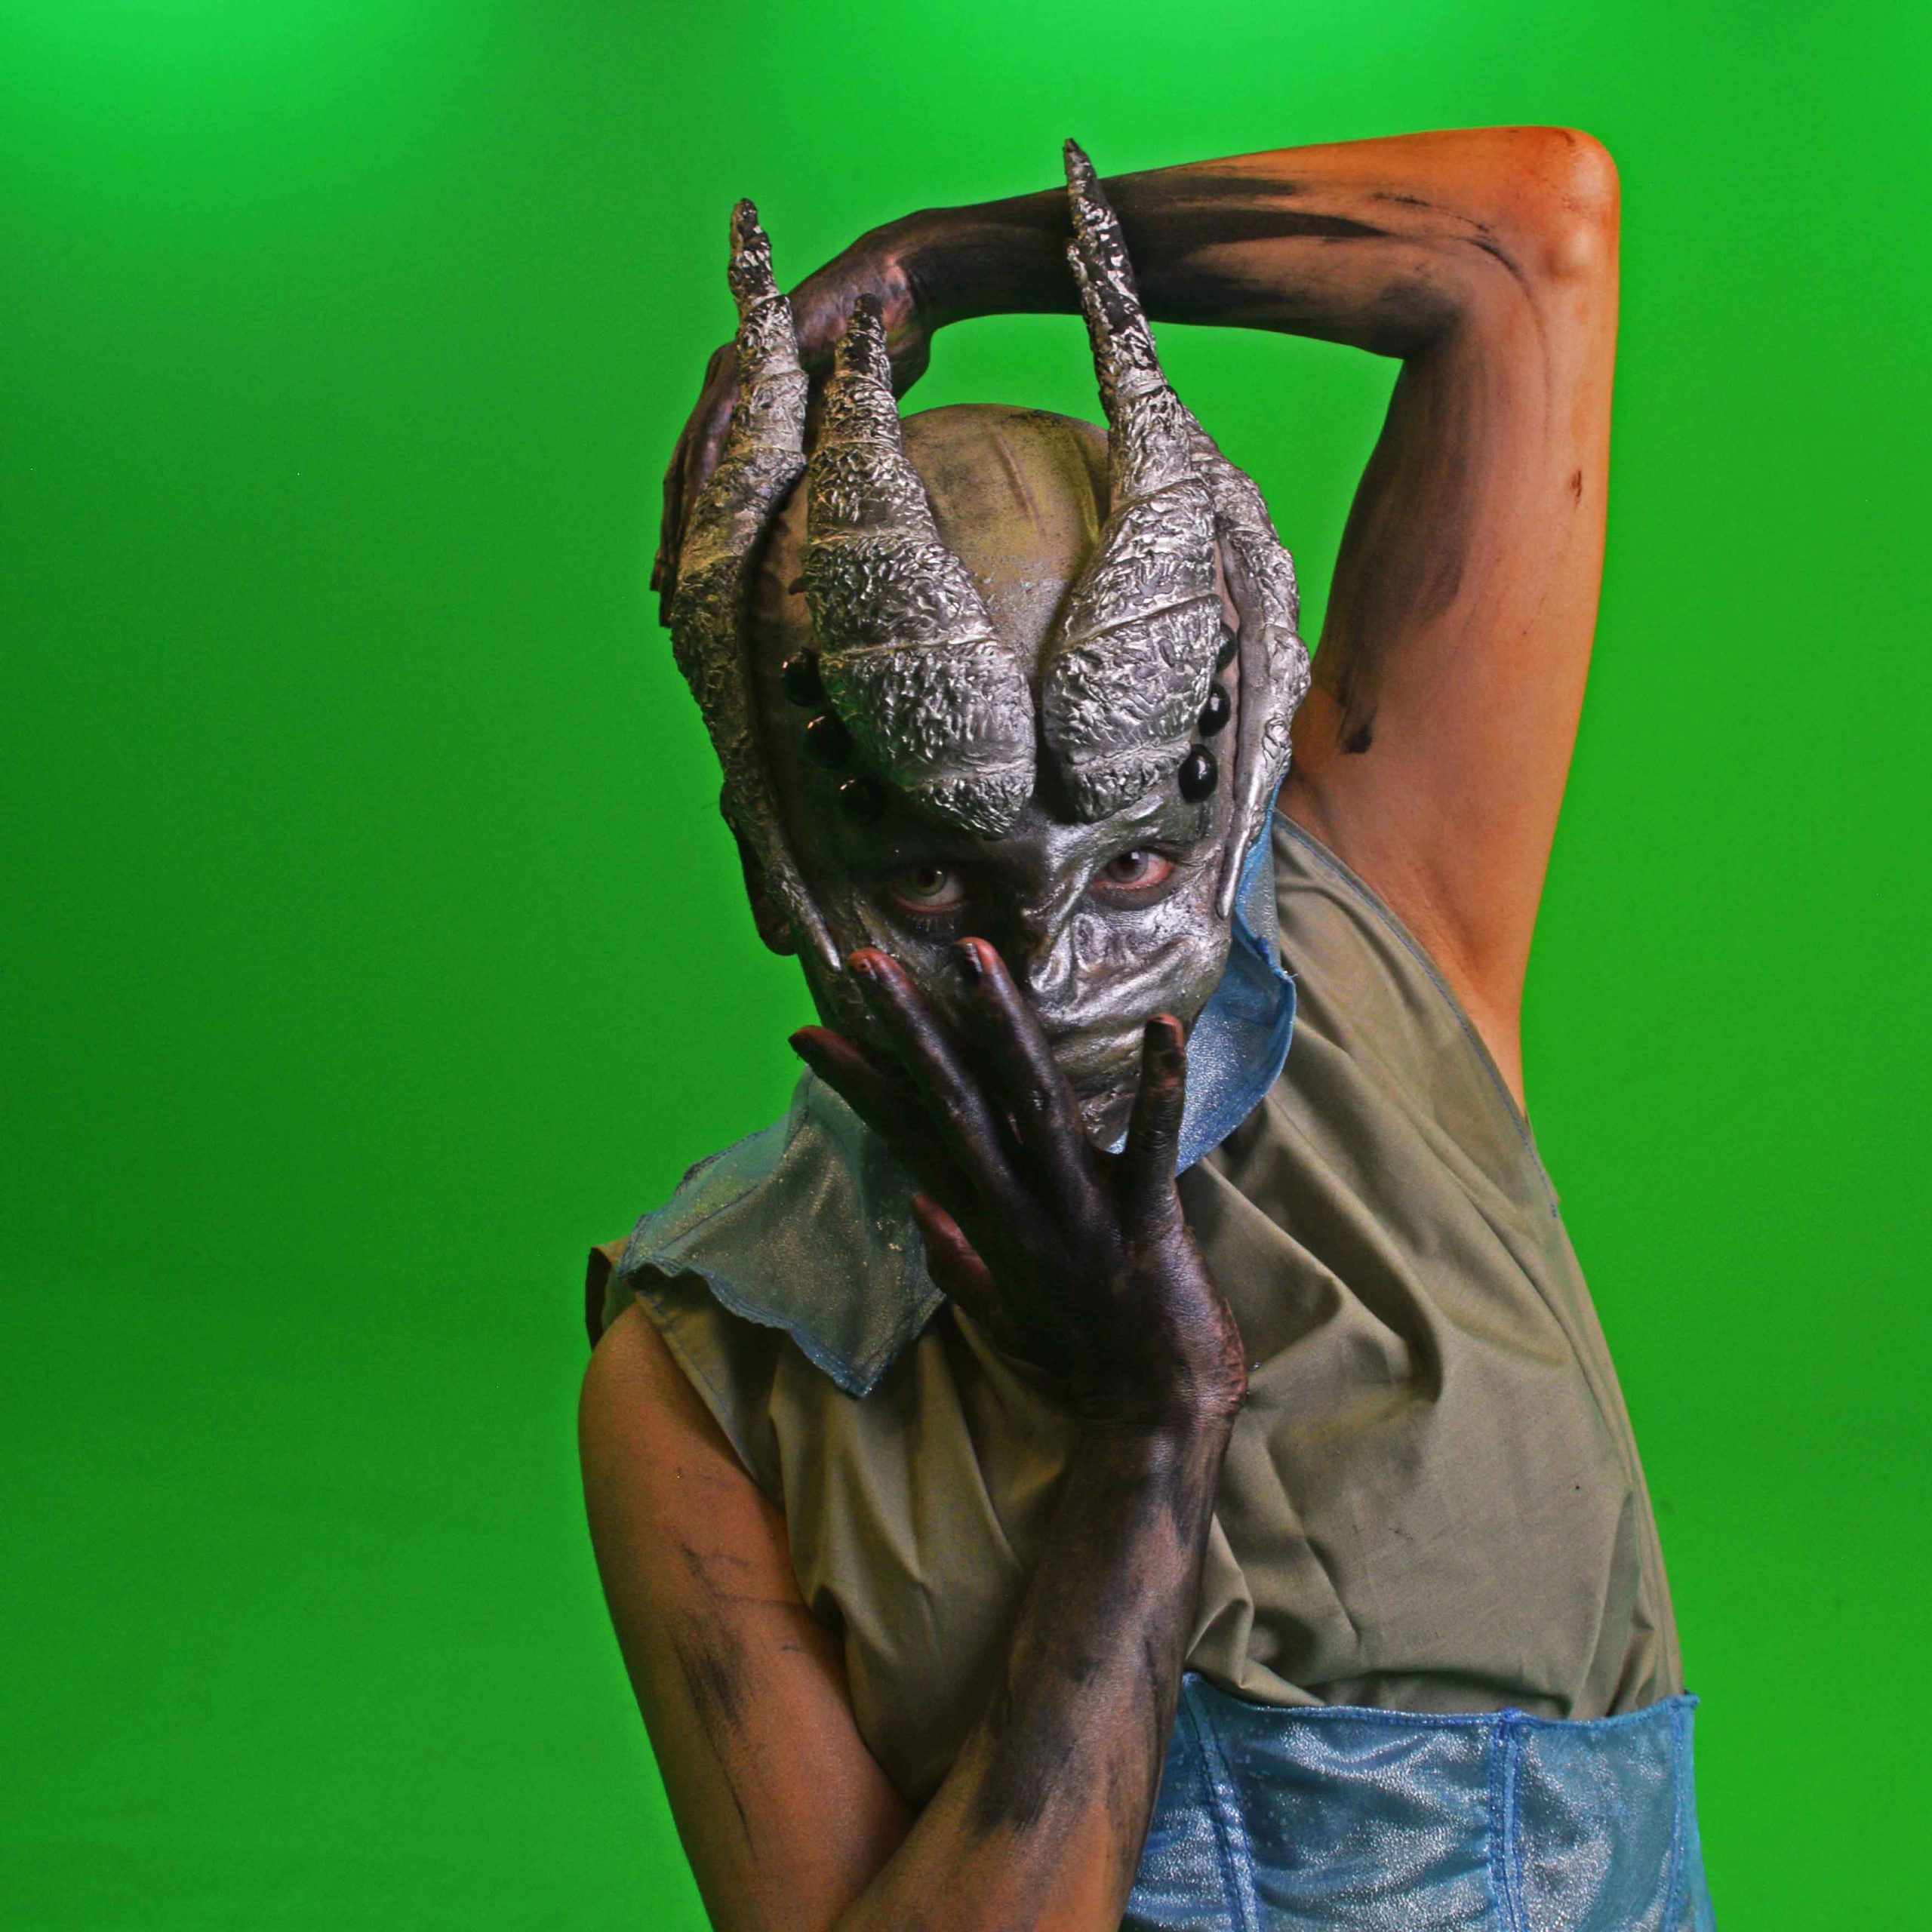
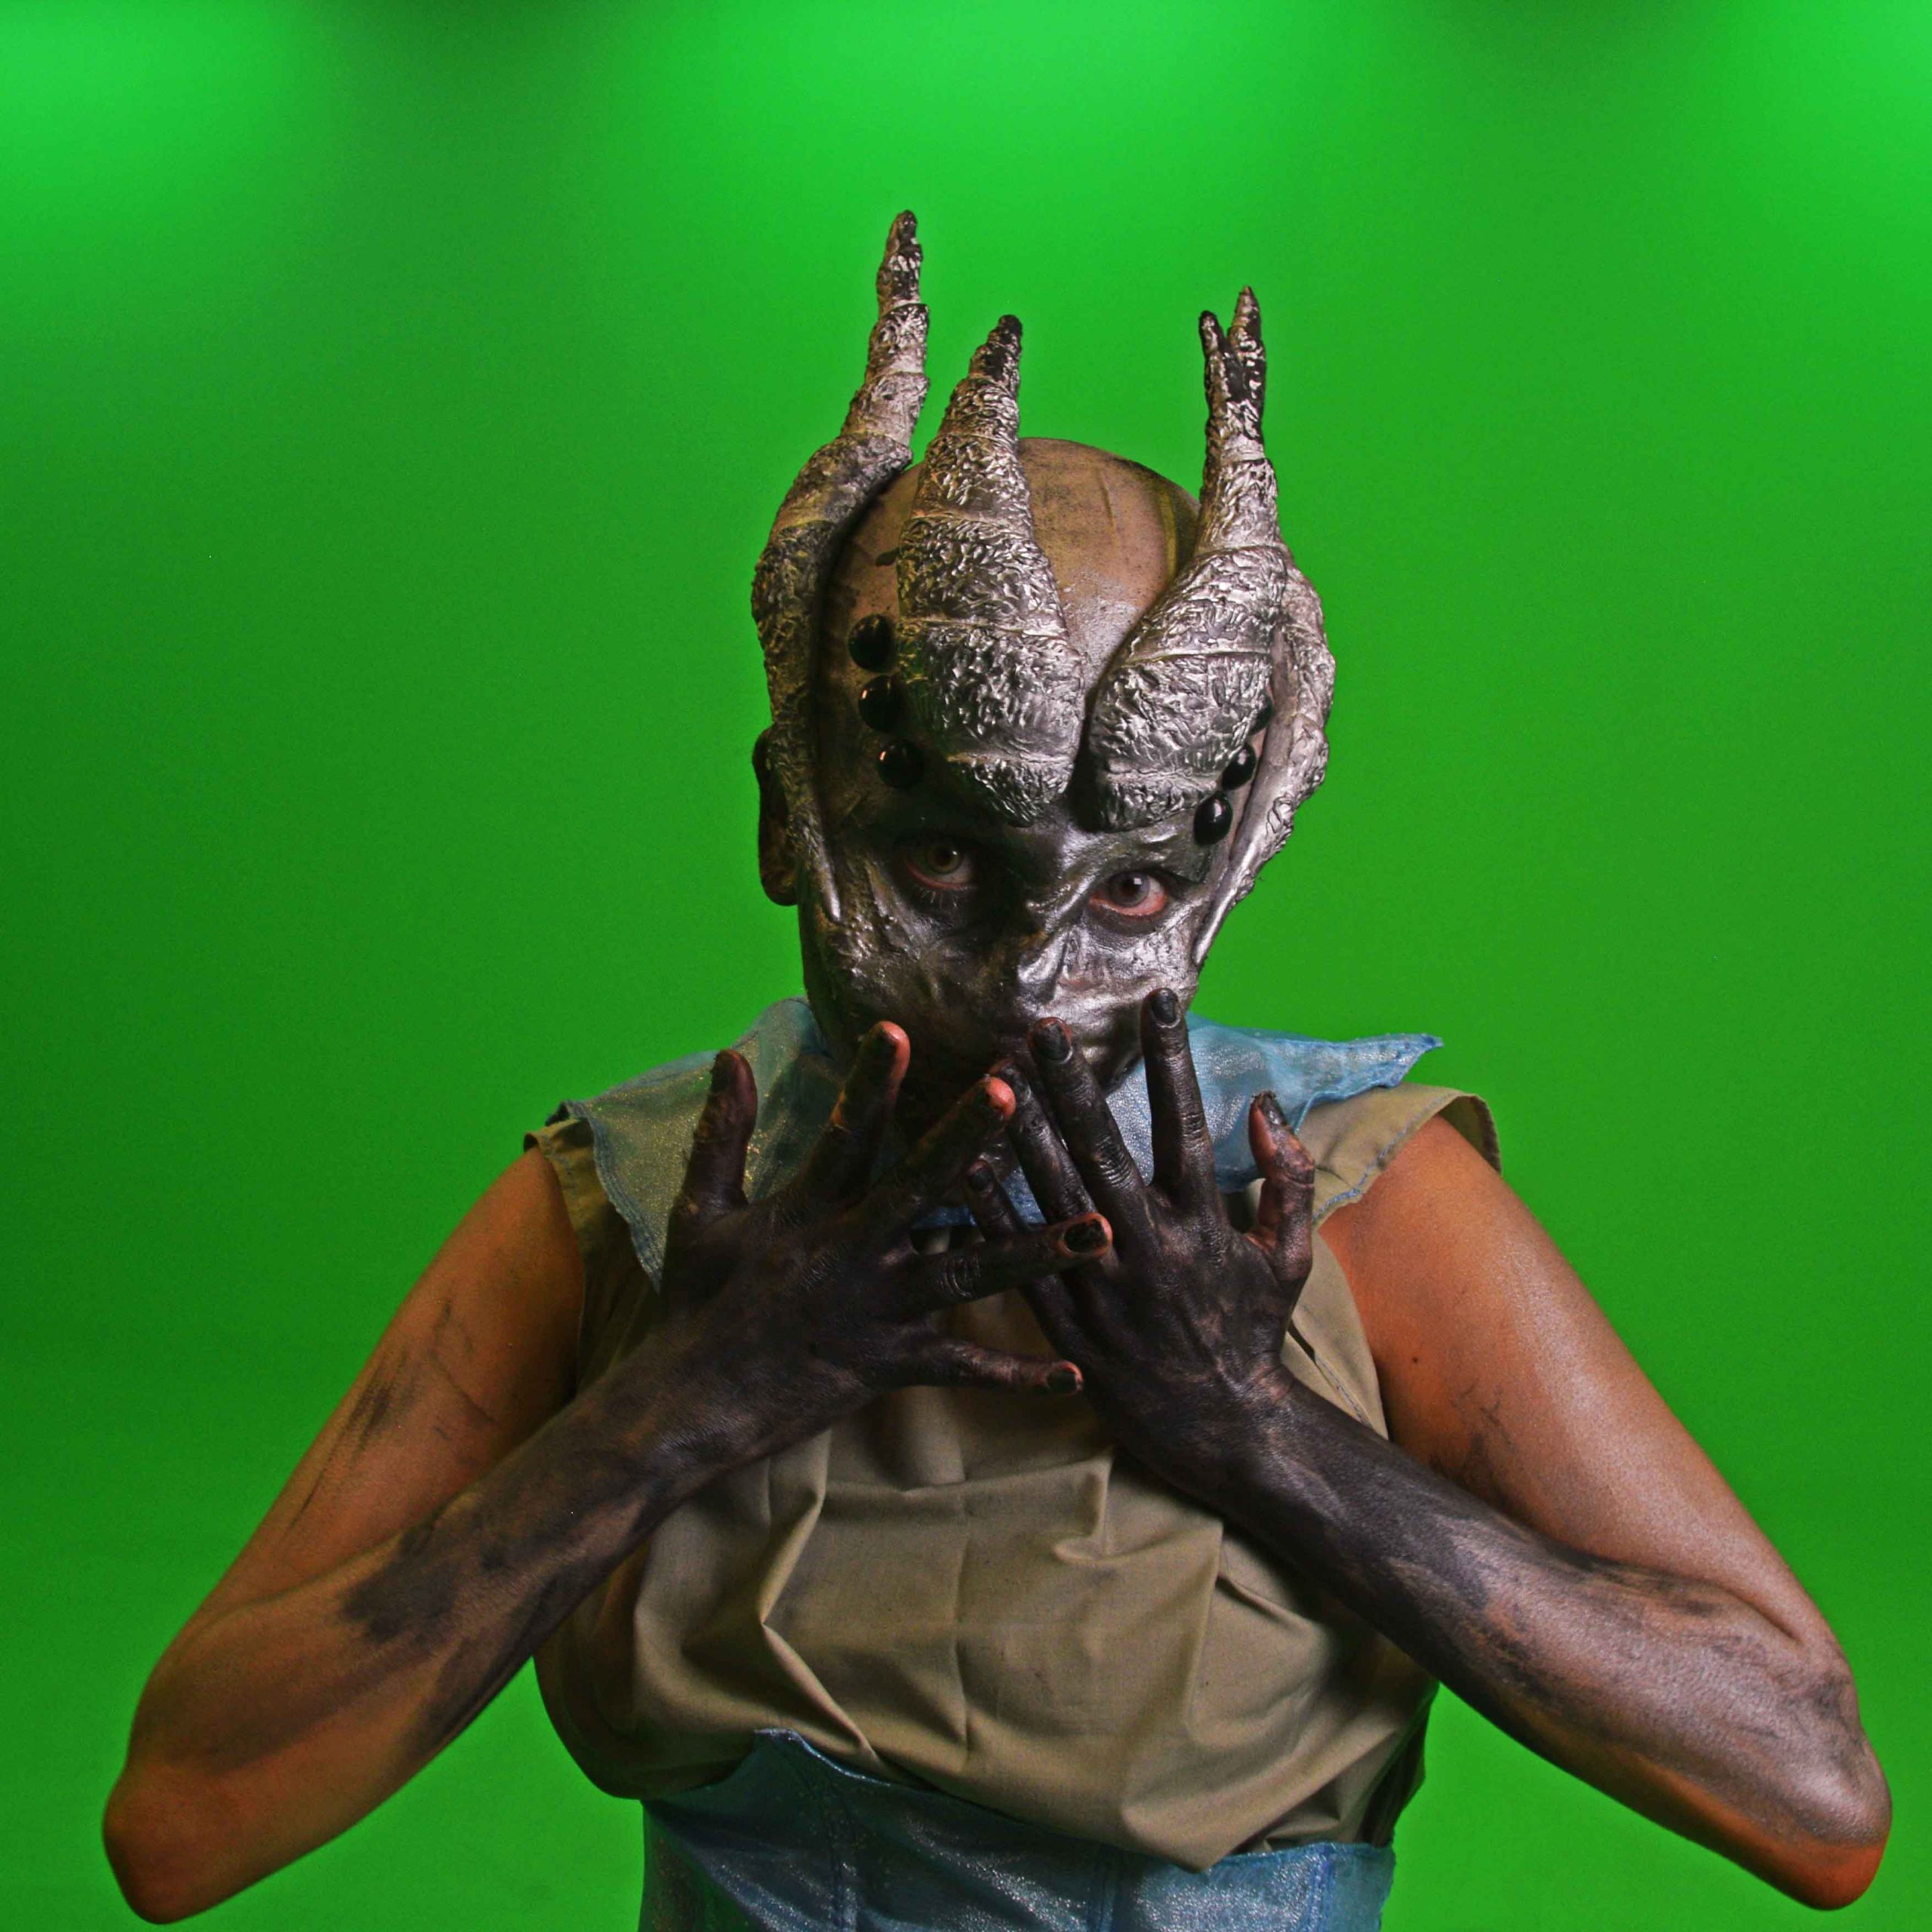
This section shows in detail the costume done for this project. The first section concentrates on different elements shown in close ups and the rest is poses showing how the costume worked in practice (overall aesthetic).
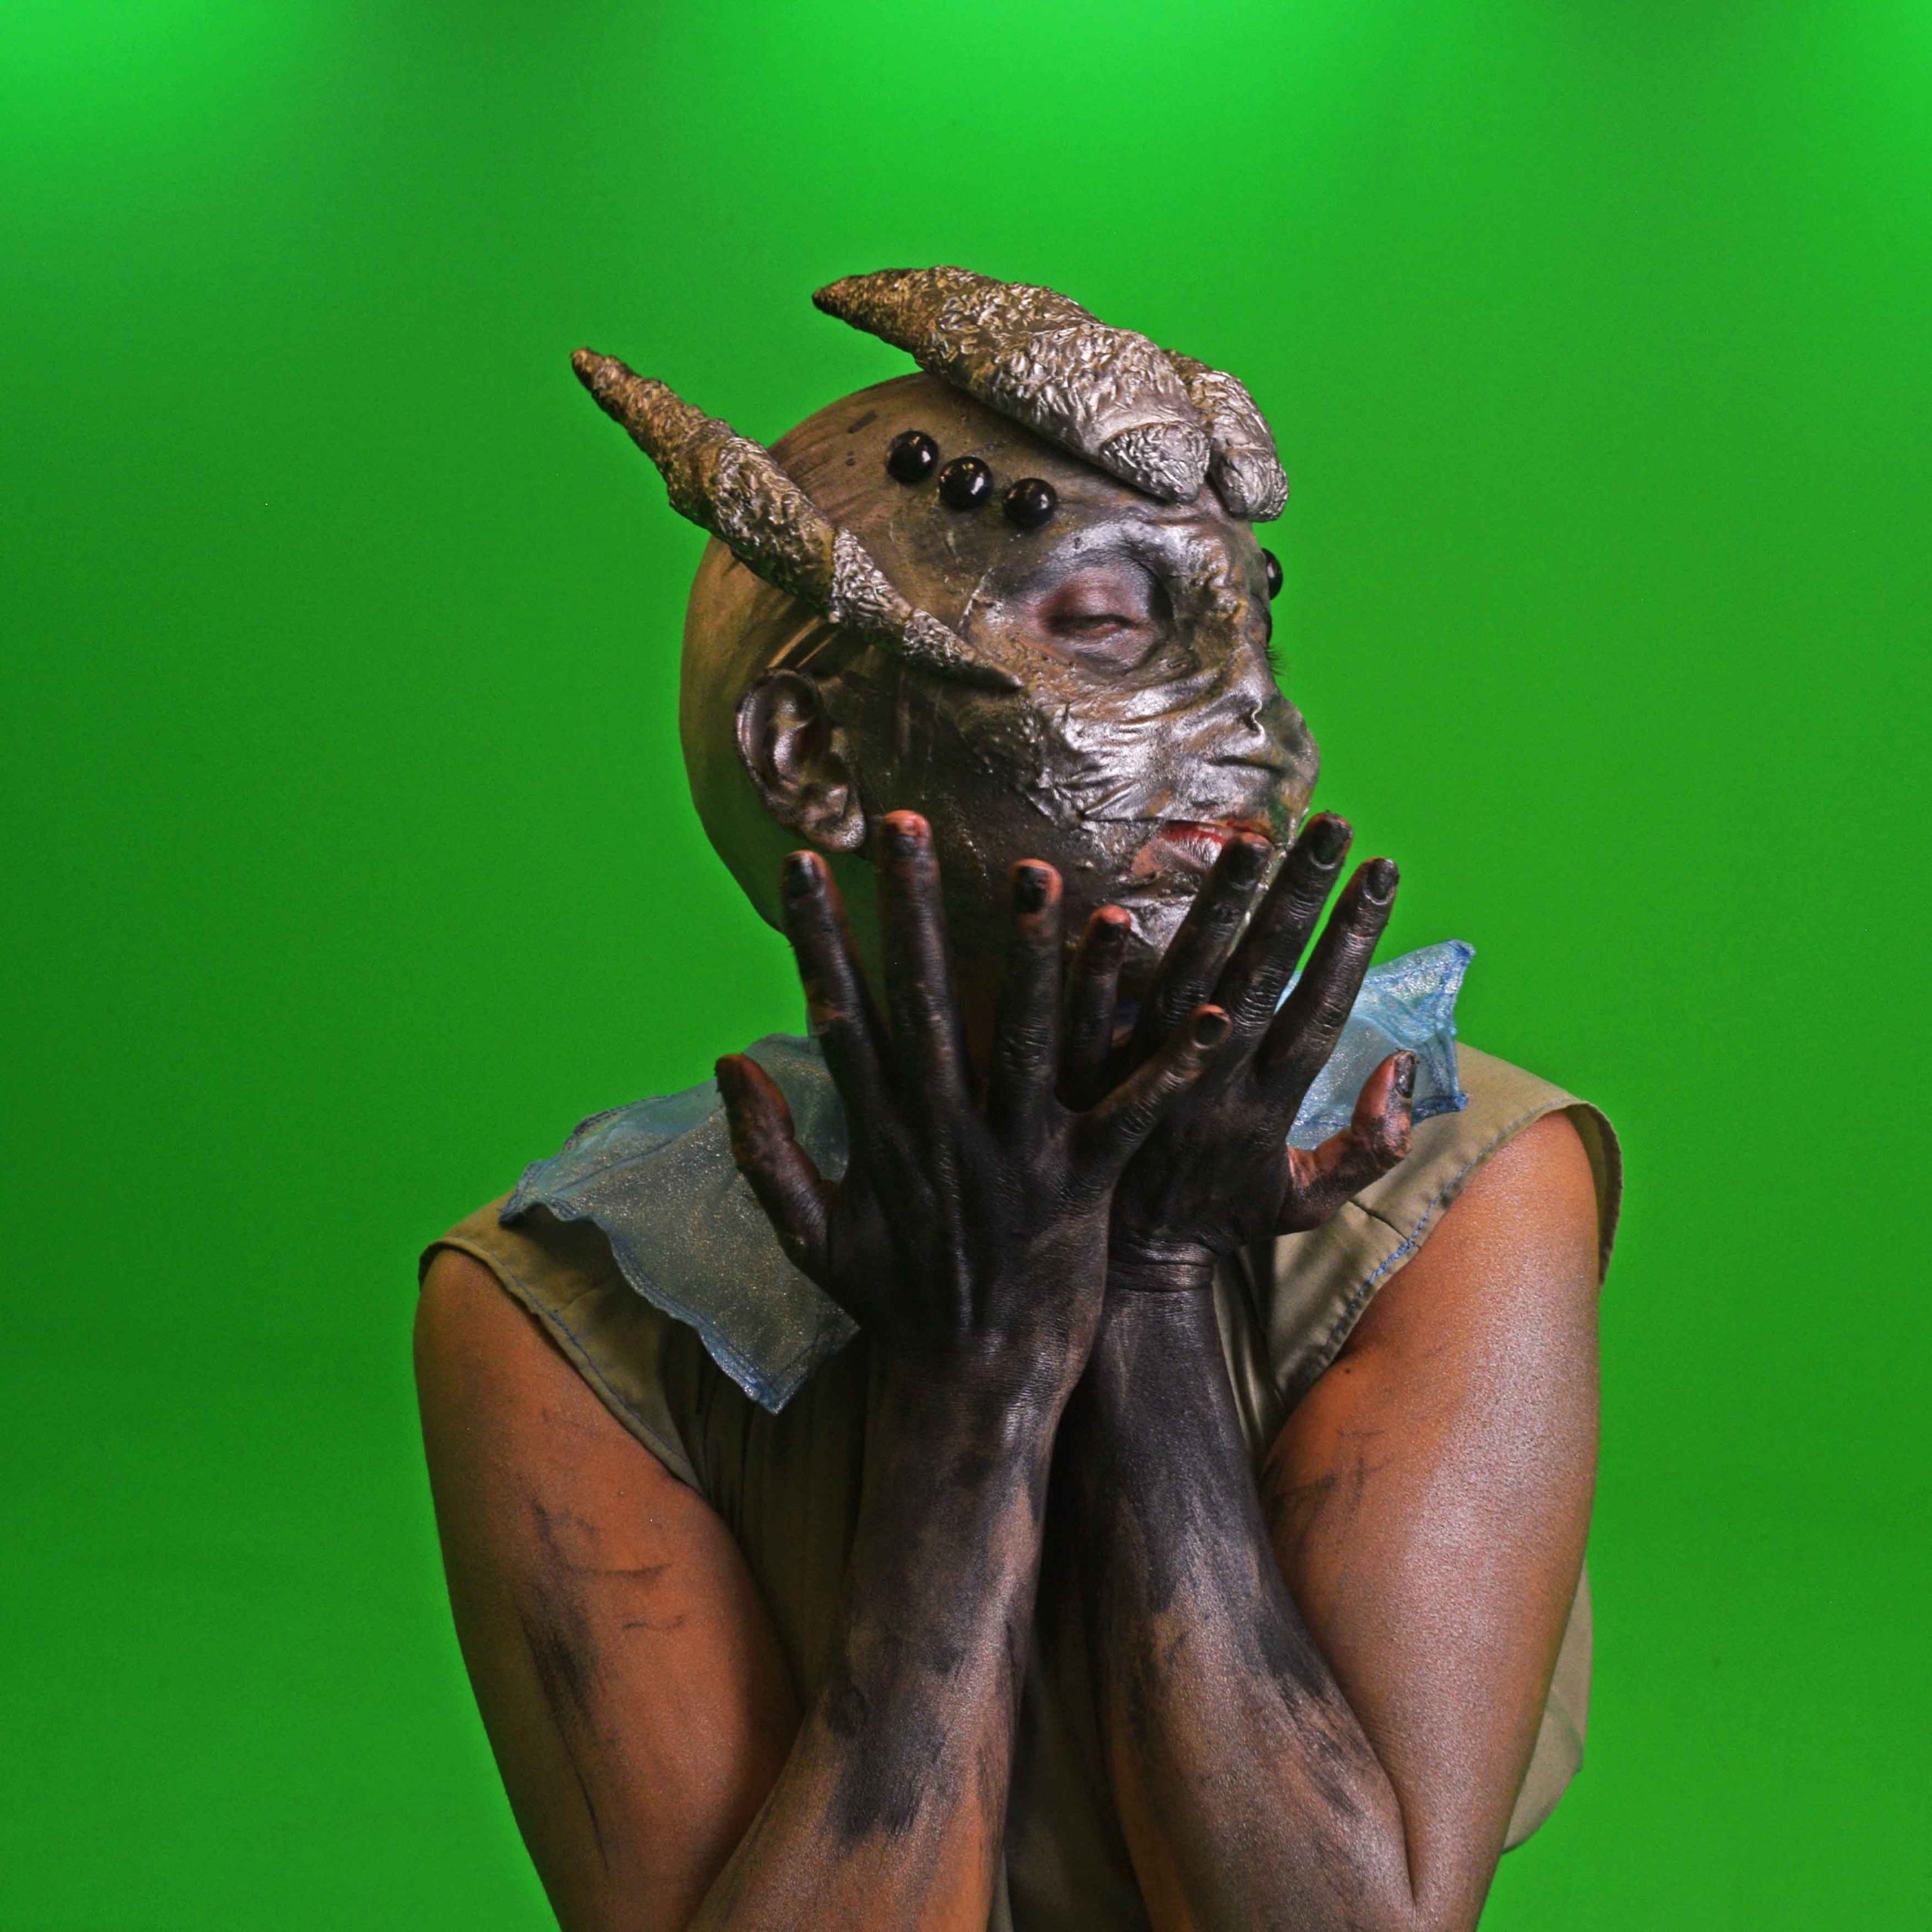
As I have previously not worked with prosthetics make up, I didn’t plan the day correctly, the close ups were done at the end of the day, when everything was slightly falling apart (not much prior experience applying it might have been the reason), the aesthetic was better to start with.
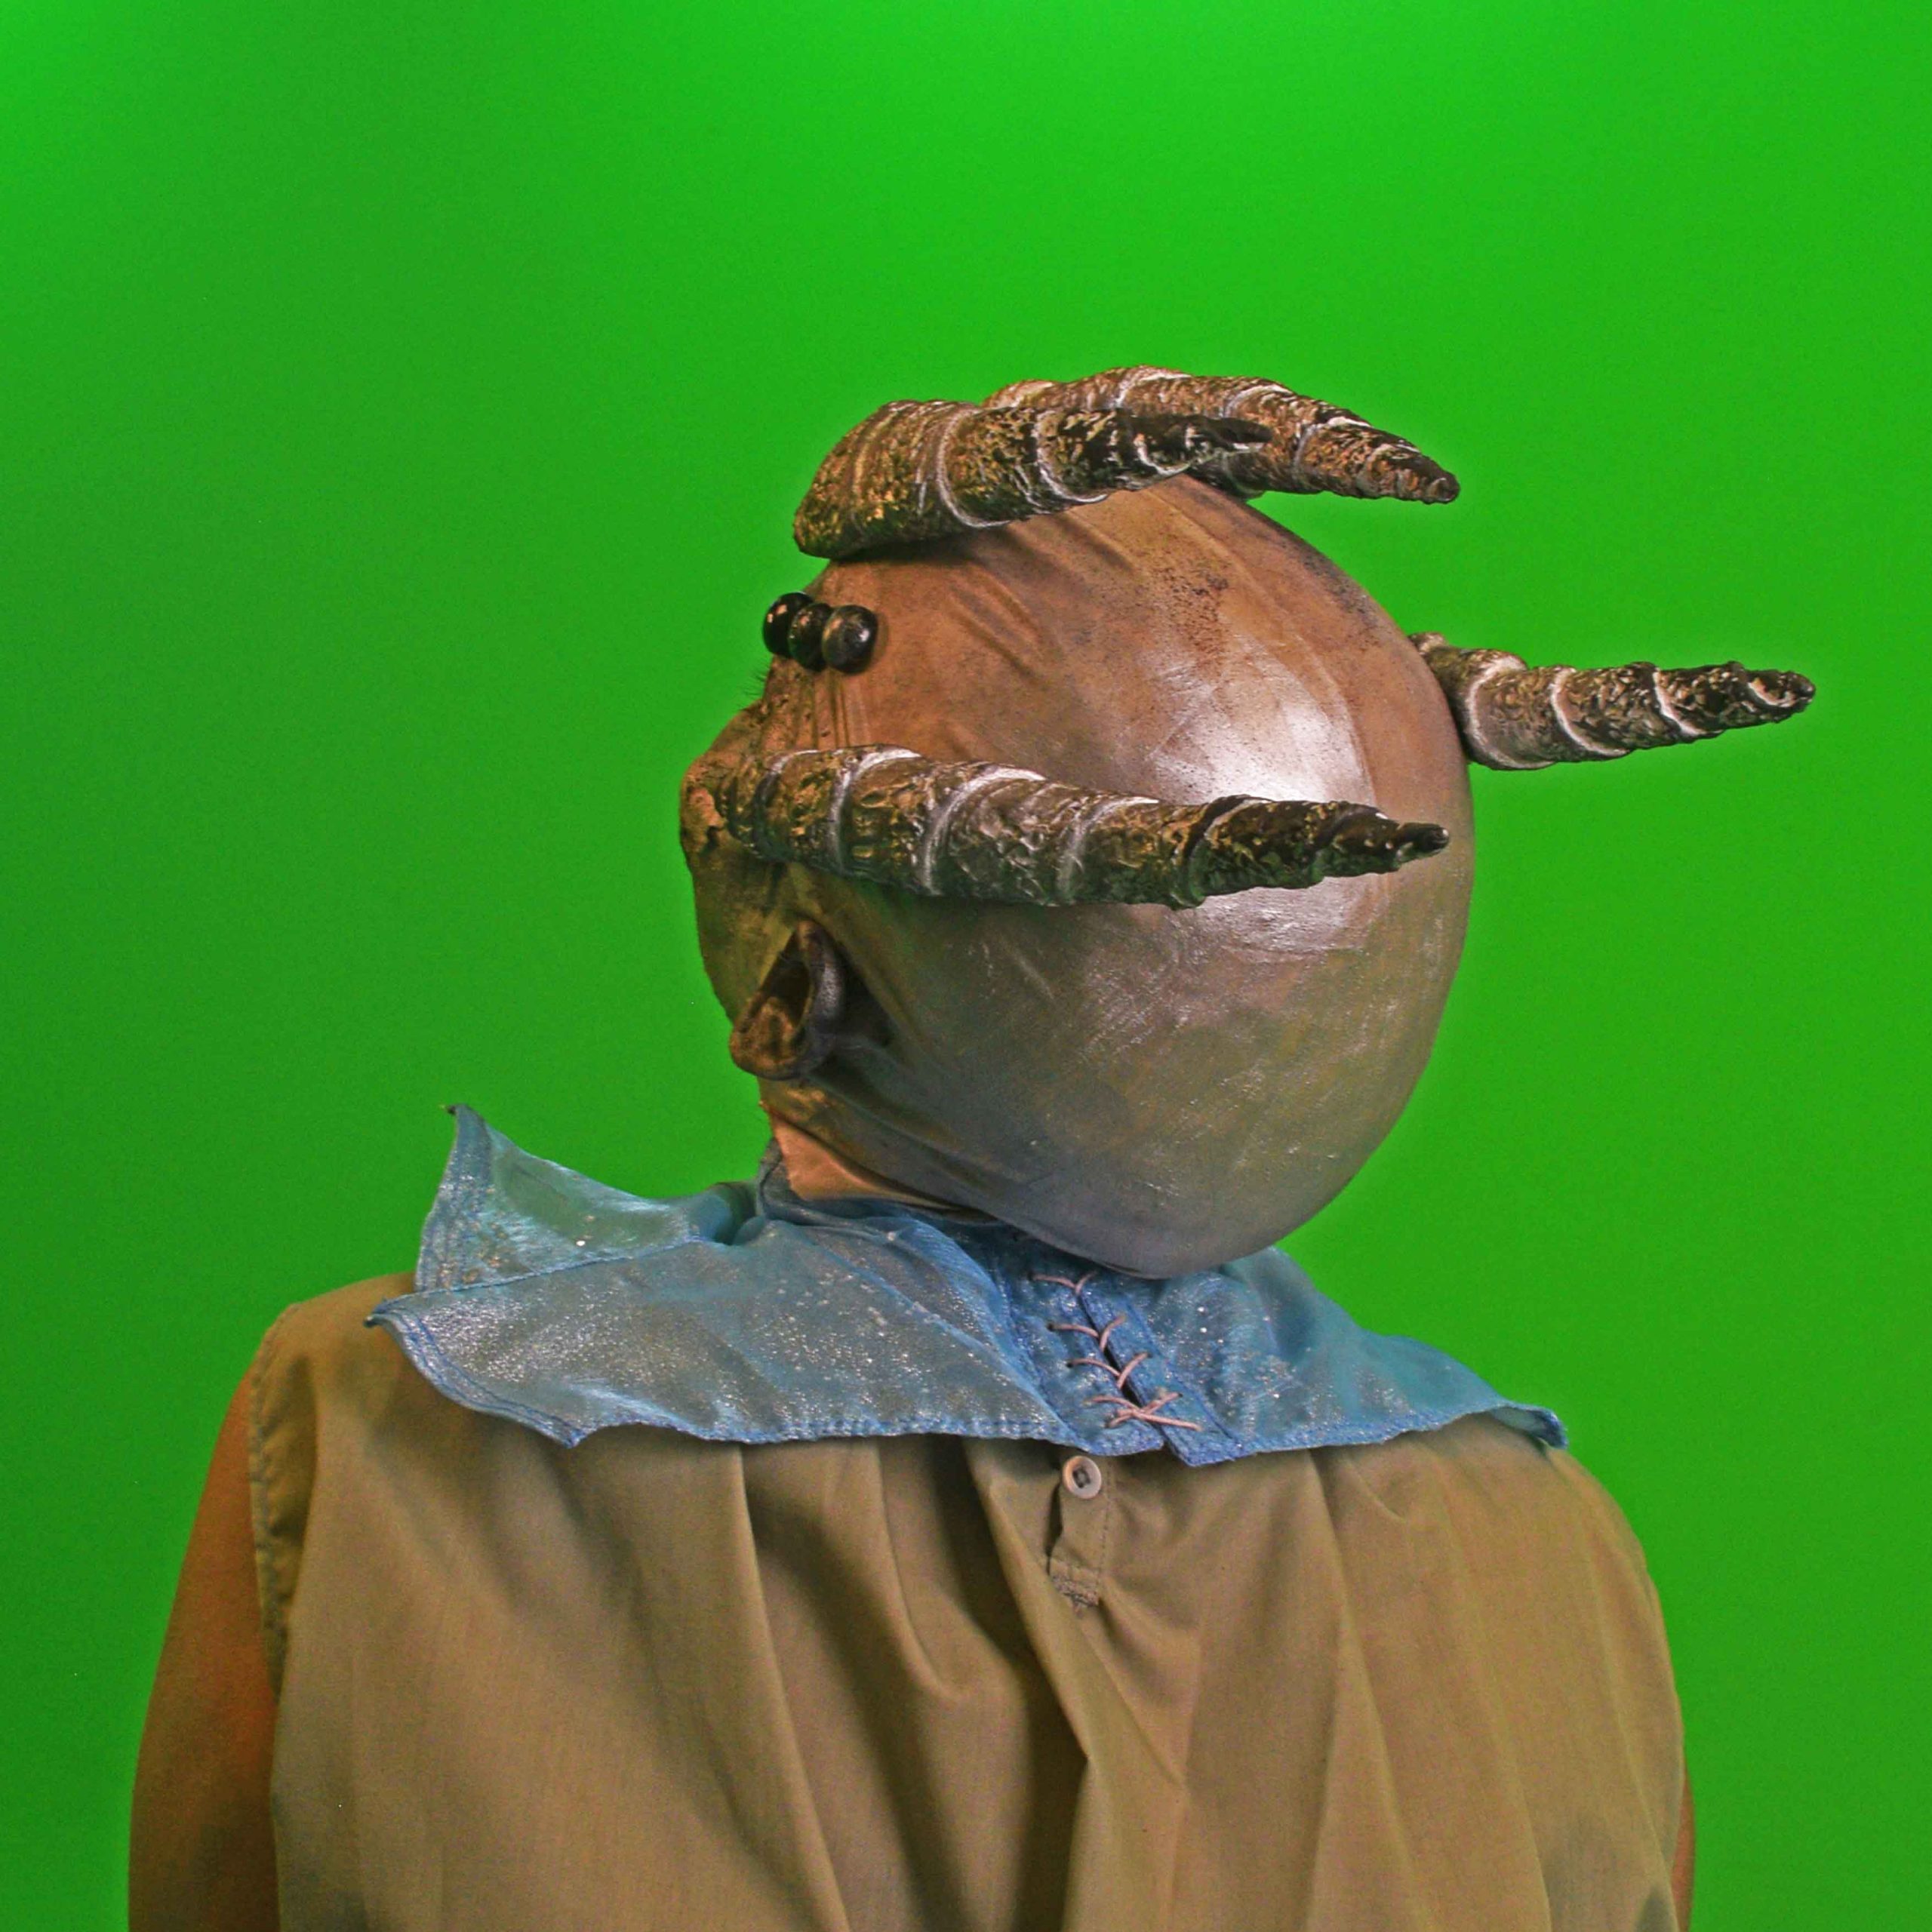
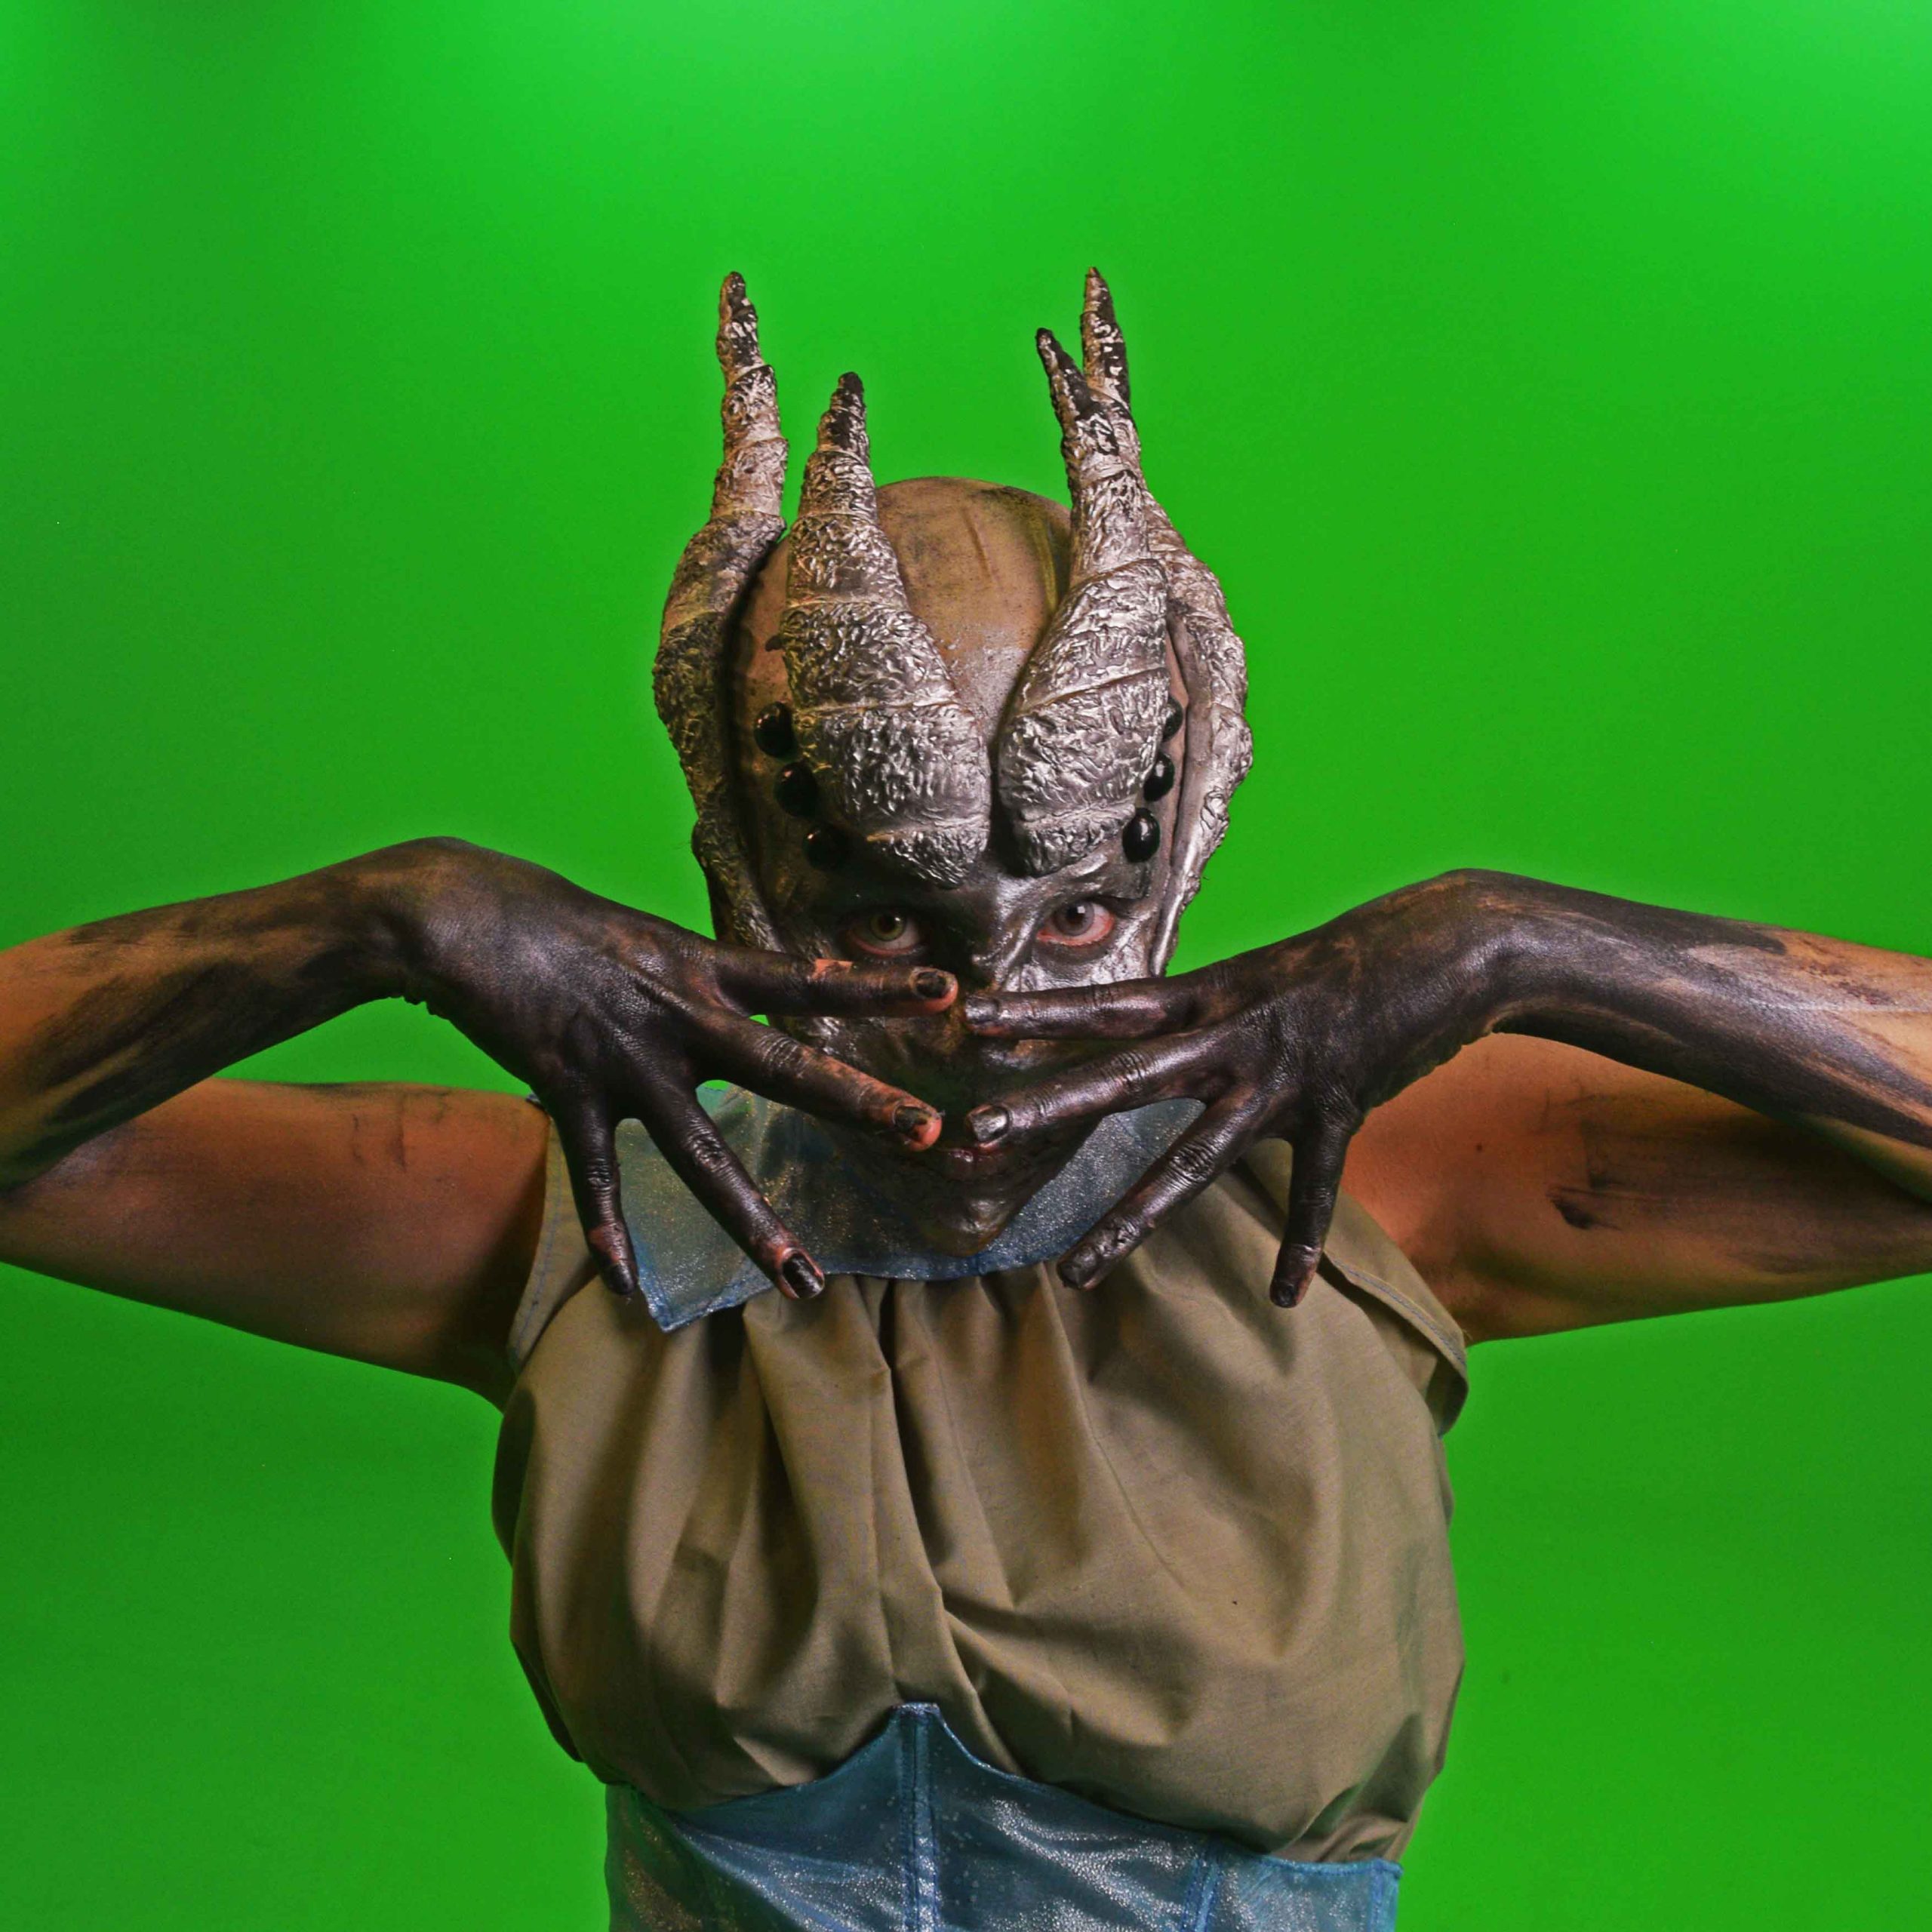
Costume Details
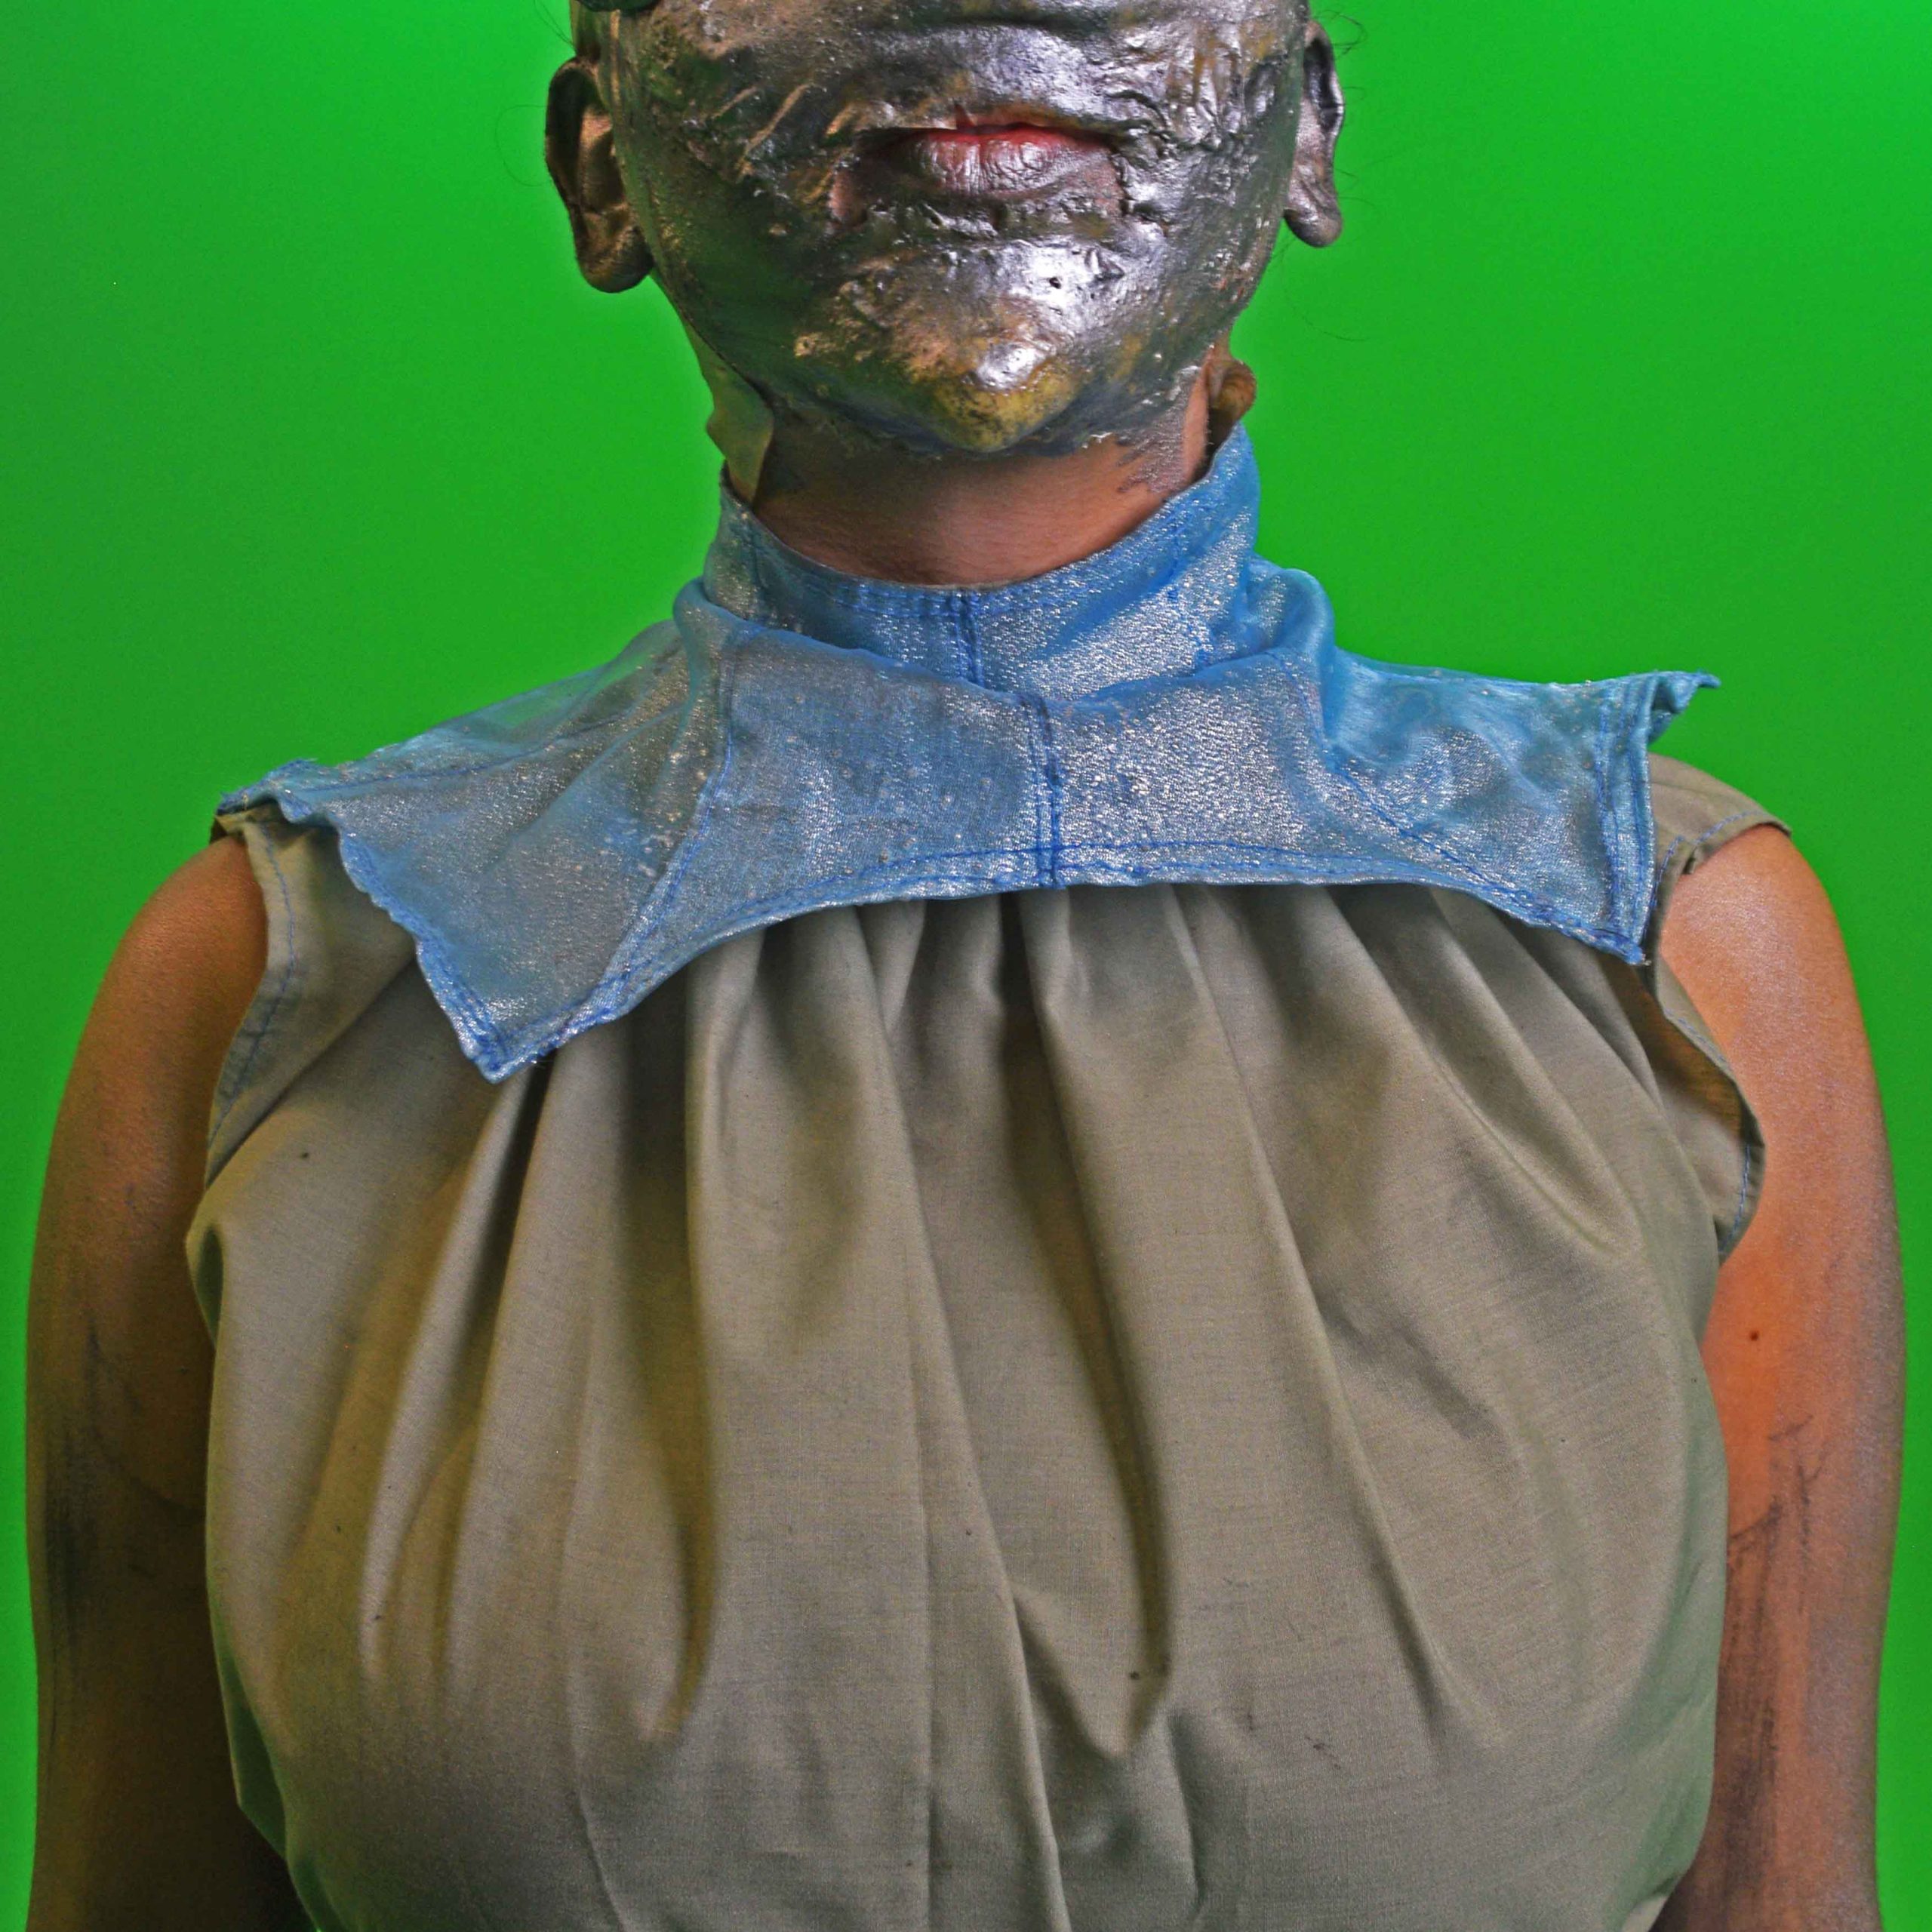
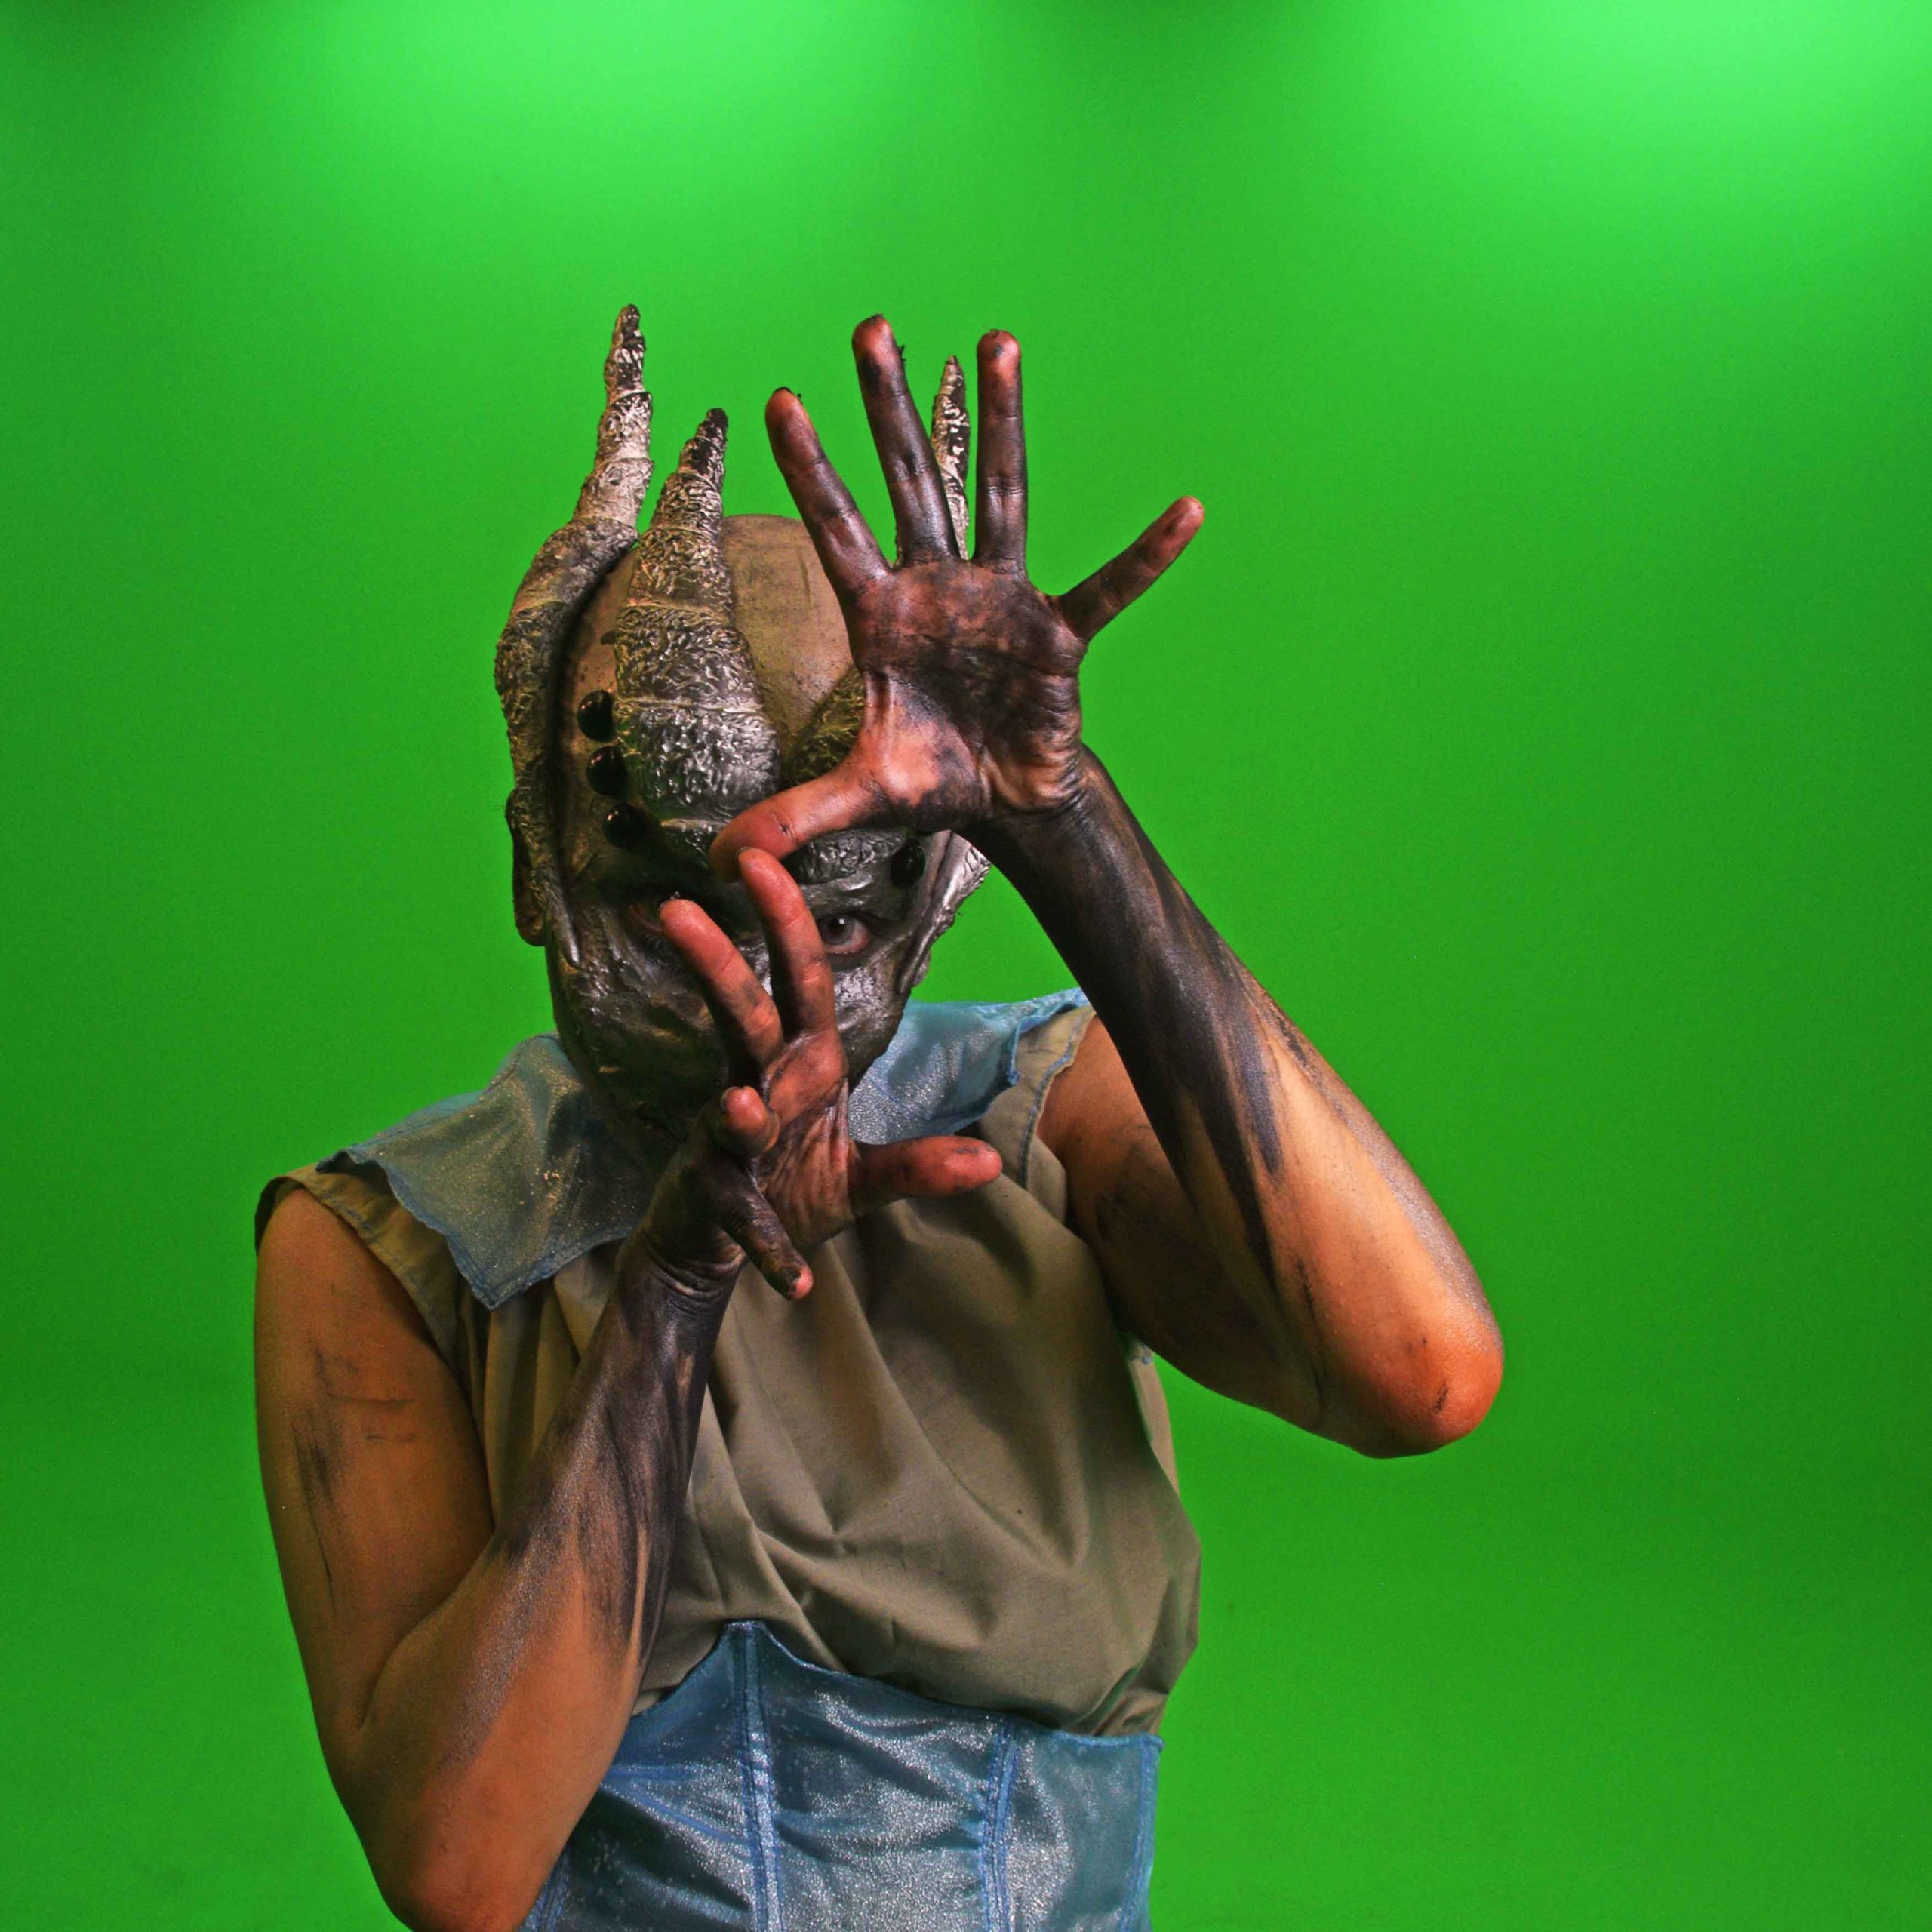
Make up Details
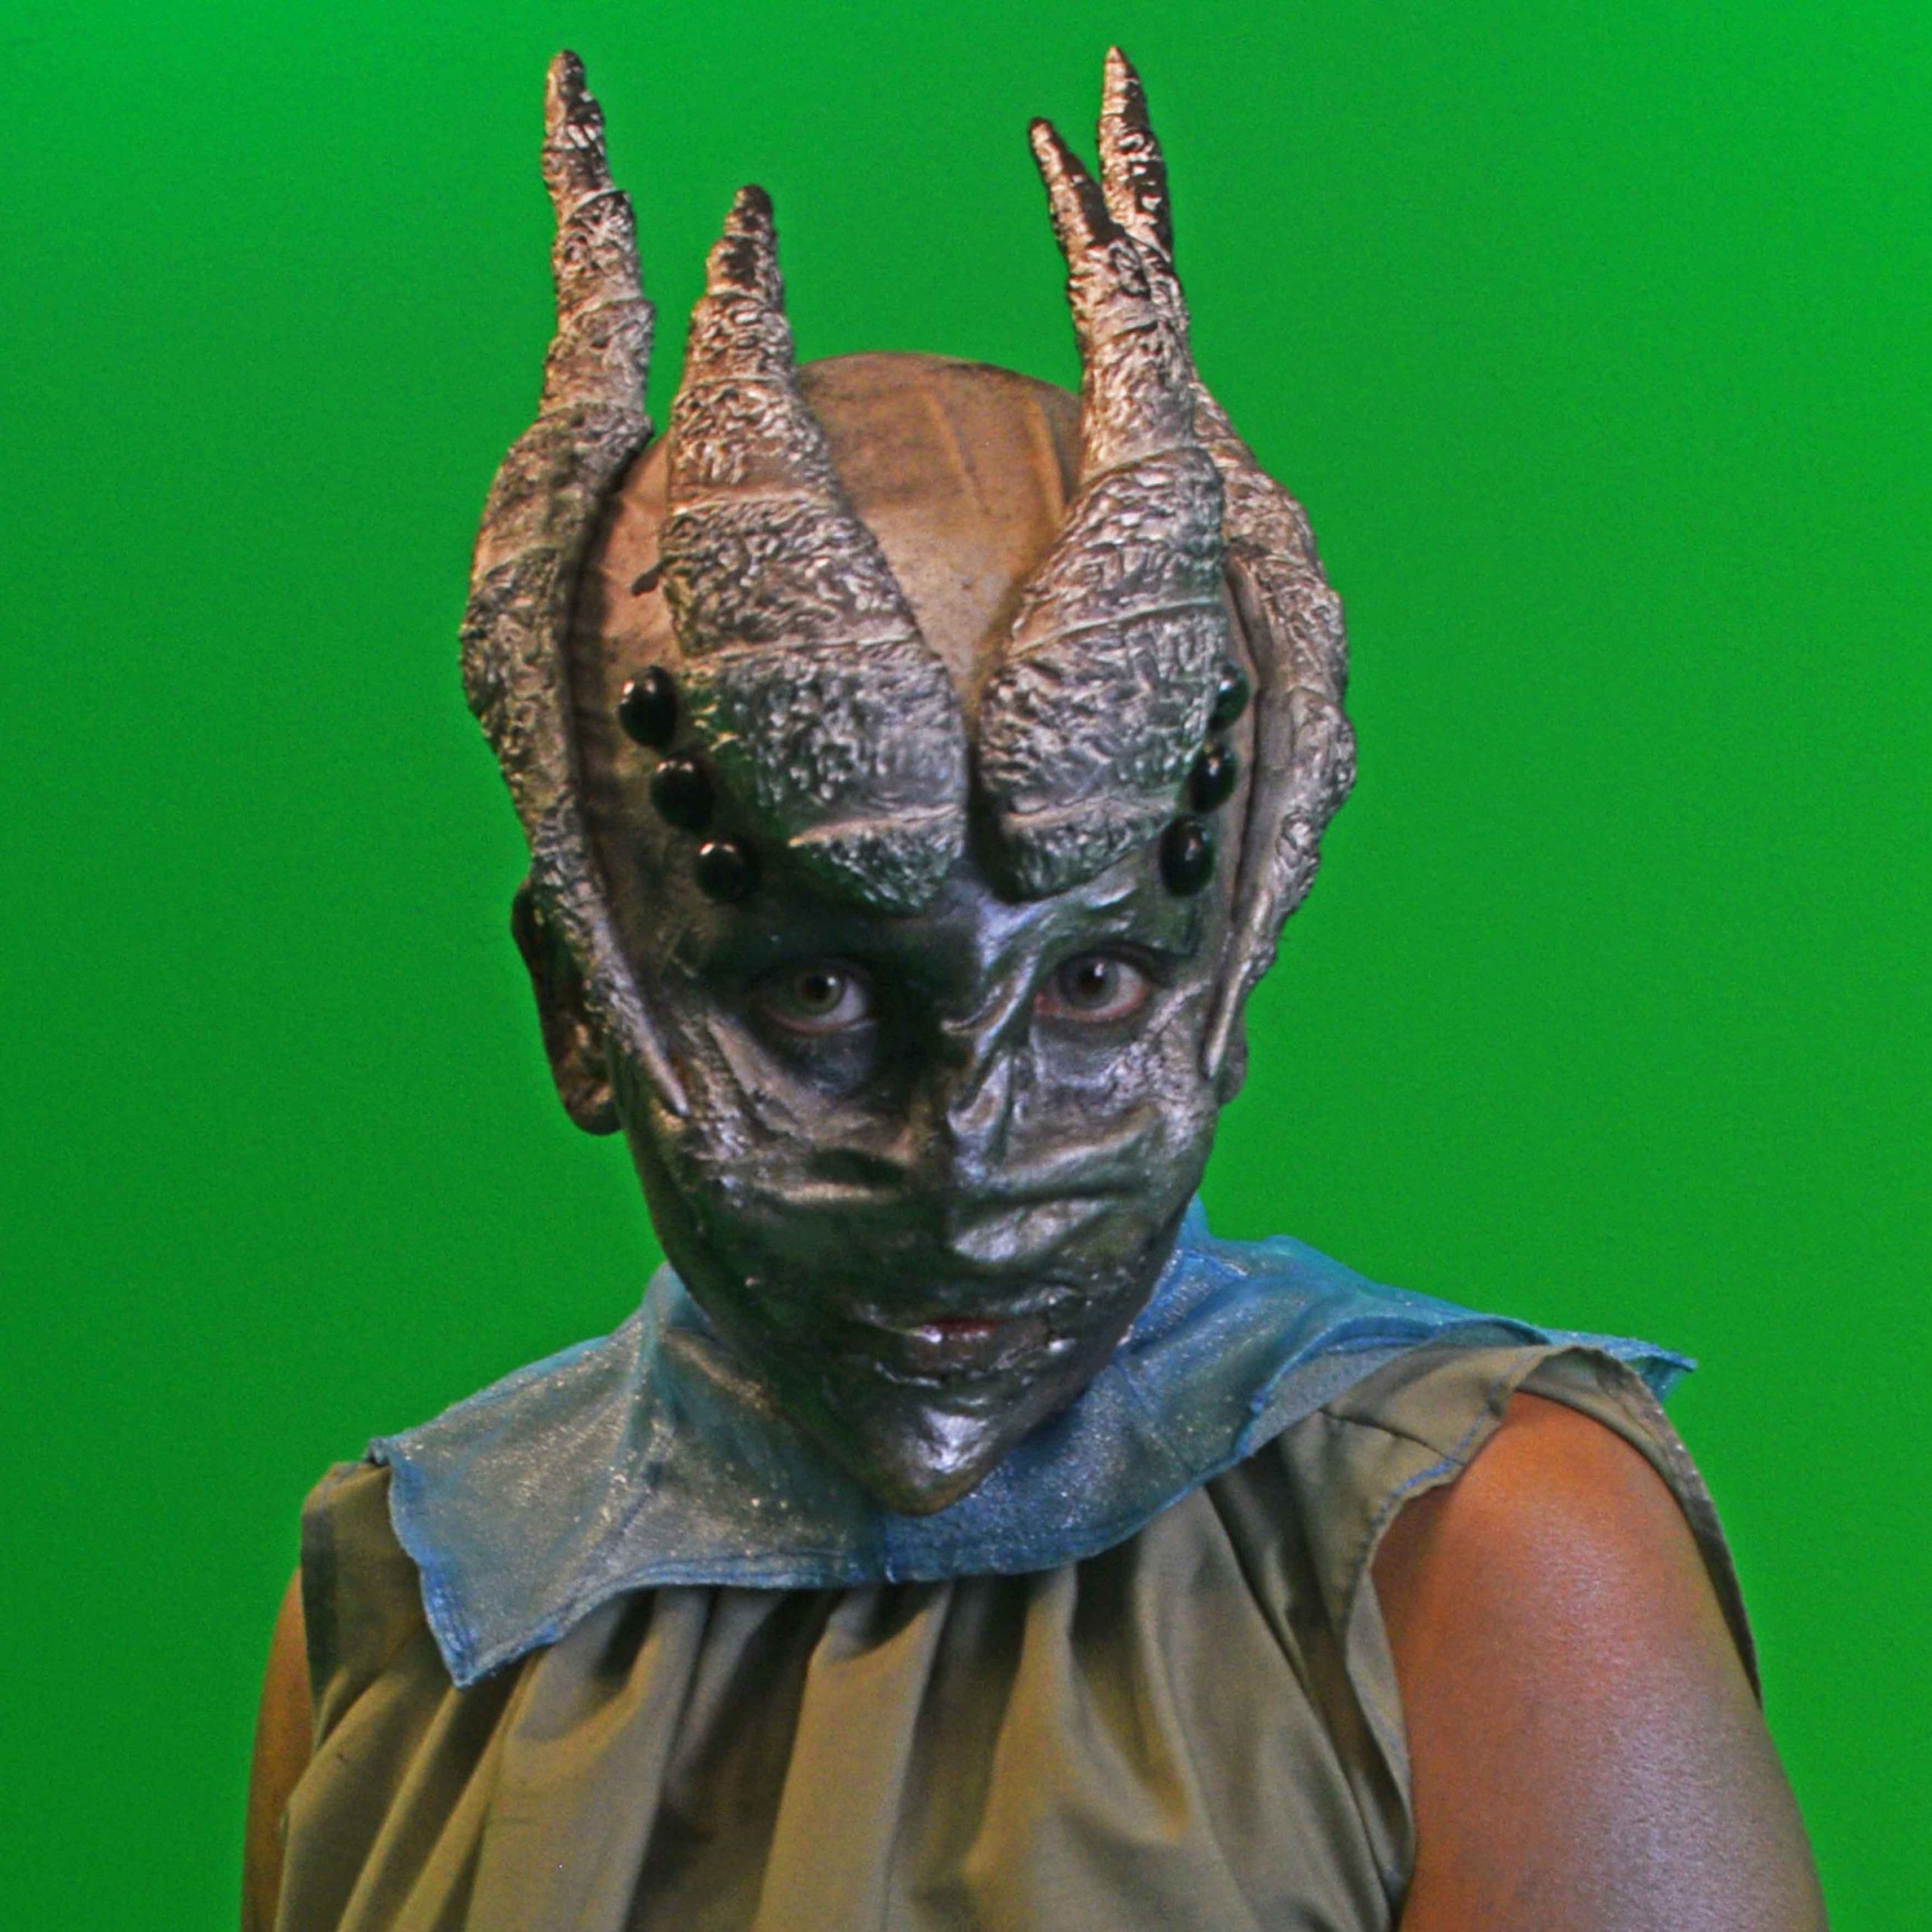
Full costume poses
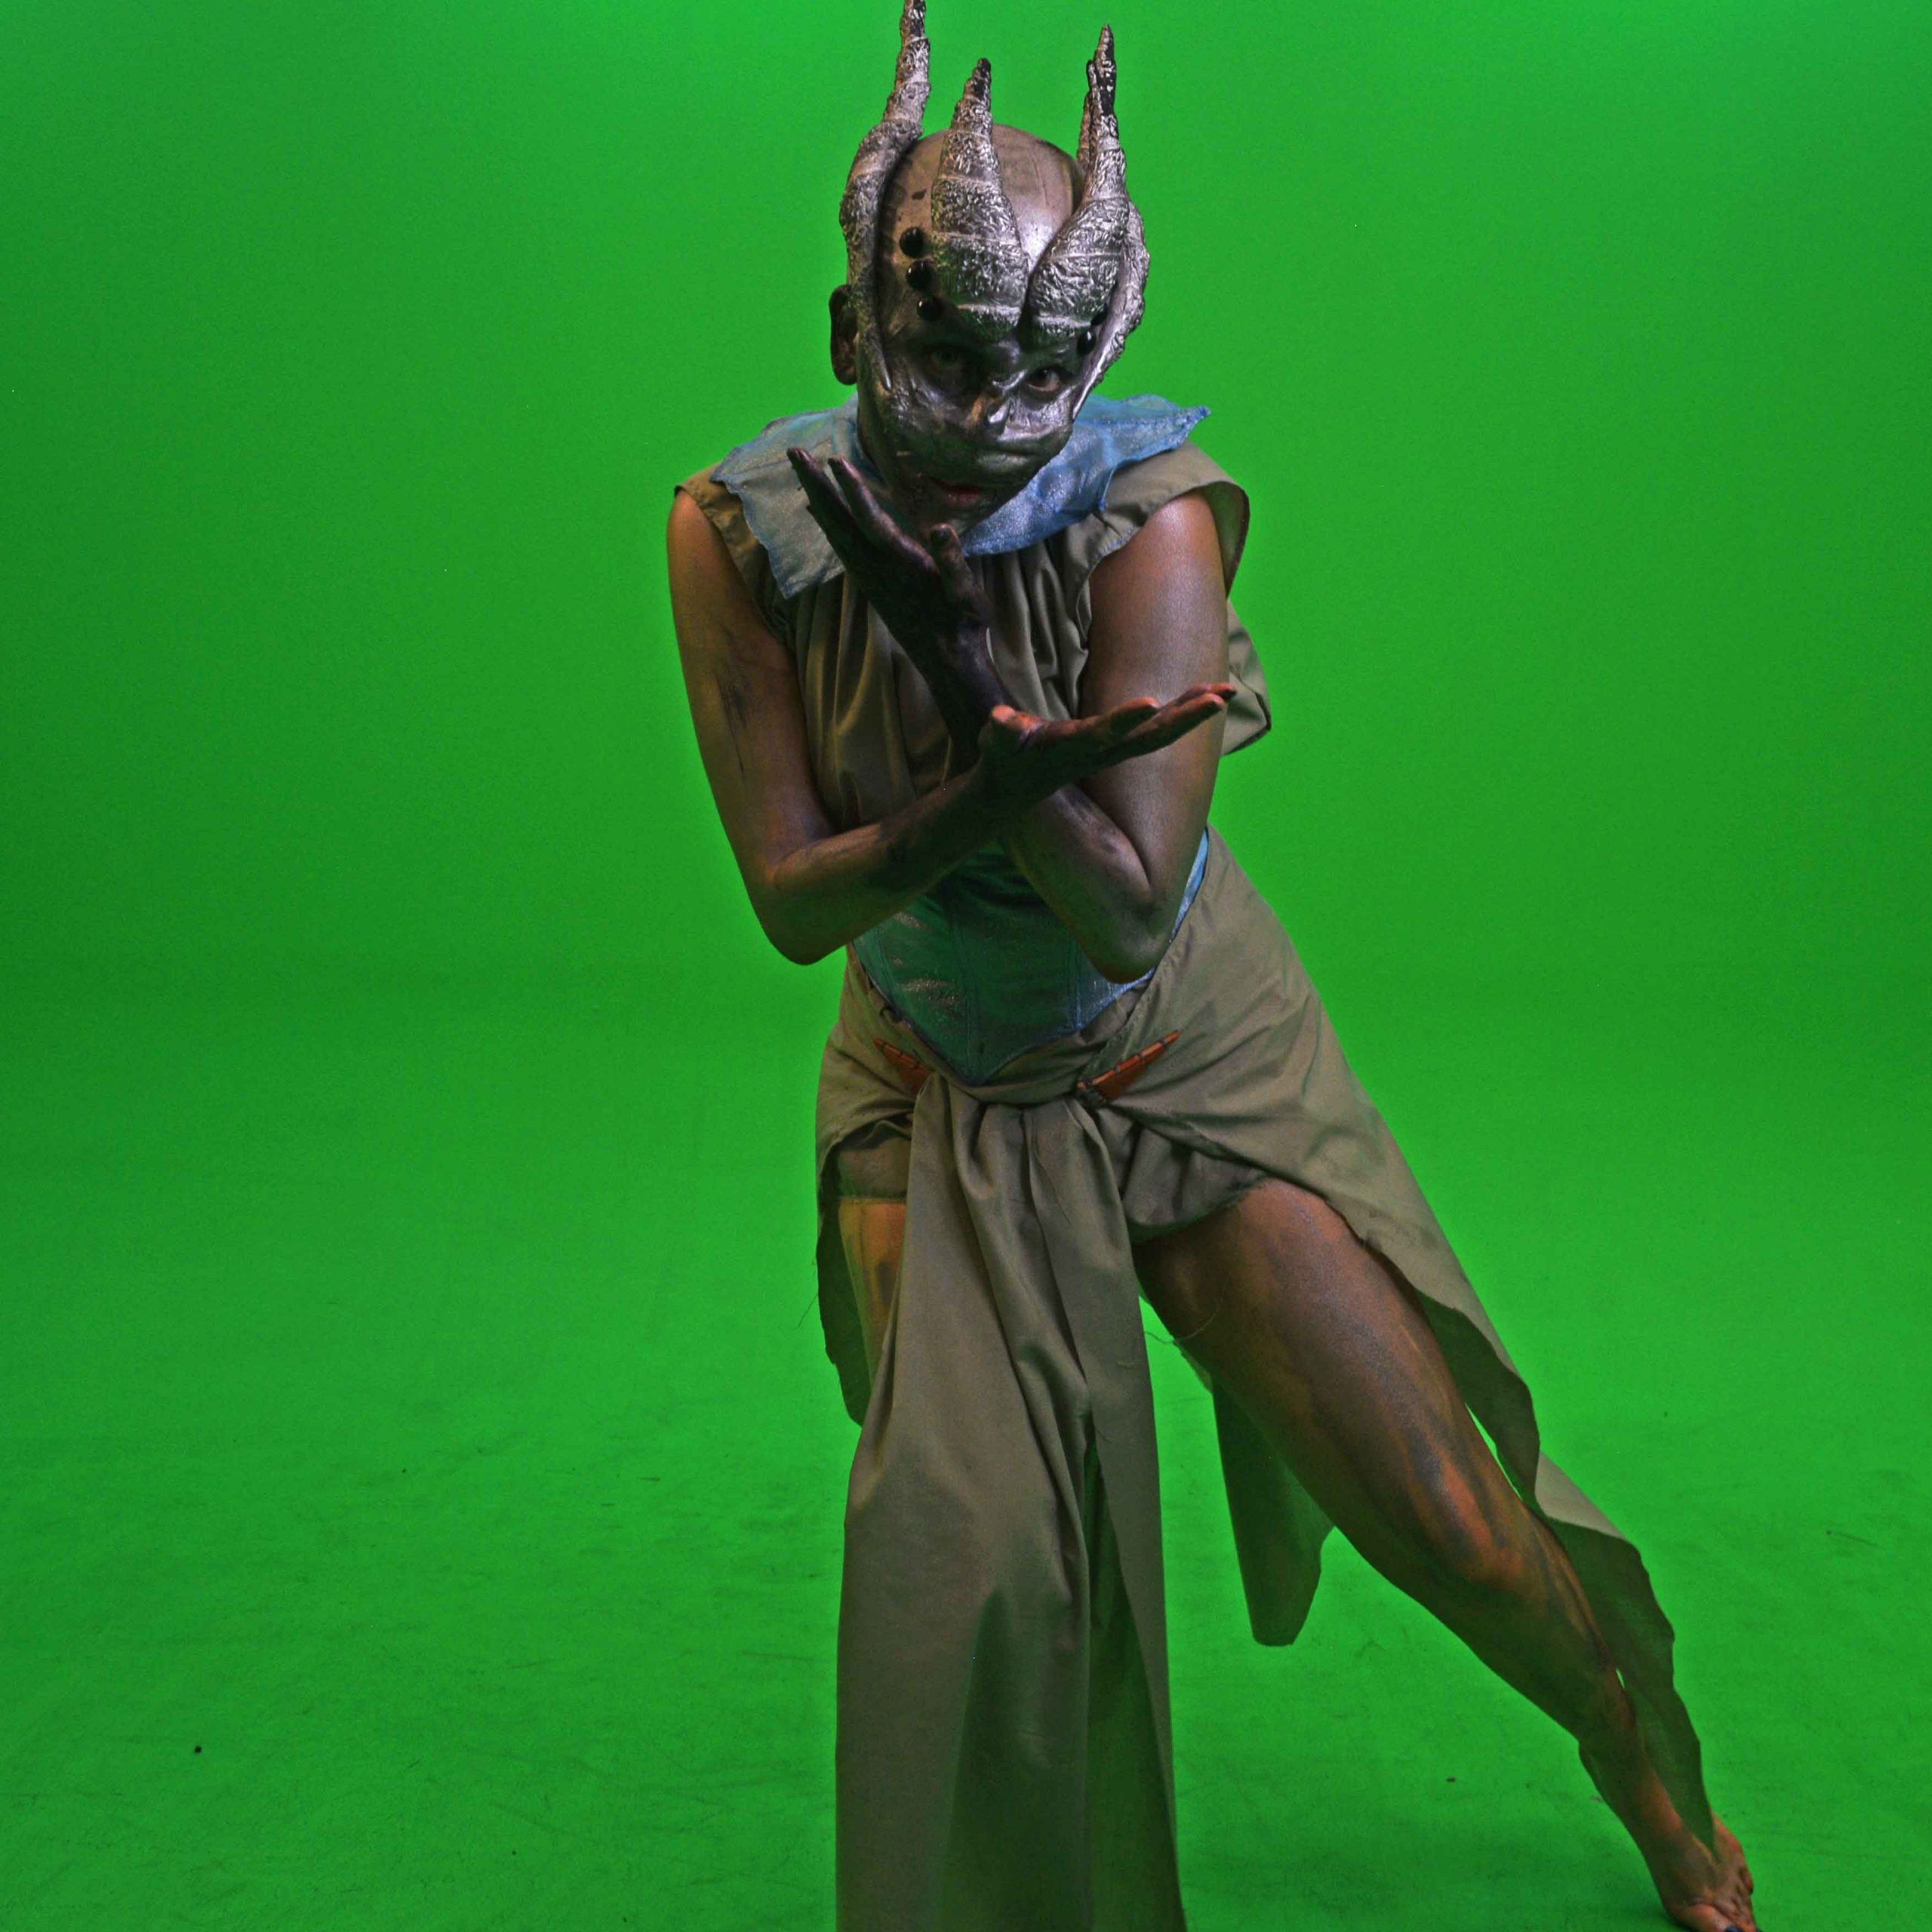
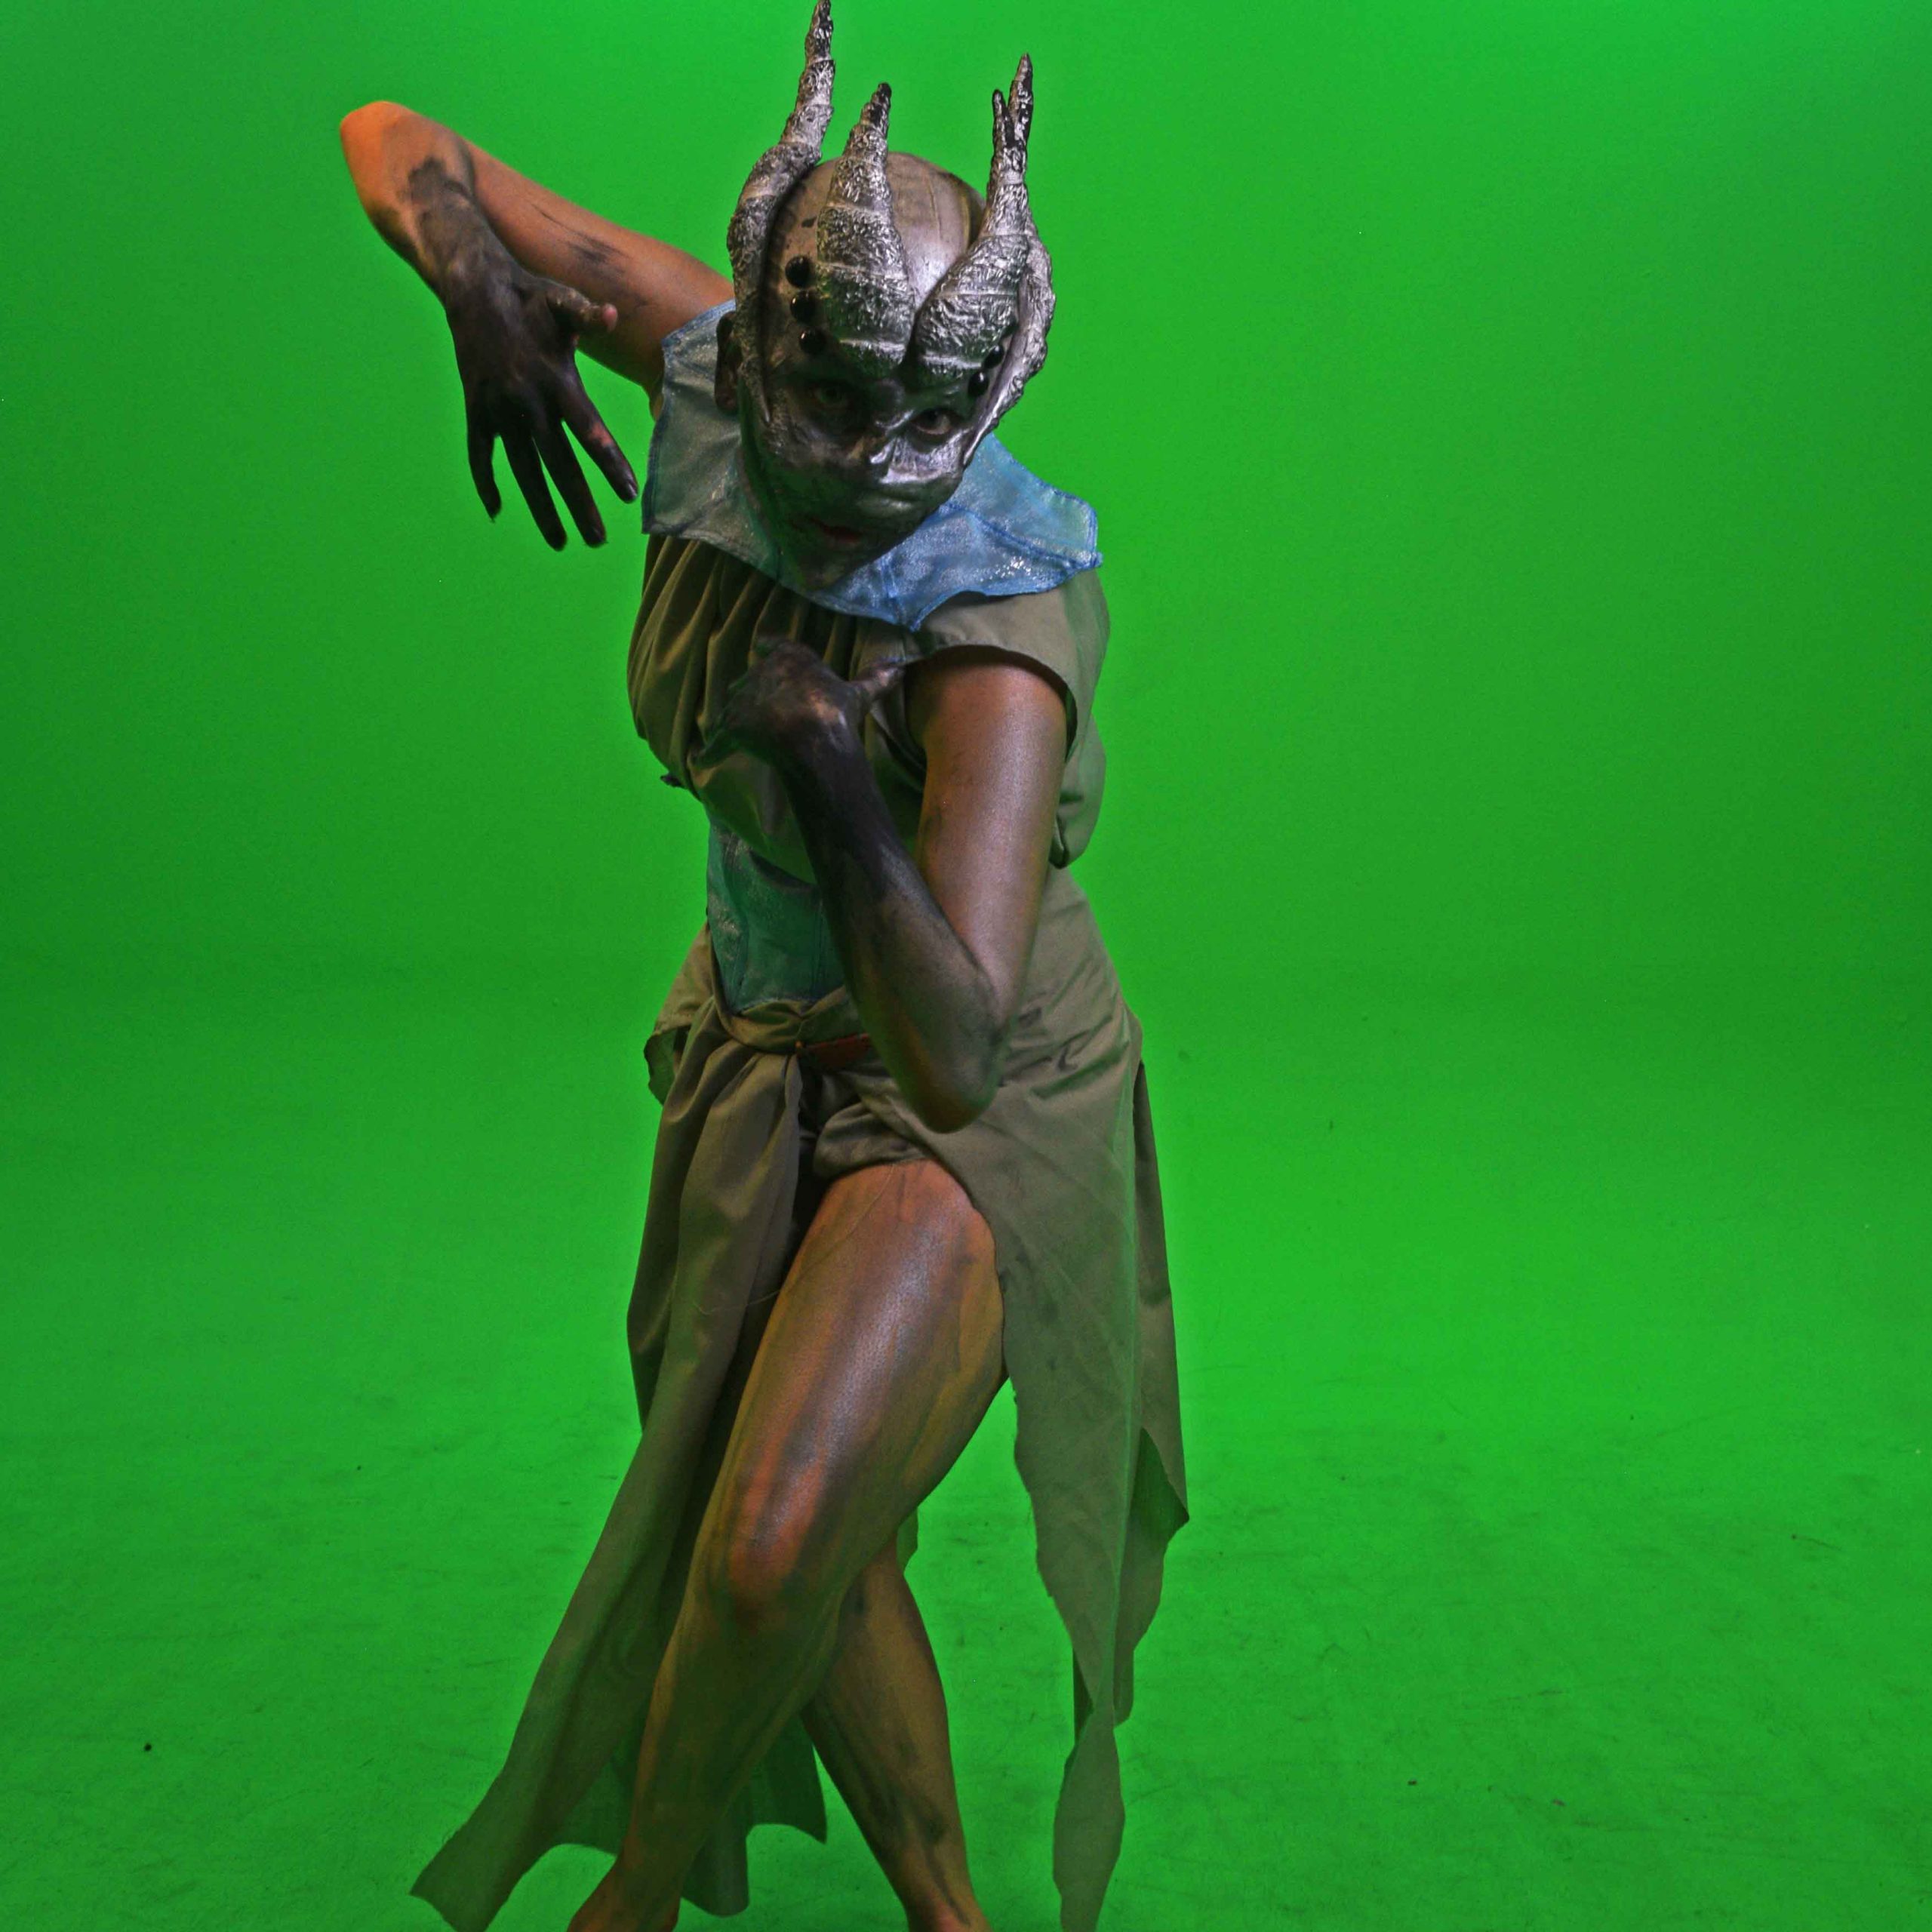
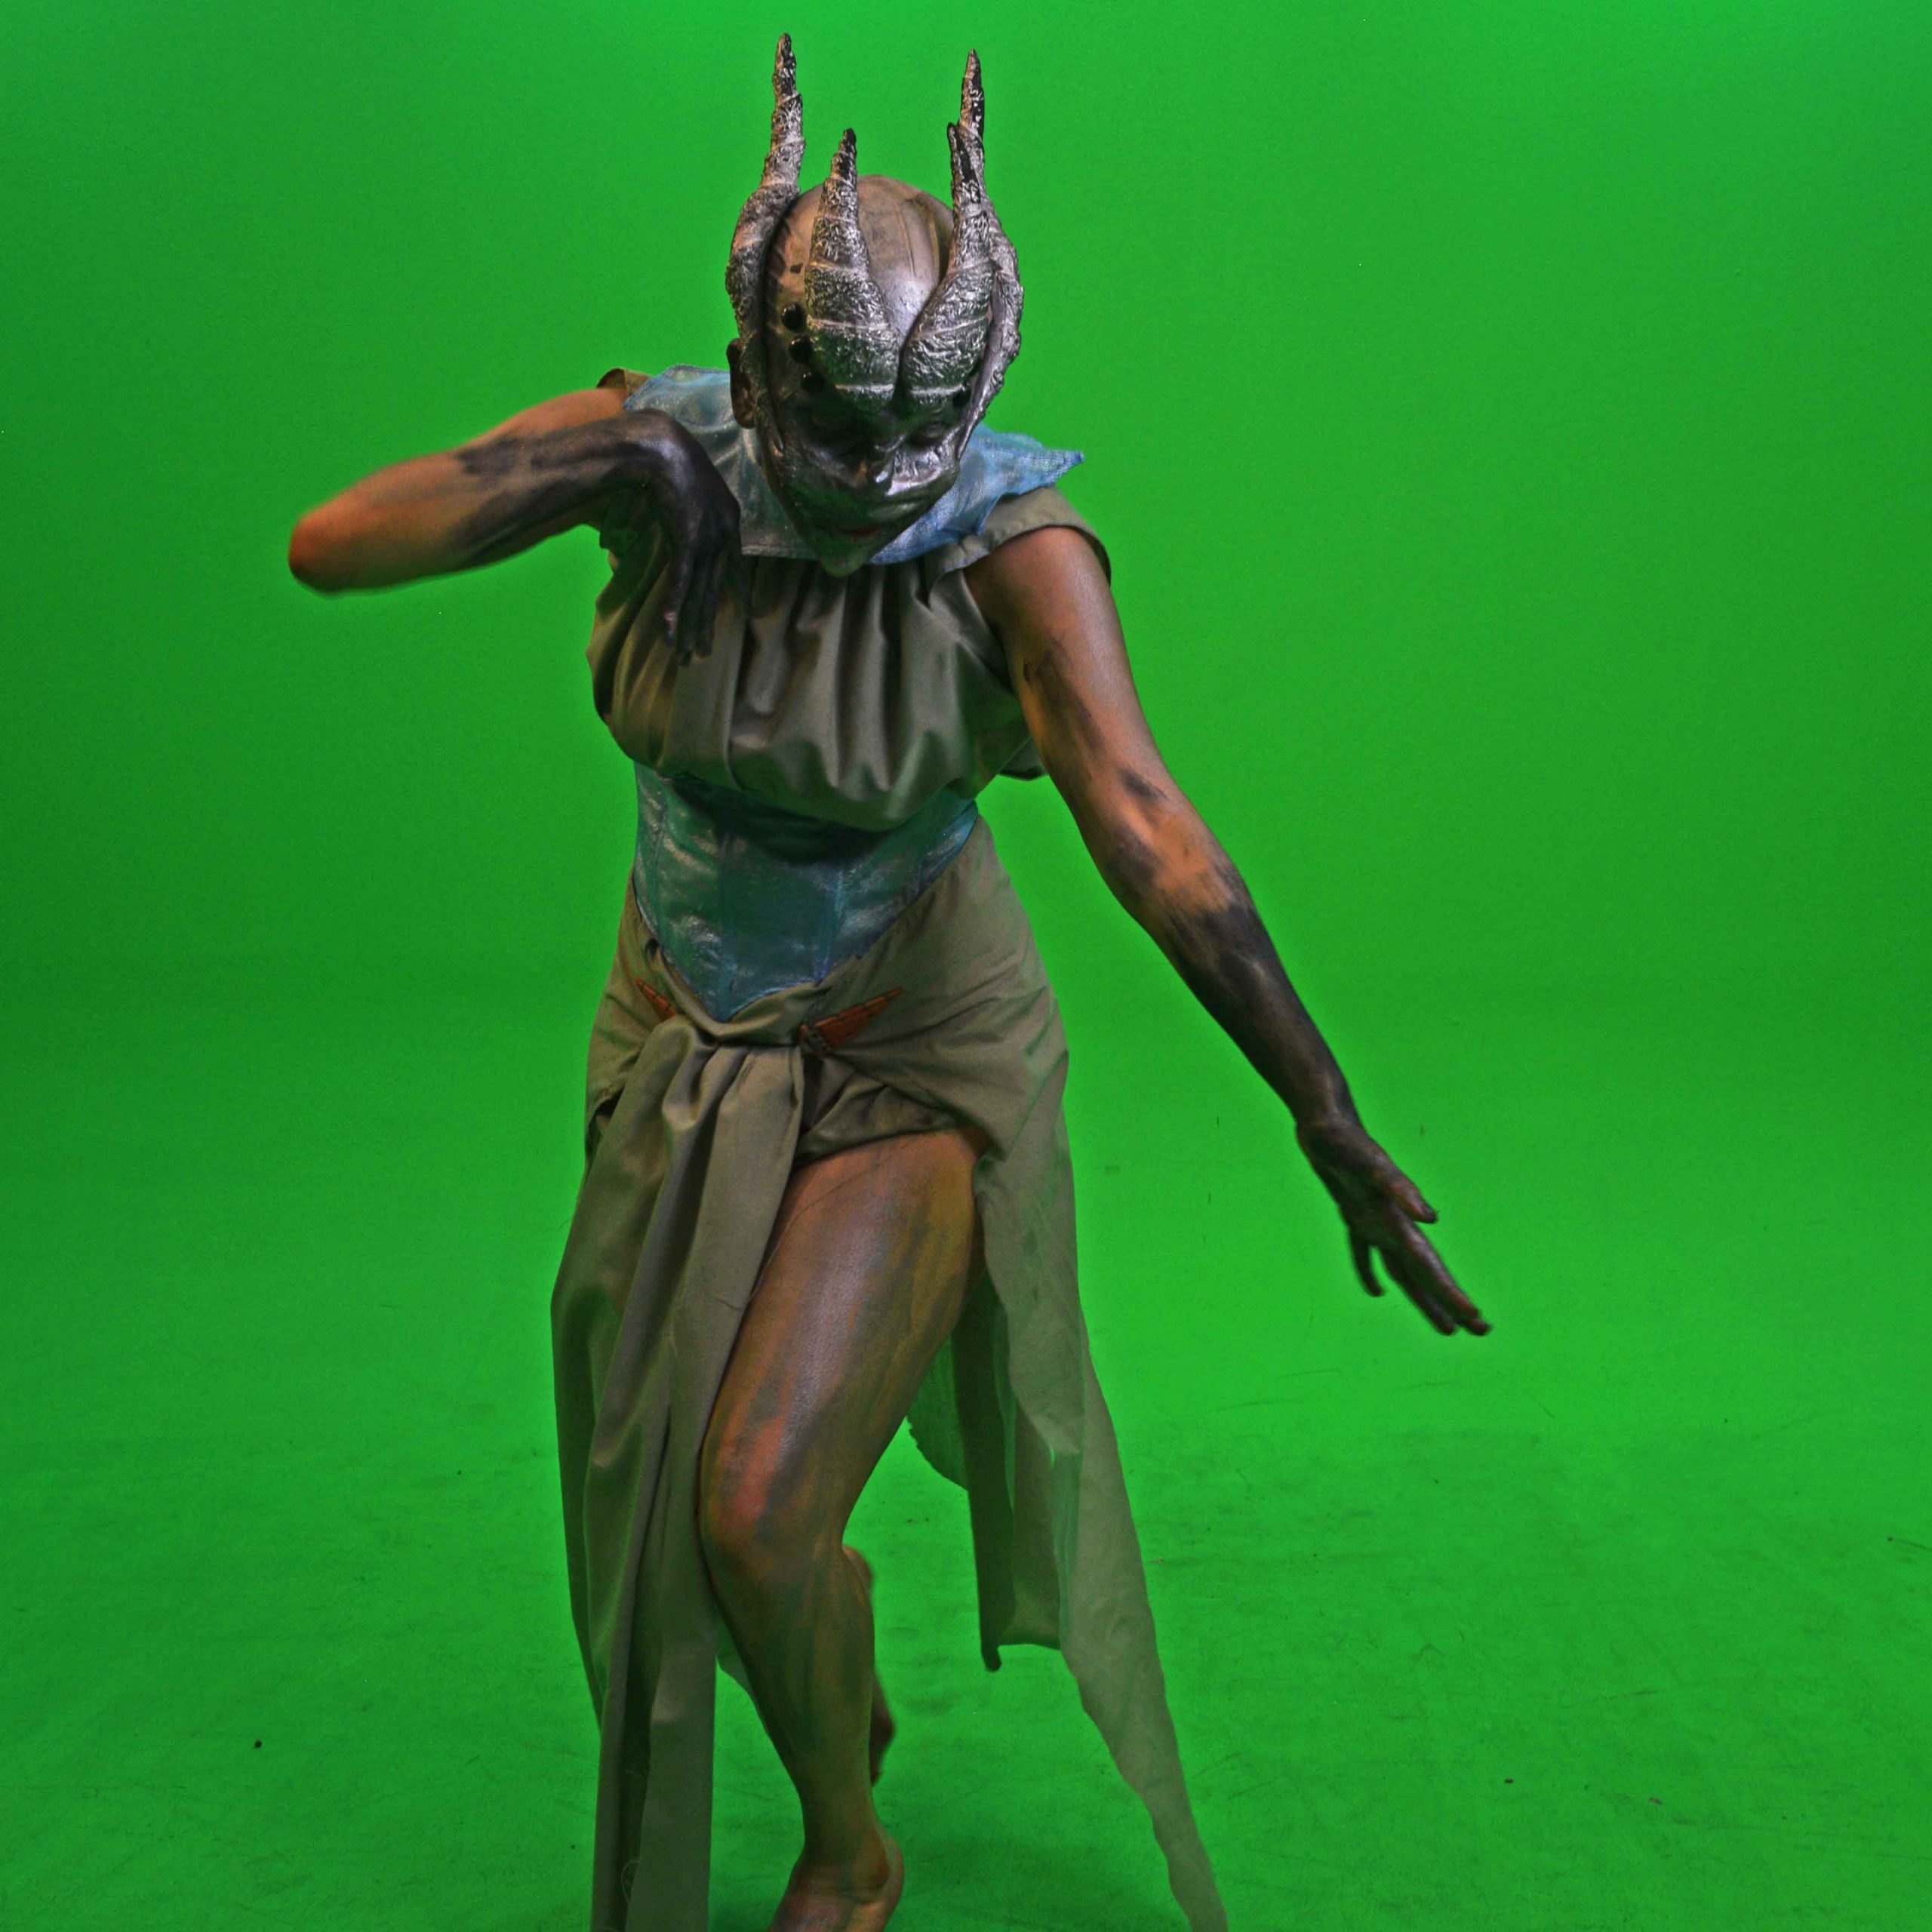
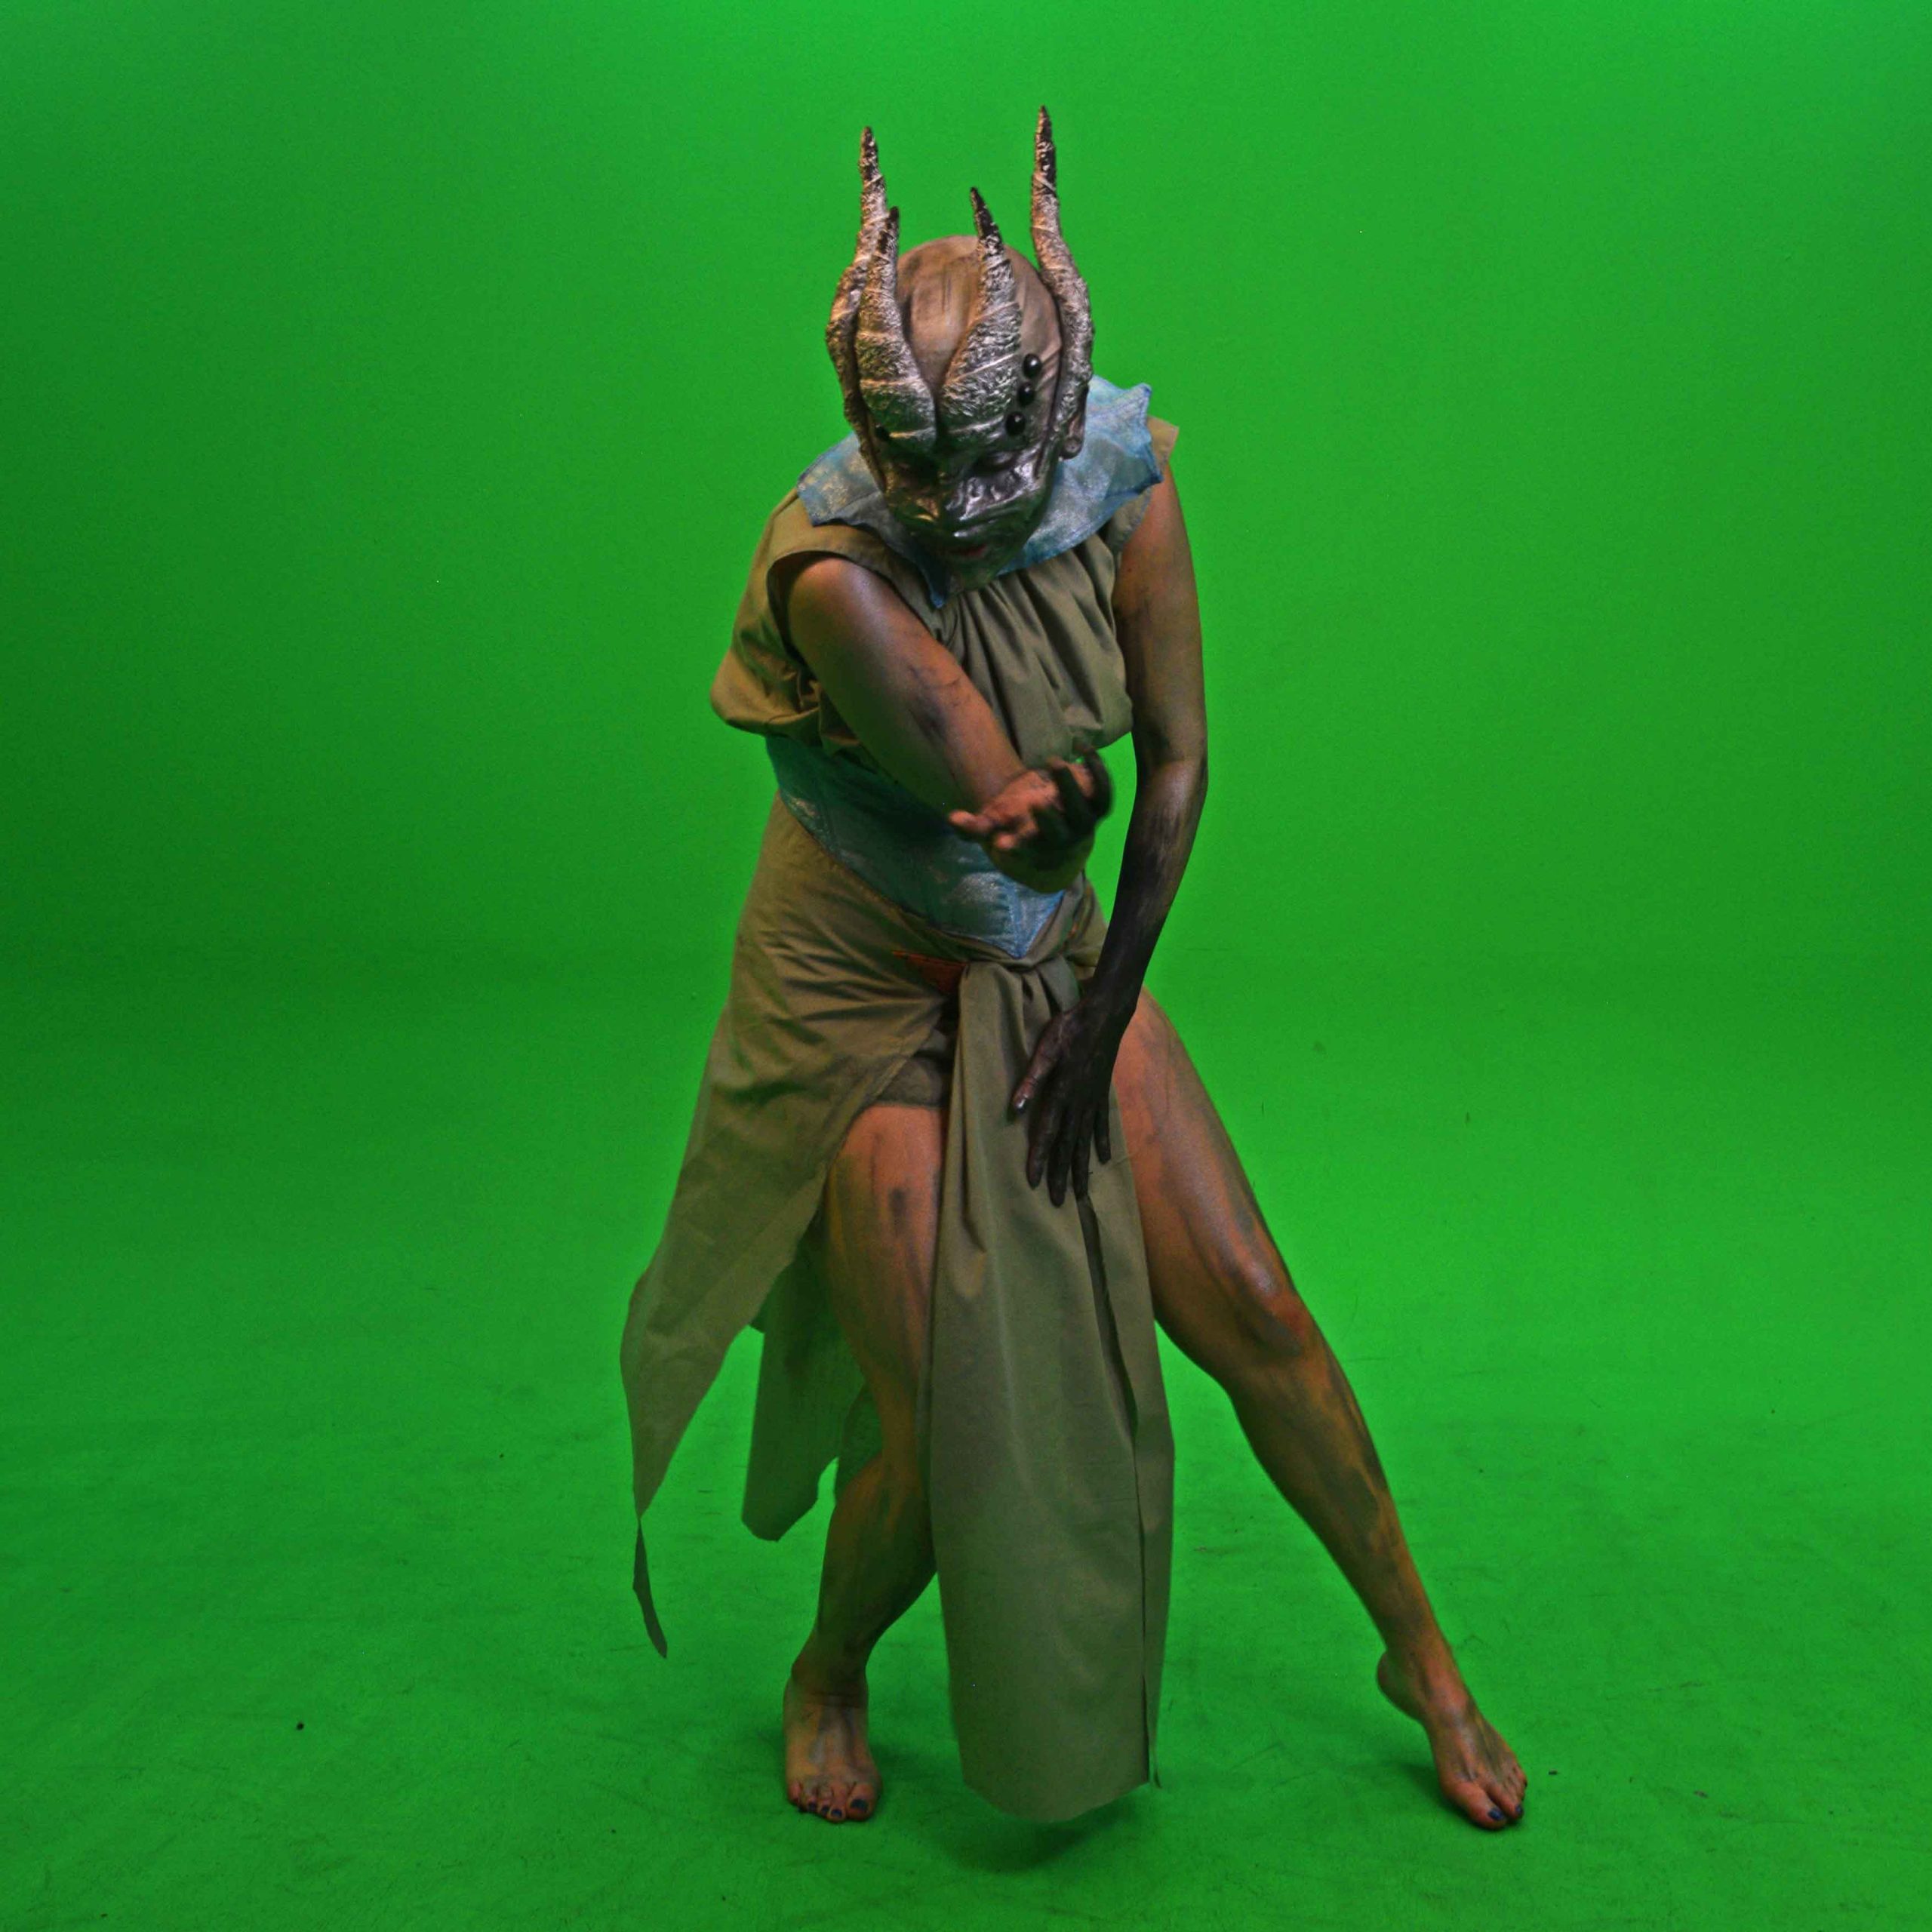
Close up poses

Footage
Some of the footage we recorded on the day, the lower part shows some of the best recordings initially selected for the final work.
We ended up with a good half an hour of footage, with different takes and performances, that needed going through and selecting first usable parts, and then the best of the best as we only needed less than a minute of footage.
I couldn’t get the screen lit properly and not to cast shadows, as well as I had some issues with the camera as this was my first time working with it (I have also zero experience in filming) and the footage was coming out darker than it was meant to. I decided to still work with it as there was little other option and I thought it might be possible to fix those issues to some extend in post. Furthermore, the came was either set wrong, or has terrible film quality, but the footage we got is far from good…
The quality of the recording was worrying me as I considered future problems the green screen recorded like that can give us
CG
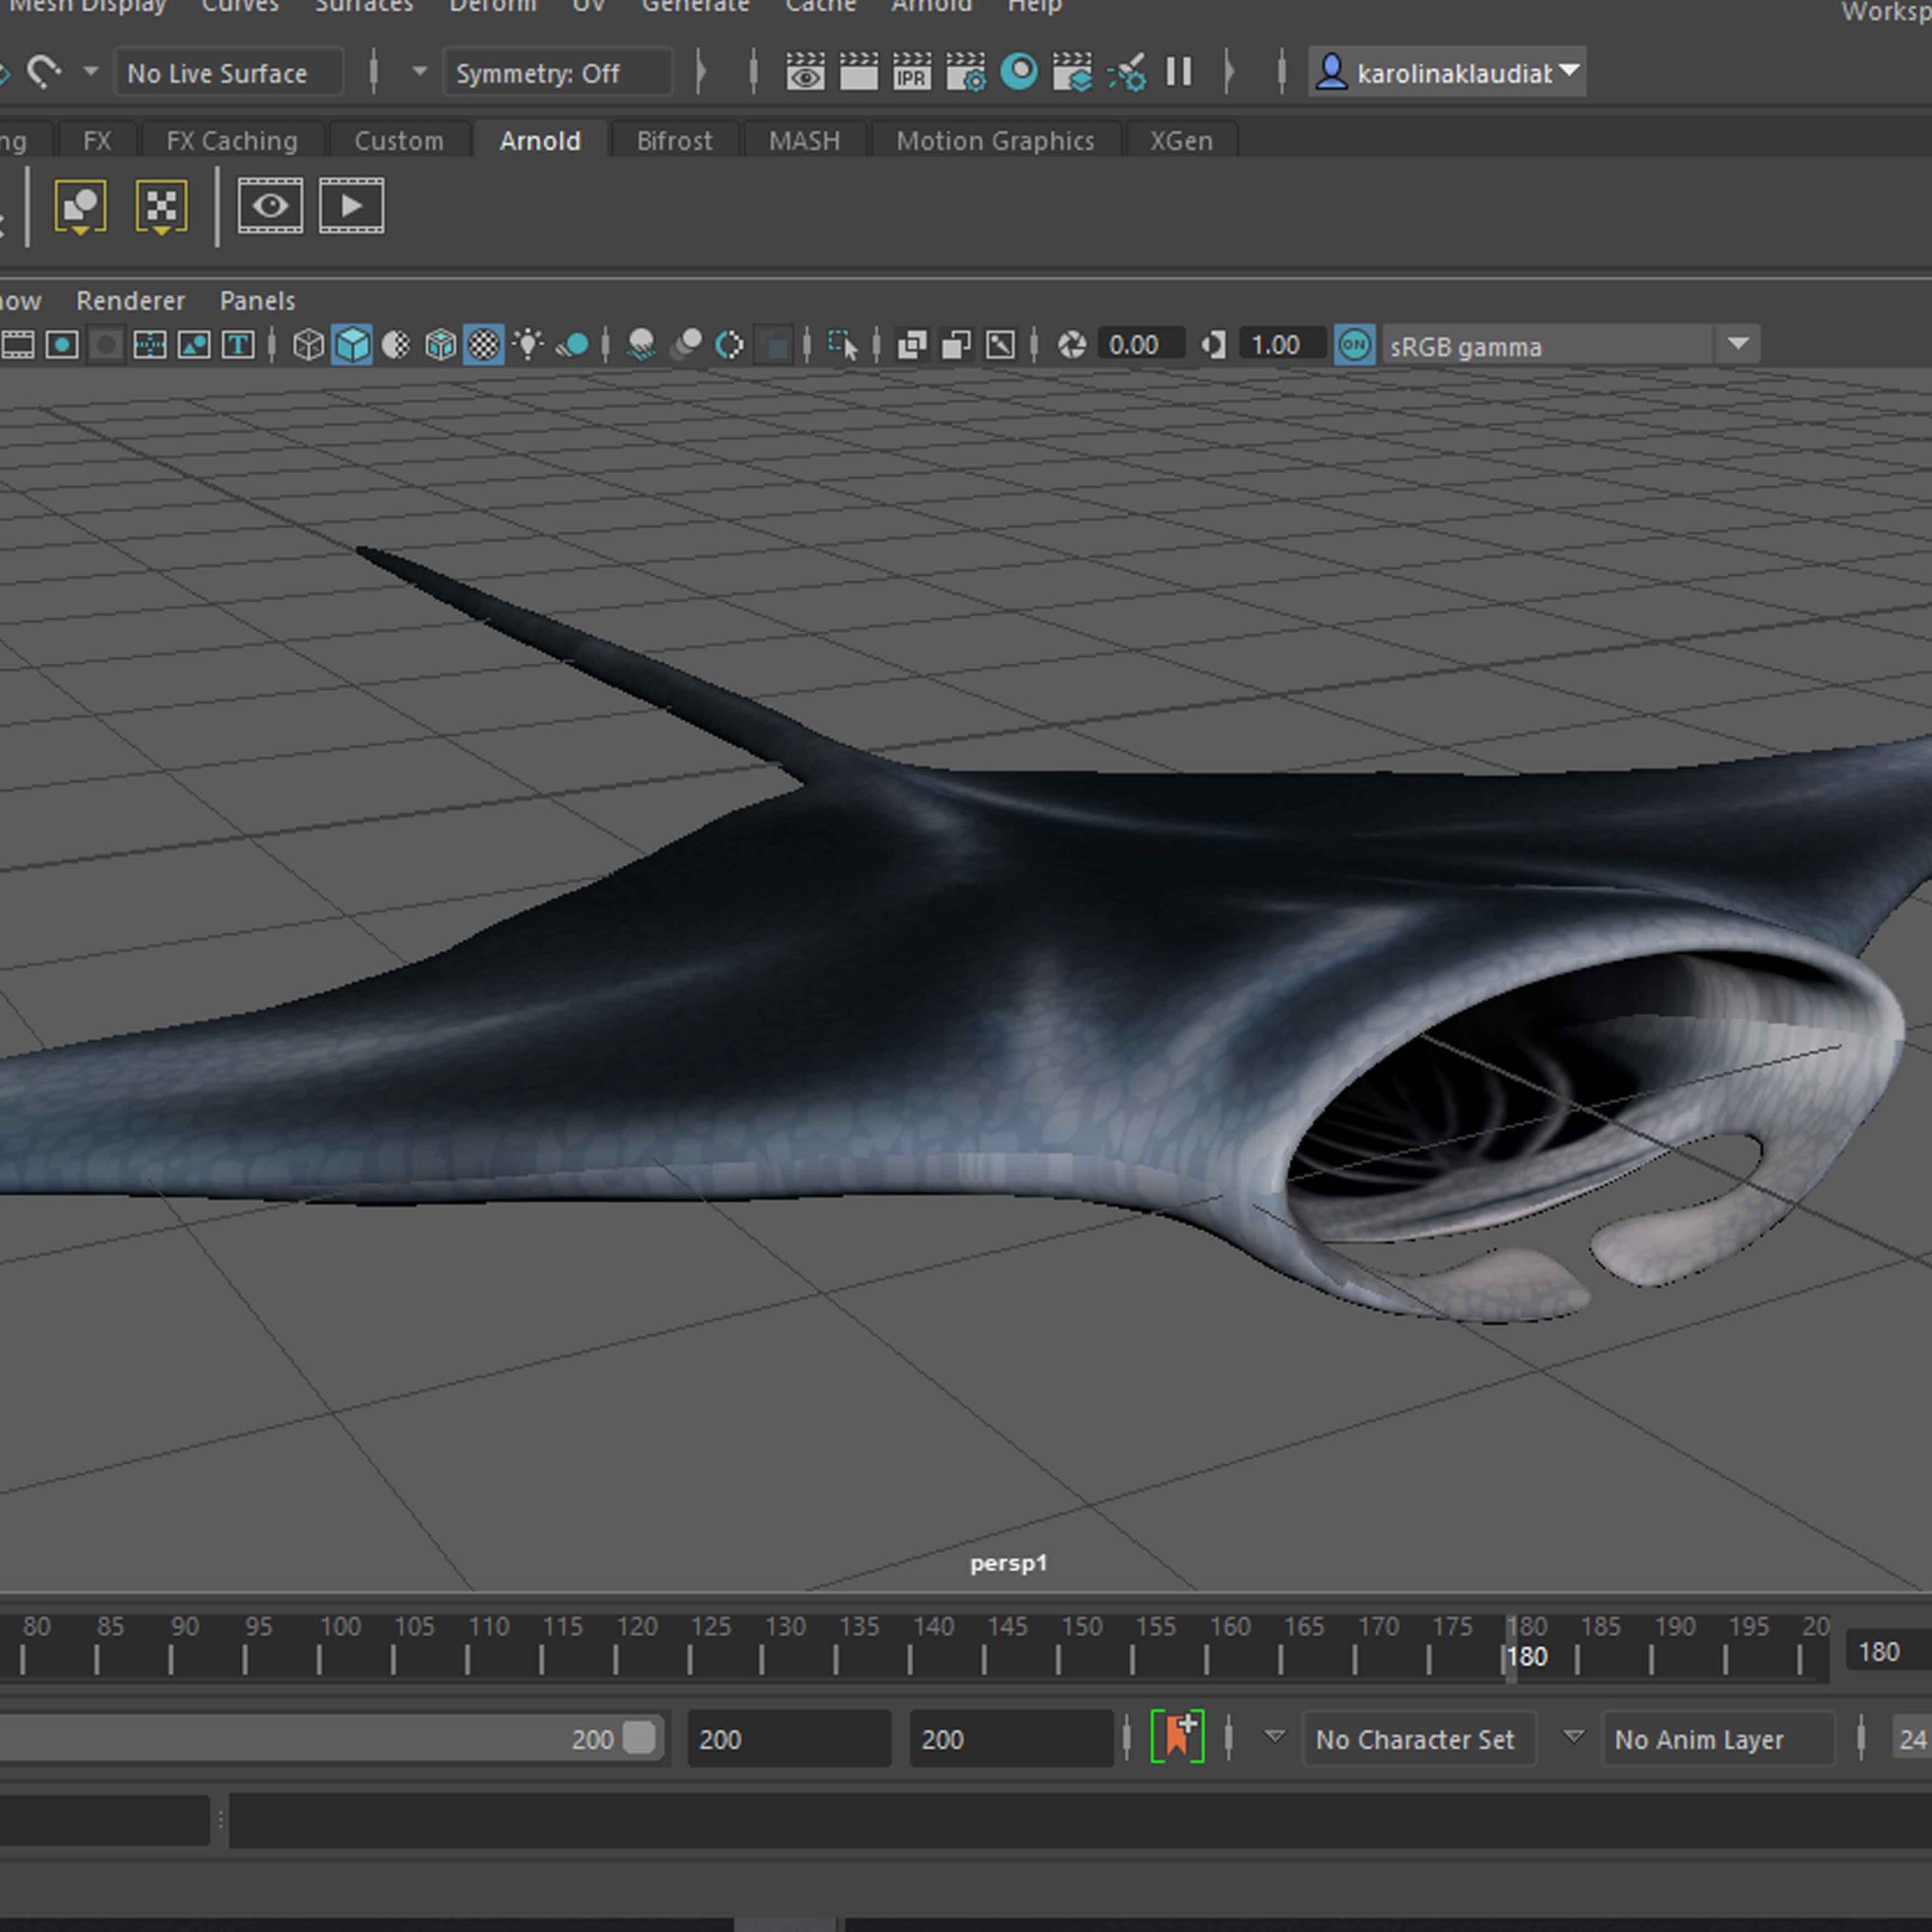
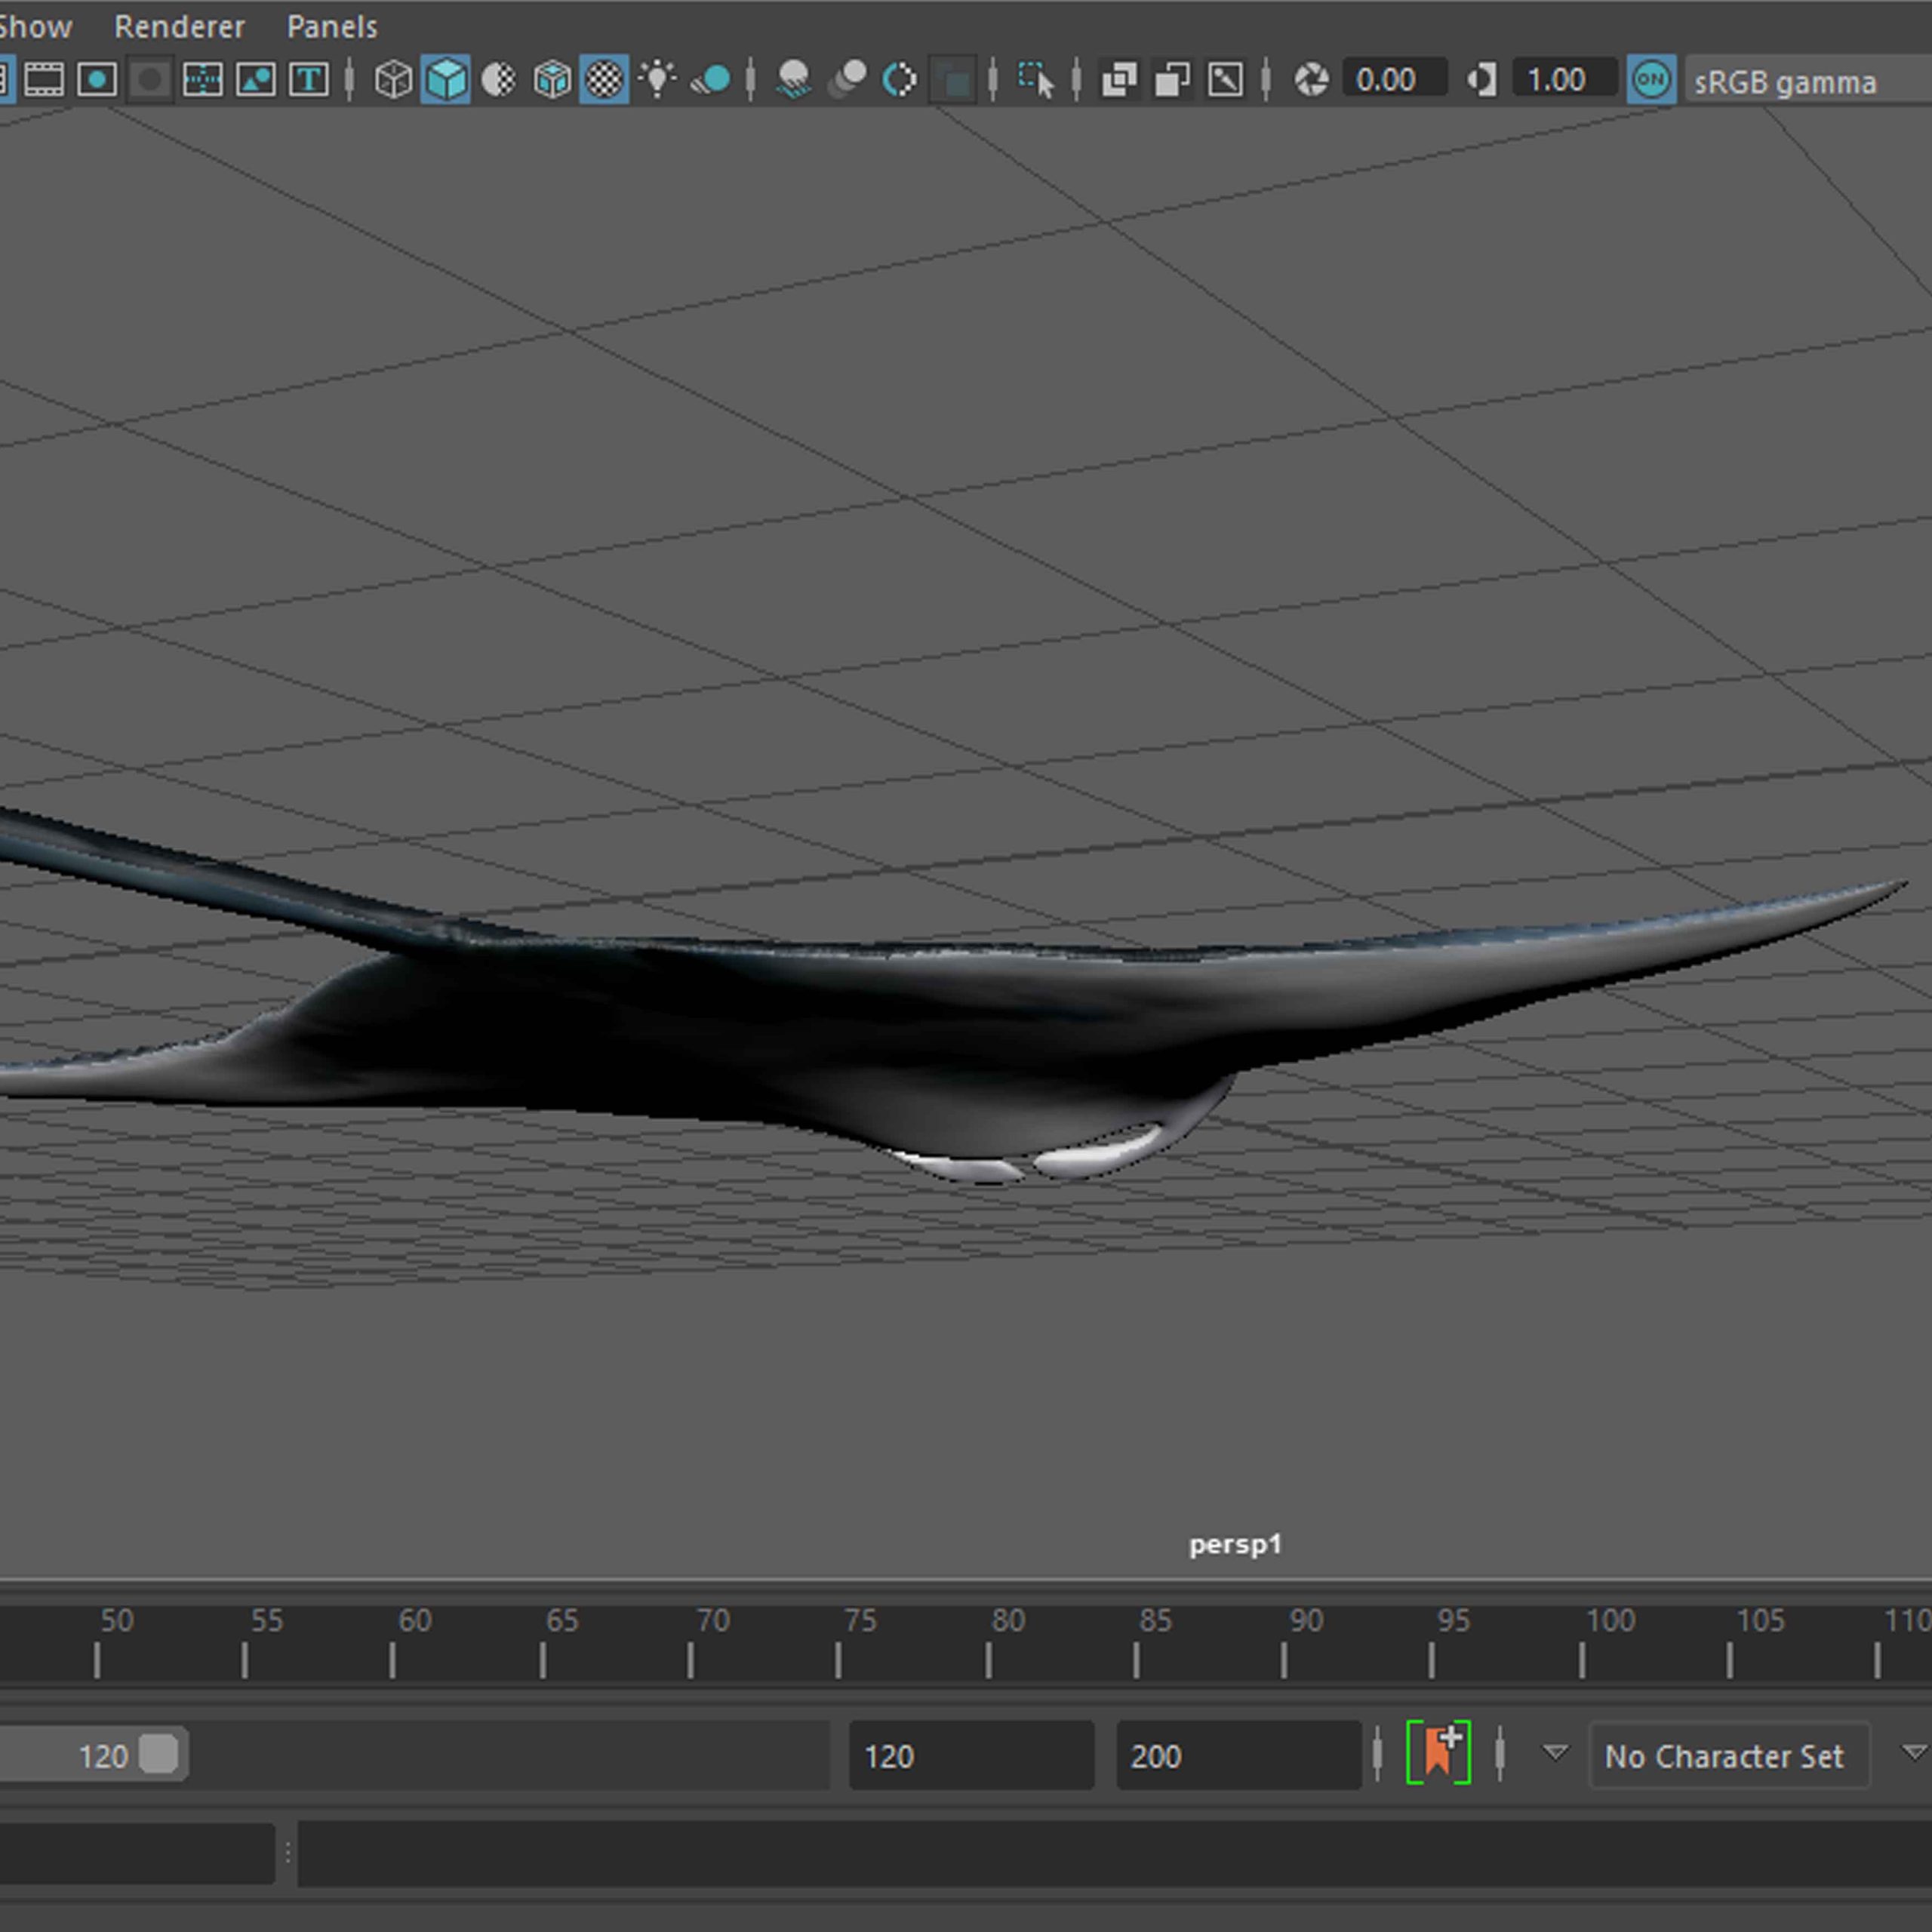
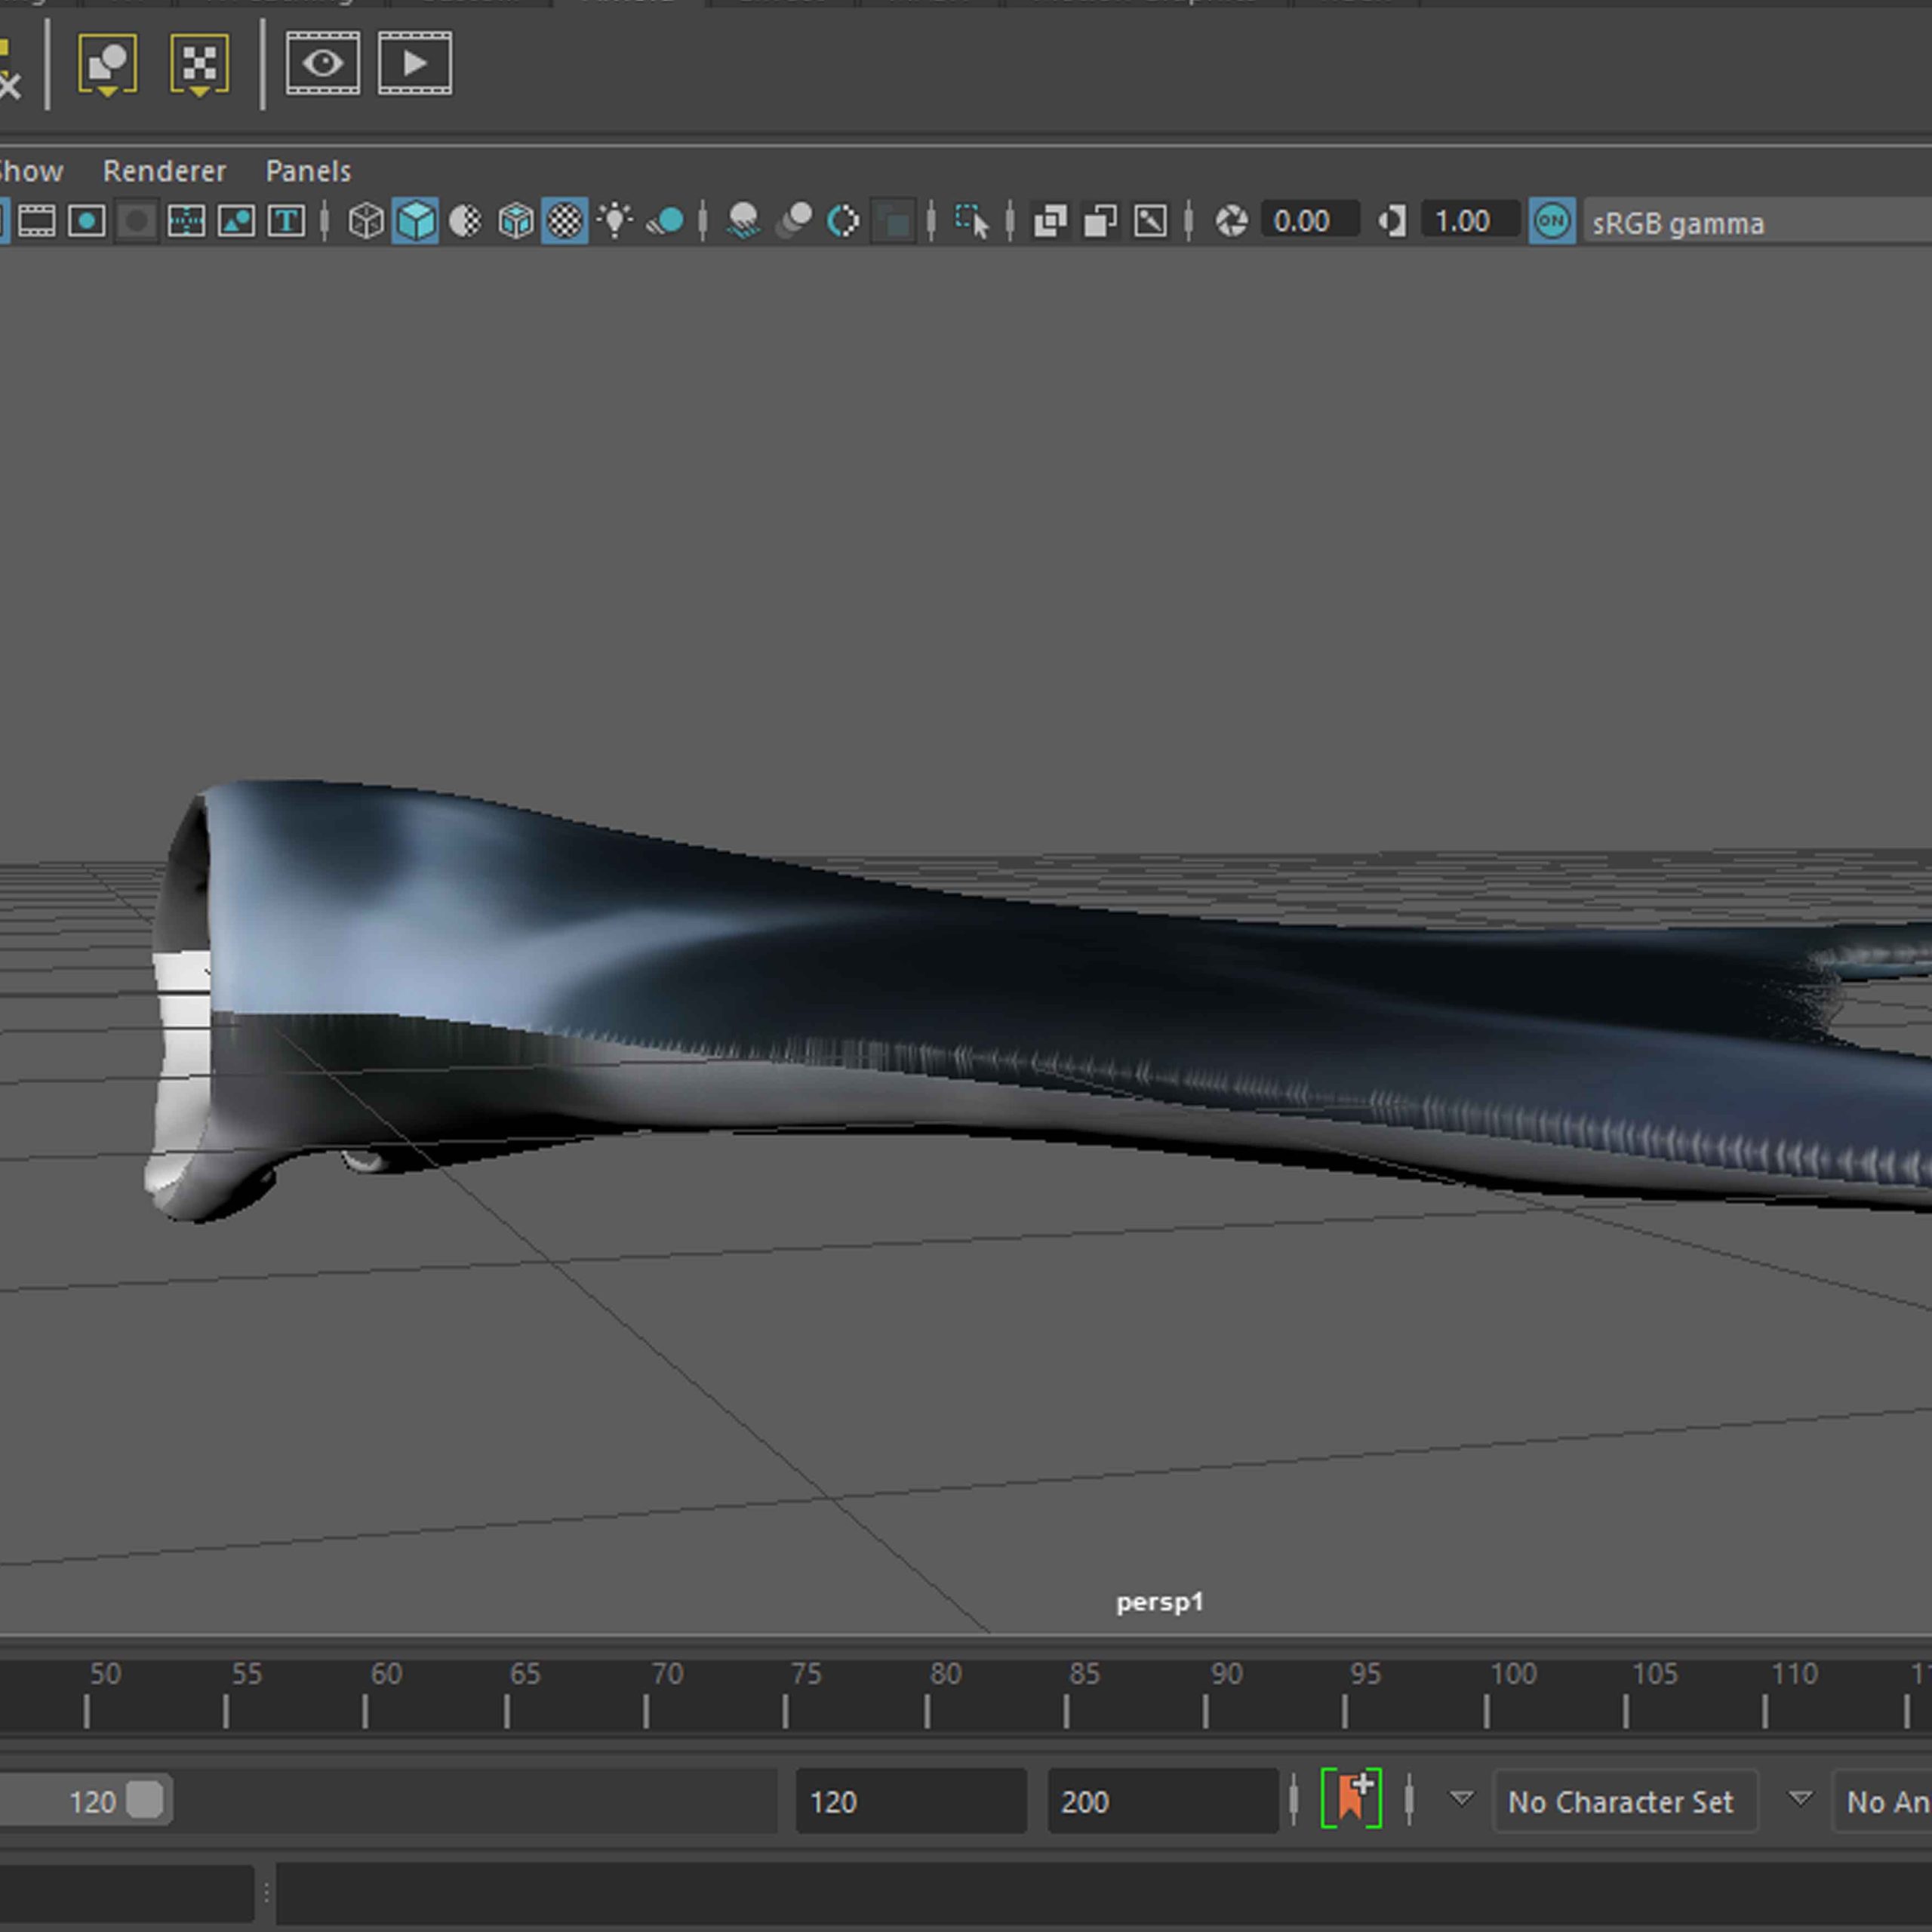
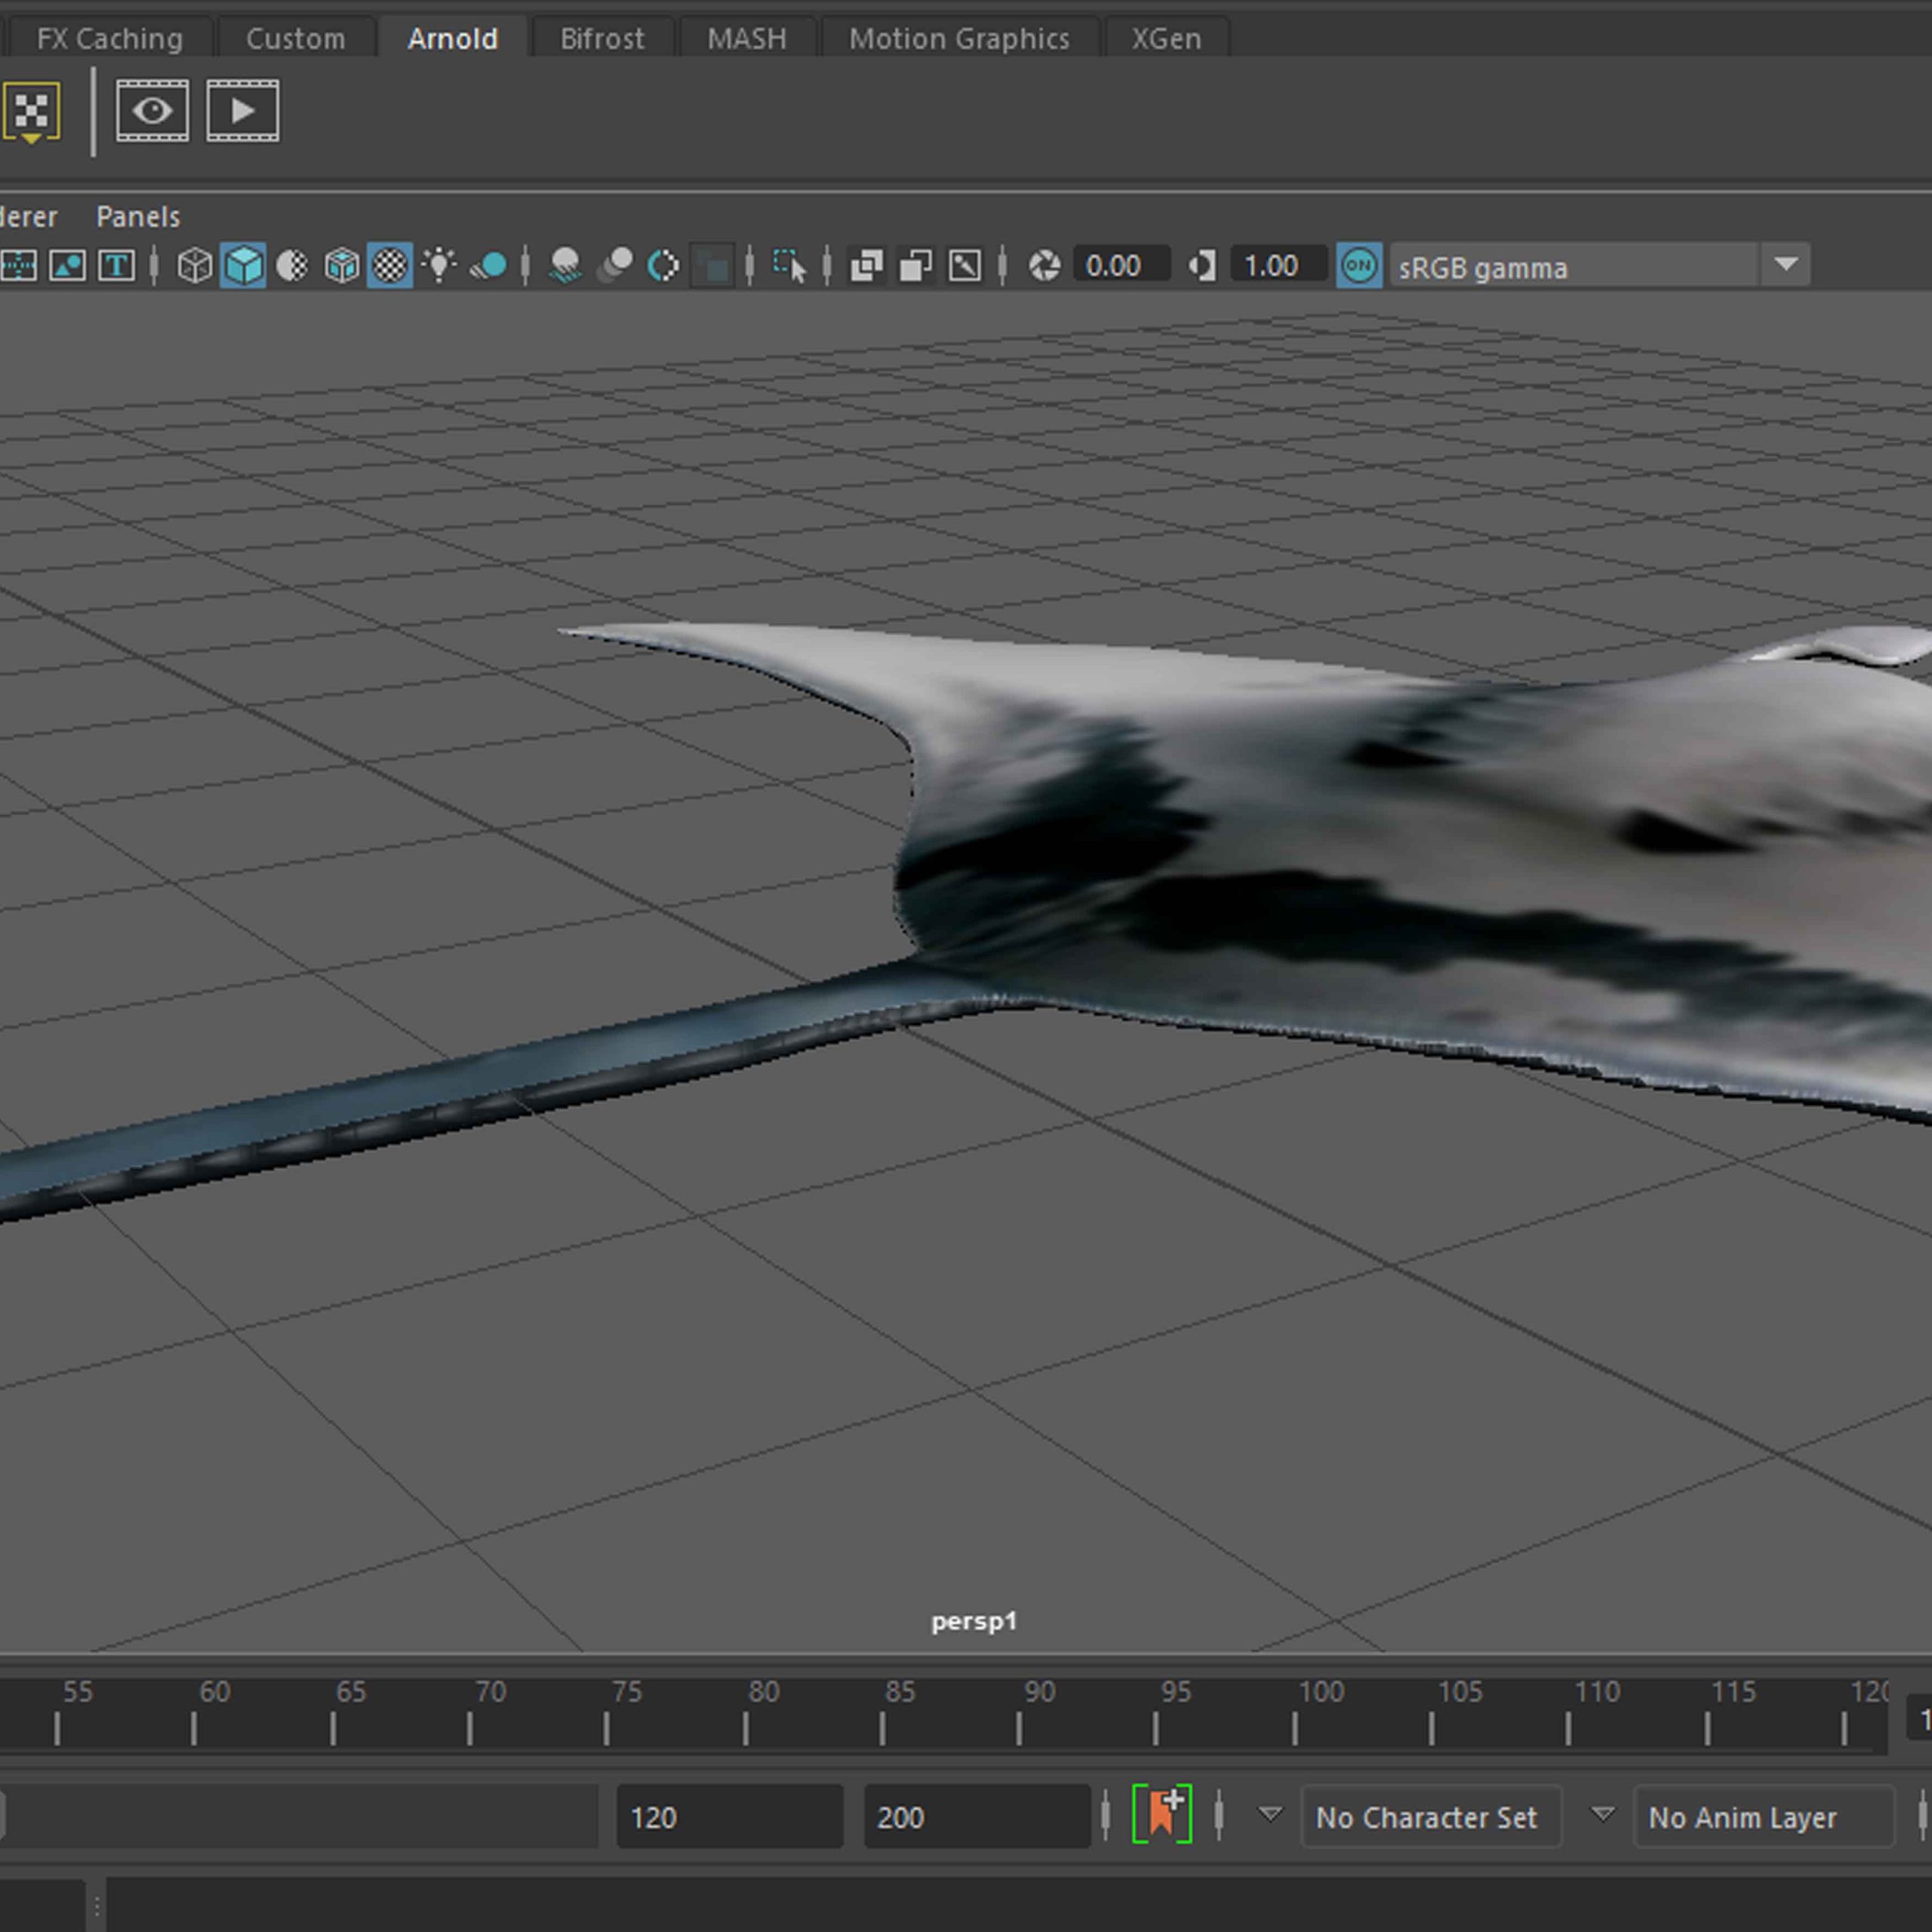
This part of the process section covers the preparation of the CG element – manta ray – for the final comp.
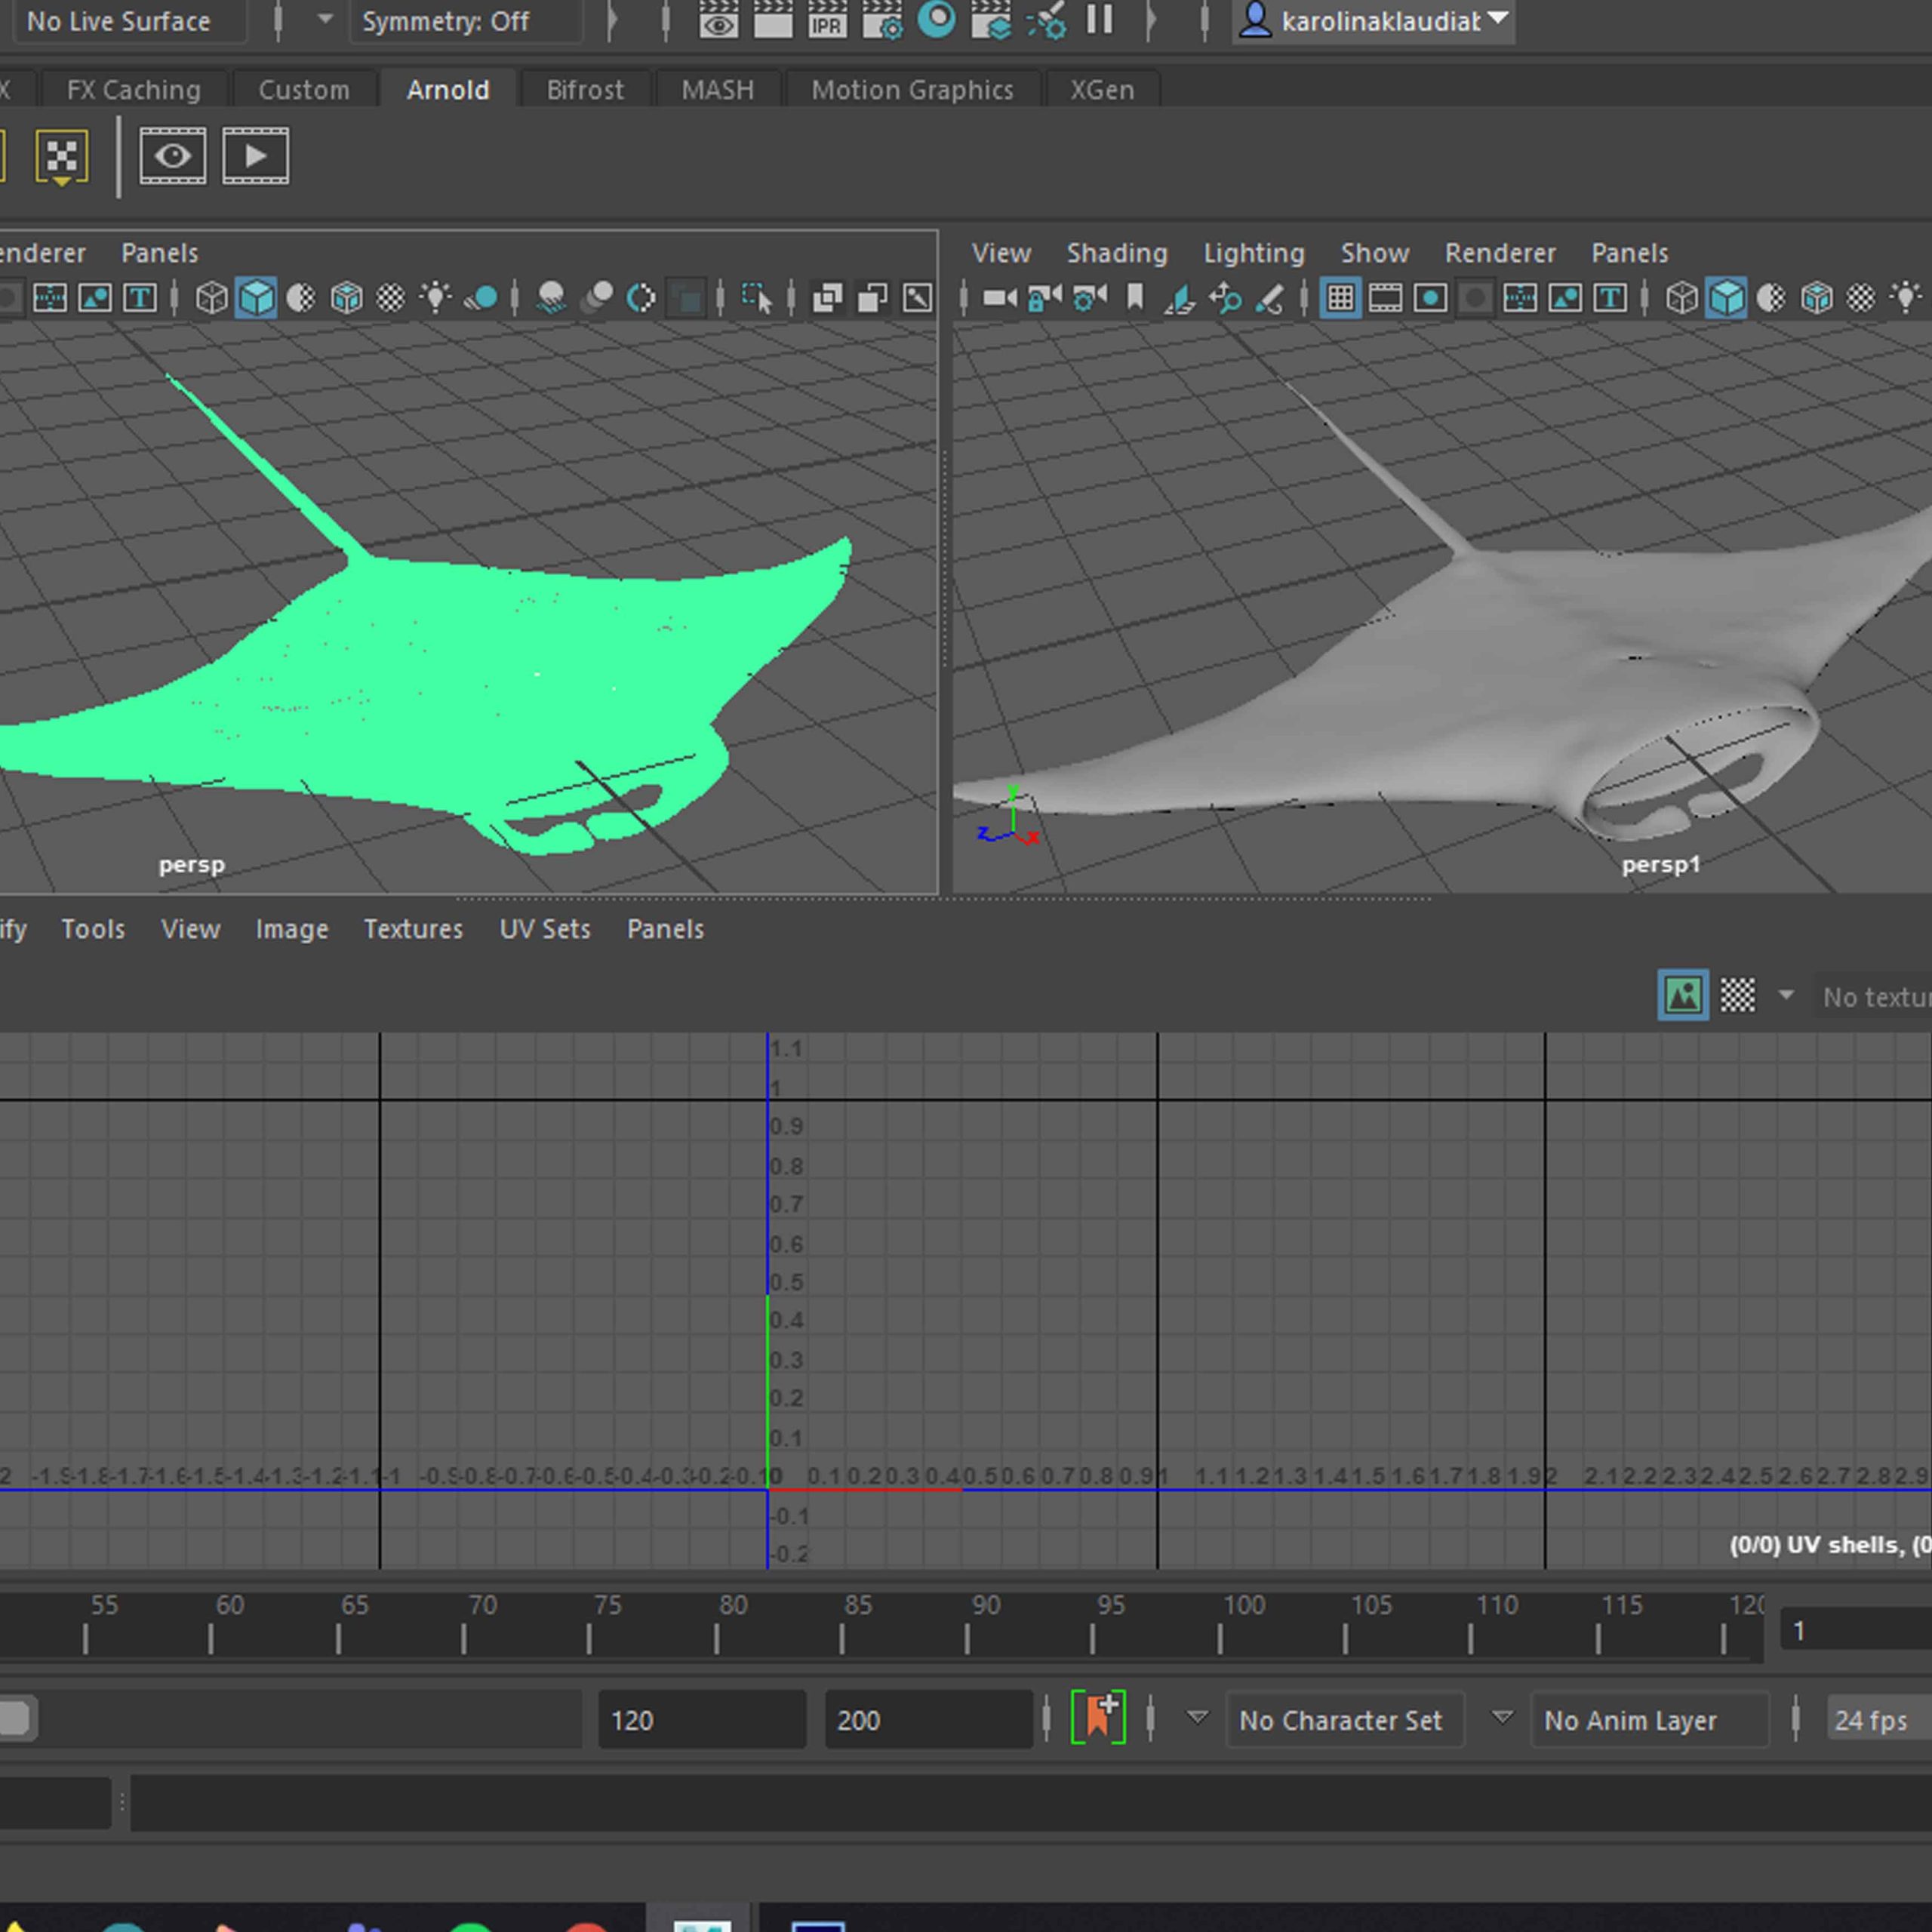
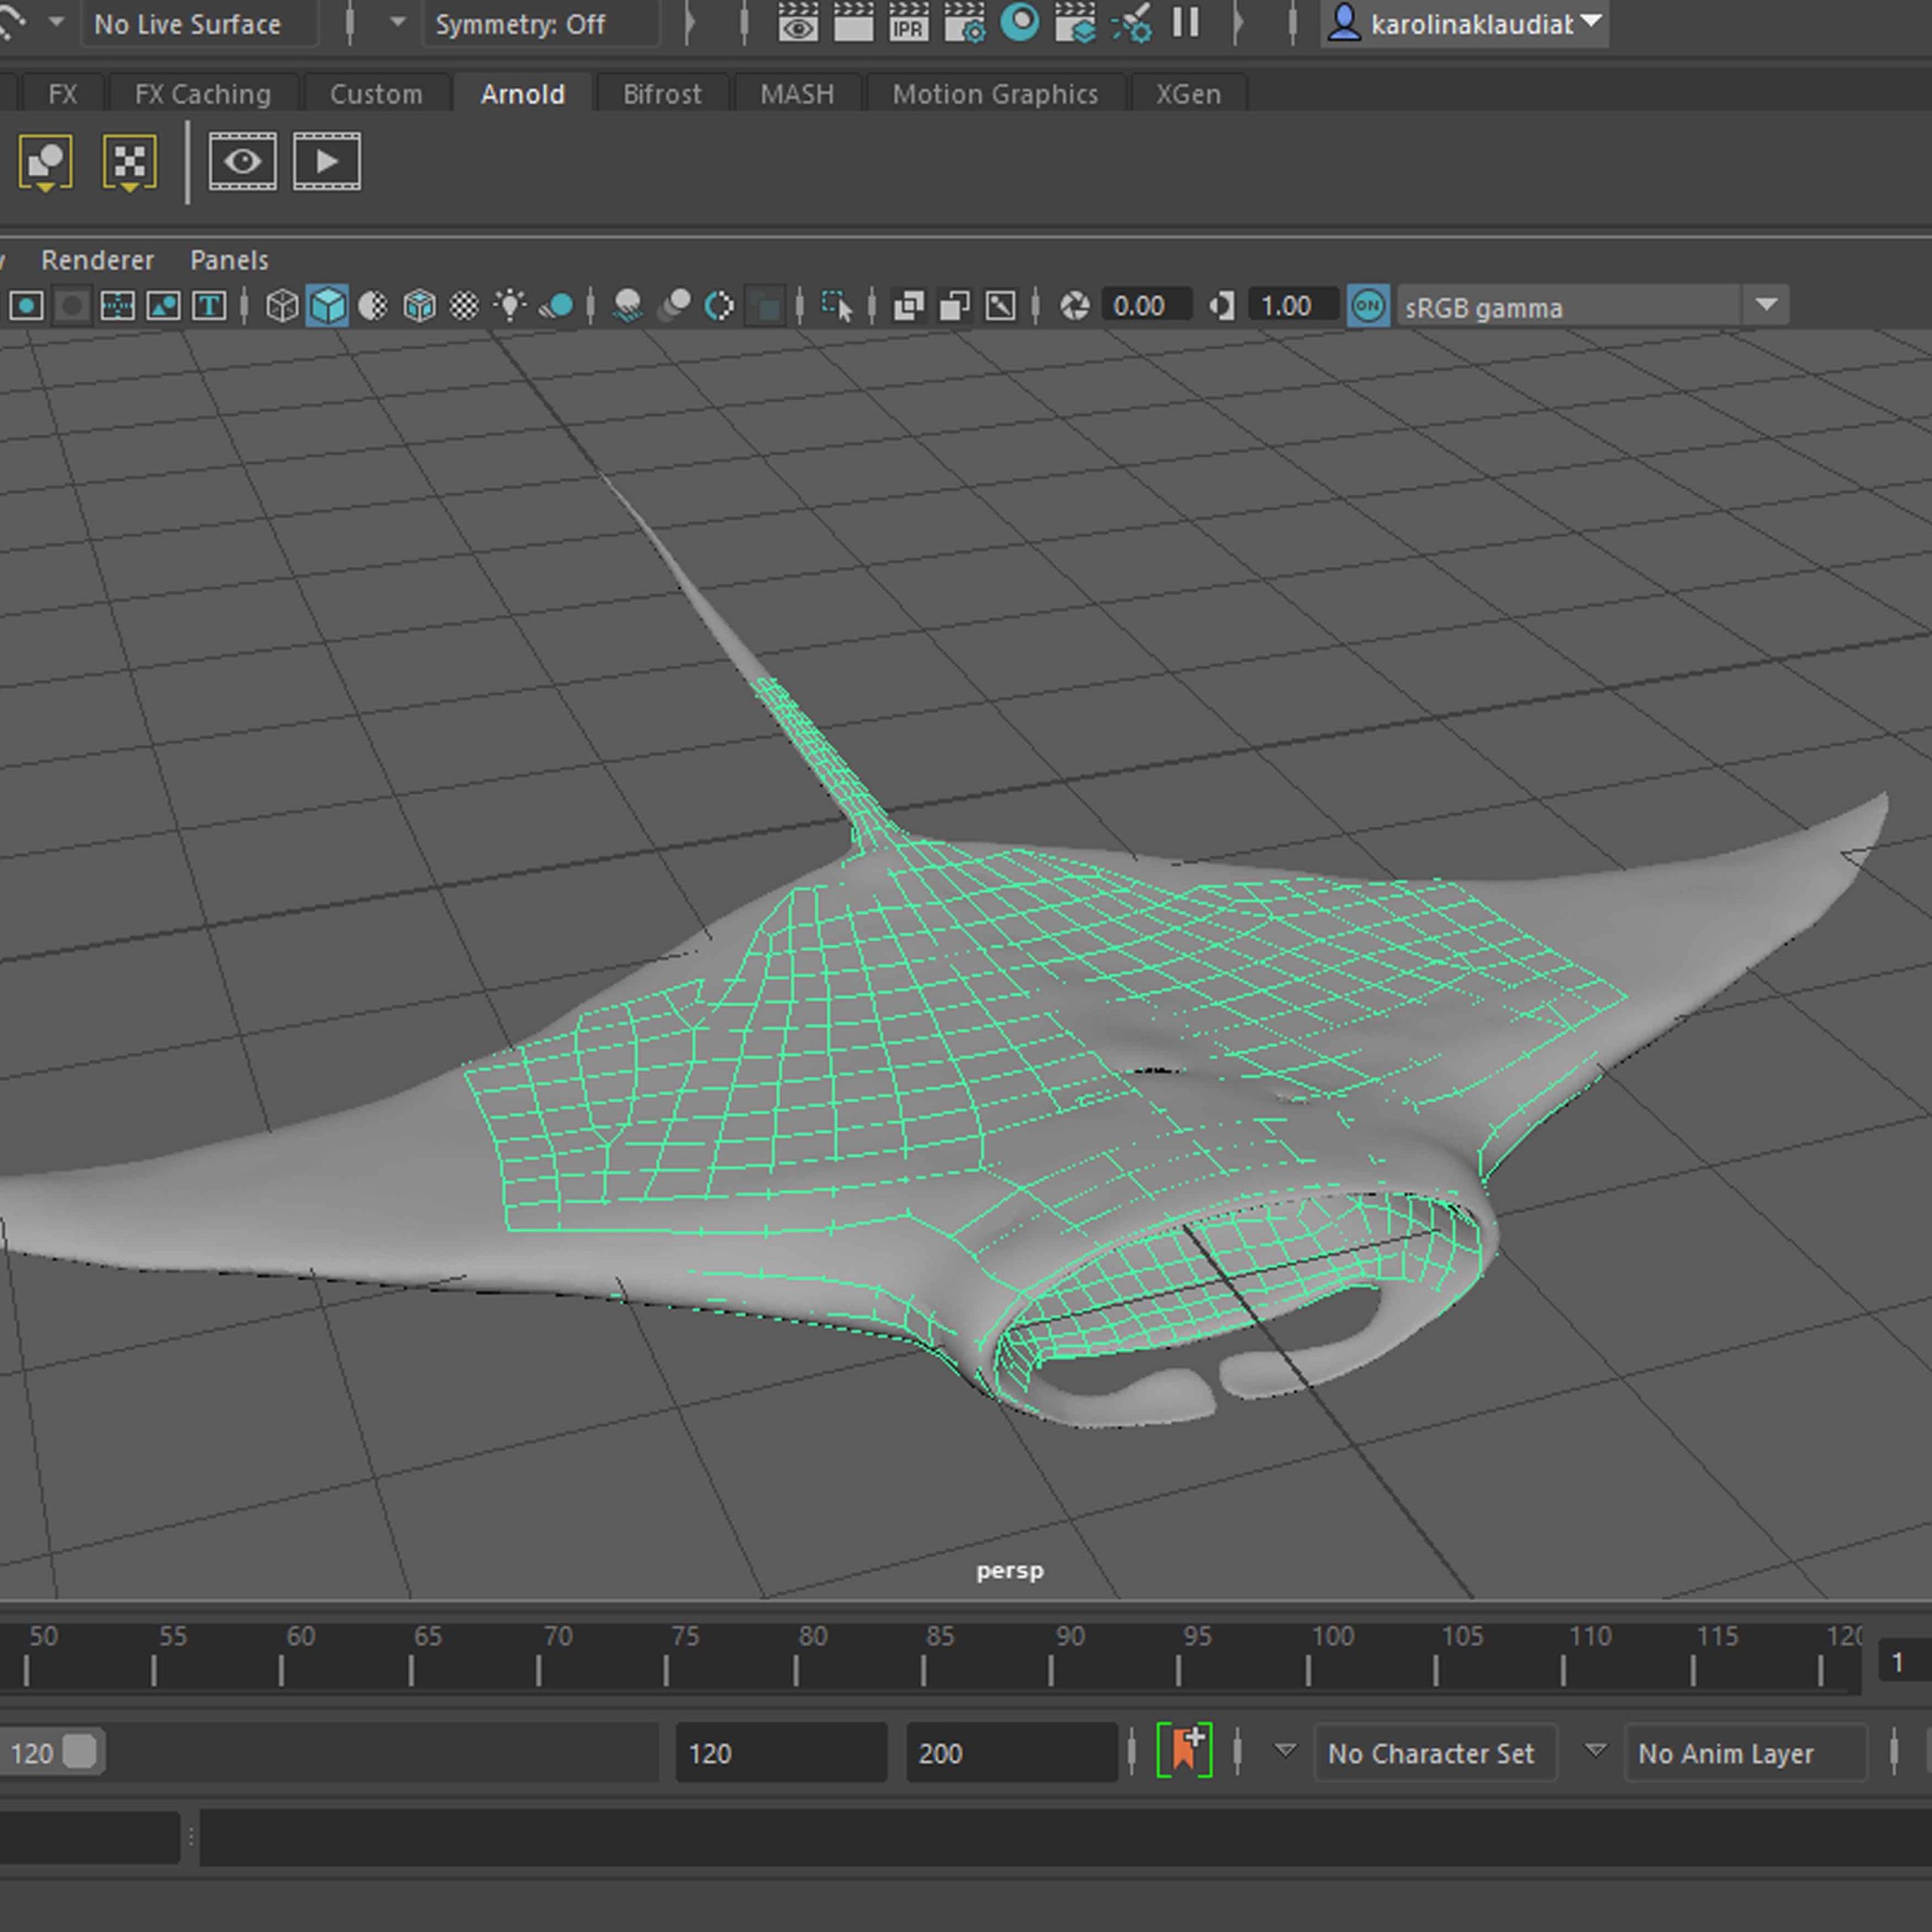
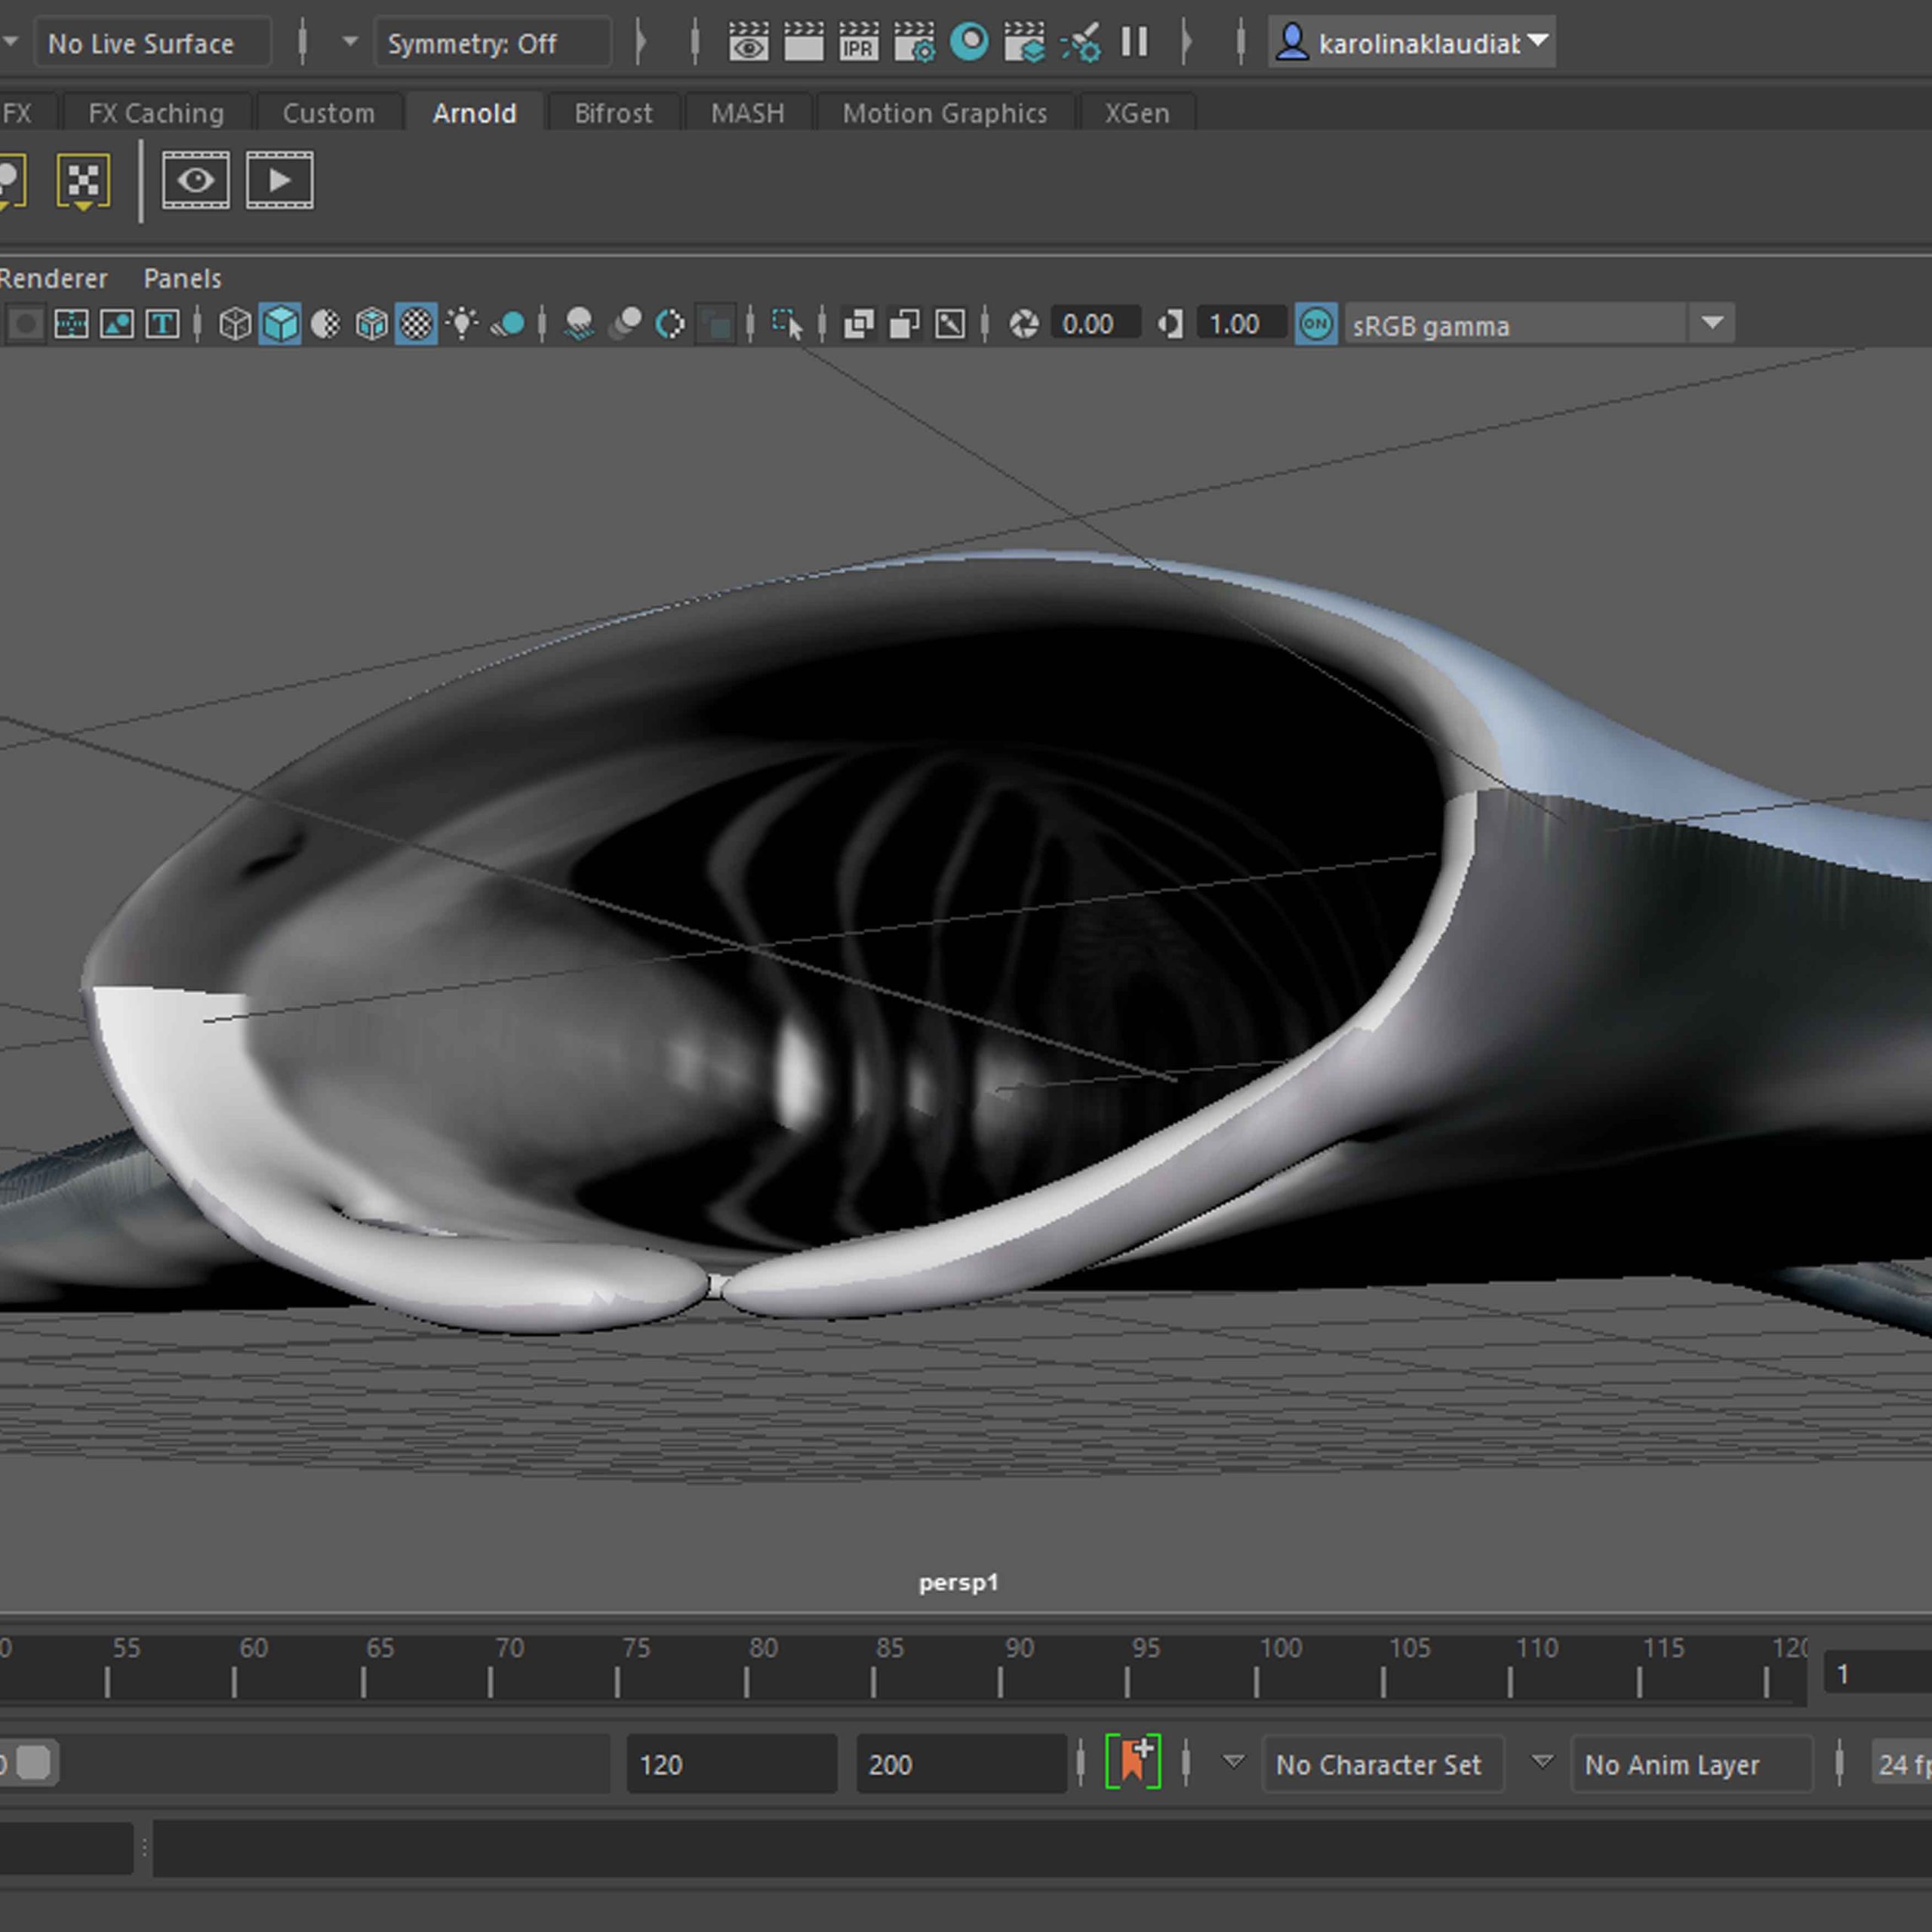
Model
The model done in Maya and Zbrush then retopologised to improve the topology and fix some mesh issues I got probably due to the way I modelled it (2 meshes combined, ten remeshed and further sculpted).
The gallery below shows the process in chronological order, starting with the 2 Maya meshes combined, then the version I got from Zbrush (decimated) and finally the retopology and its outcome.
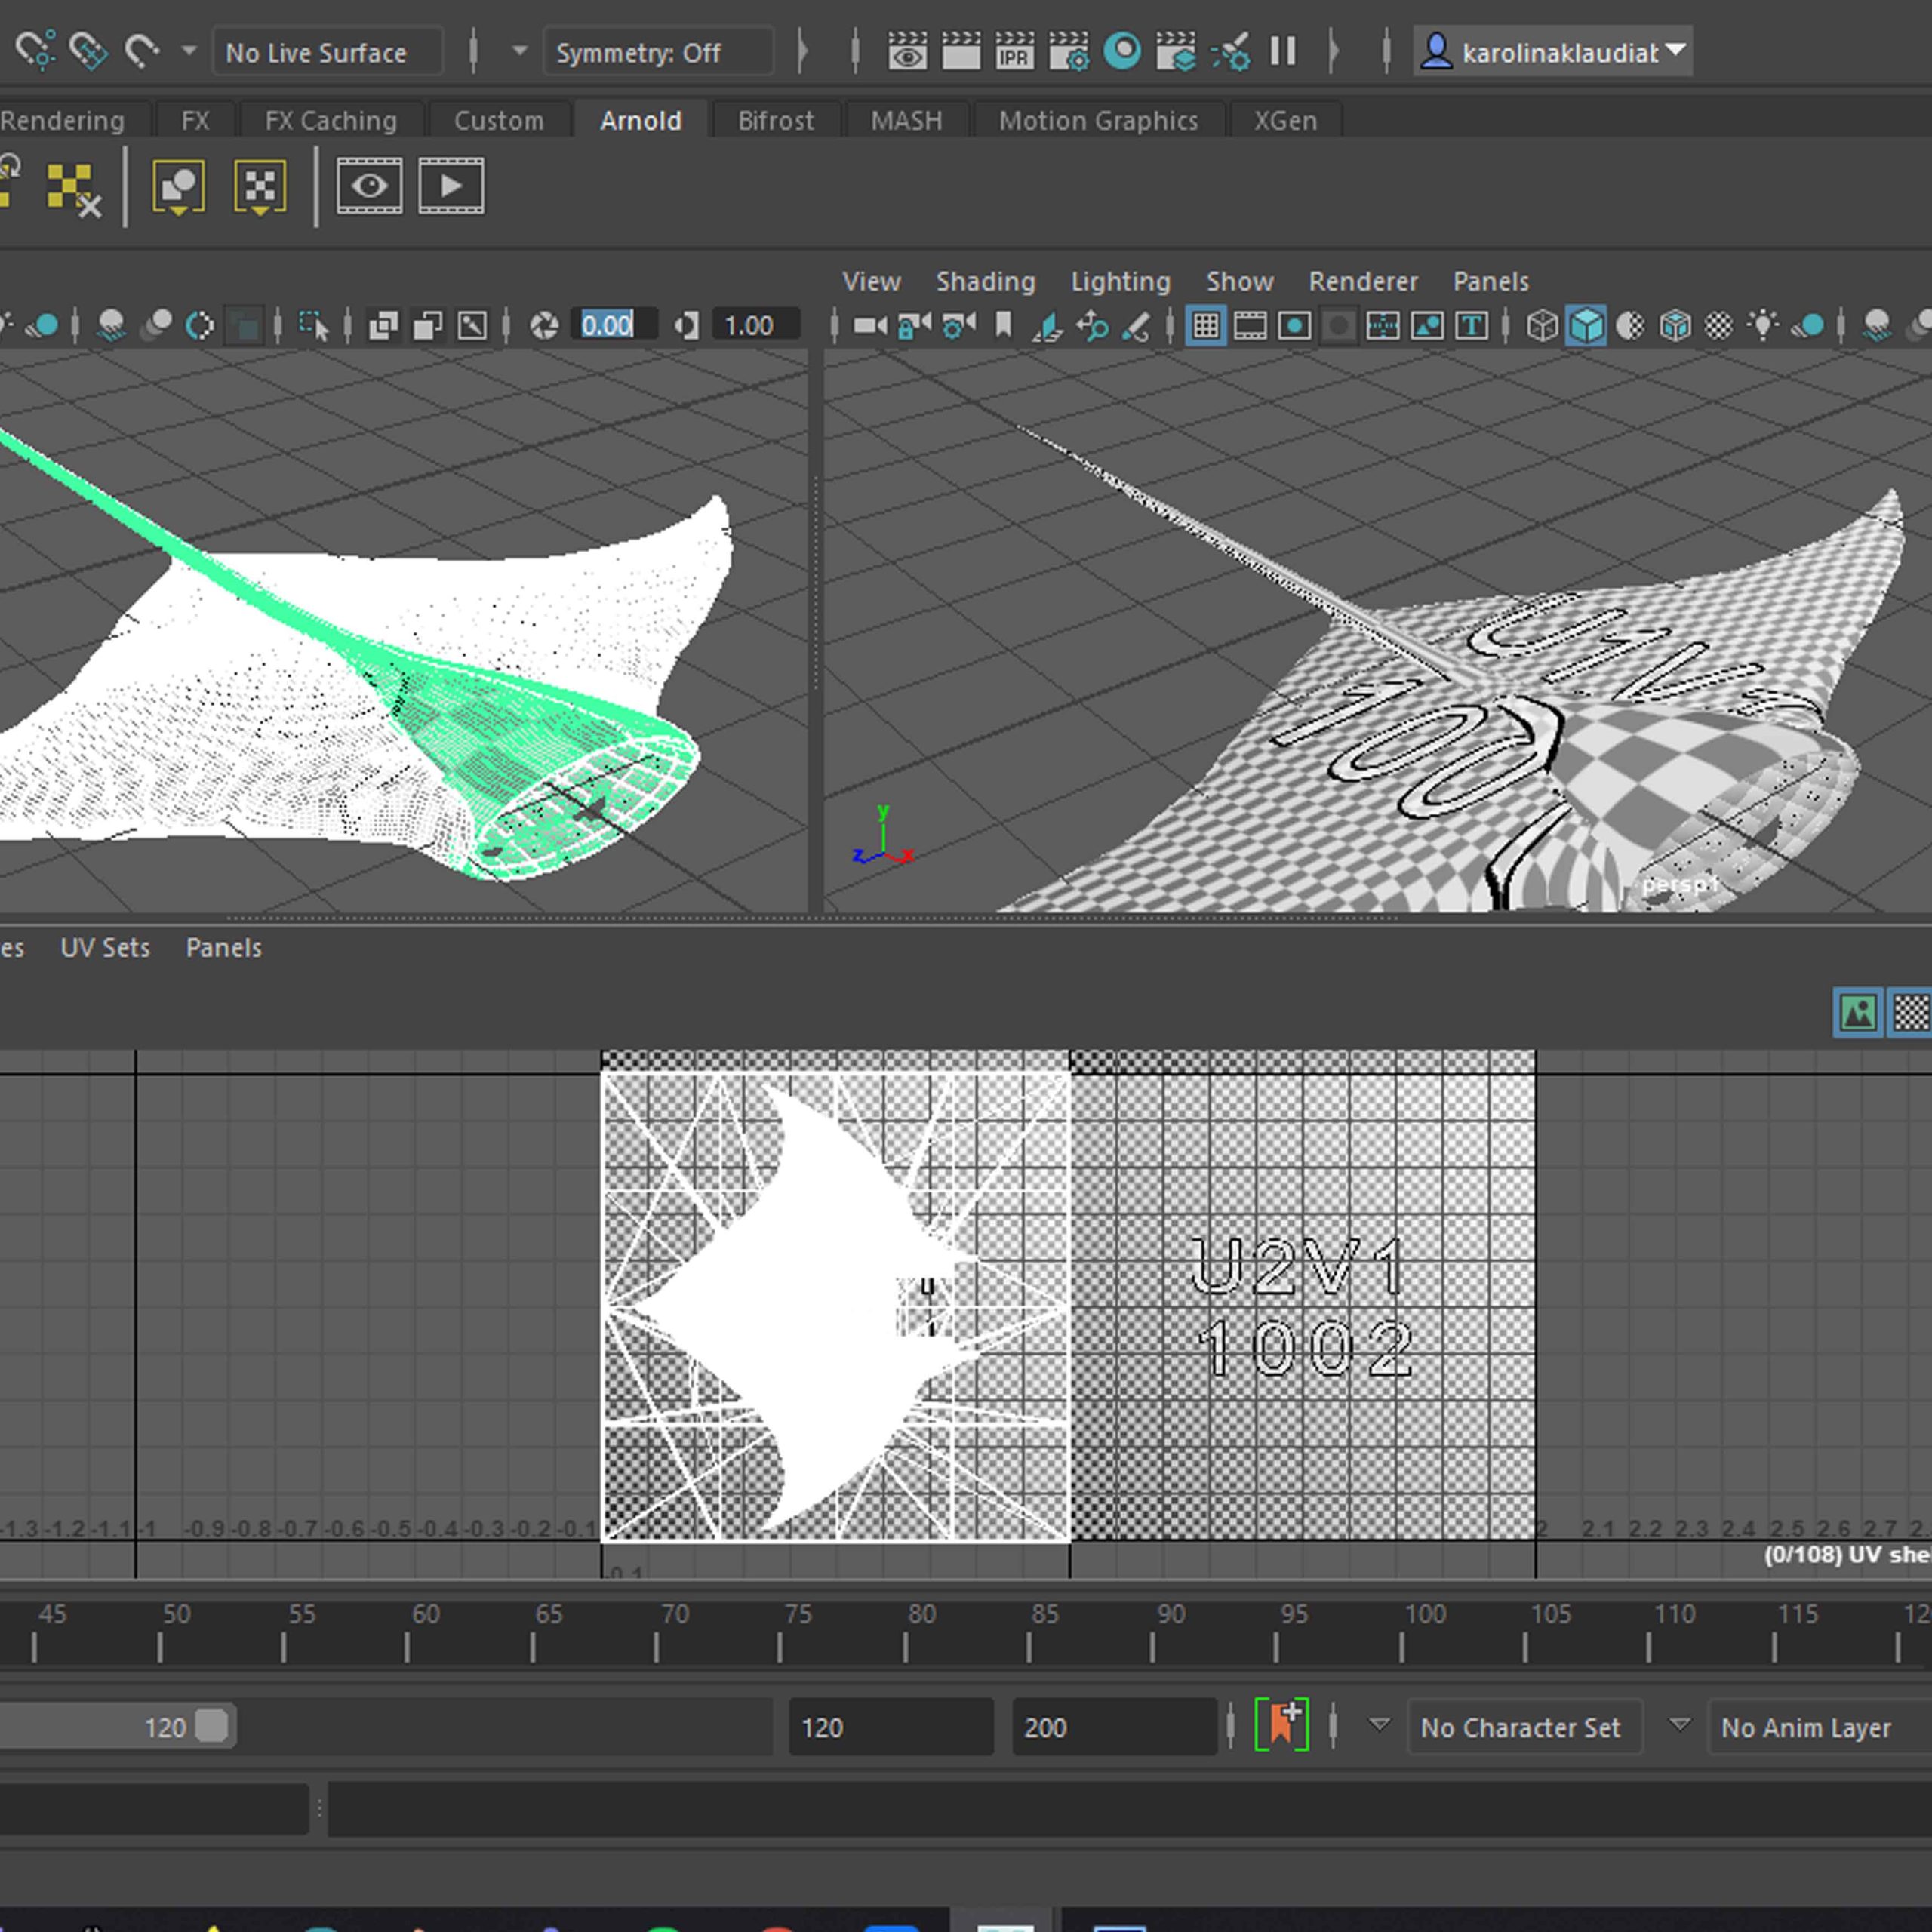

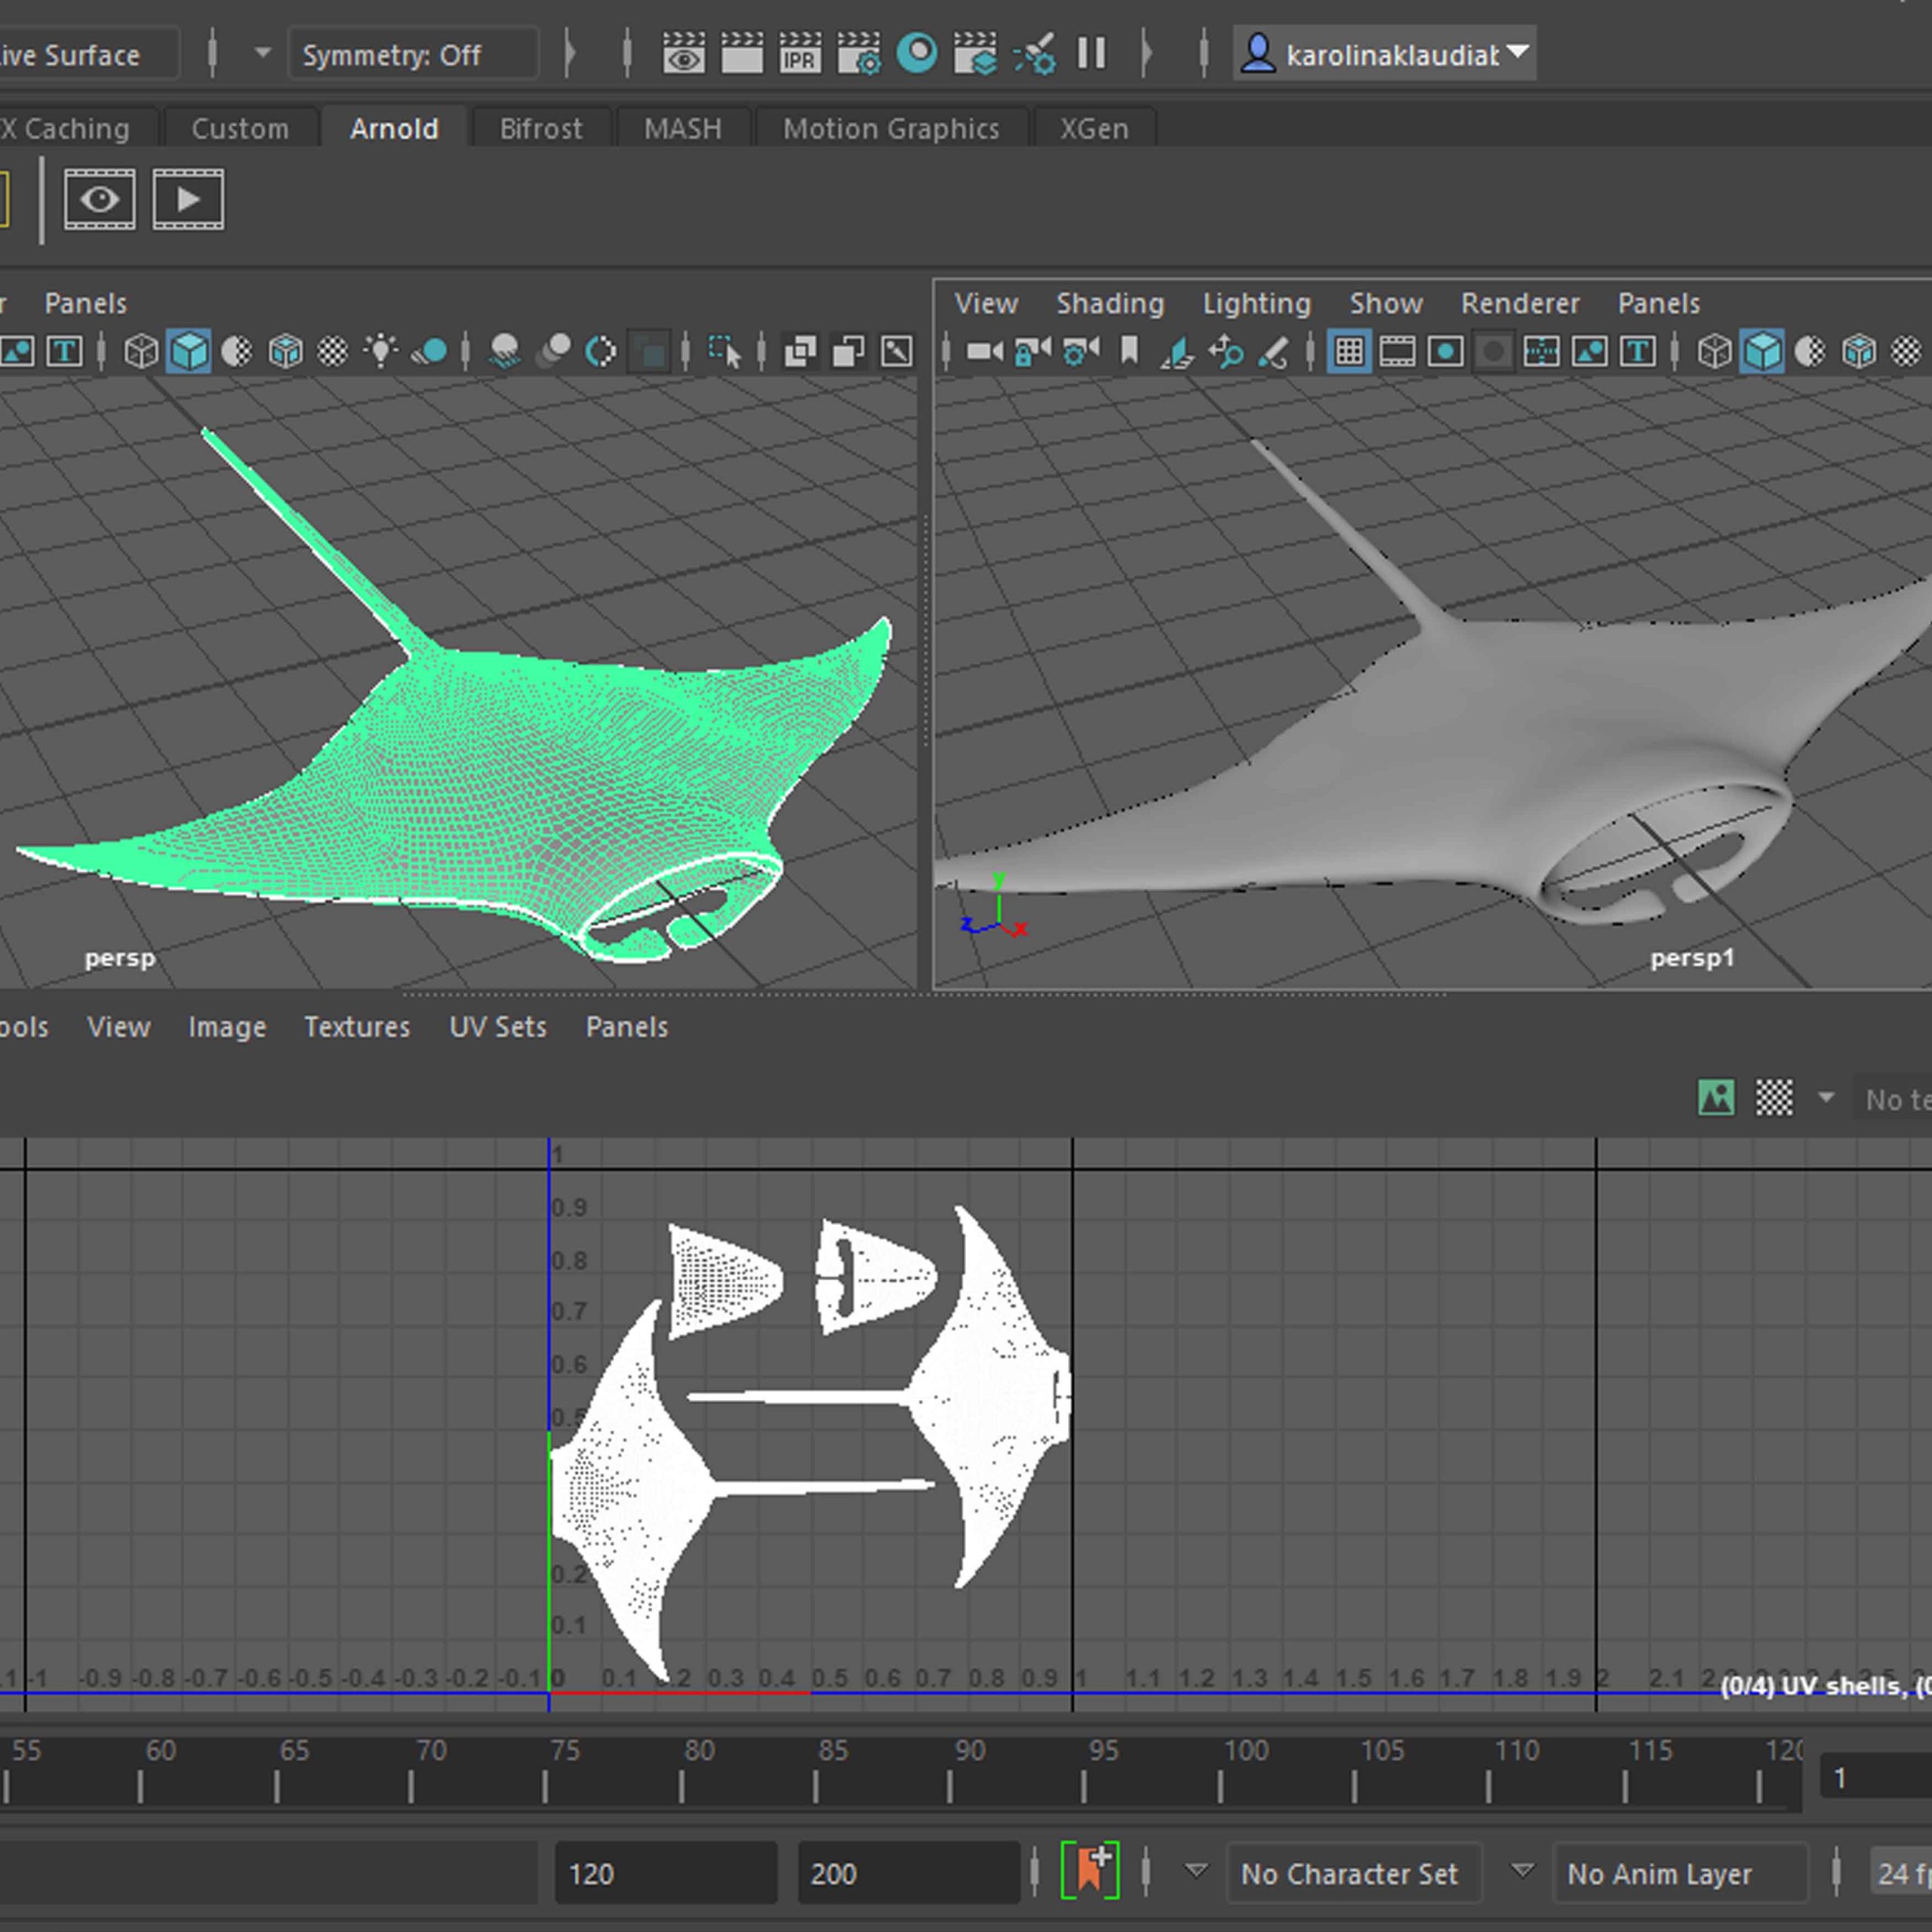
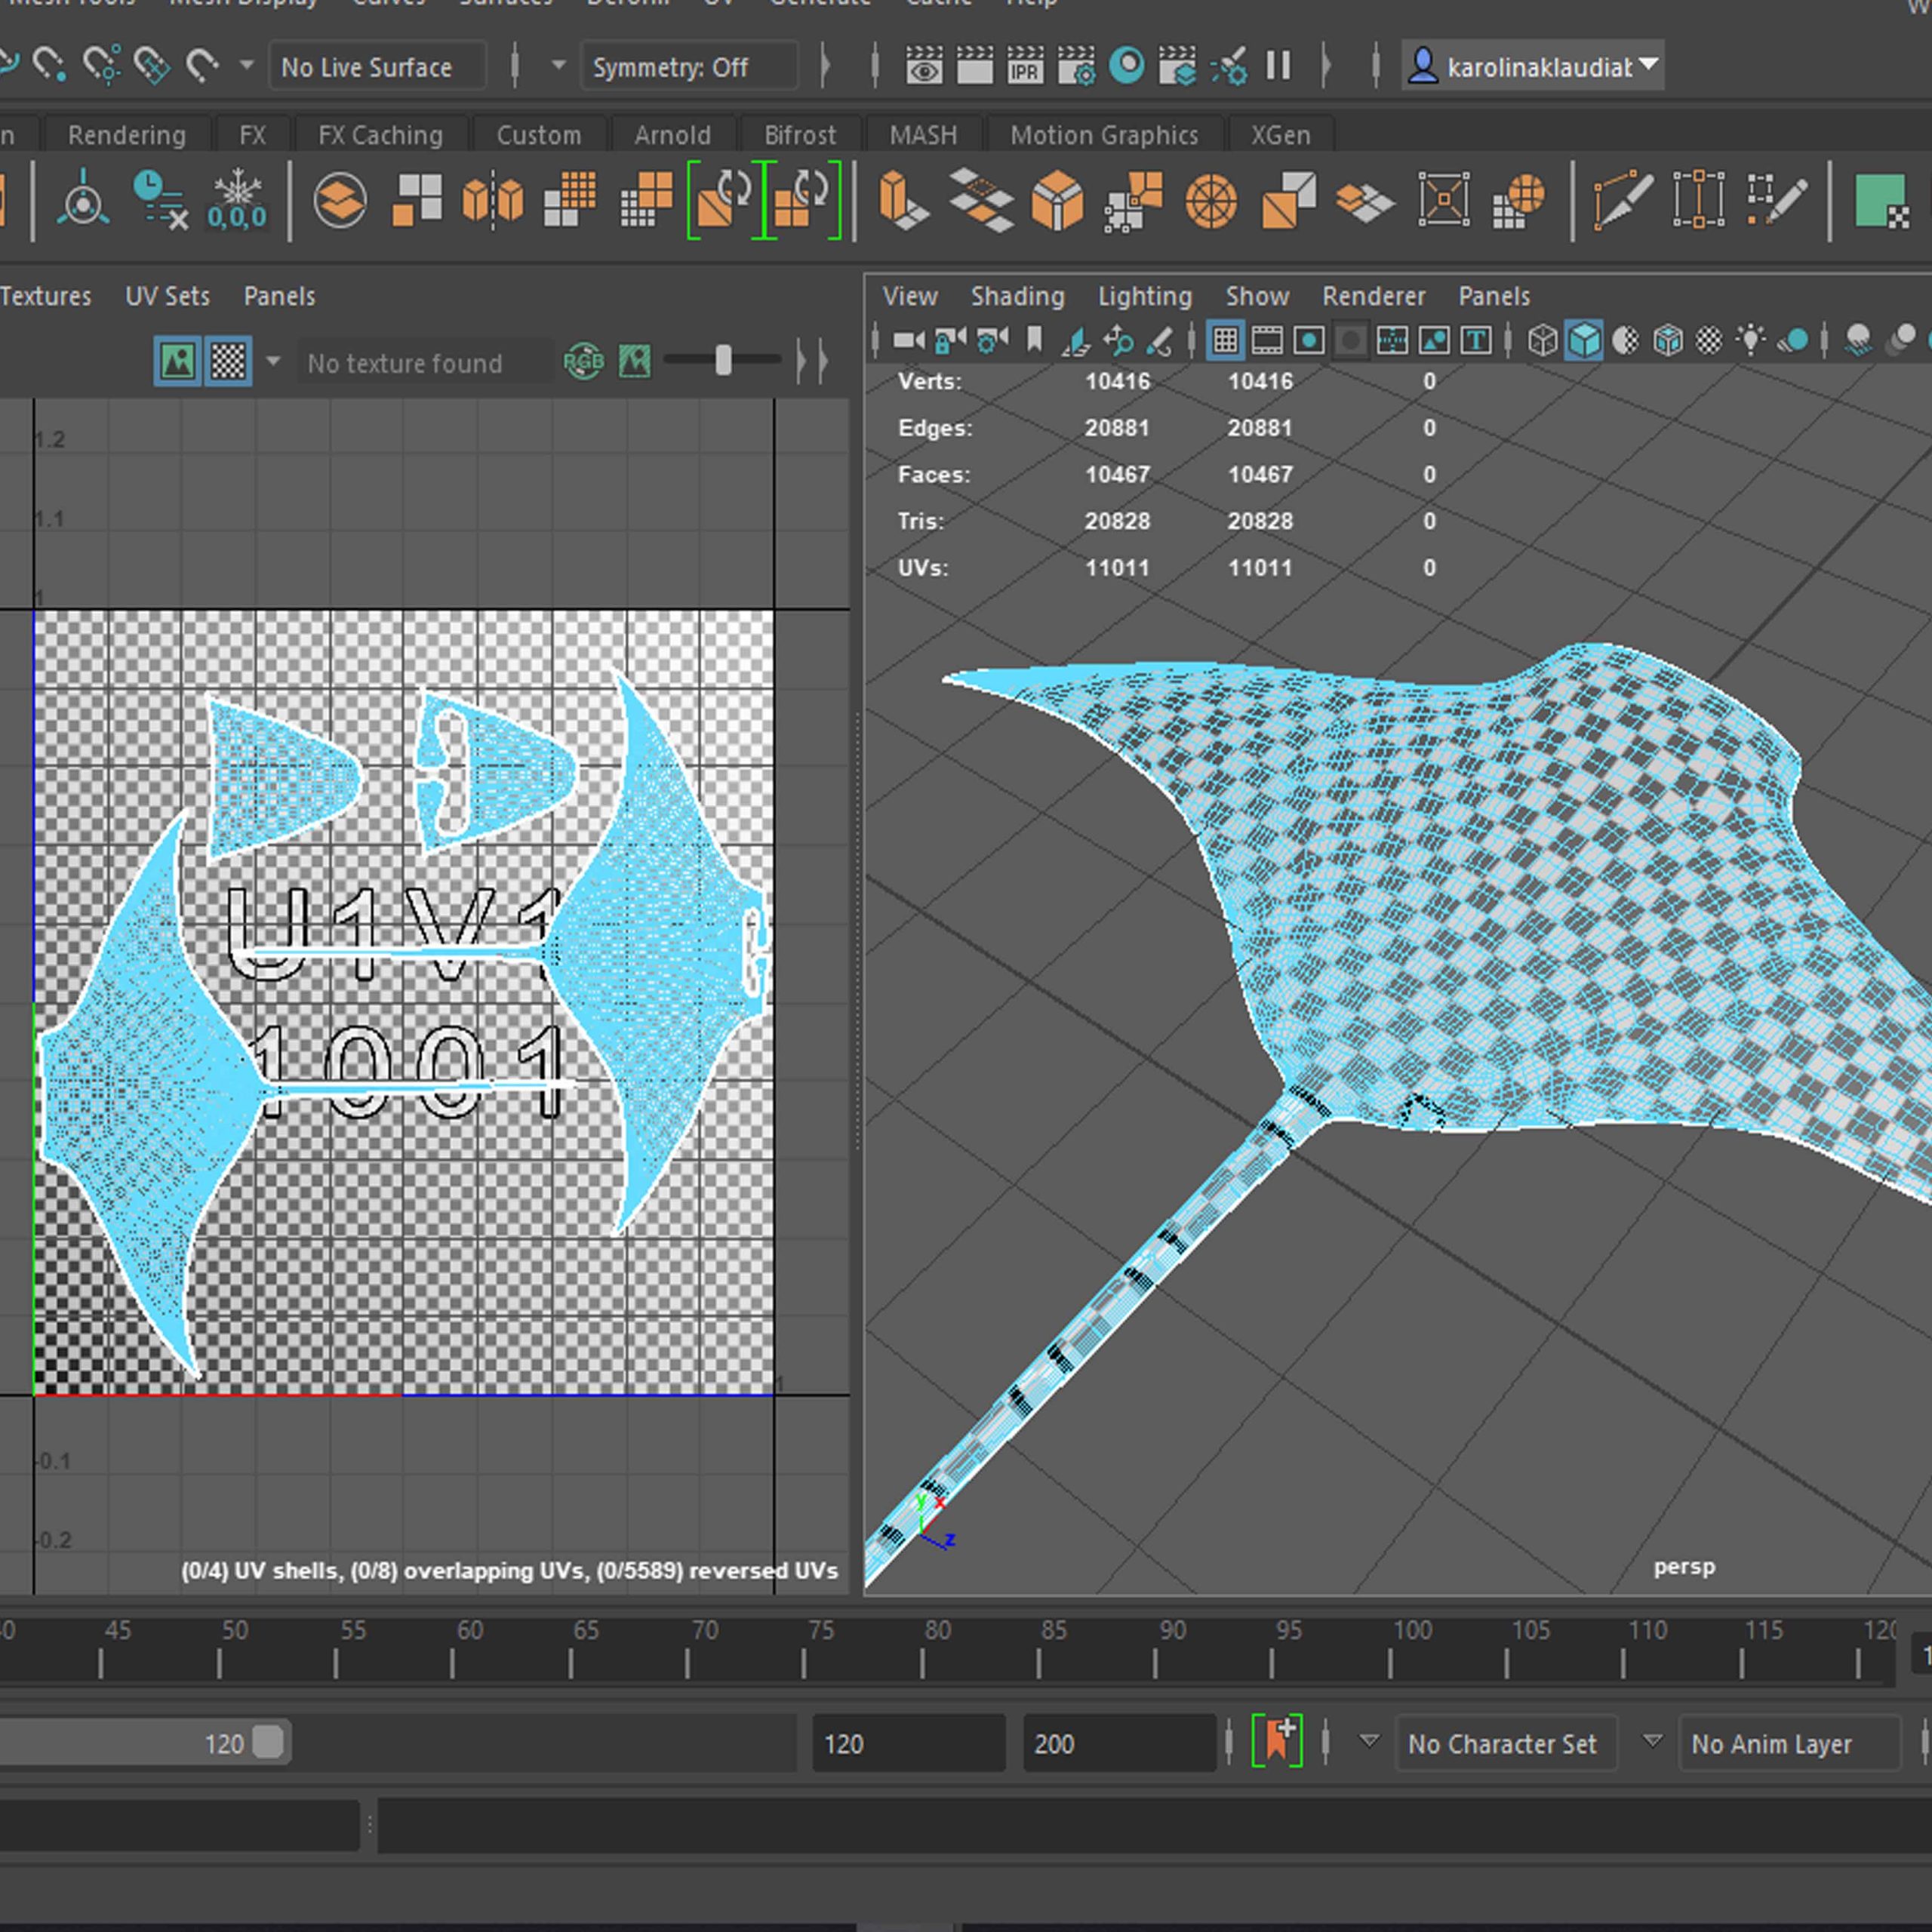
Texture
The texture for this model was done by research and selection of the suitable manta ray pictures, then cutting out the elements I needed and further paining over it in photoshop and procreate.
The progress also shows the texture in different stages of completion displayed on the model as this was the only way to correctly see how it was working. I did some work on matching the UV seam edges, but because of a time limit I was forced to move on before being completely satisfied with the match of colour on the seam parts.
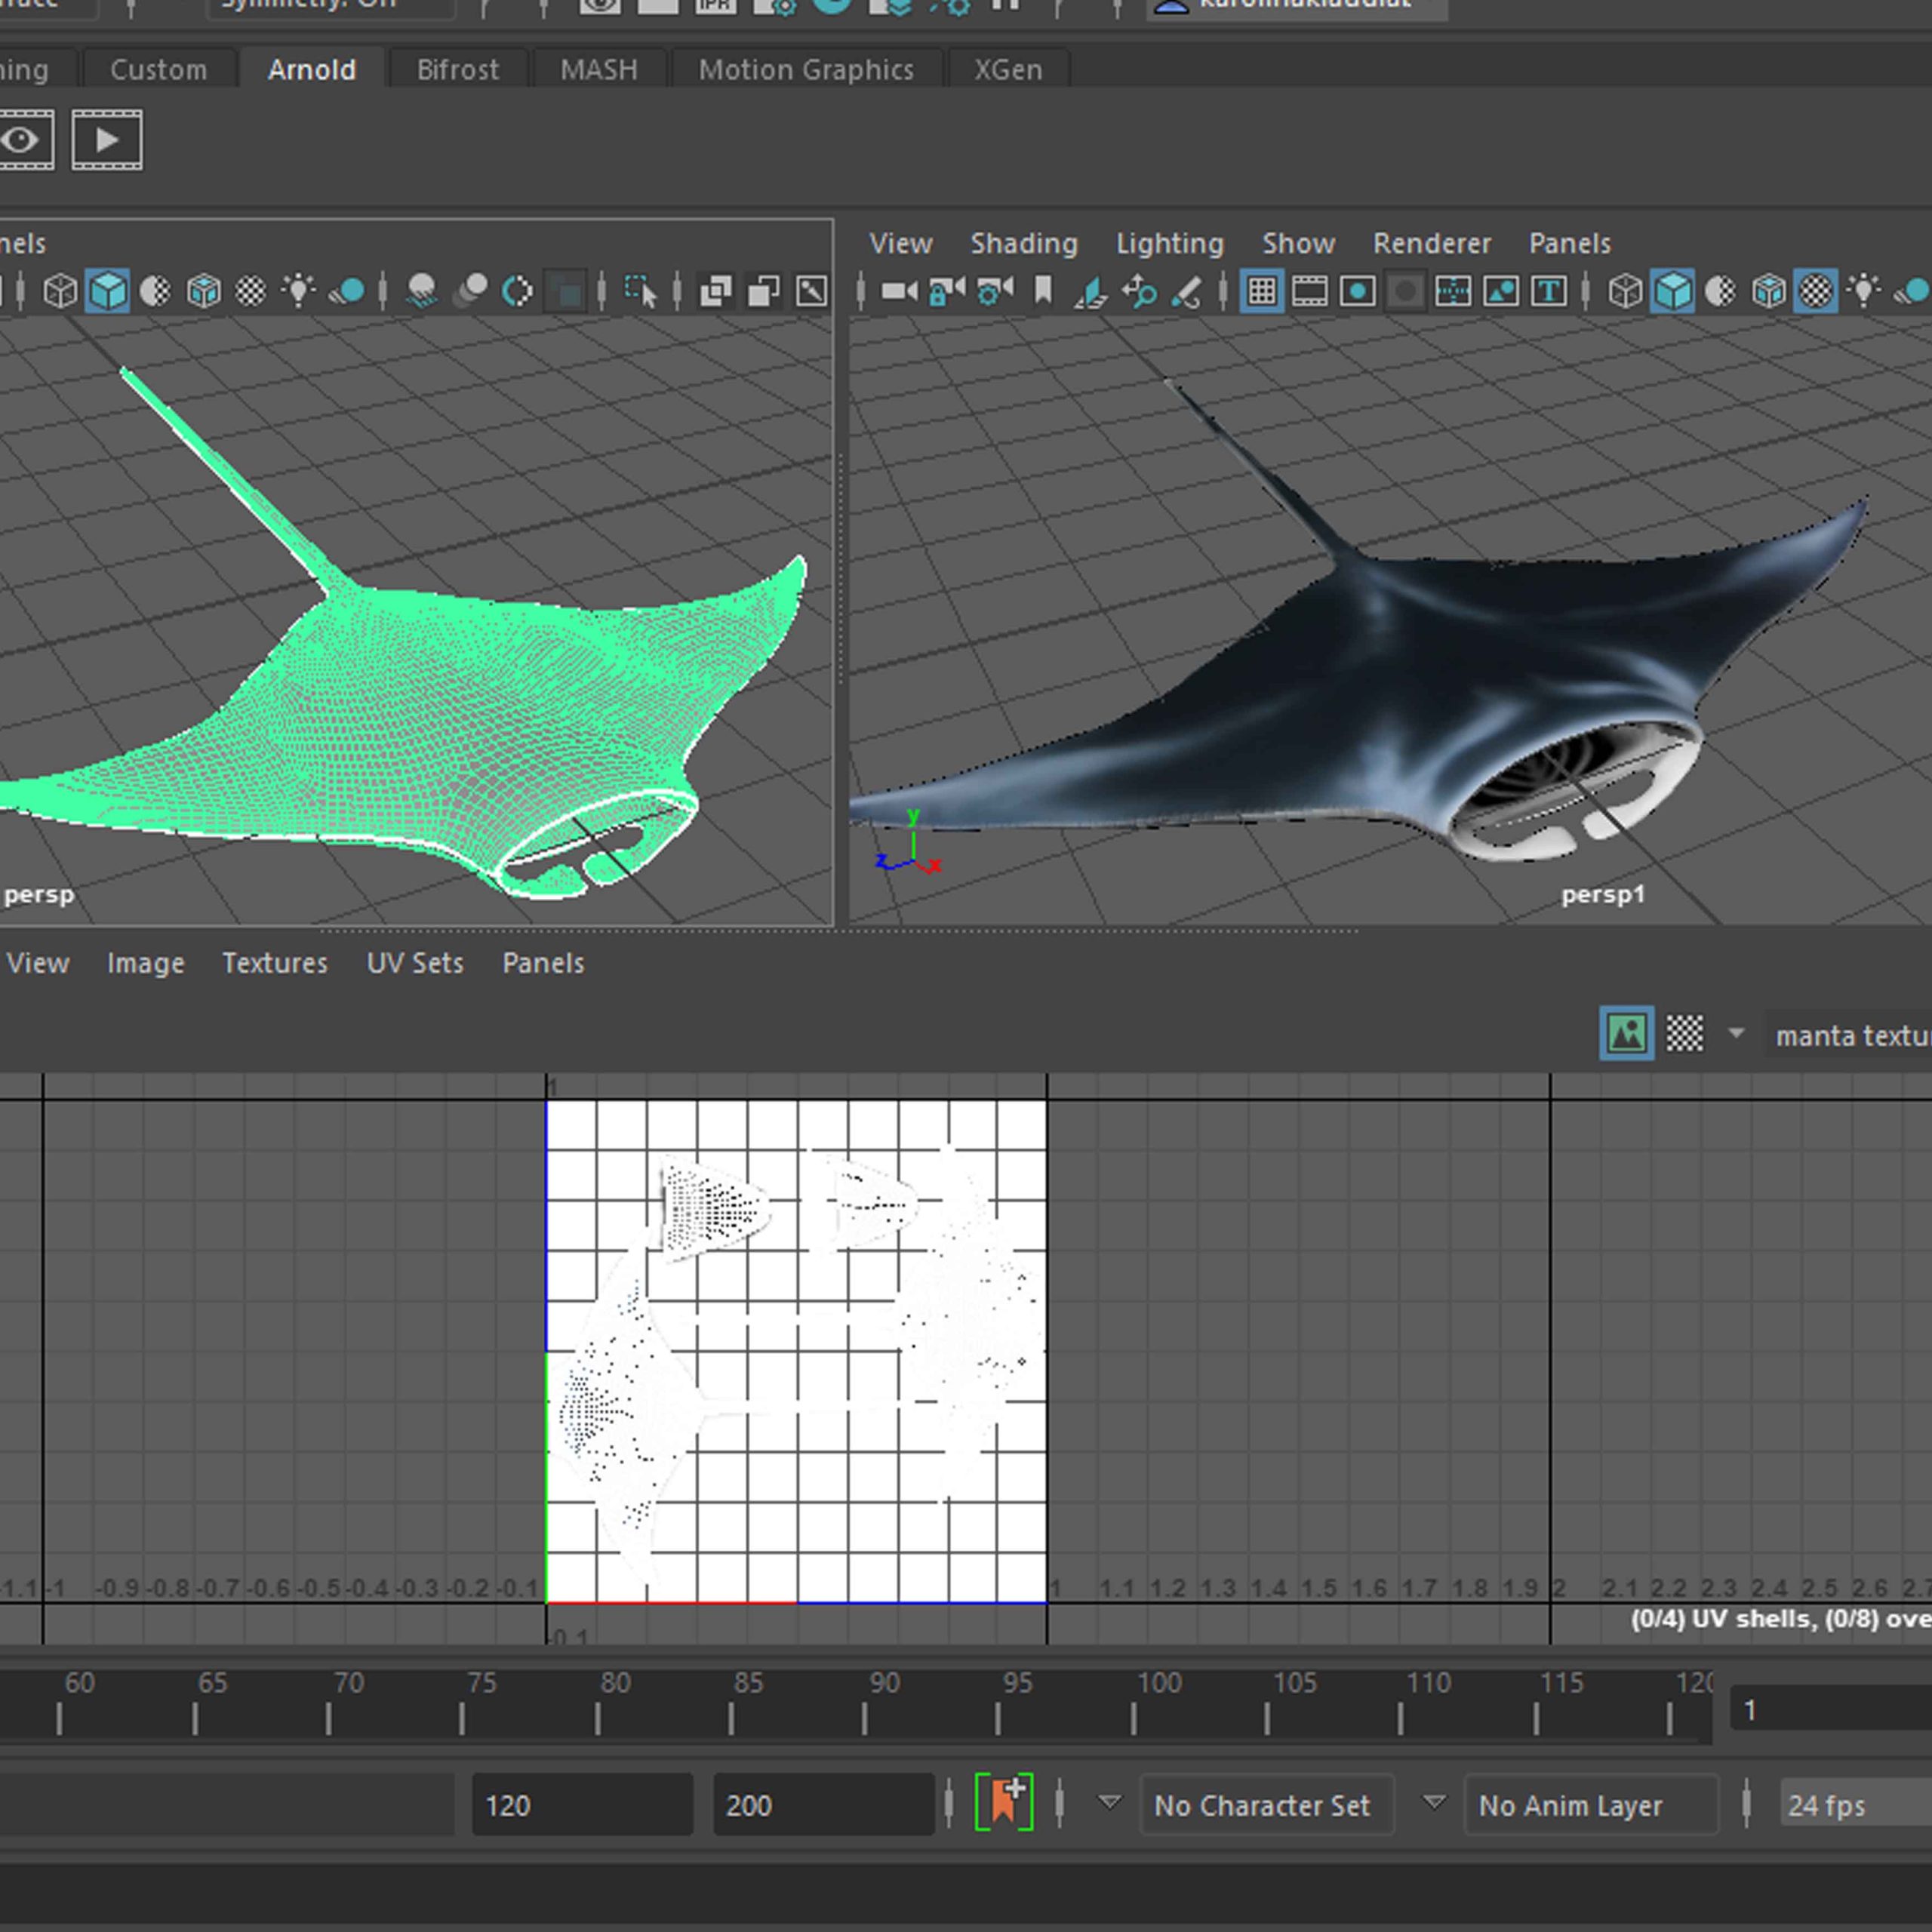
To finish up I have added some leather like texture (more like fake leather fabric than an actual skin texture but this one showed up the best on the actual texture so I decided to go with it) made through experimentation with a set of procreate brushes.
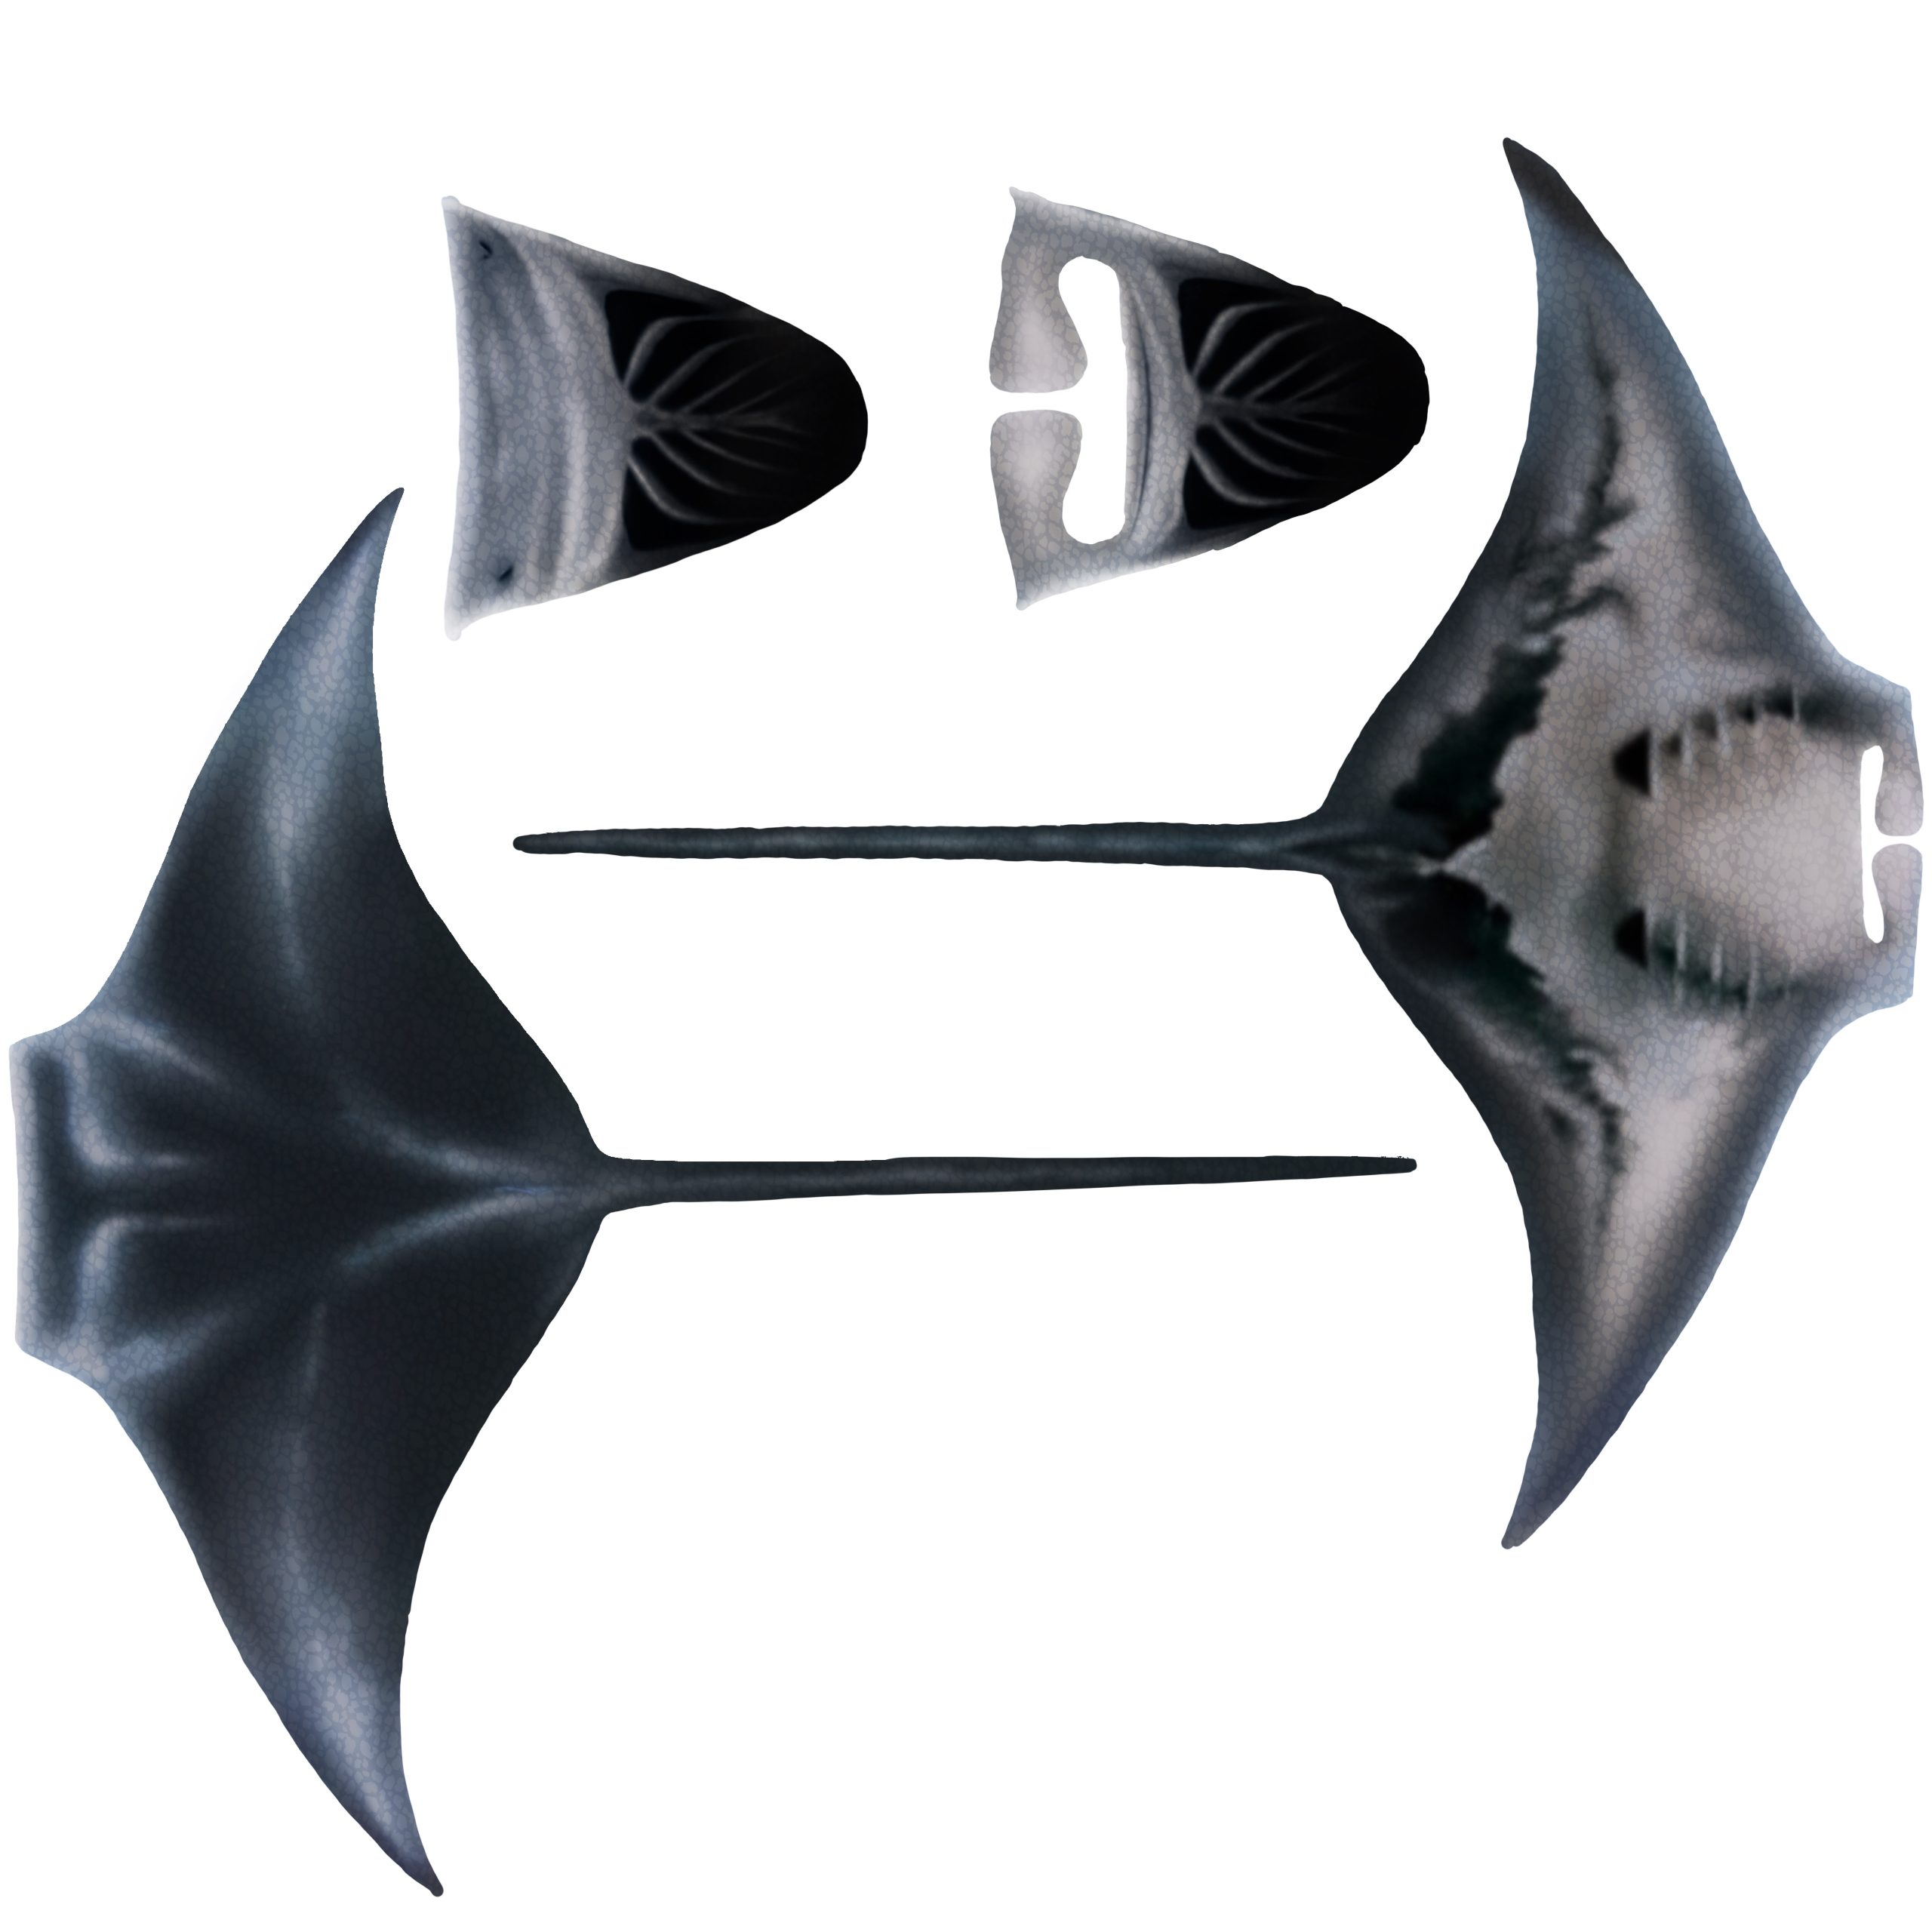
First picture is the texture I got from the pictures put in places corresponding to the UV’s, the following one is the finished texture with the paint work and the texture added and lastly it is a short time-lapse video of the paint over process involved in the creation of this texture.
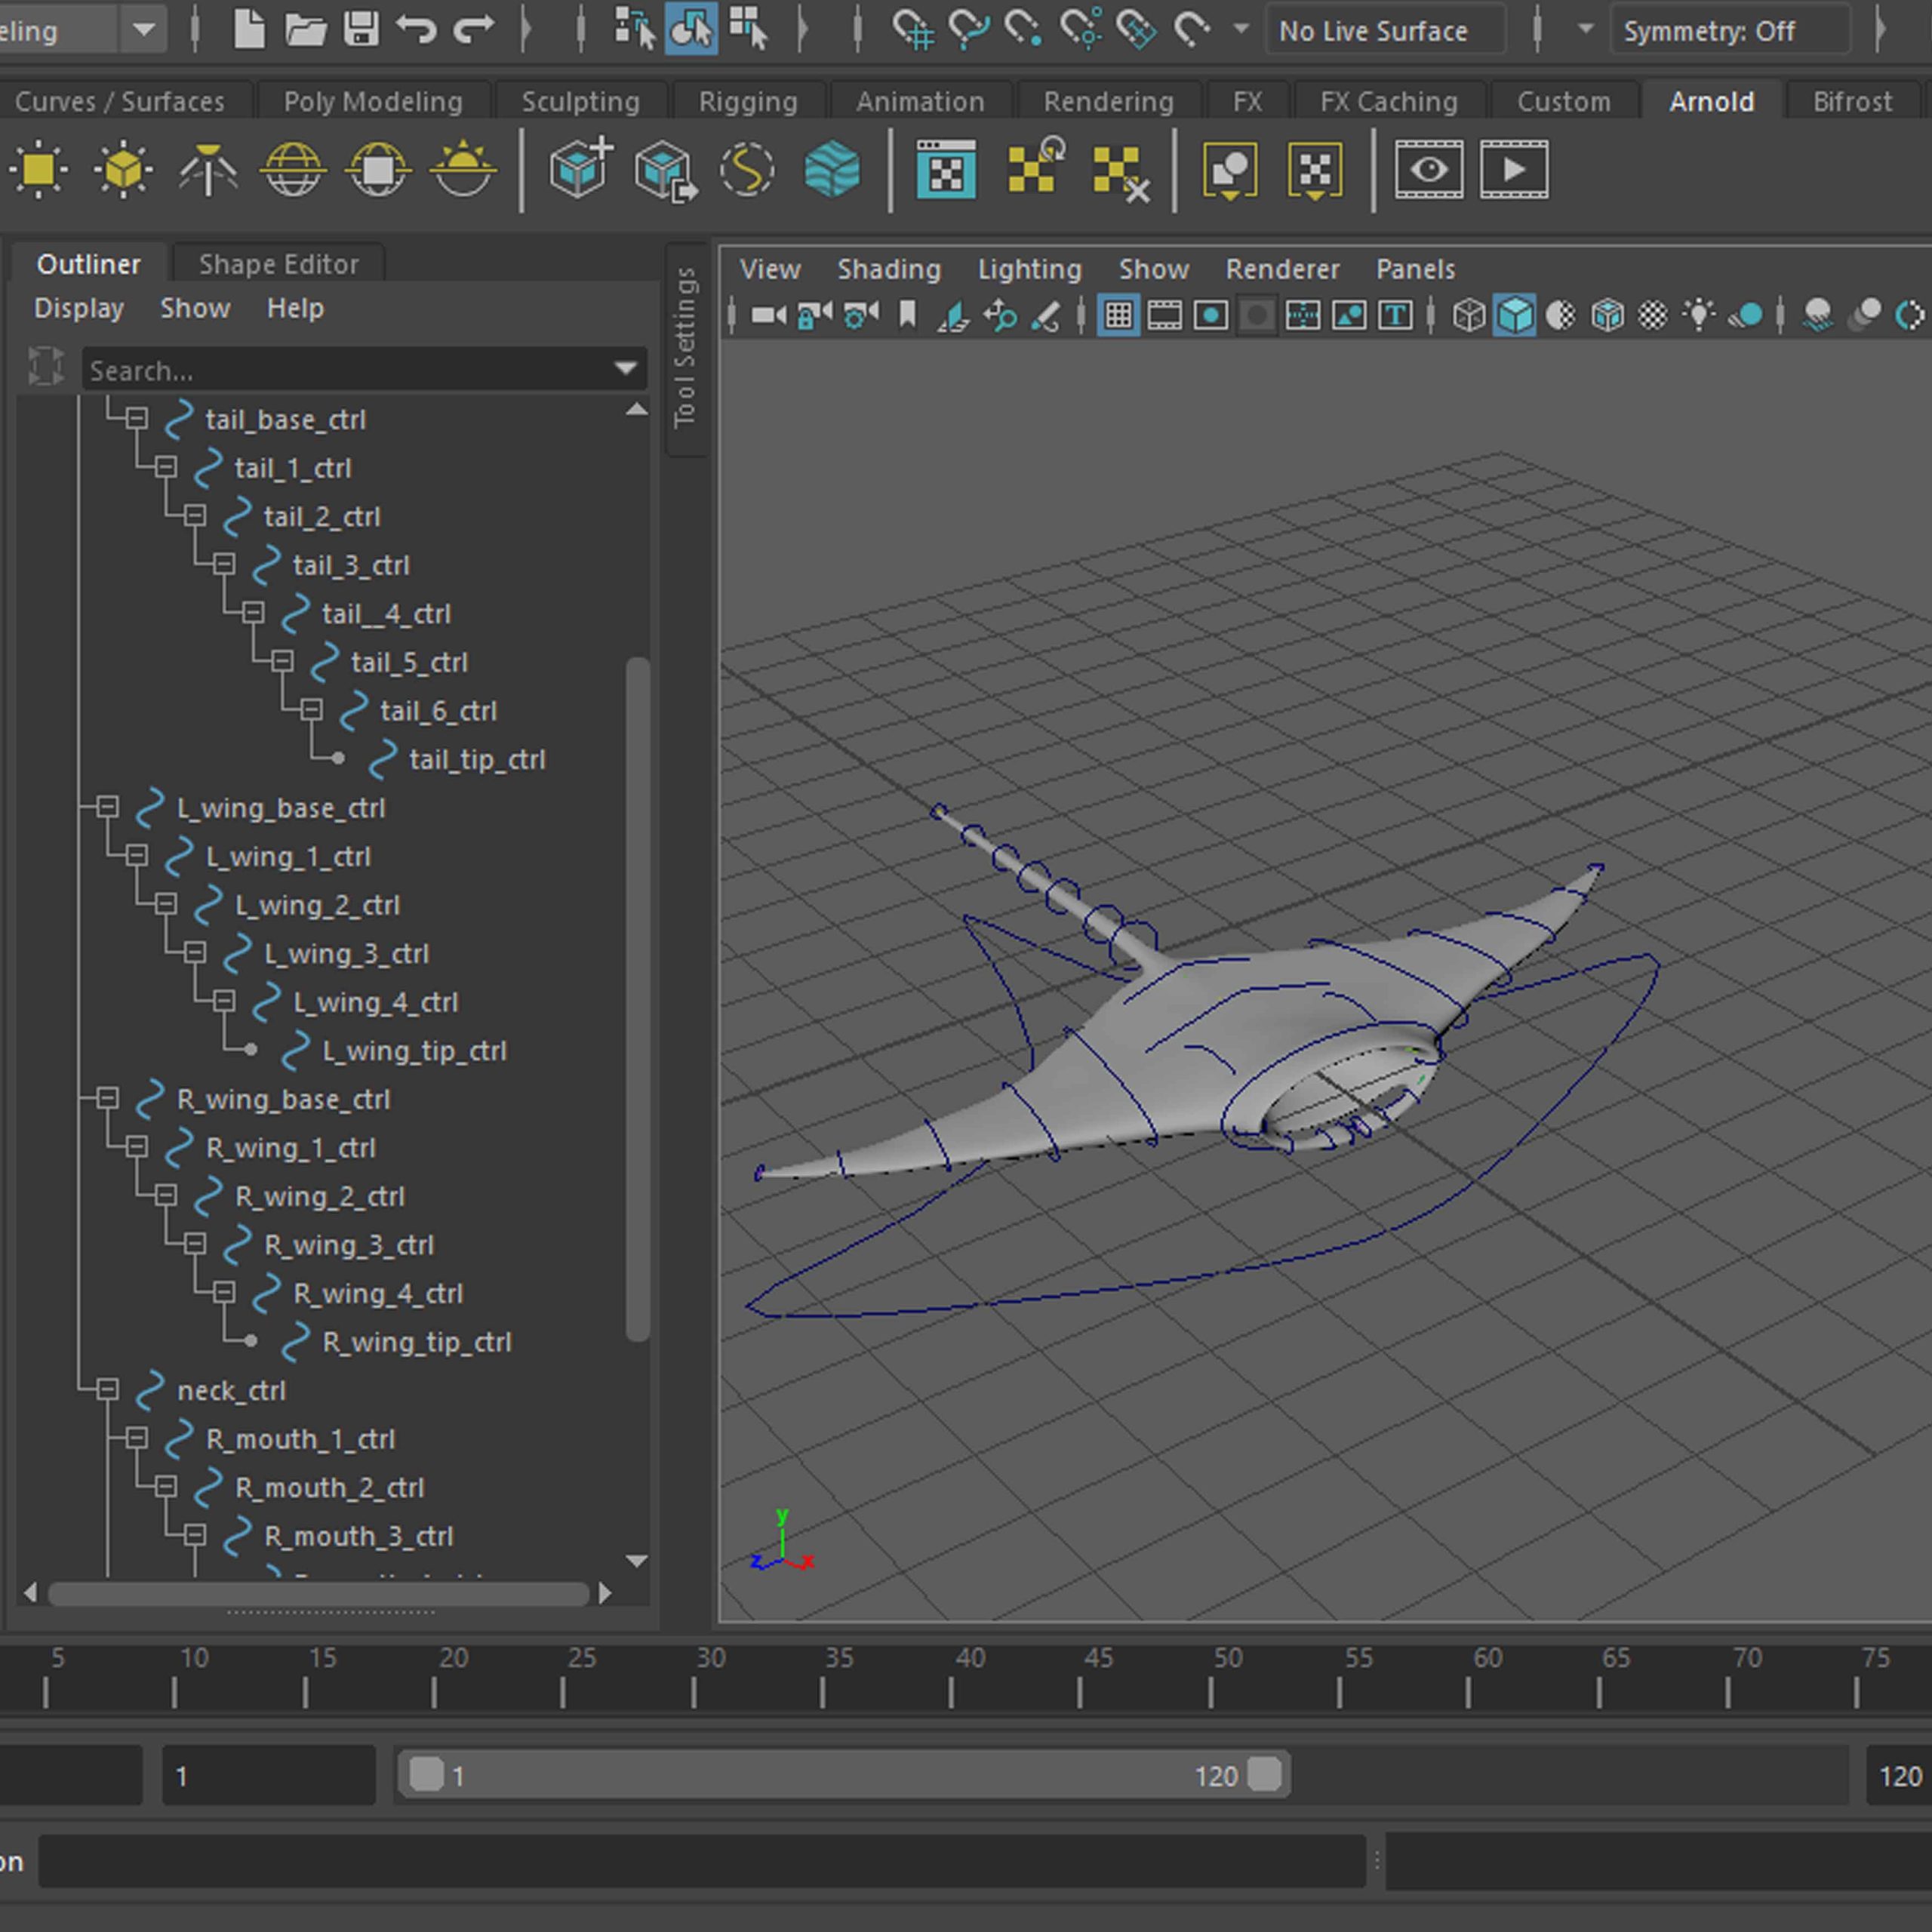
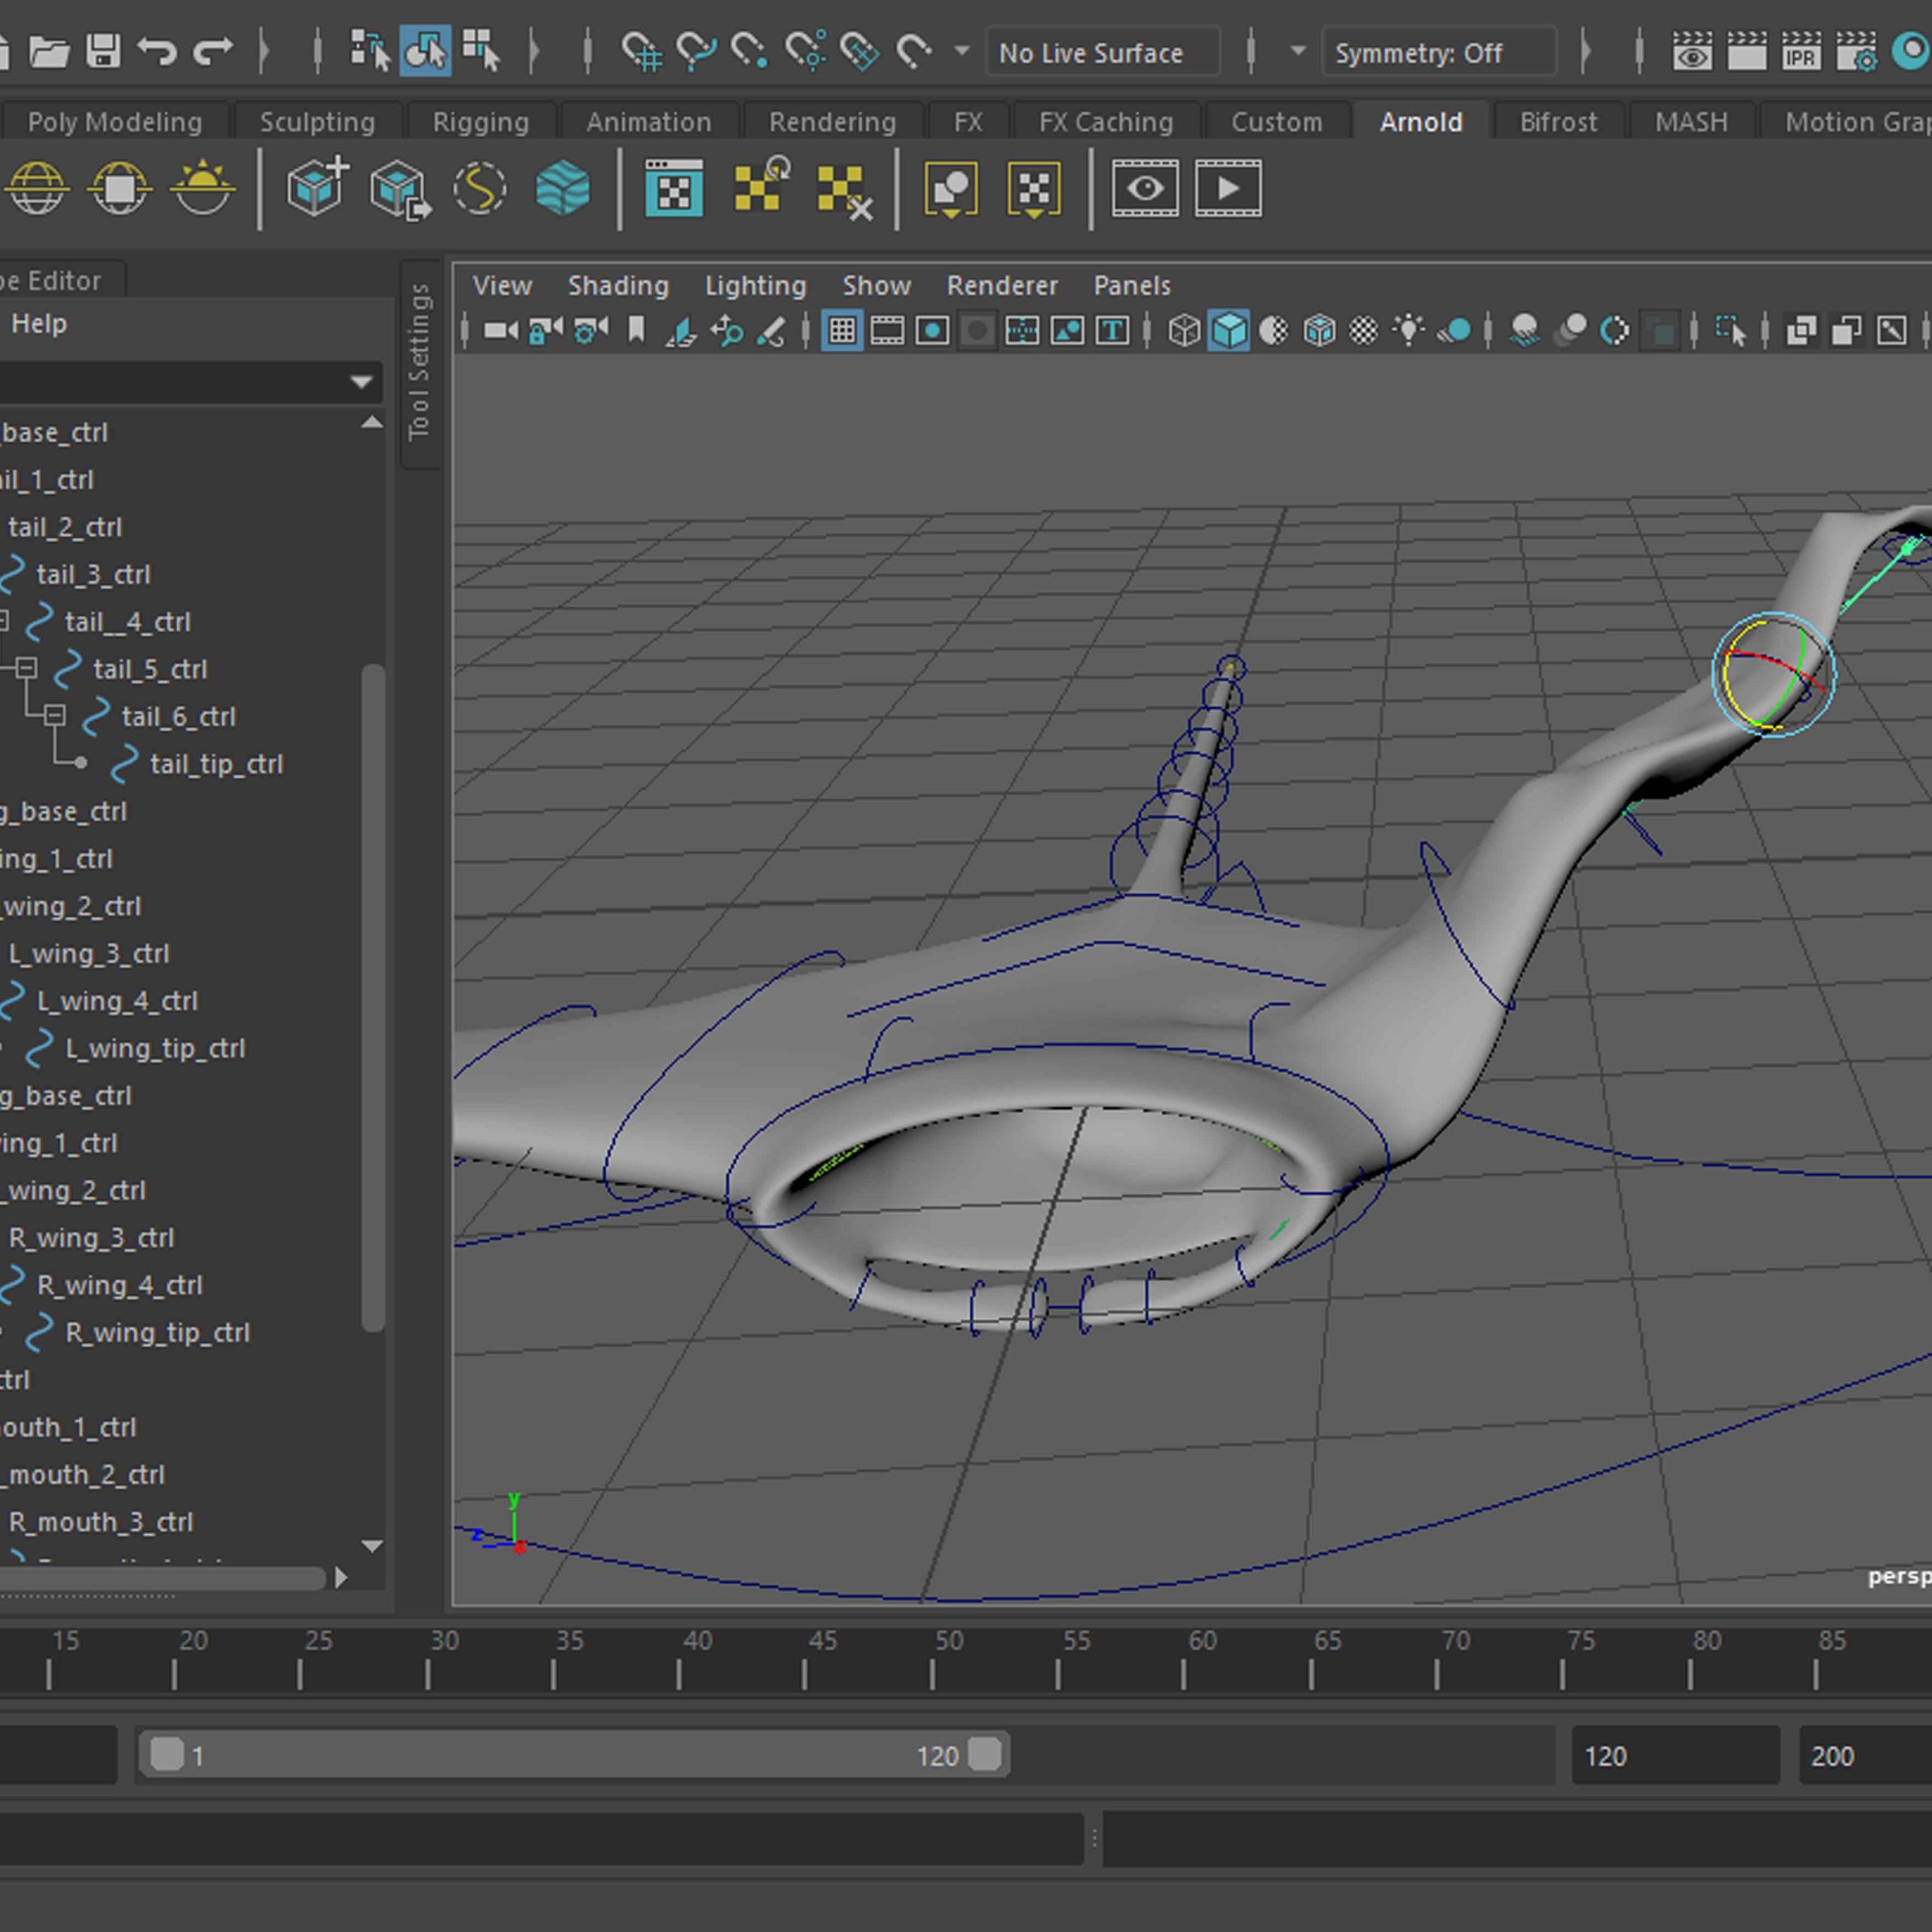
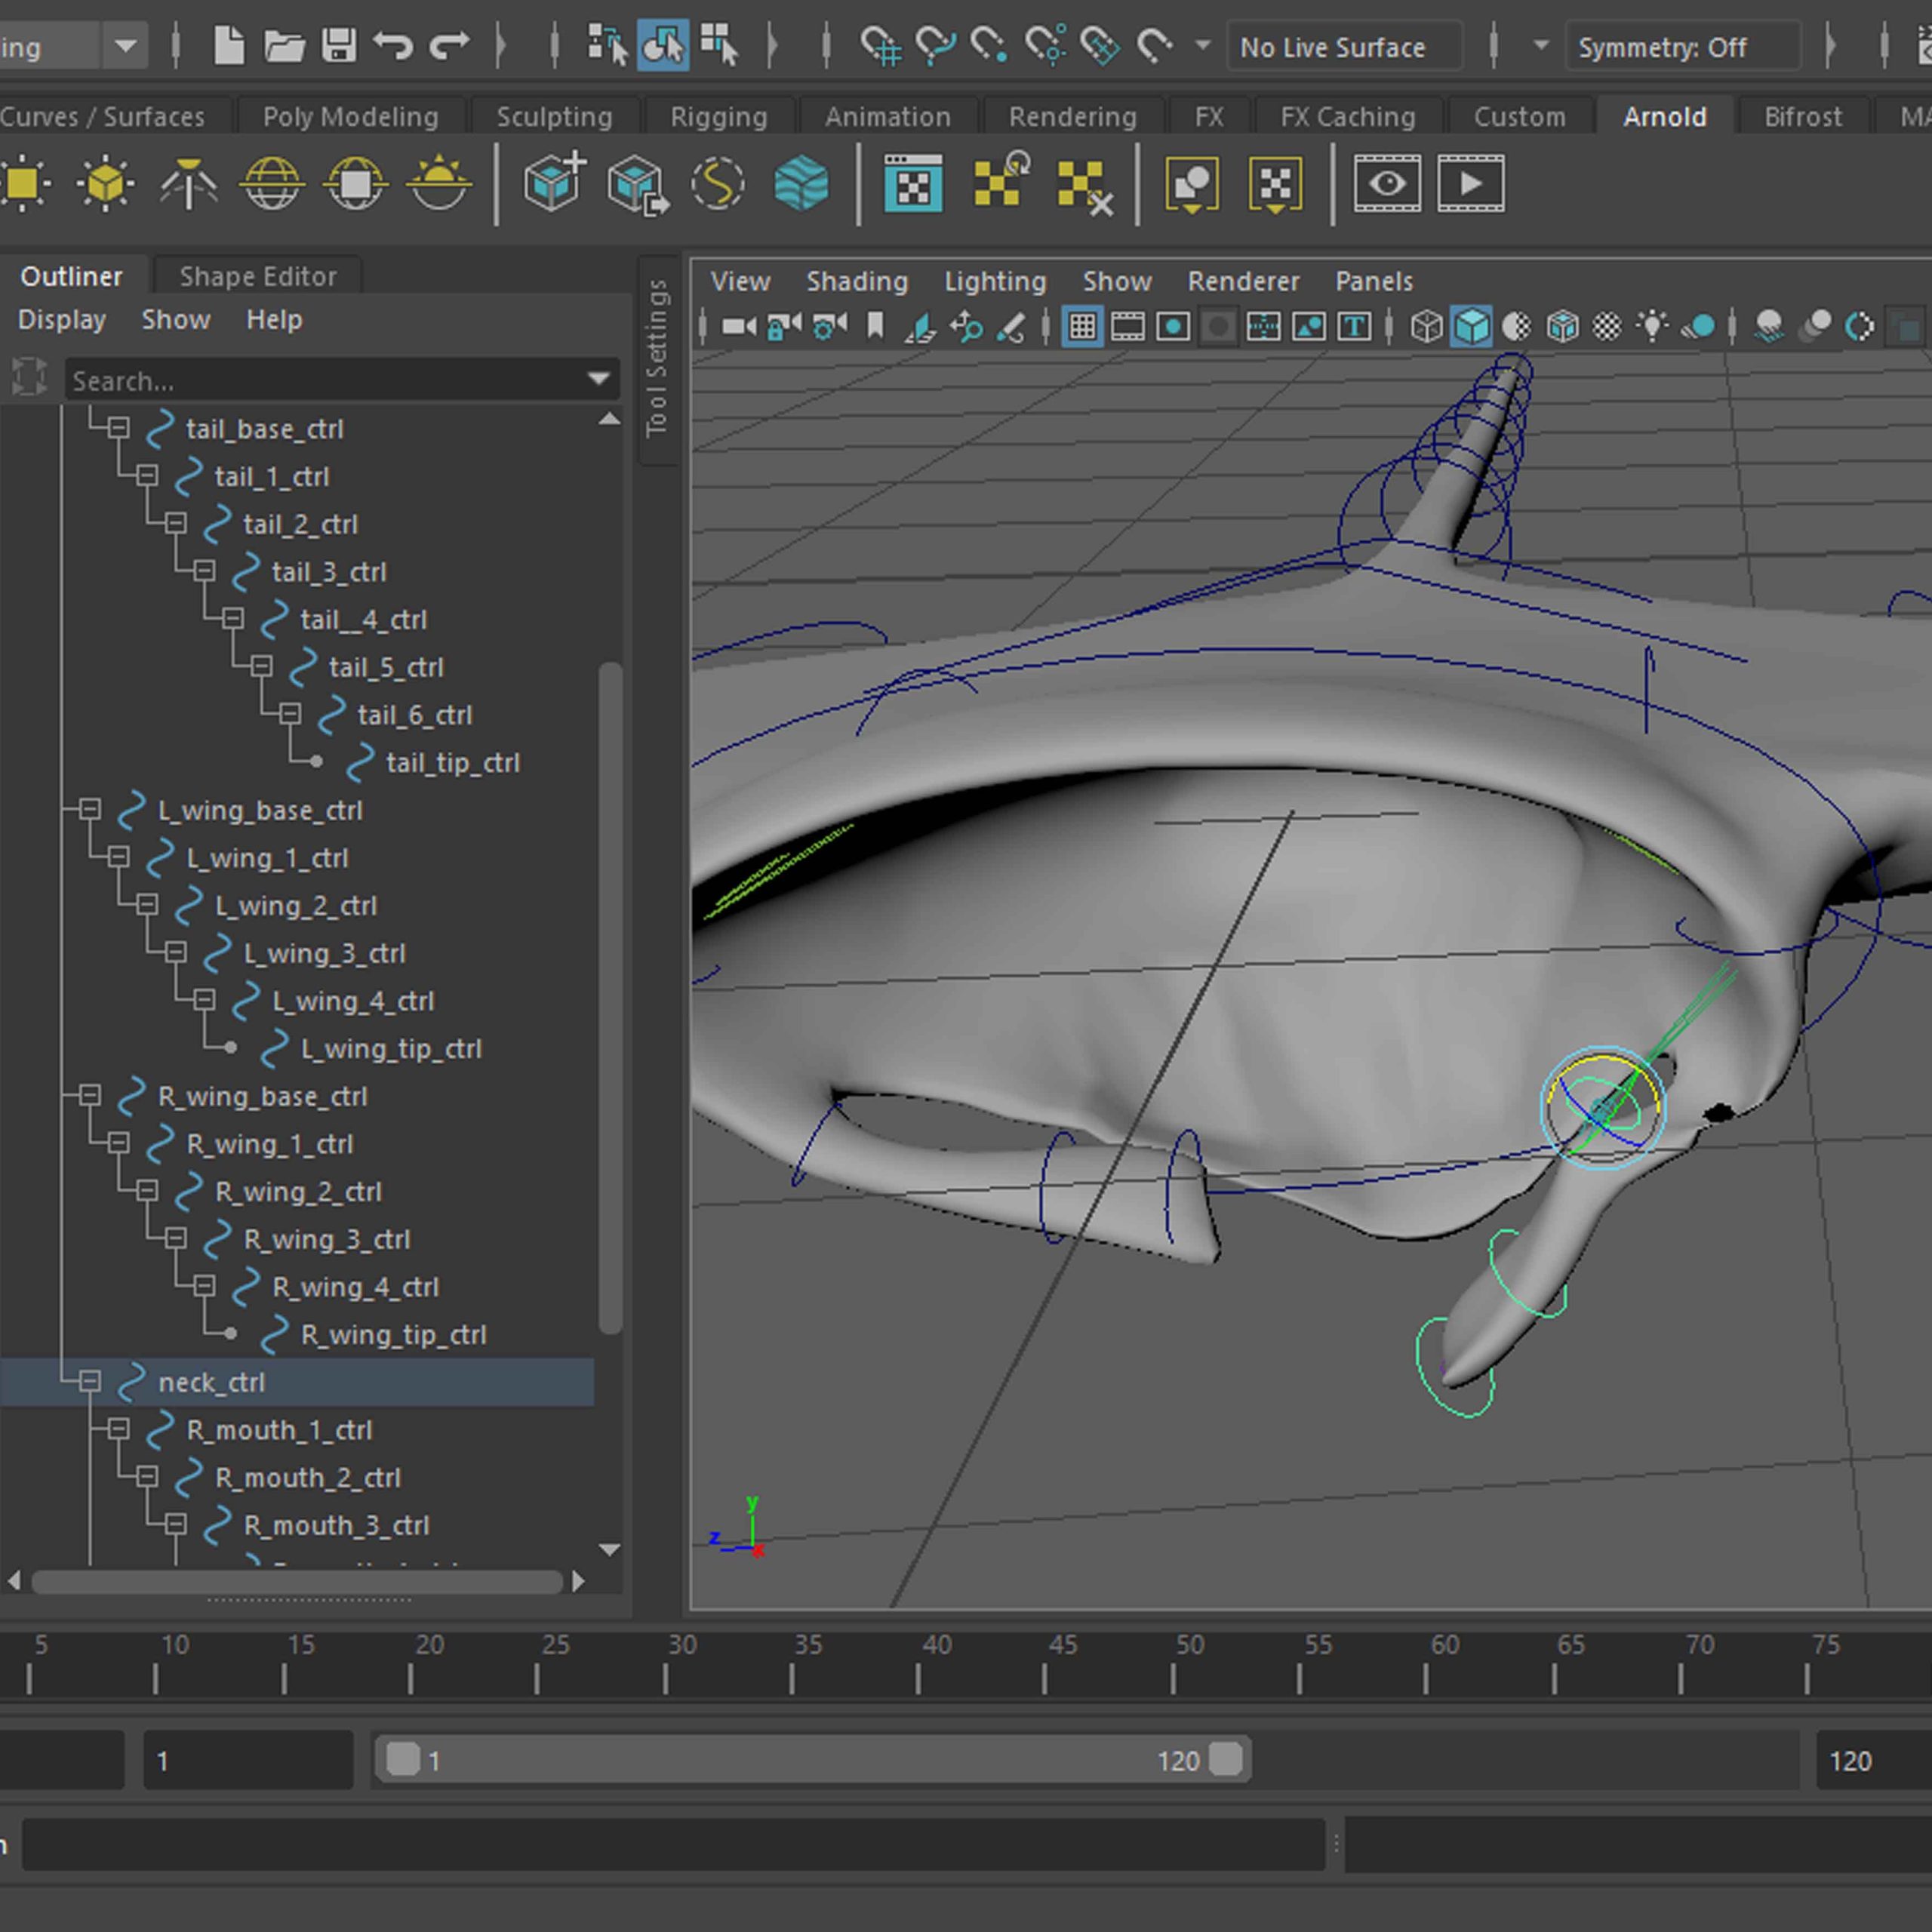
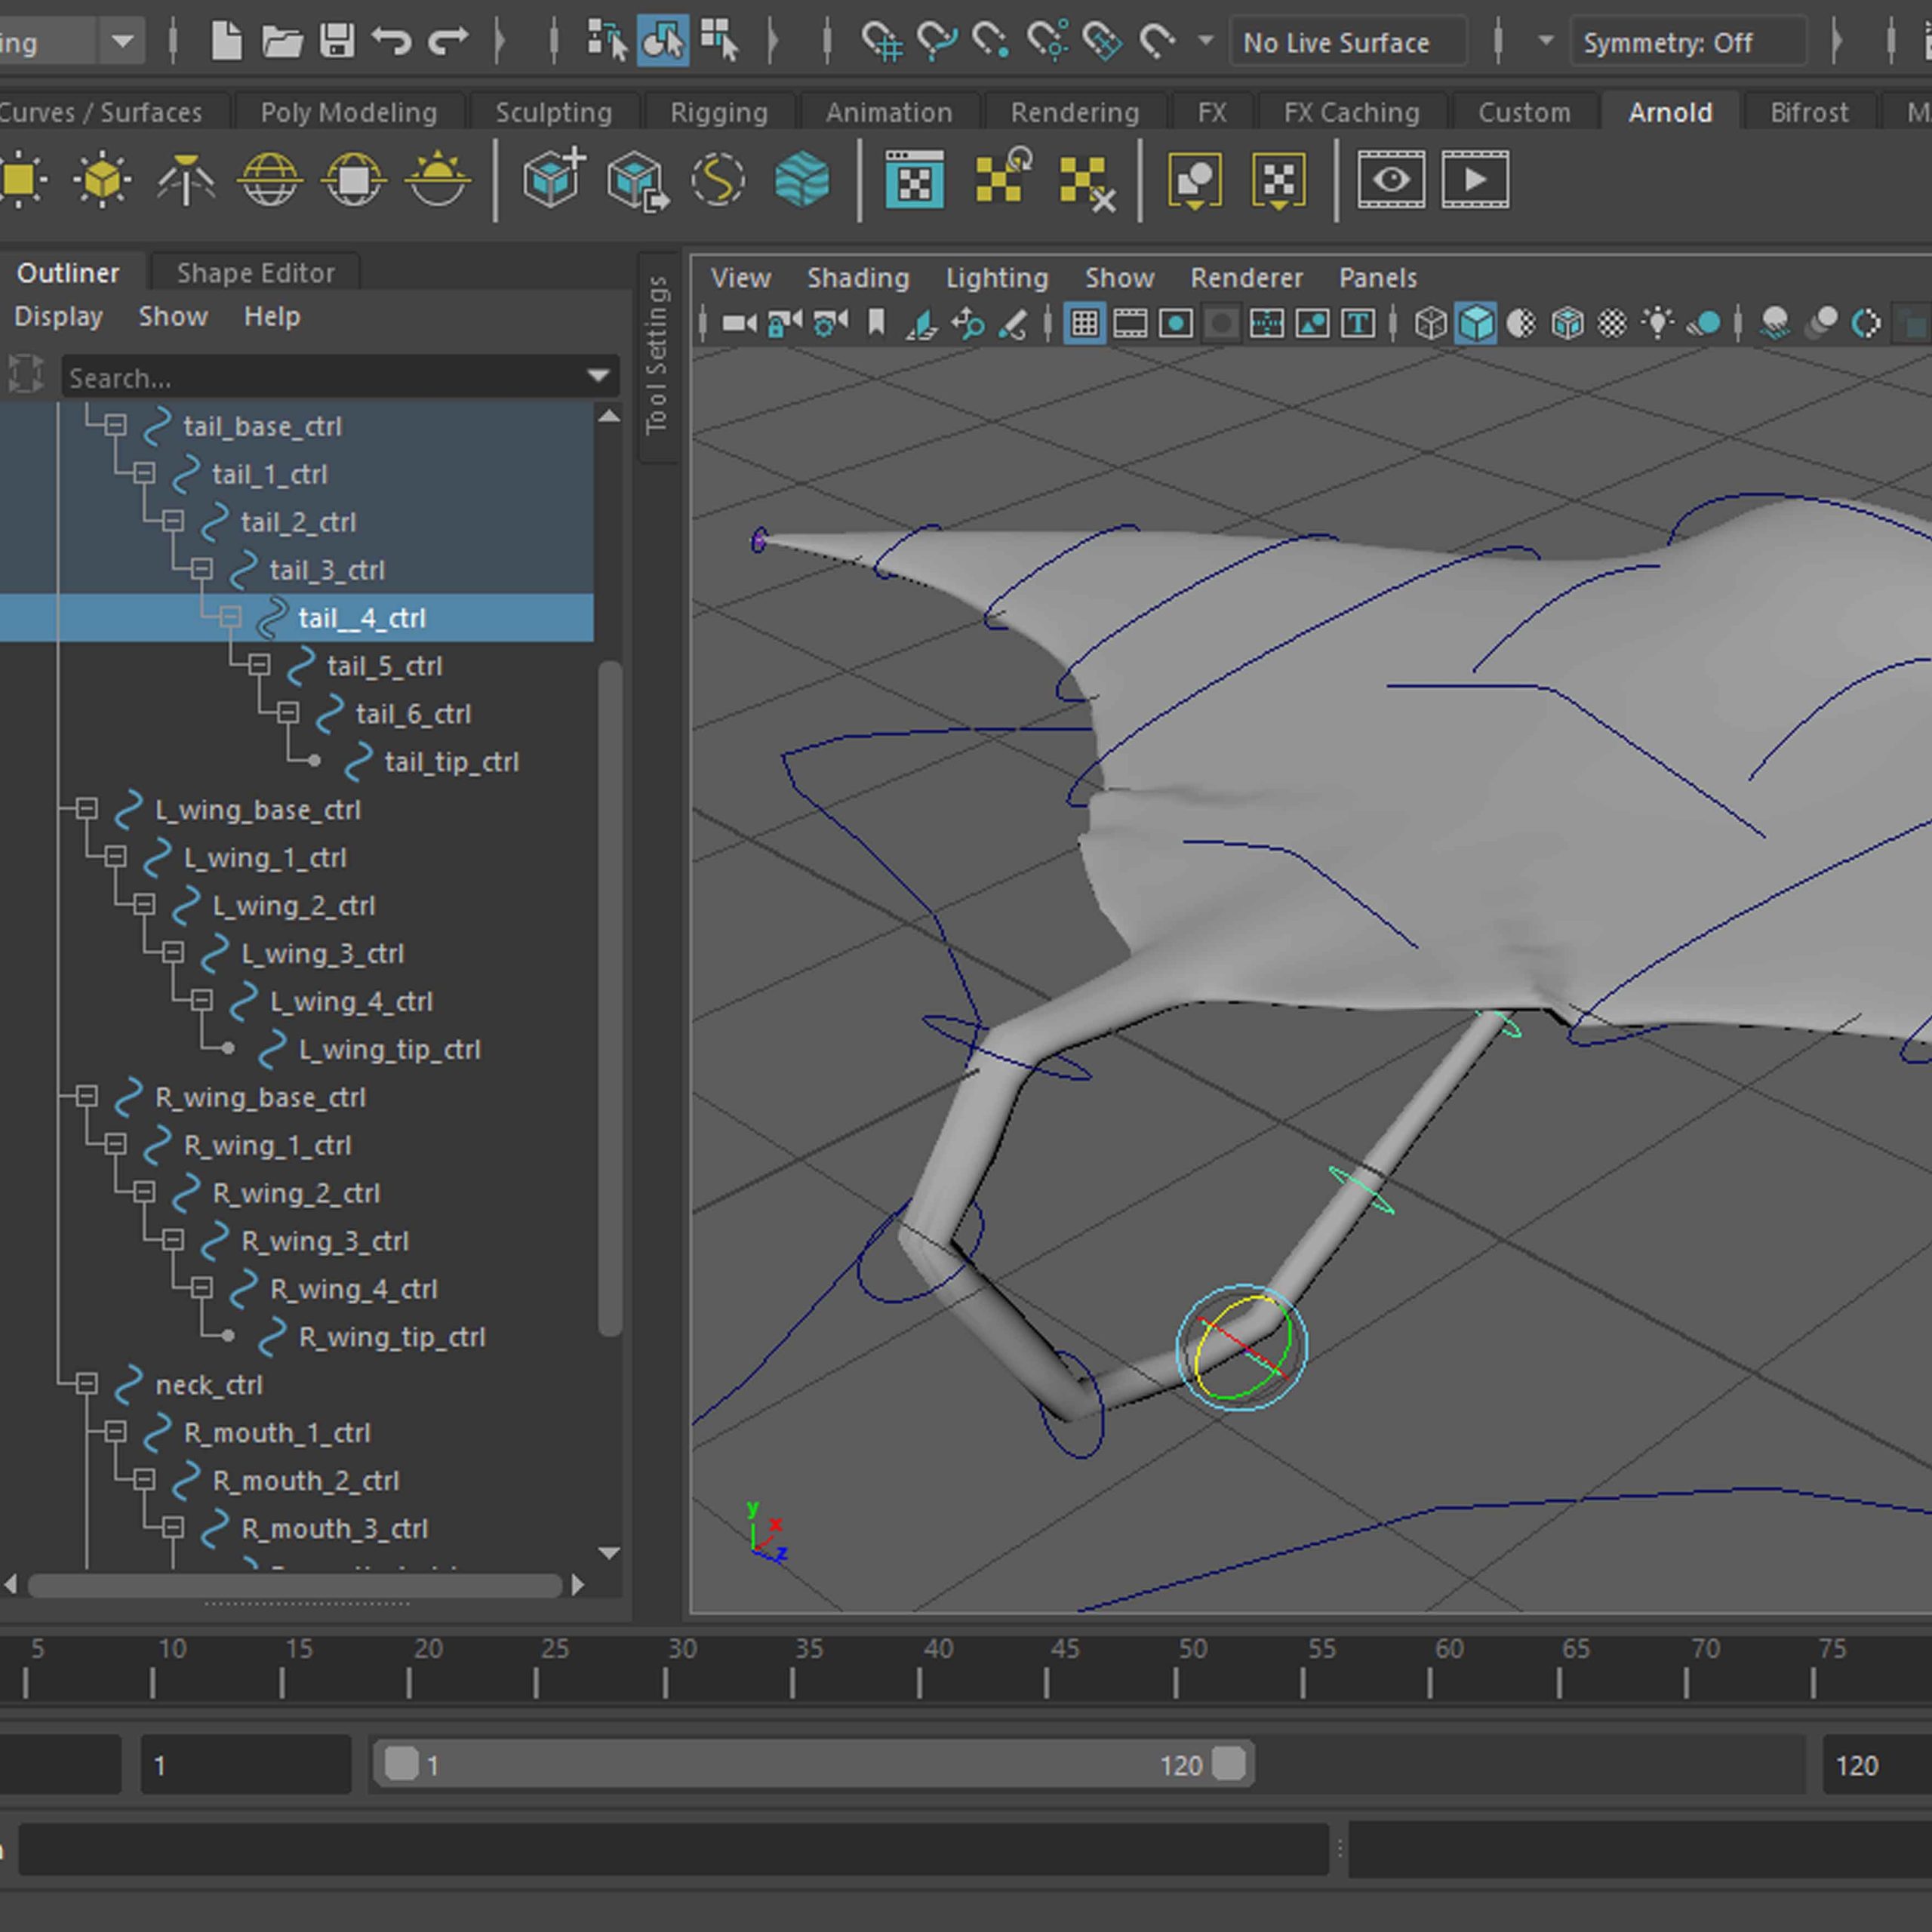
Rig
This section shows the process of rigging of the manta ray for this collaboration process, I forgot to take screengrabs as I went along but I managed to salvaged some of the process nonetheless. The order of the pictures below is chronological and contains pictures showing the joint structure and hierarchy of the skeleton, the controllers work (placement, hierarchy) and some of the issues I had to later fix by correctly painting weights to make this rig functional.
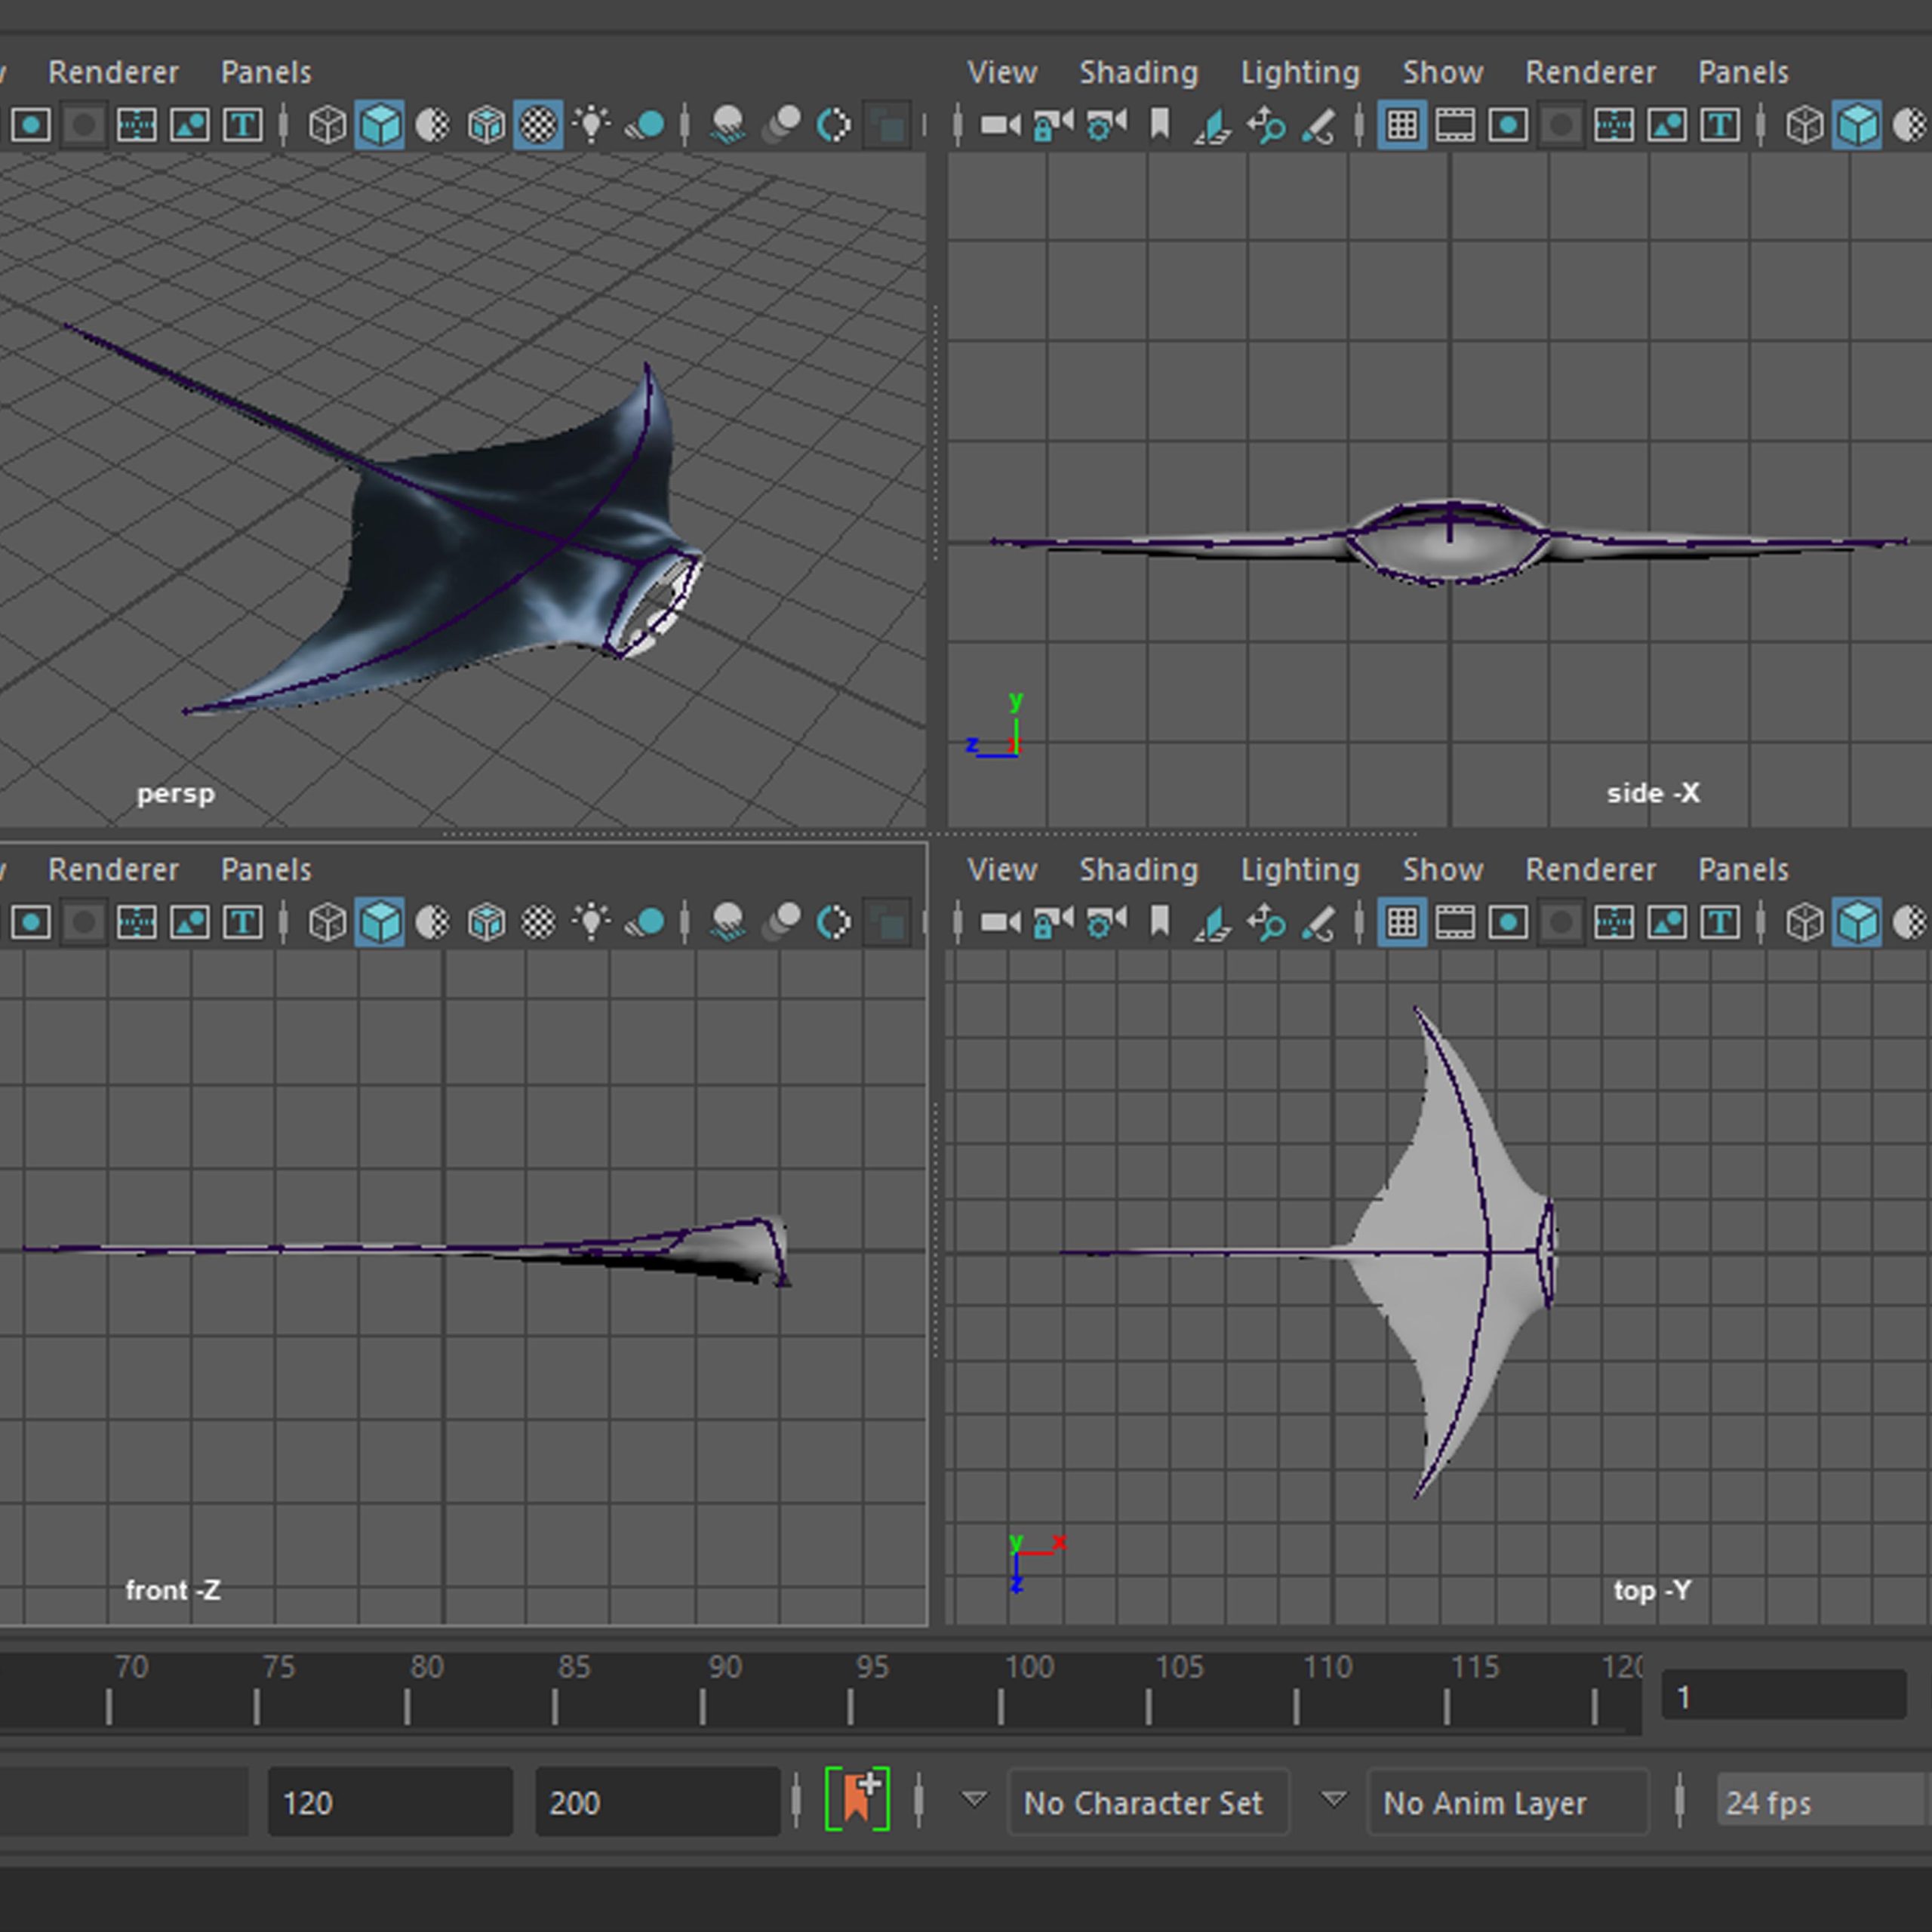
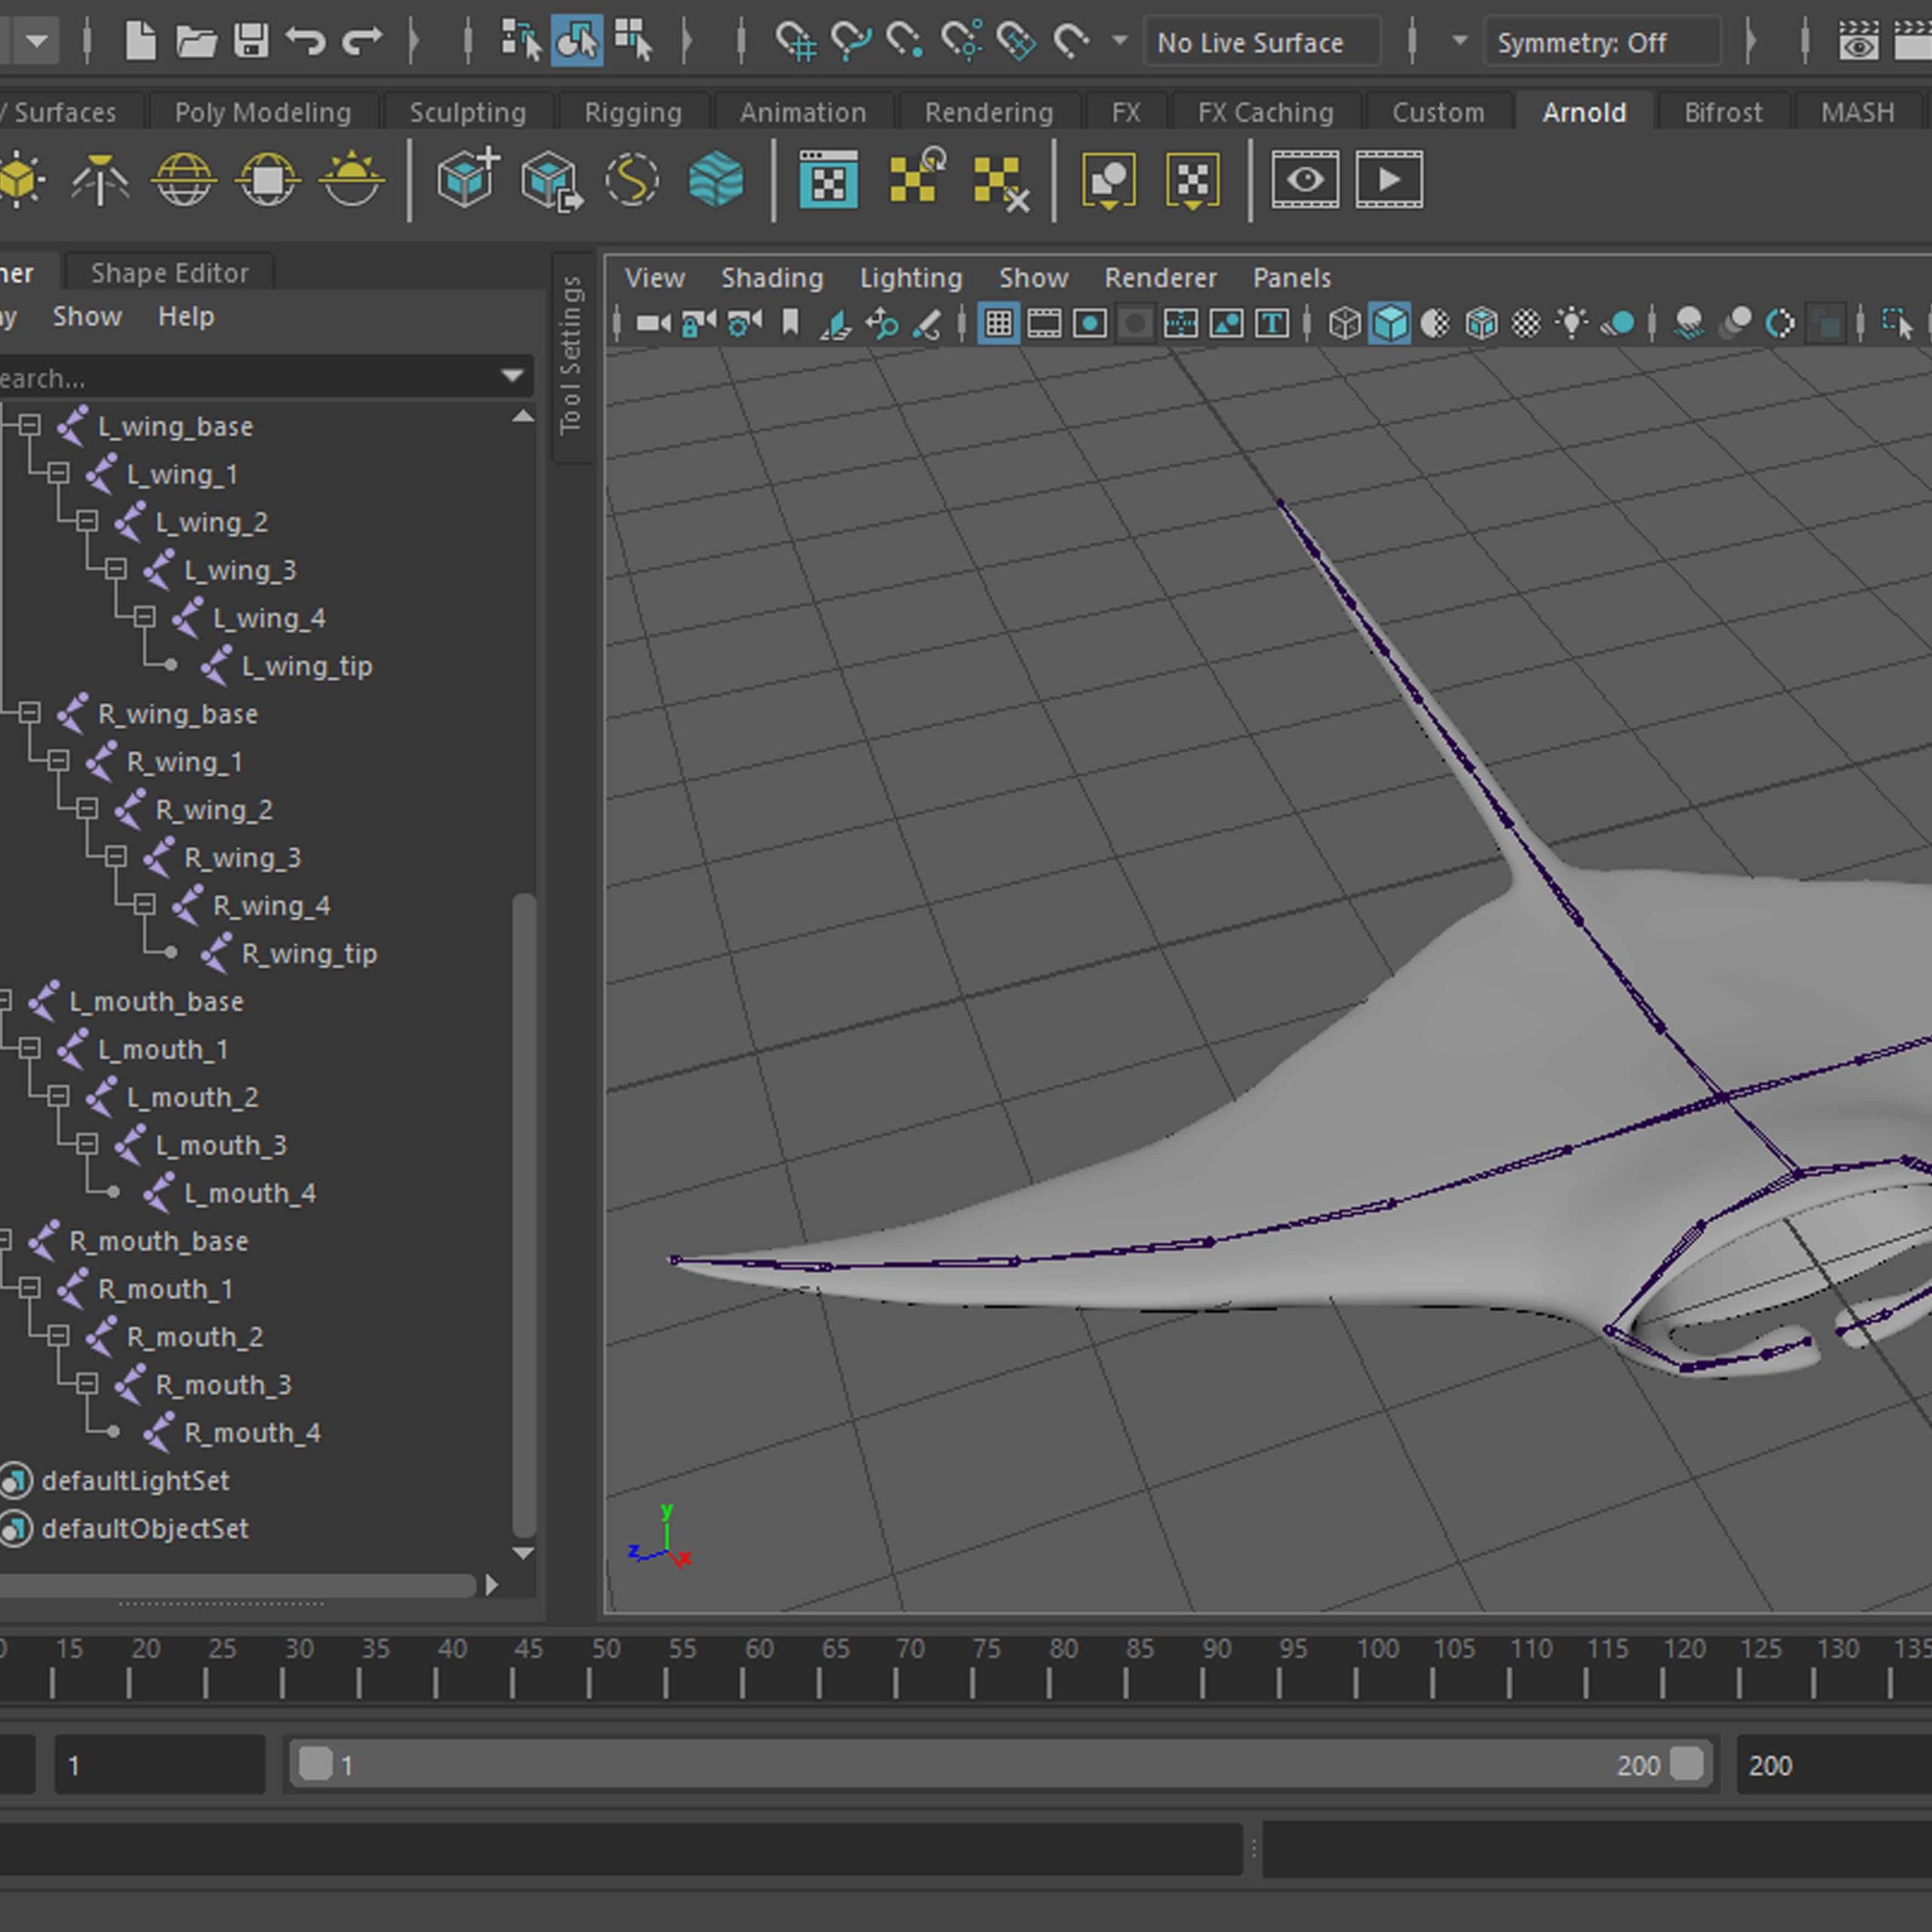
The two short videos beside respectively show (1) the process of the painting in a time-lapse form and (2) the state I managed to get the rig into at the end of the work, needless to say the rig was far from perfect, but in all honesty this was my first full body and first creature functional rig (did 3 rigs, two not working and 1 only head). The second video shows the weights as well as the behaviour of the rig when moving controllers.
Animation
Let me begin with a side note that I am terrible at animation and I originally had a different animator for this project, but as life goes, the plan changed and I was left trying to salvage this project by animating this on my own.
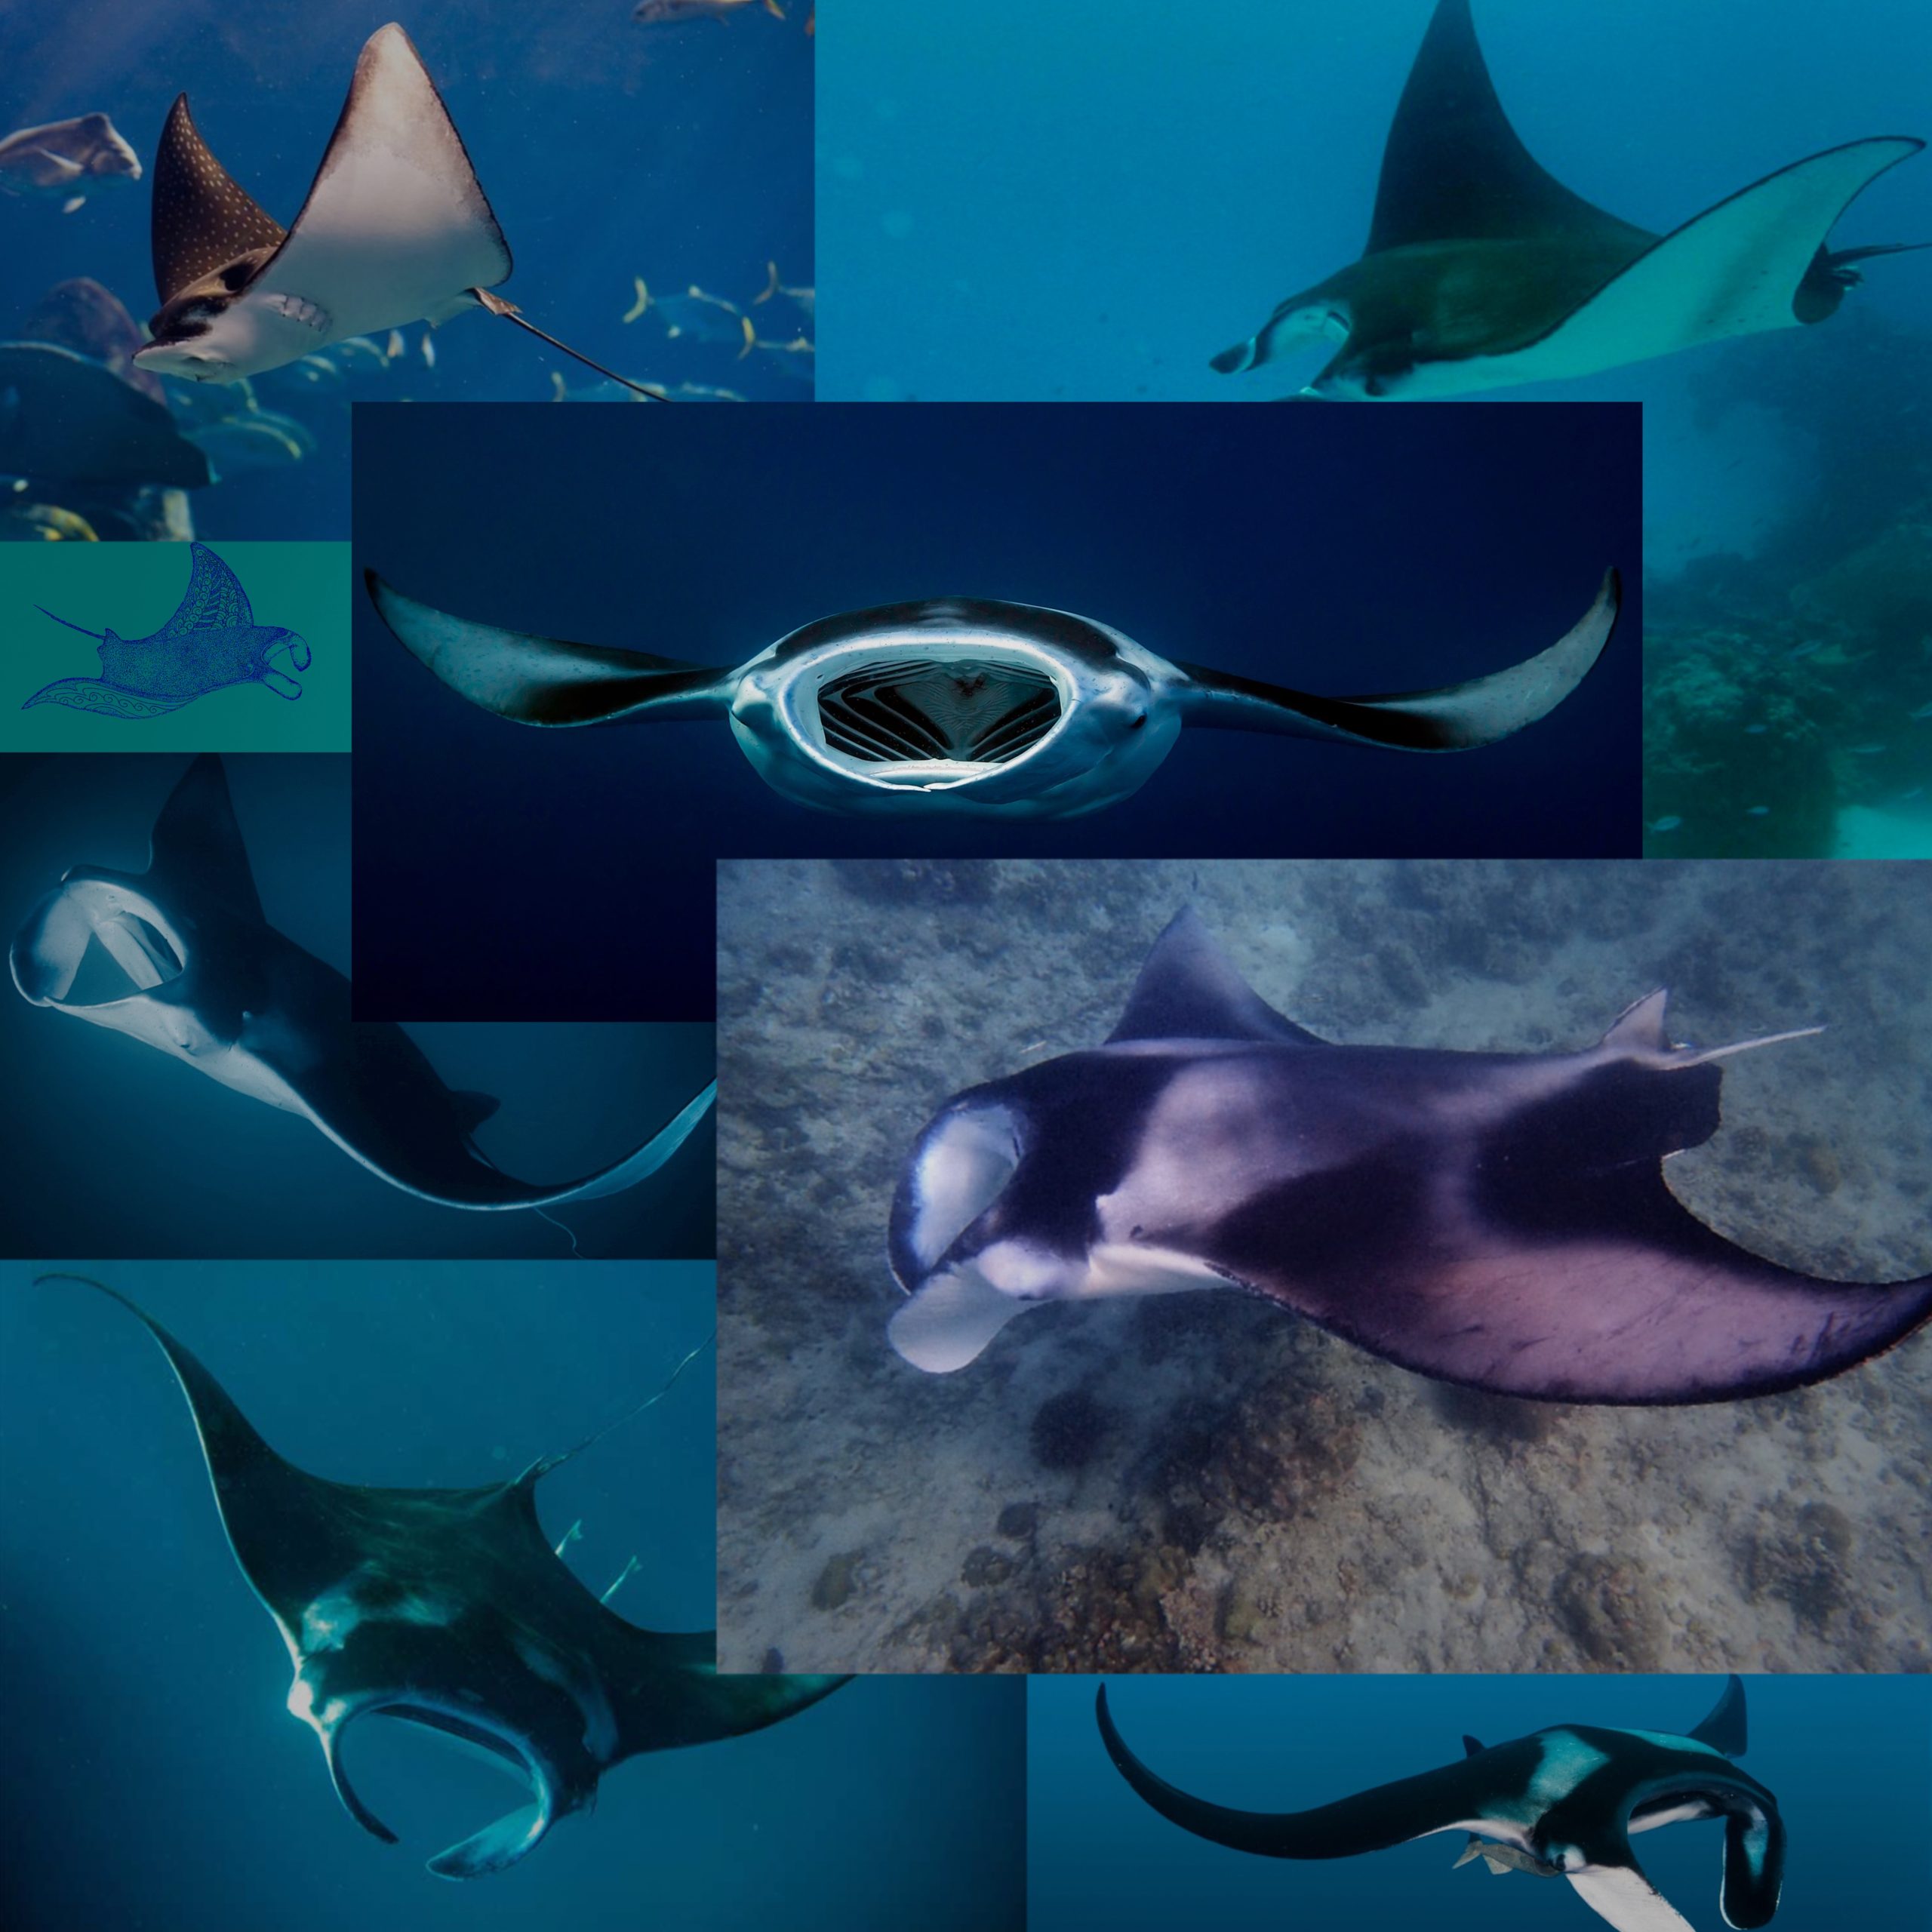
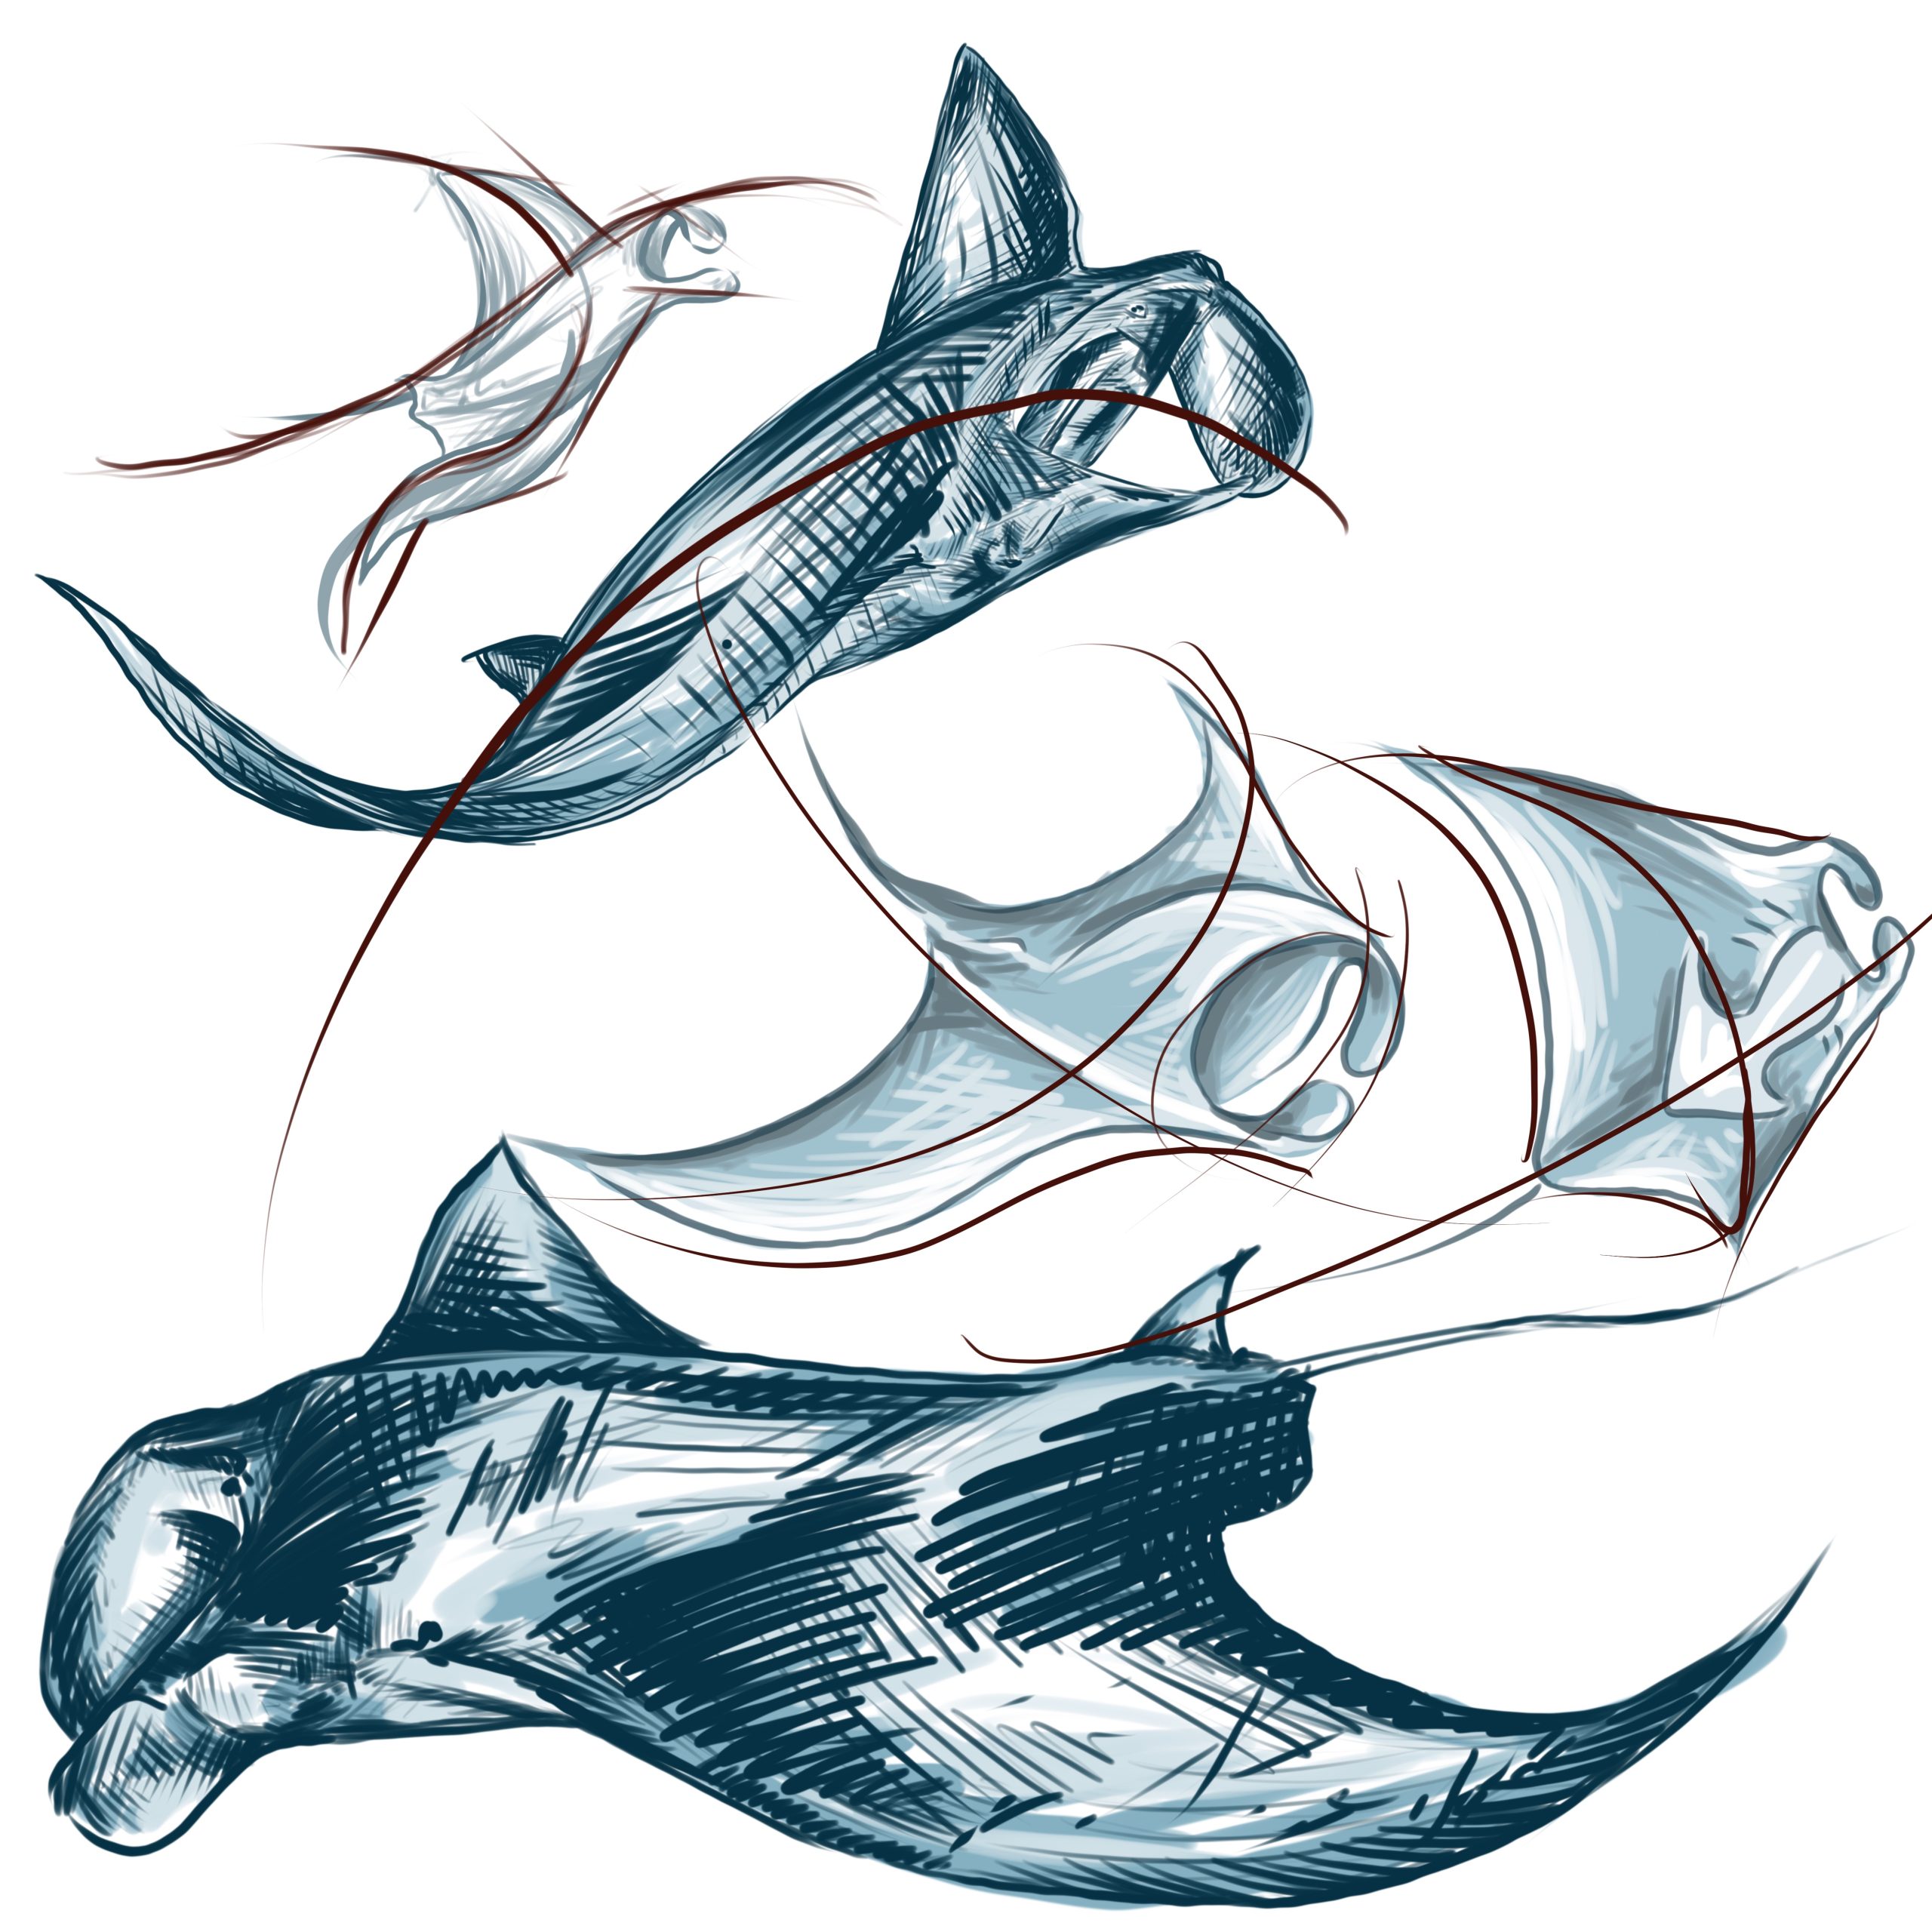
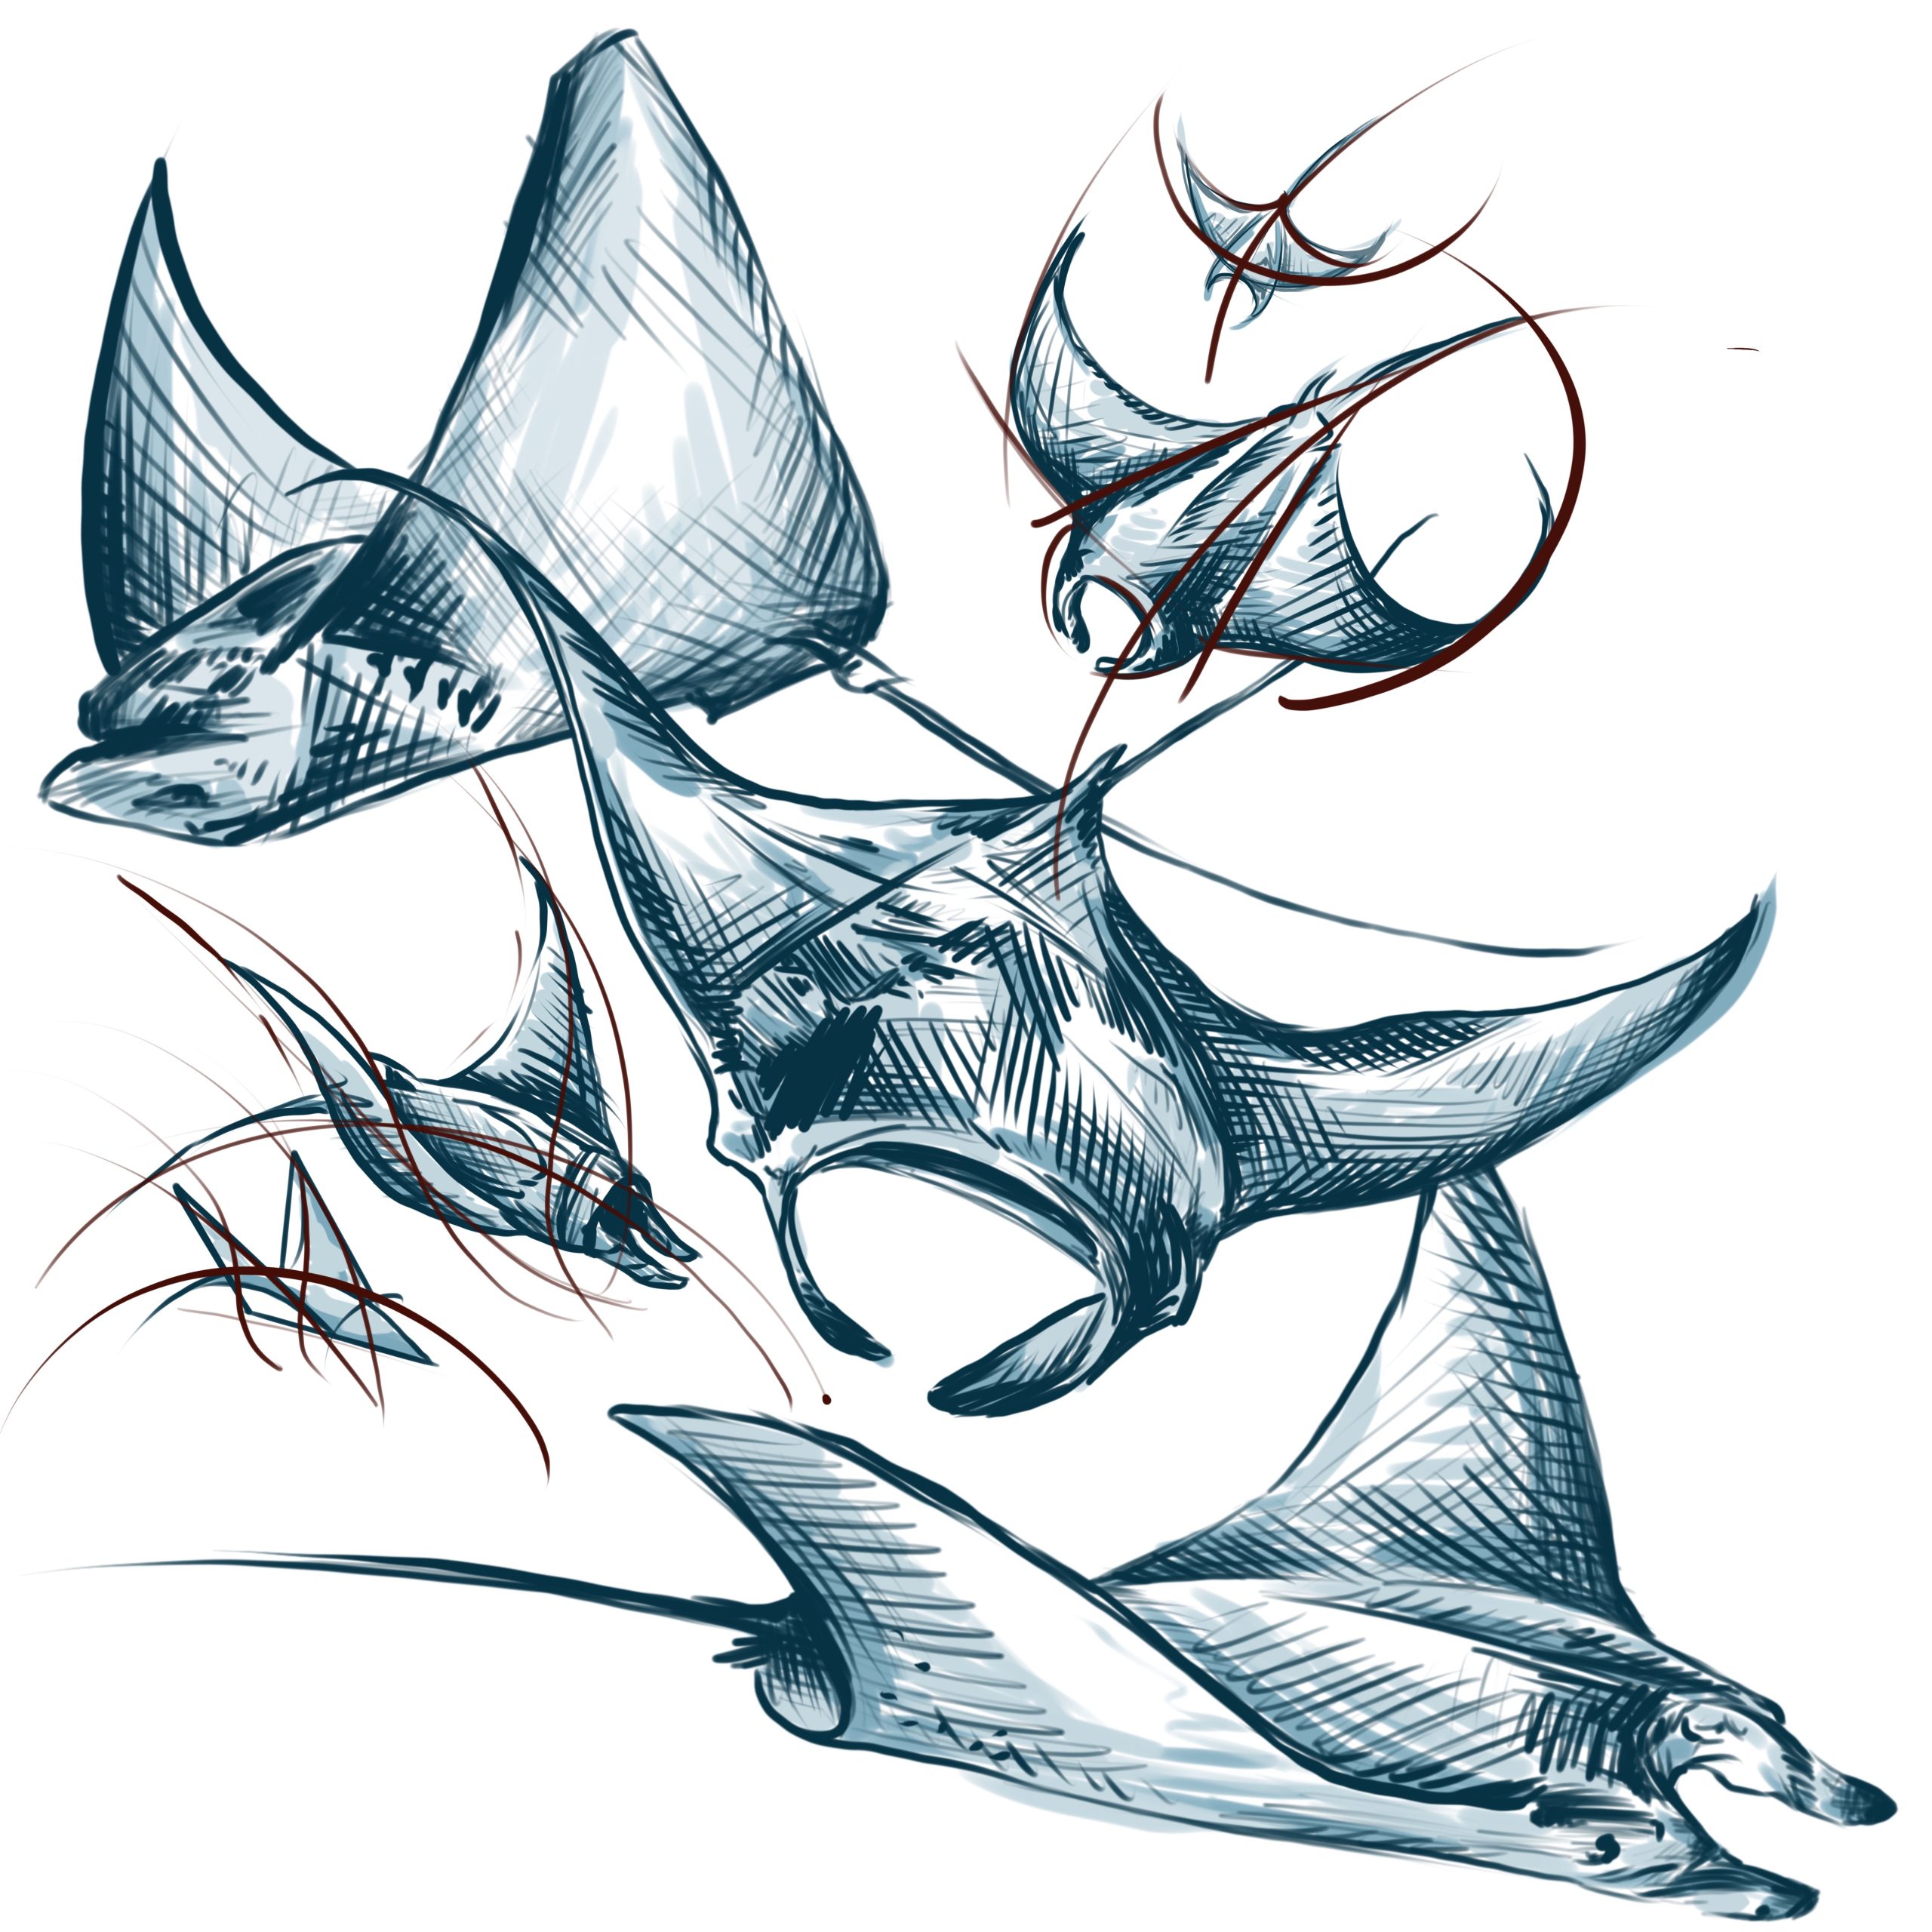
I started this task by looking at real life manta rays and their movement online, below I feature a small mood board of some of the more interesting positions they get themselves into while swimming which I then tried studying by sketching them out with some basic shape and movement curves and lines on tot to understand the mechanic as much as I could before I got to animating.

This video is a time-lapse of some screen recording shots of me animating the ray.
Matte Painting
DMP1
This part of this units blog shows A Digital Matte Painting I did simply by collaging some elements and subtly painting over them. The short video is a time-lapse of the process.
I am not sure at this moment if this will be used but it was part of the process.
DMP2
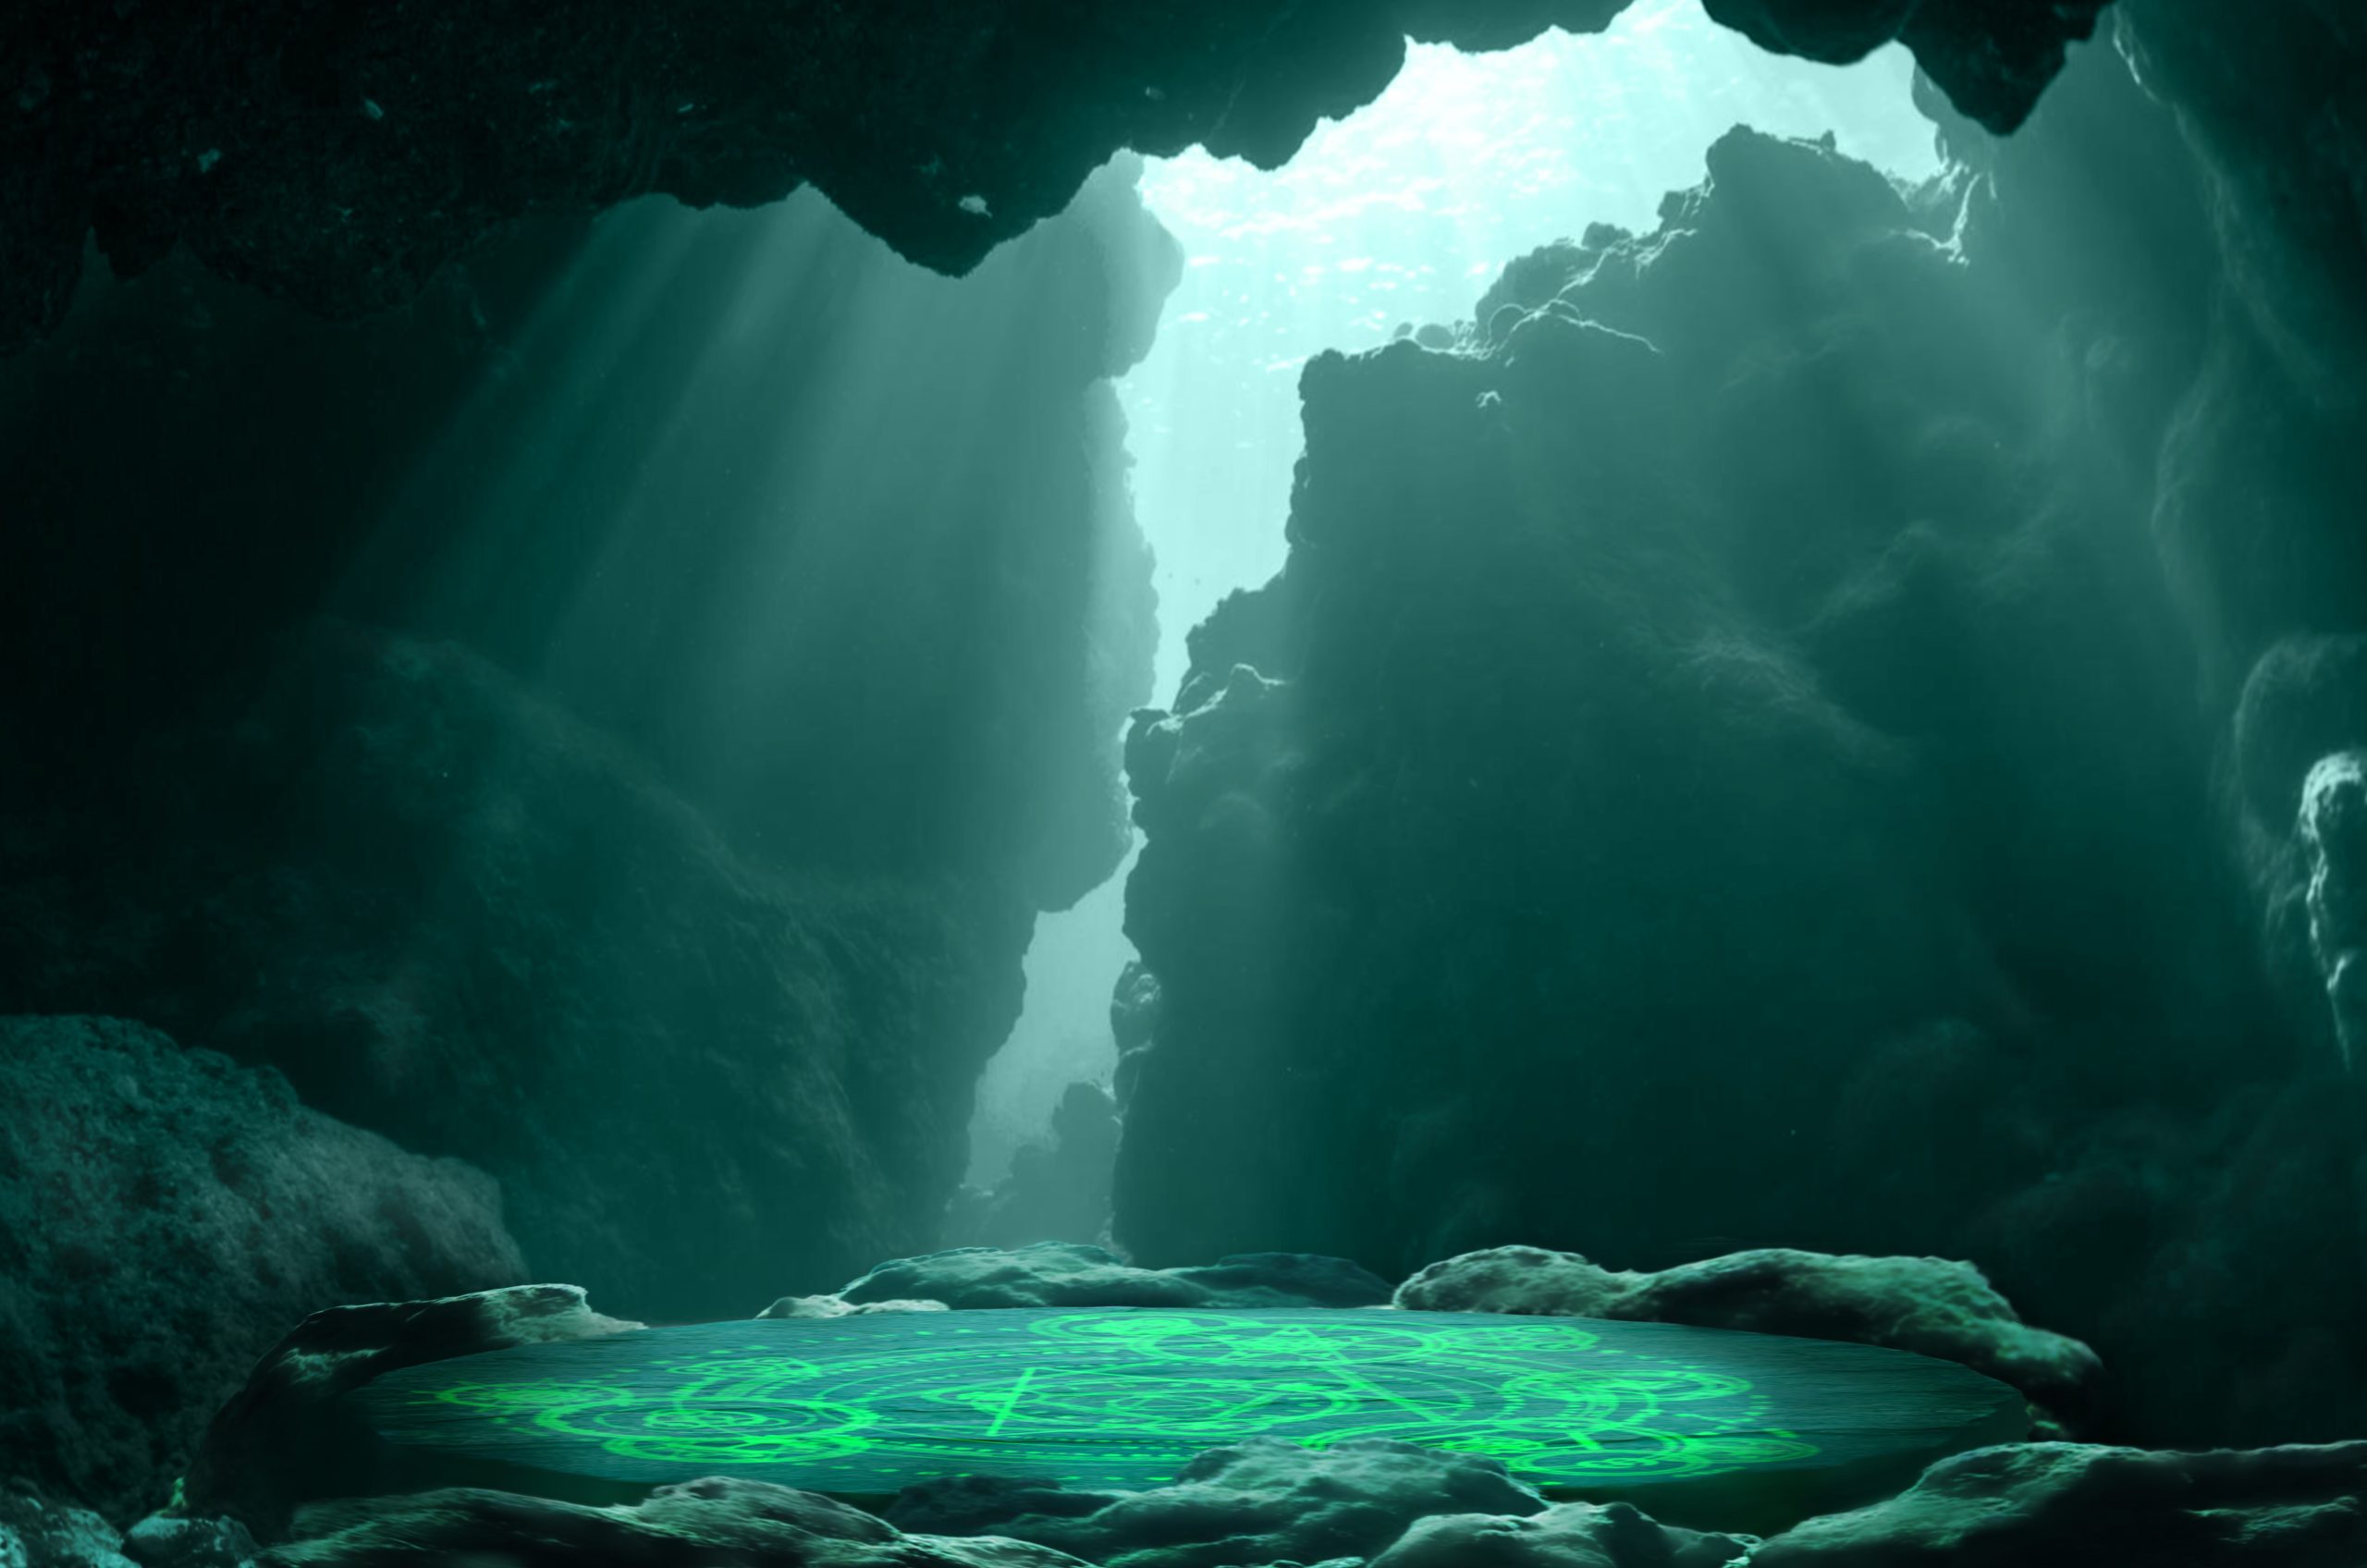
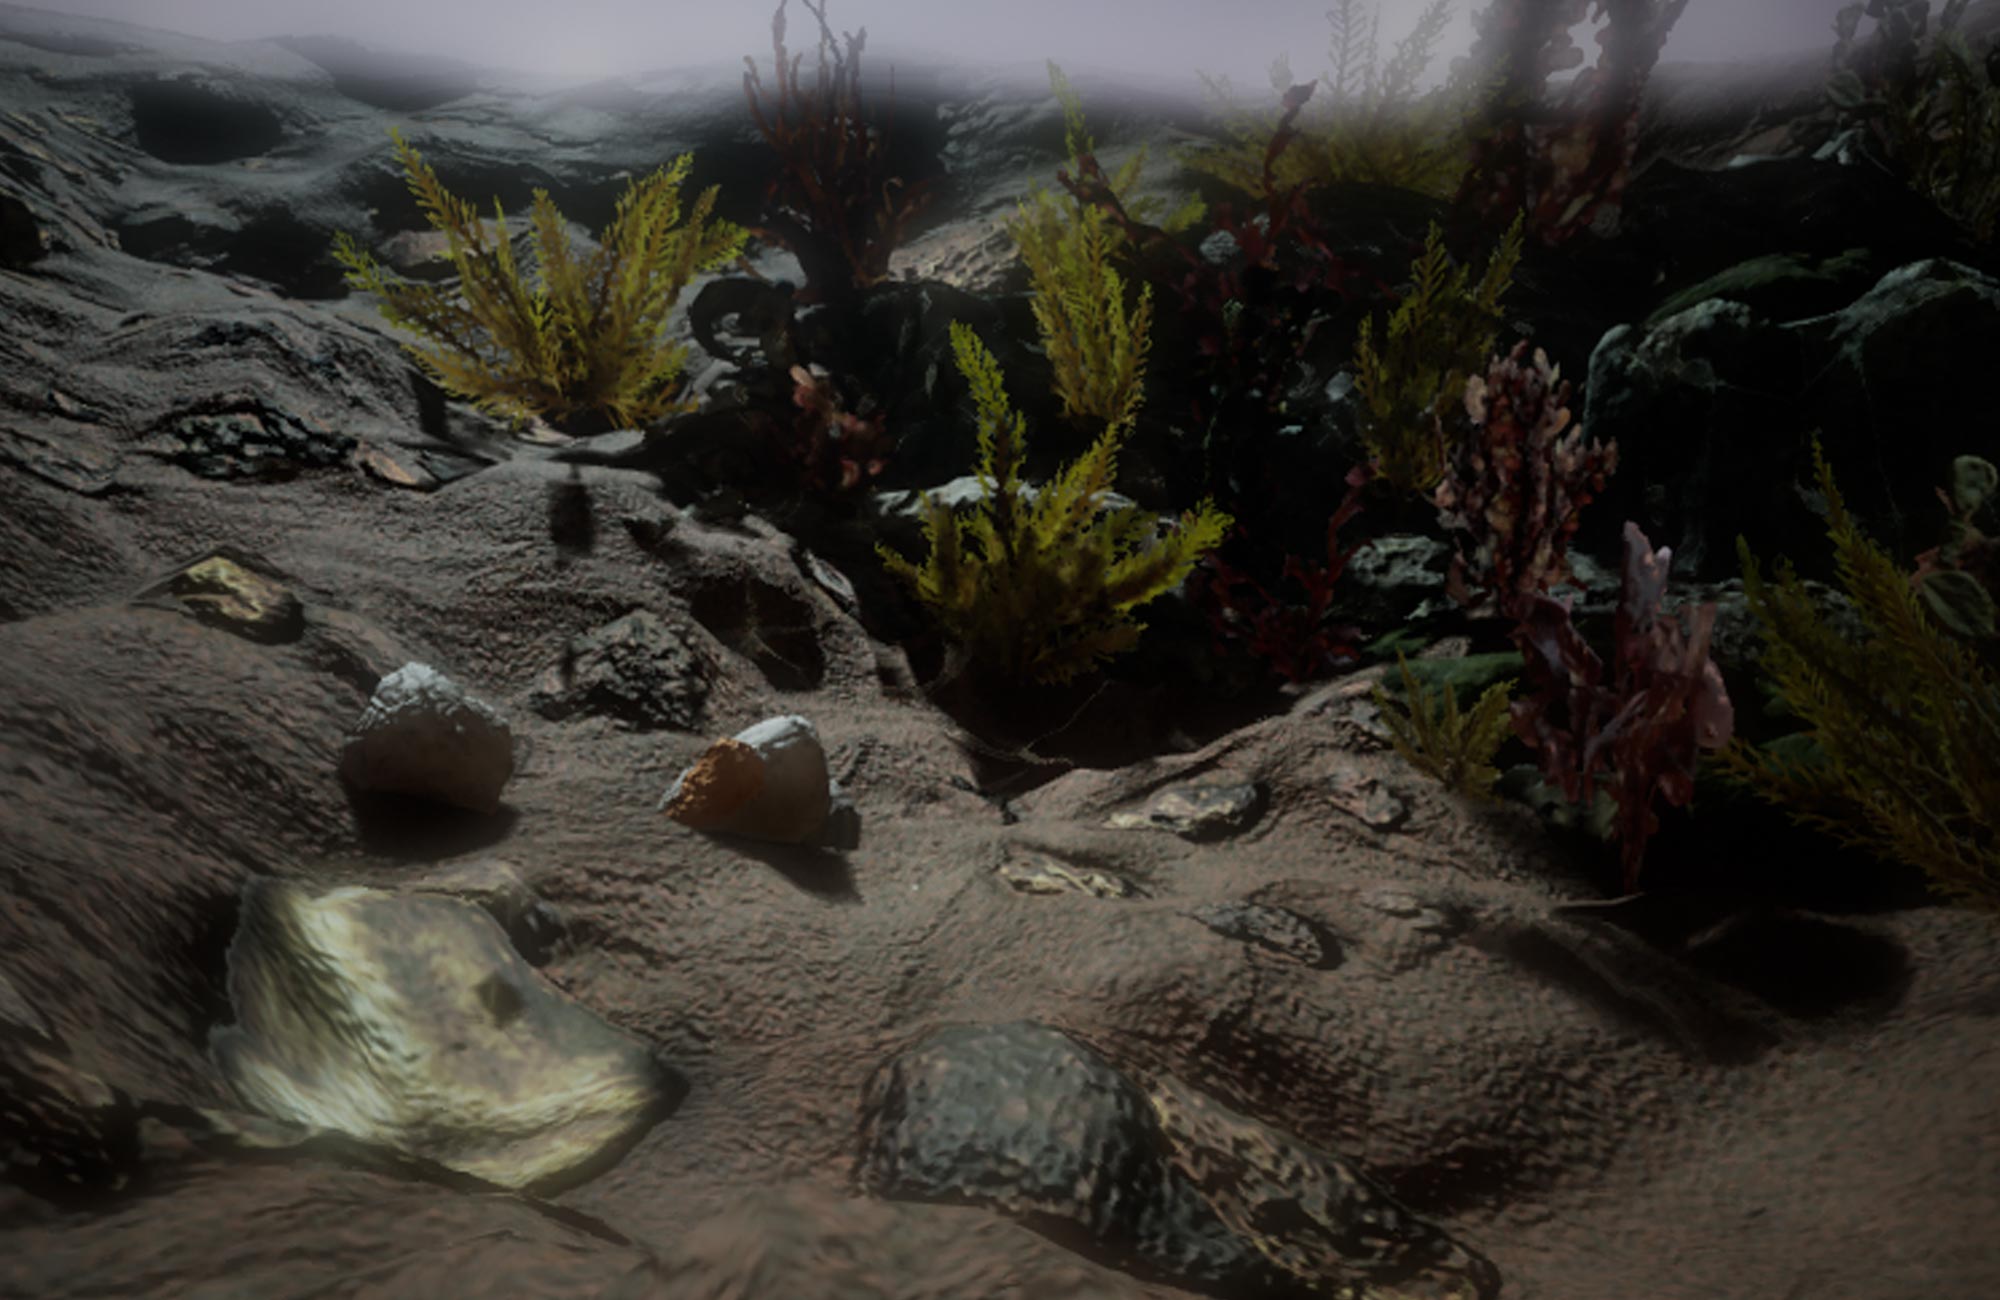
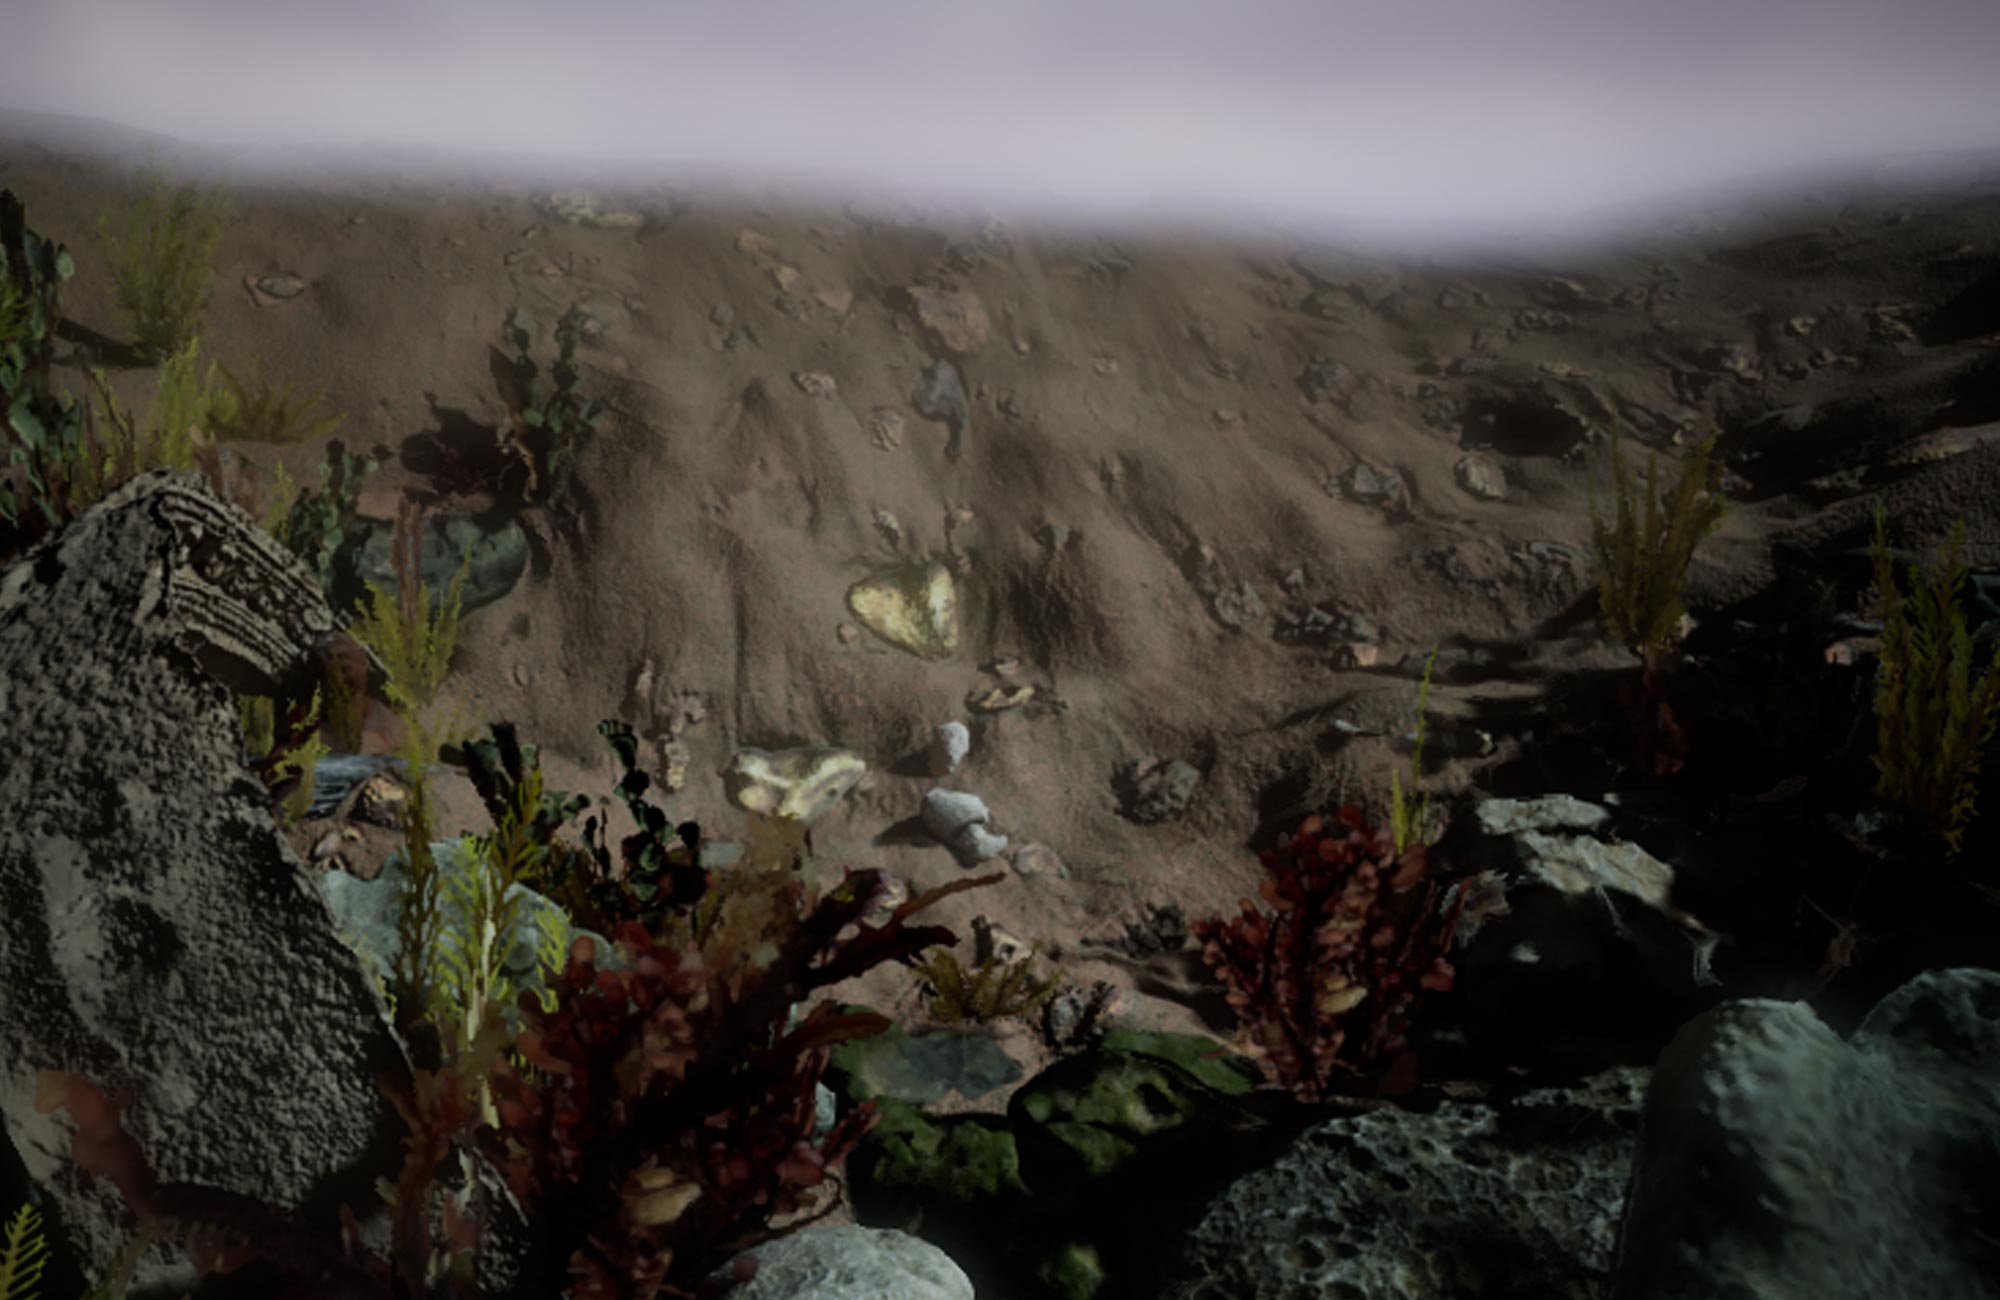
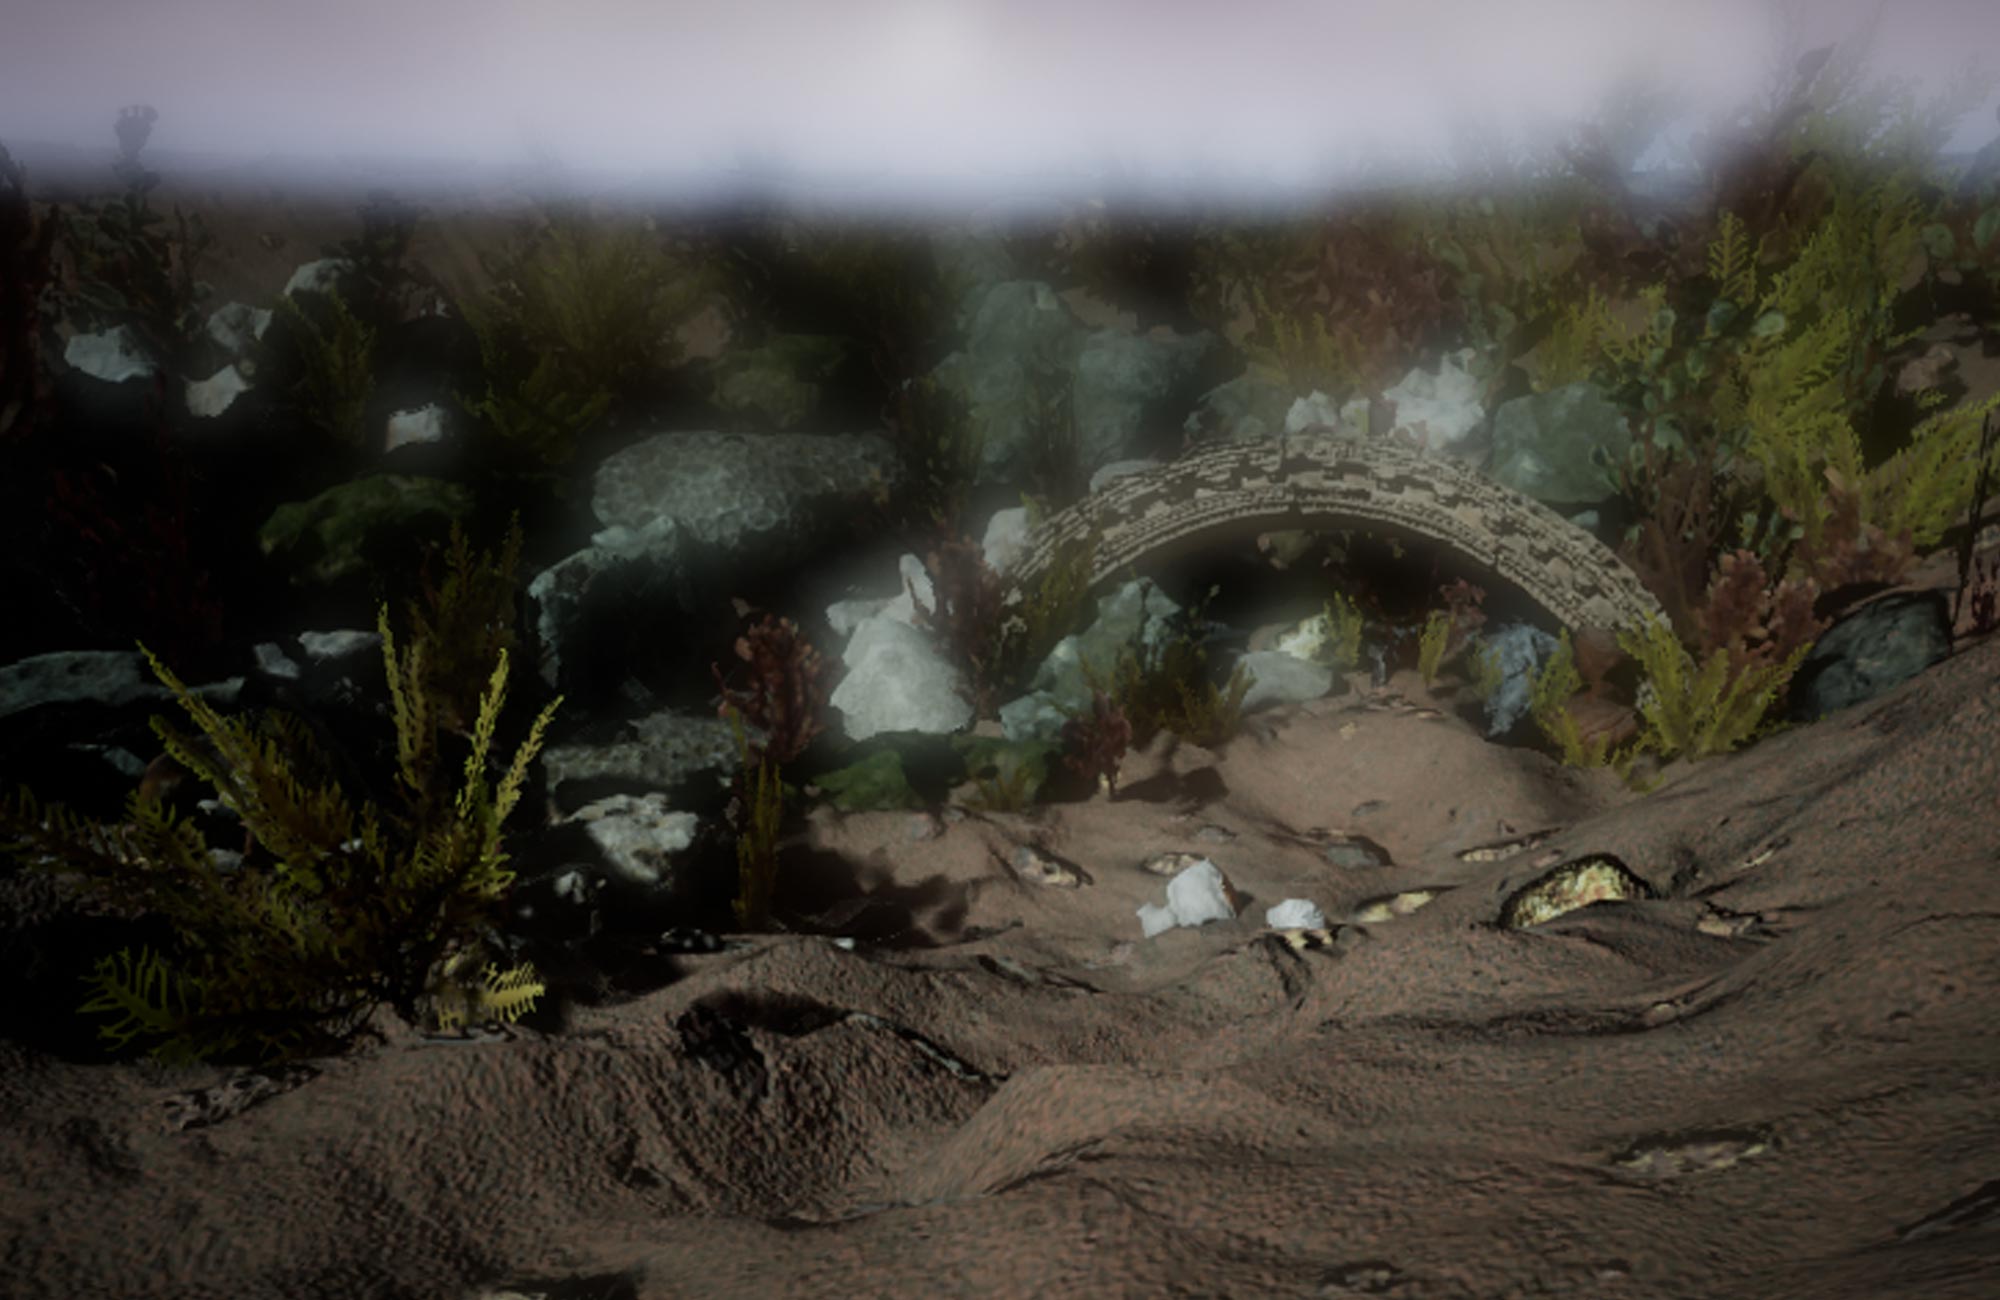
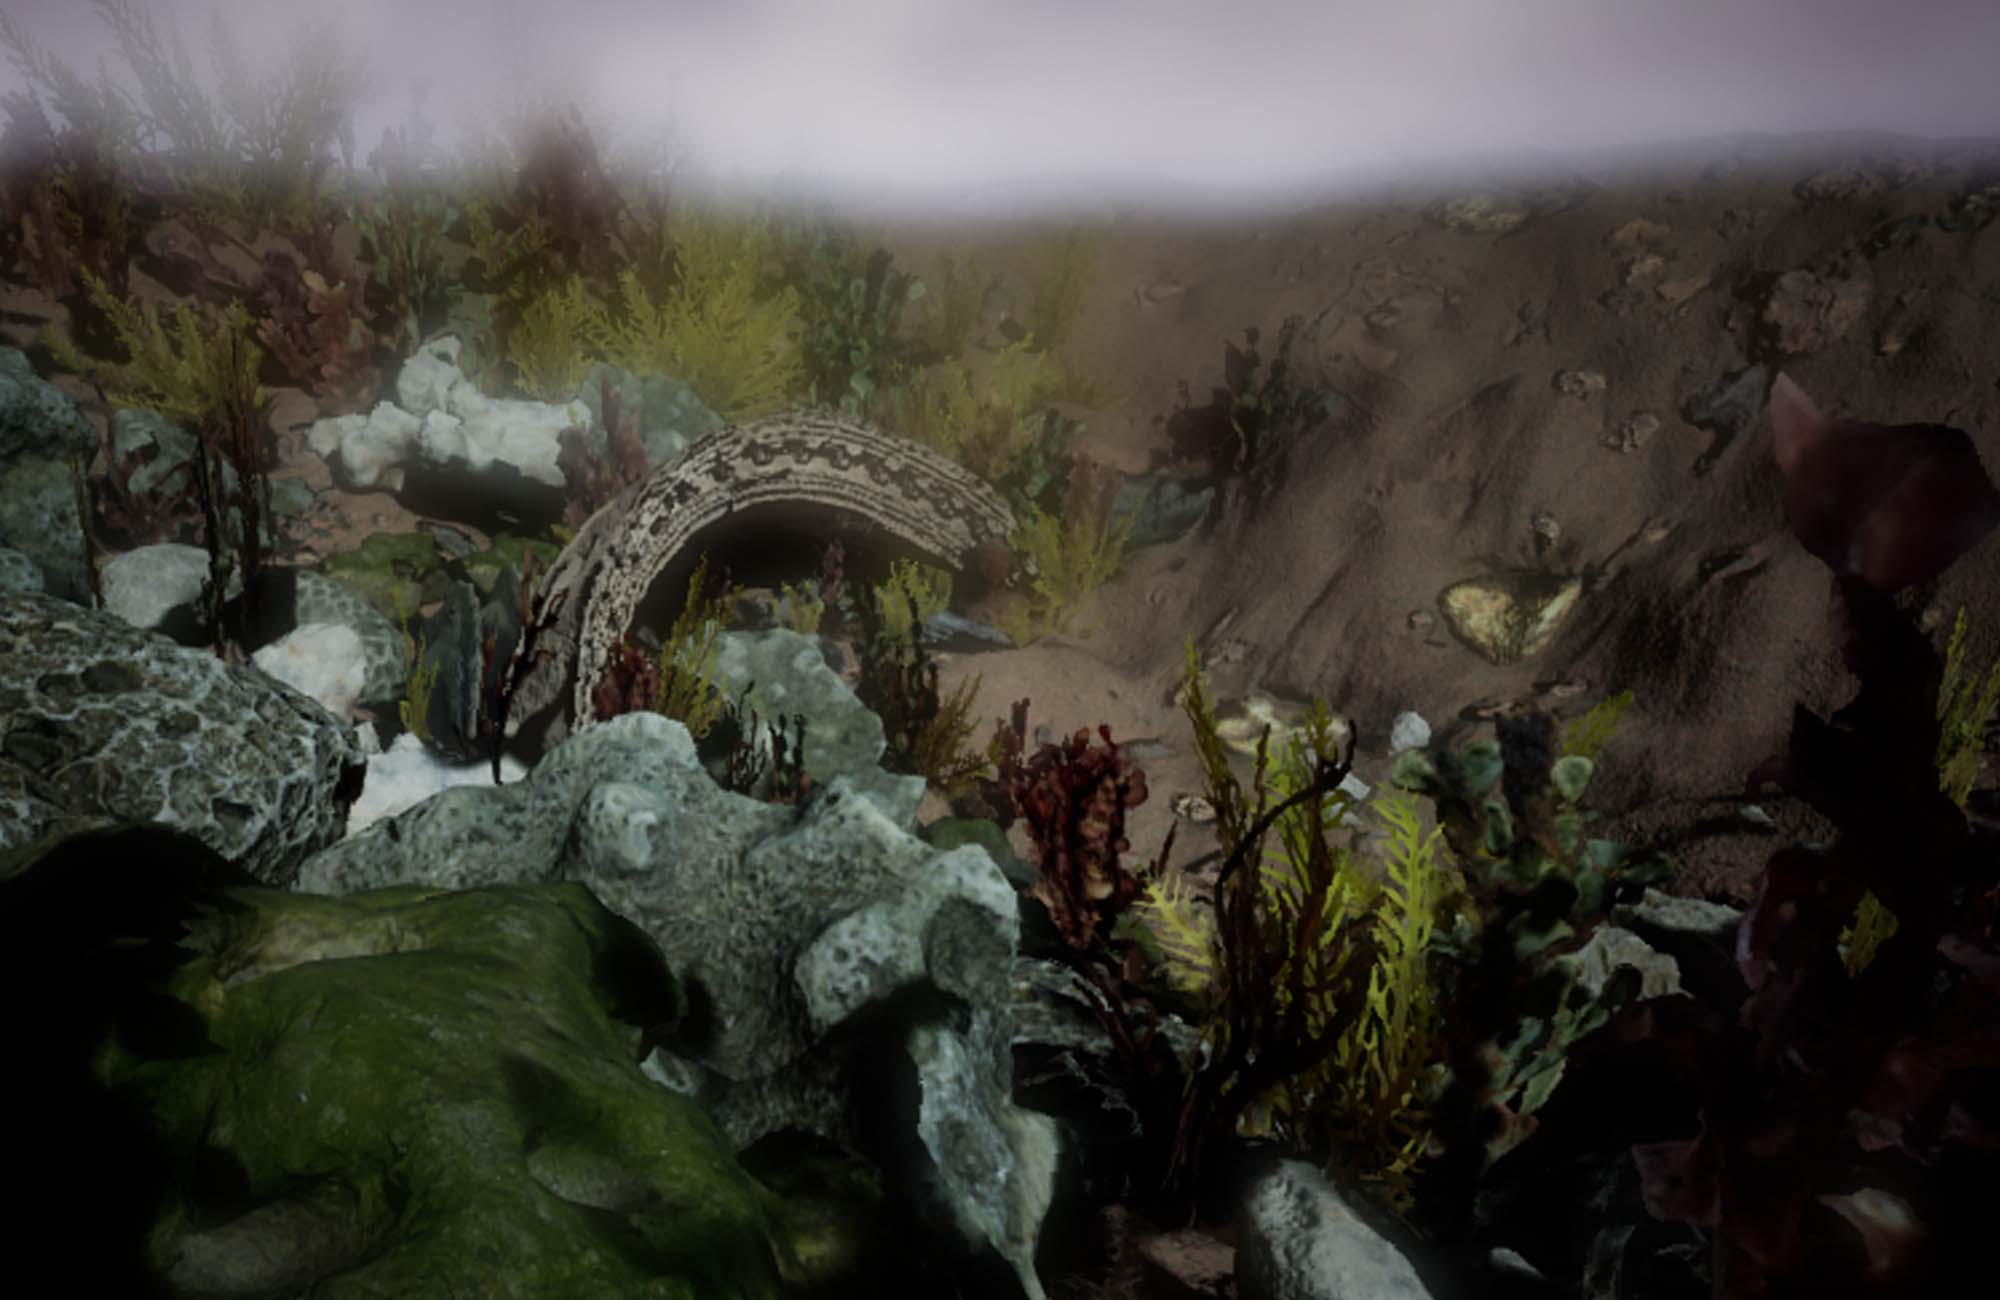
Screen shot and a time-lapse of making a 3D environment (Unreal Engine 4 and megascans) for the use of a Digital Matte Painting
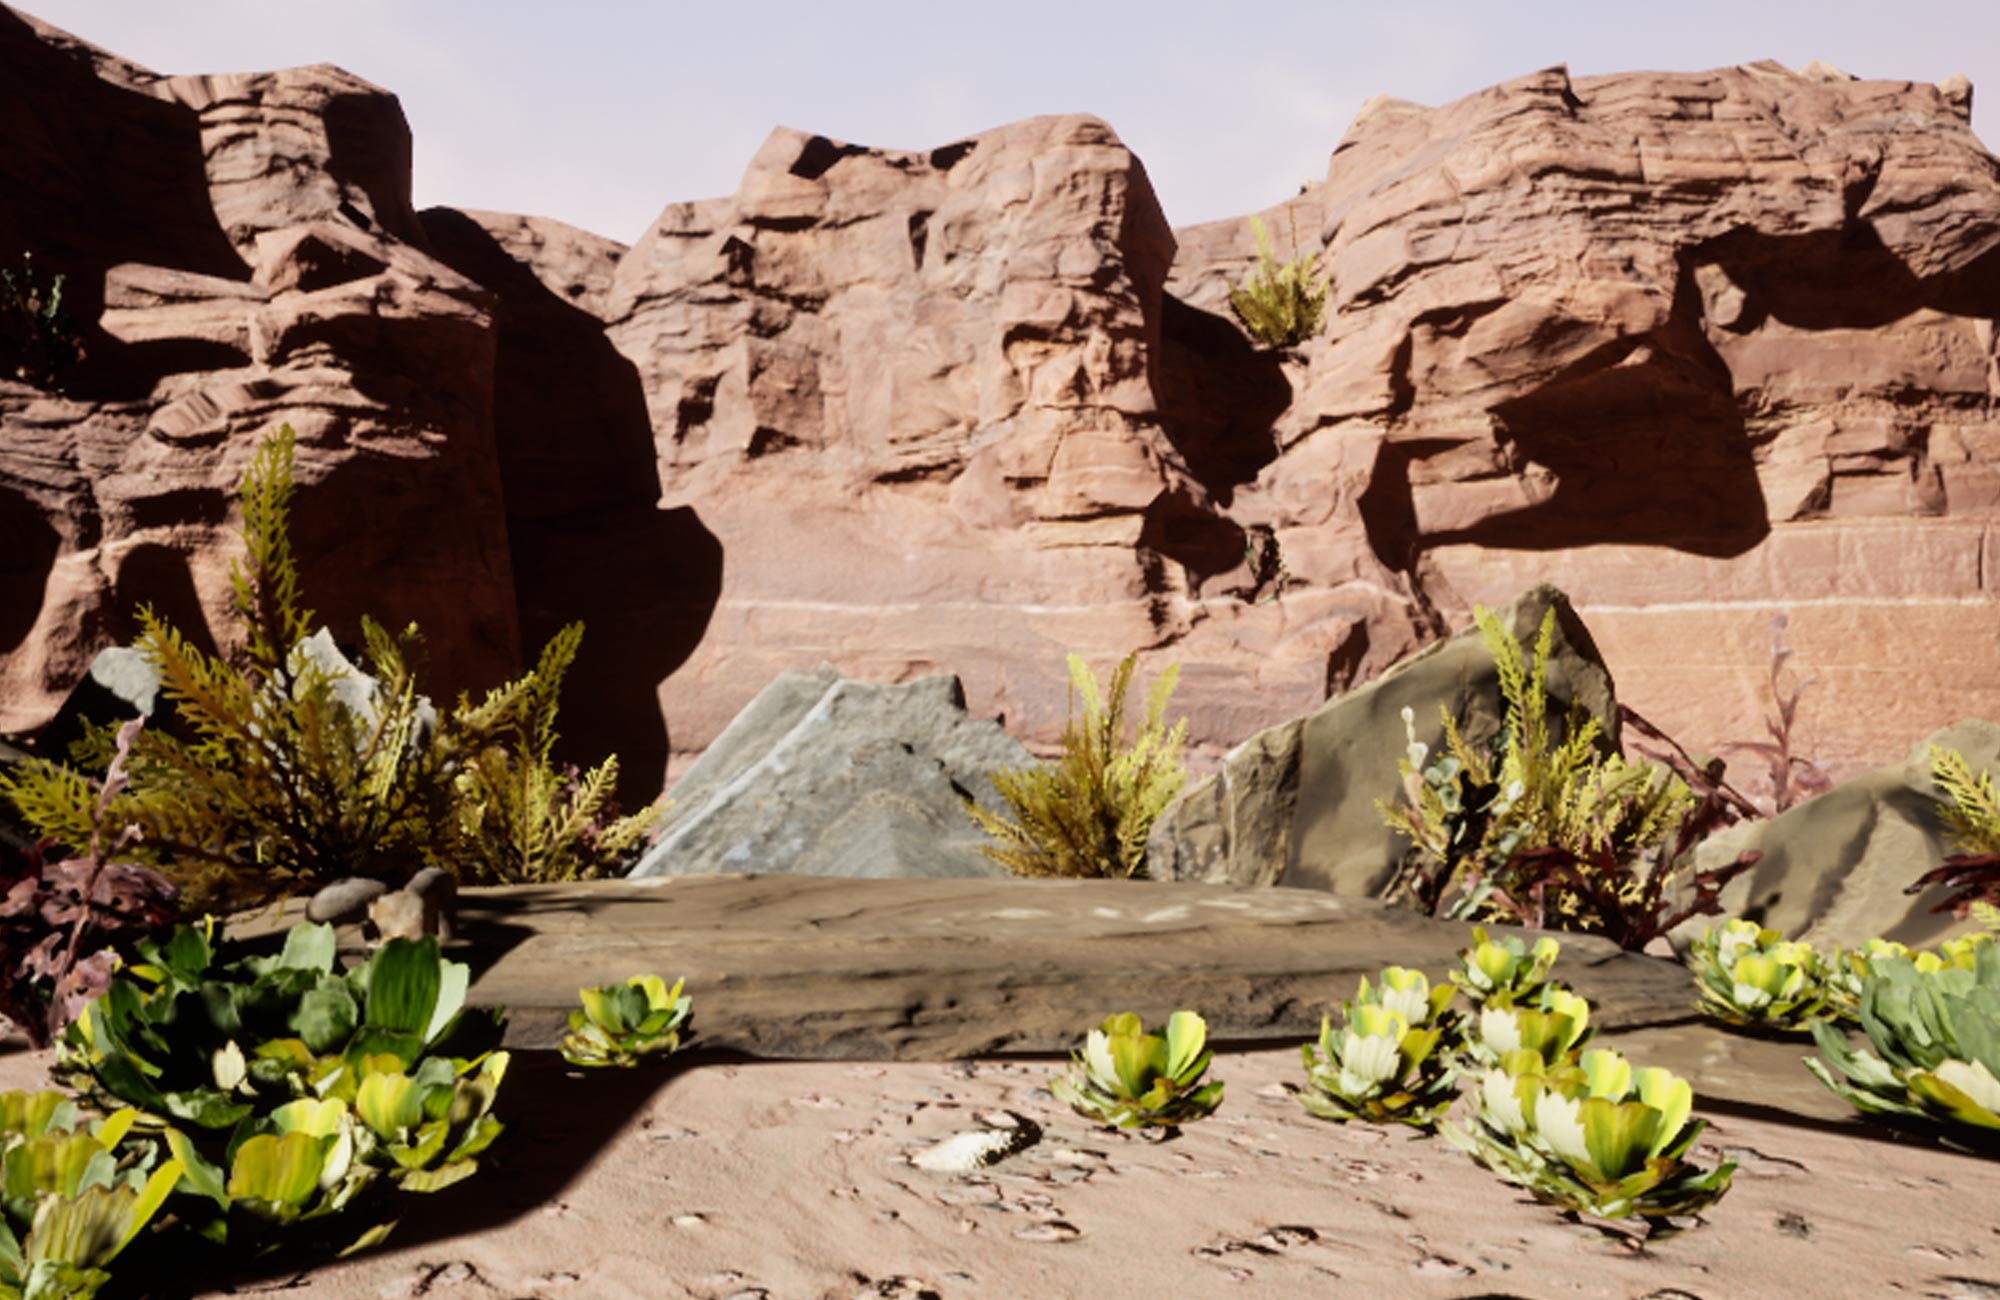
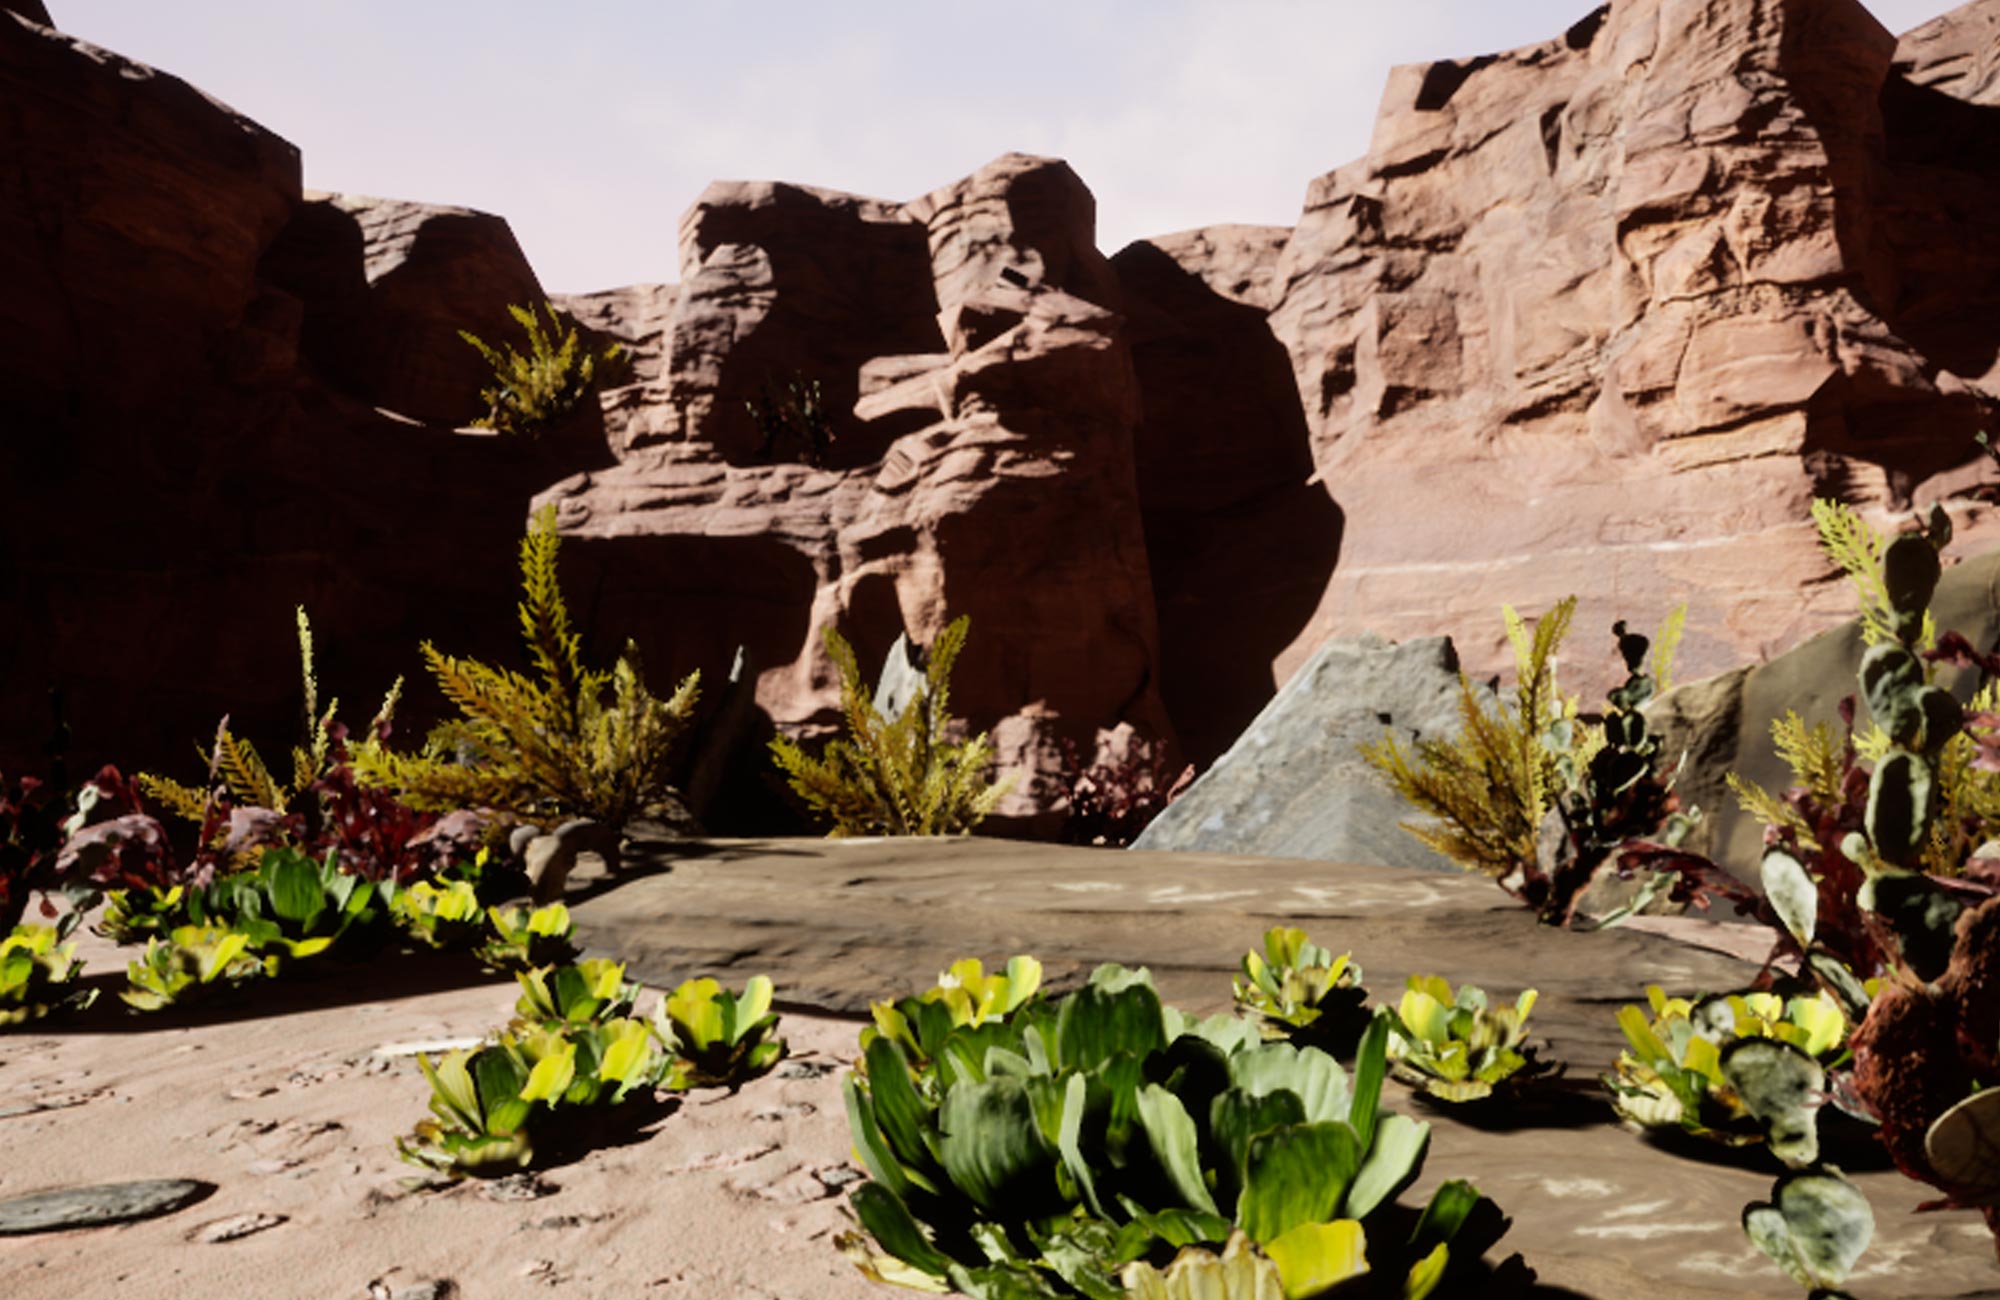

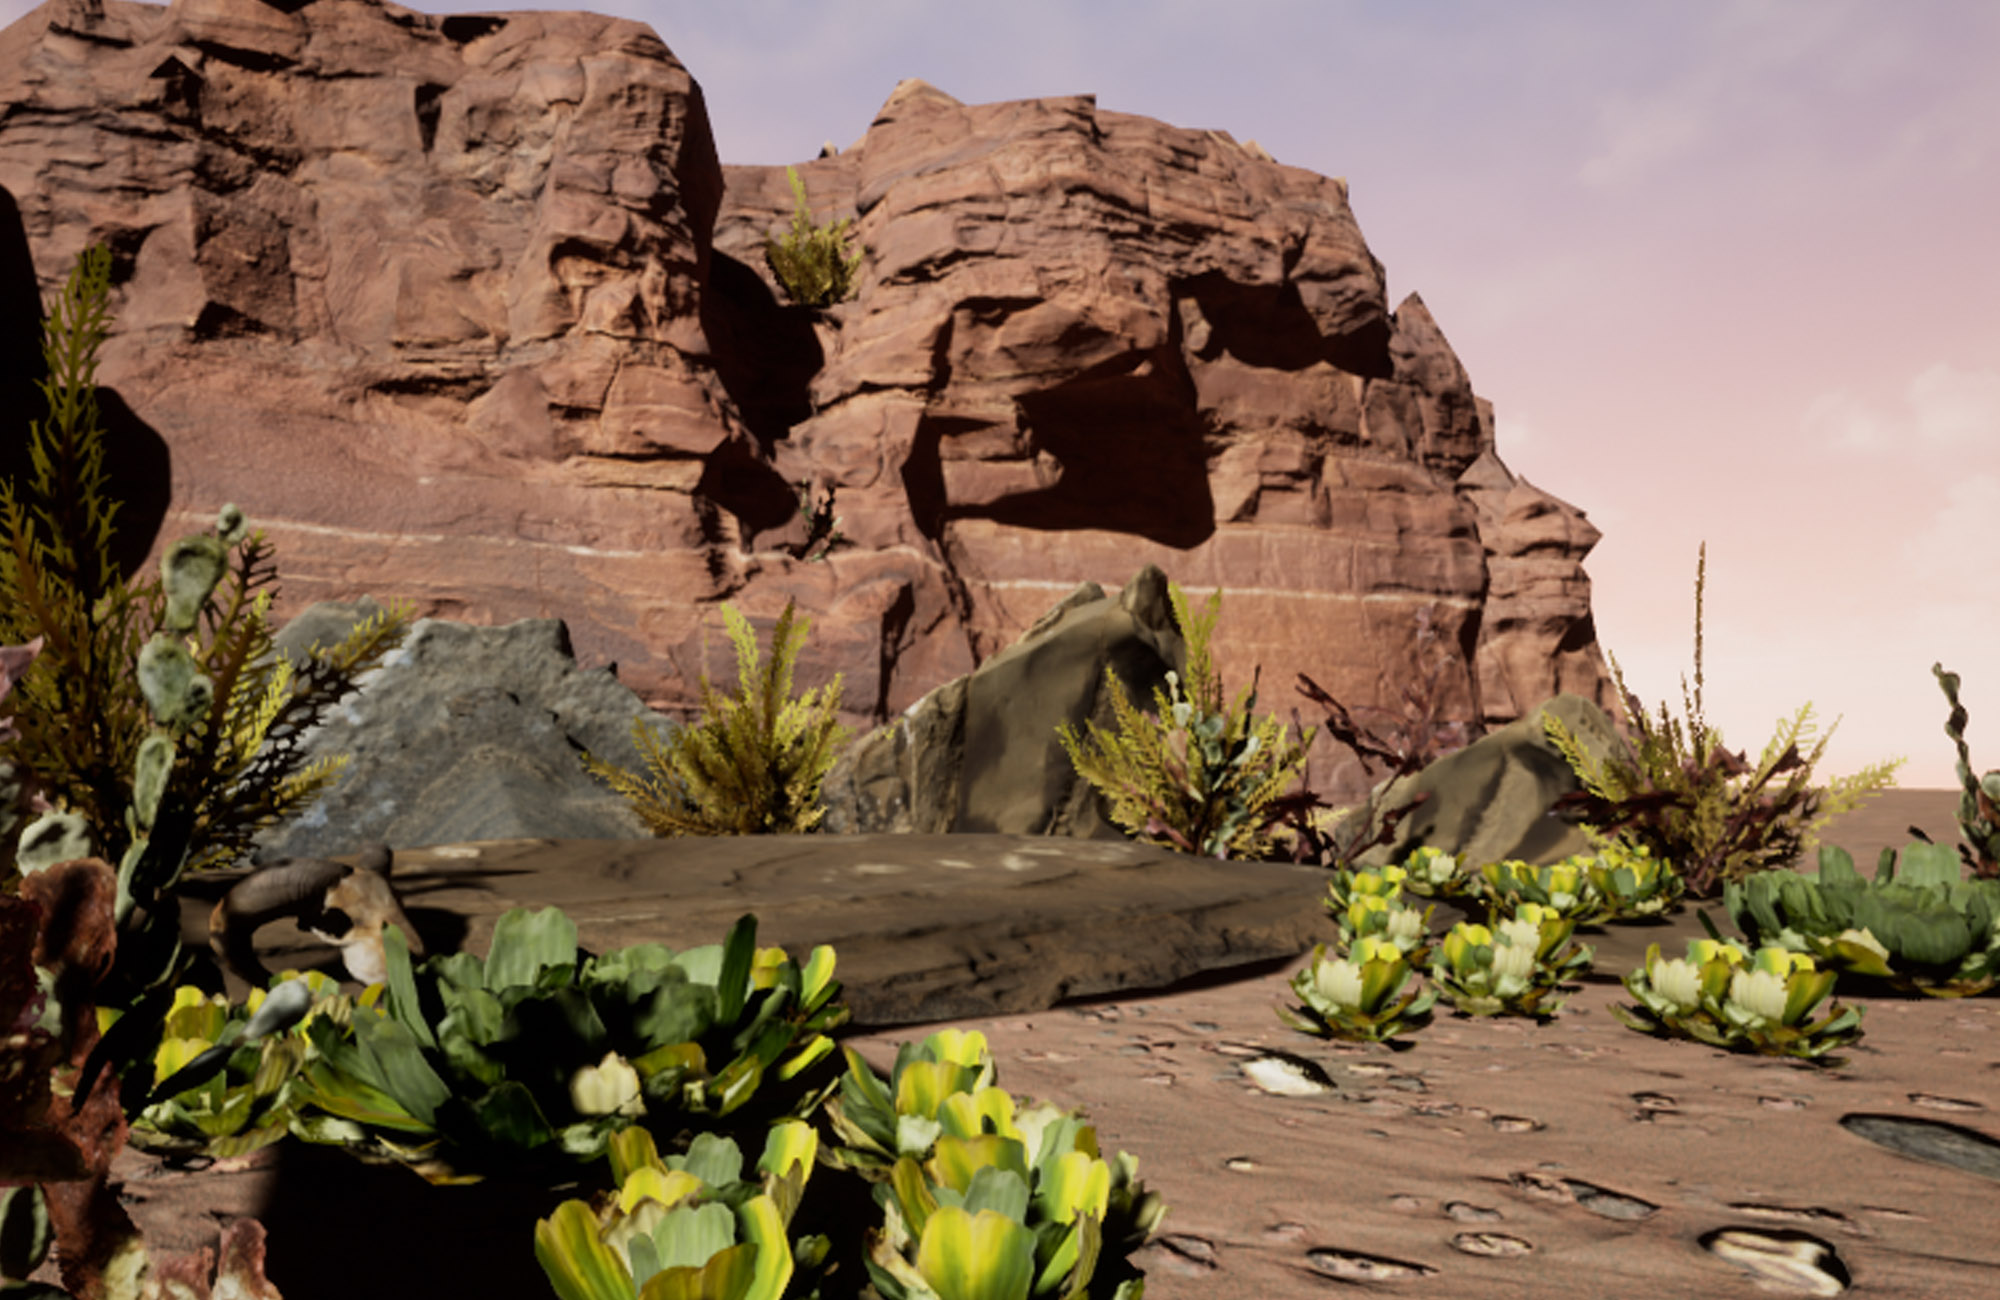
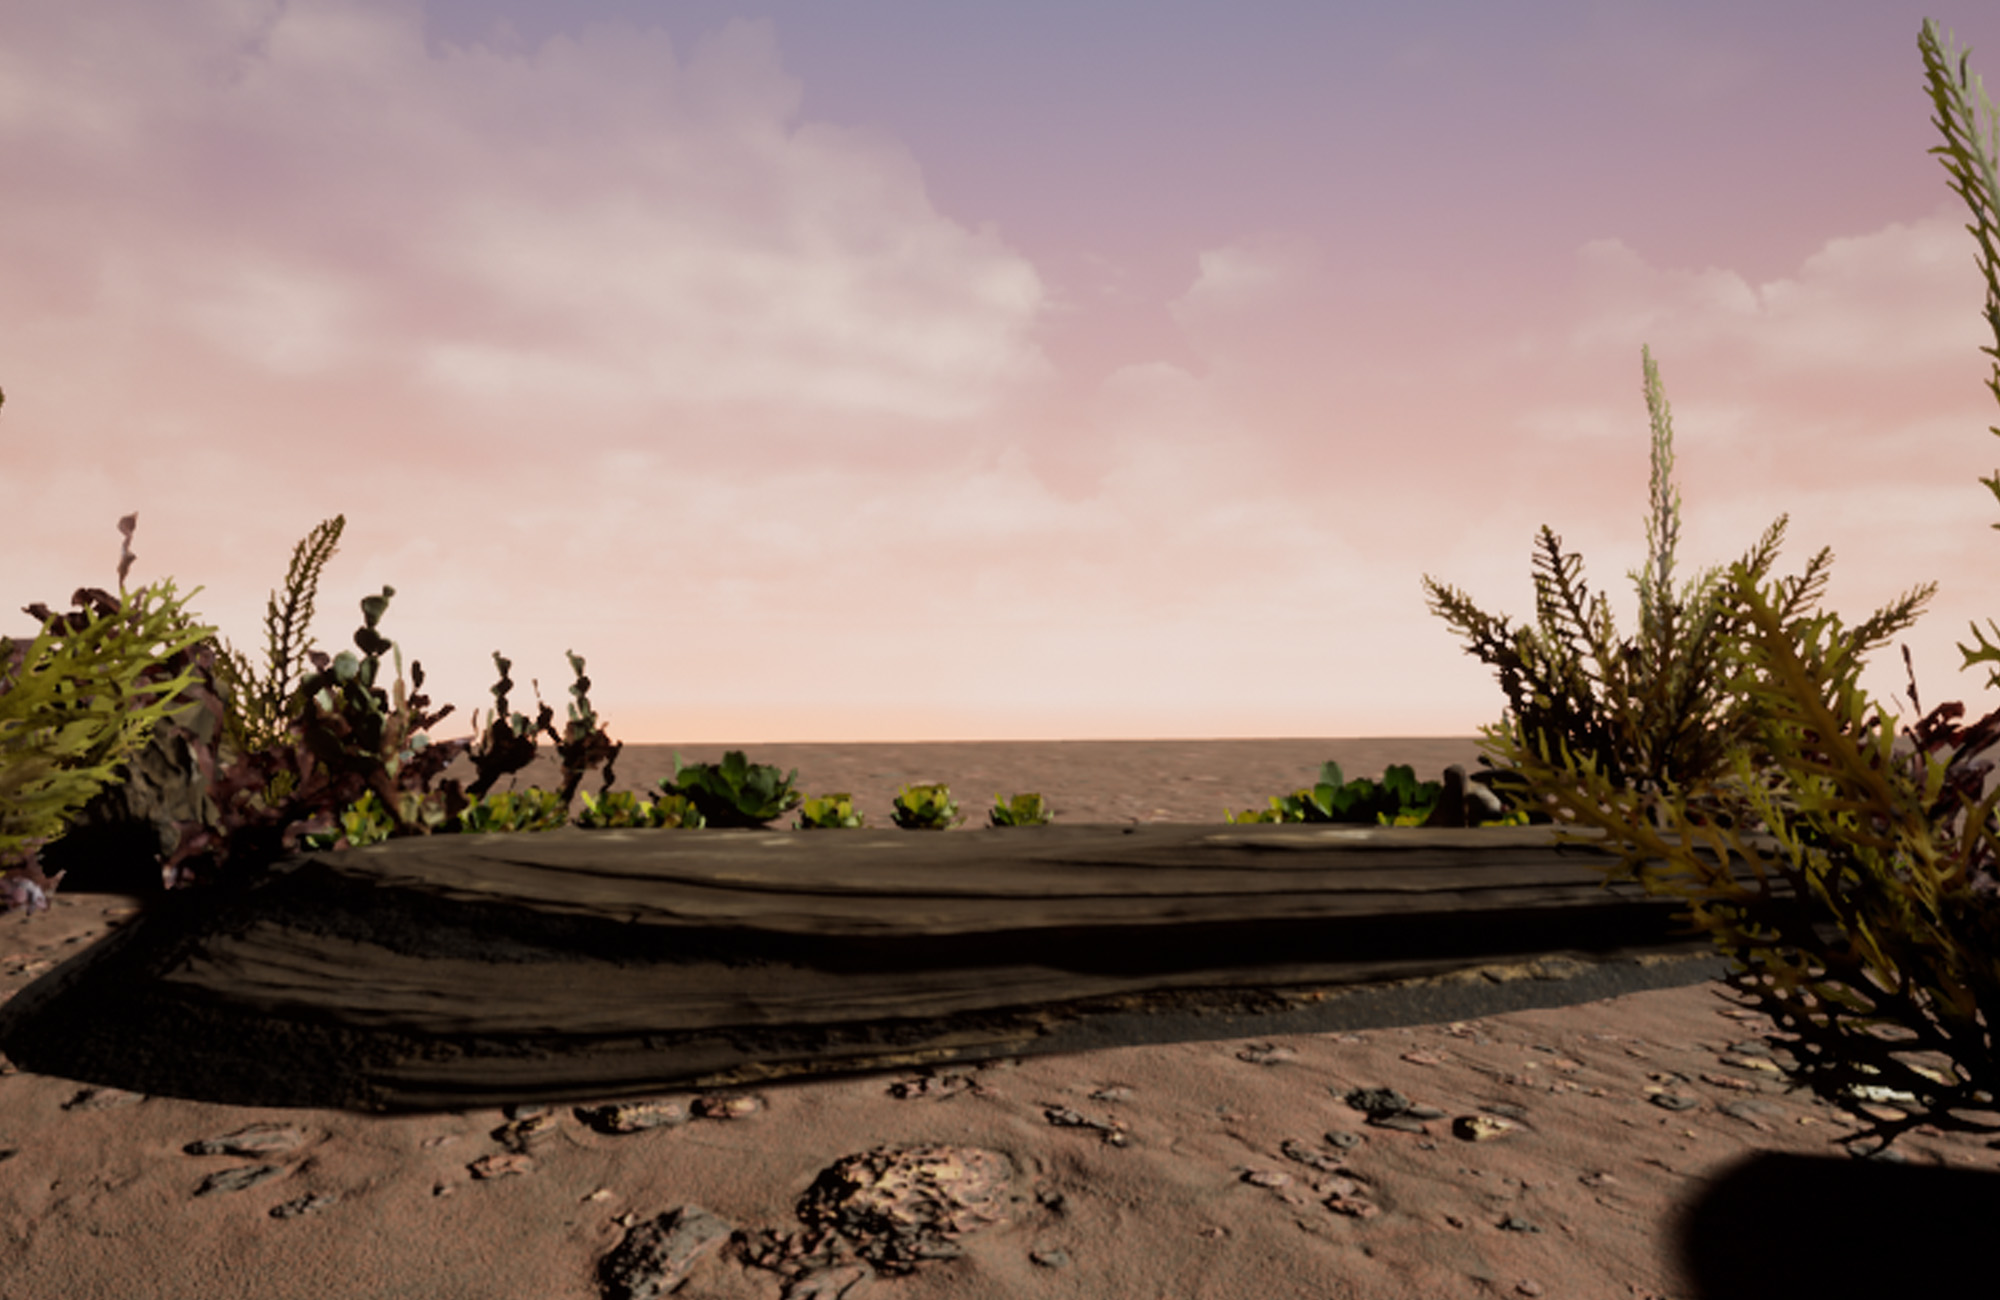
DMP3
Screen shot a 3D environment (Unreal Engine 4 and megascans) for the use of a Digital Matte Painting

3. Final Outcome
4. Evaluation
There were three main issues that I encountered during this project that could be easily avoided in the future, the rest are more minor and can be placed under those three main ones; firstly, this project was very poorly planned and organised, which was fully my fault but I am still learning to work with deadlines and planning. The idea was there but the full execution was never discussed or planned, due to this, the deadlines I set for this project were constantly moved forward (as we were figuring out stuff) until we could push them no more. Secondly in the future I need tome sure that all the people working on this project have the same urgency and priorities, as this was quite an issue since I was working with people outside of the university, and even though they also had a deadline for this project, they never fully committed to all the tasks and so I ended up with more work to do myself (with an already tight deadline due to my poor time management skills and the ridiculous amount of troubleshooting I had to go through). Thirdly, in the future I will make sure to visit the locations and make sure I know the equipment as well as the ideas and processes I am working with, as this led to a few issues over the way (new to me camera, bad quality of the film, not picking up enough lighting causing darker footage and in turn picking up more shadows on the green screen as well as on the character as well as the whole idea of doing prosthetic make up, which worked but stressed me out and could definitely be improved in the future). Furthermore, in the future I shouldn’t concentrate on the idea but on what I can manage time and skill wise, as I tend to be overall ambitious with ideas that then become something too basic – due to time constrain or not planning it out in detail – of simply abandoned as I get frustrated with the skills needed for the completion, I also need to learn to trust the team I am working in and not take too much work on myself but let people do their part.
Despite all this mistakes that I learned from I was pleasantly surprised with the way the SFX make up and costume came out, when I saw it all together on the day of filming (yes we haven’t rehearsed it beforehand). Even though there was a little bit of improvisation with the final look that wasn’t planned or decided on previously I really liked the final aesthetic. This alongside the overall look of the manta ray (except the disaster I made of the animation) I made were probably my favourite elements of the project, seeing them come out better than I expected was a pleasant surprise and motivation for finishing this project to a sufficient standard even though I didn’t manage my time properly.