Maya Collaboration Unit
This unit is based on a collaboration between Nuke and Maya. The Maya progress part of this blog focuses on the development of a CG element, in this case a machine, that will later be composited with the footage supplied (in the Nuke progress part of this units blog).
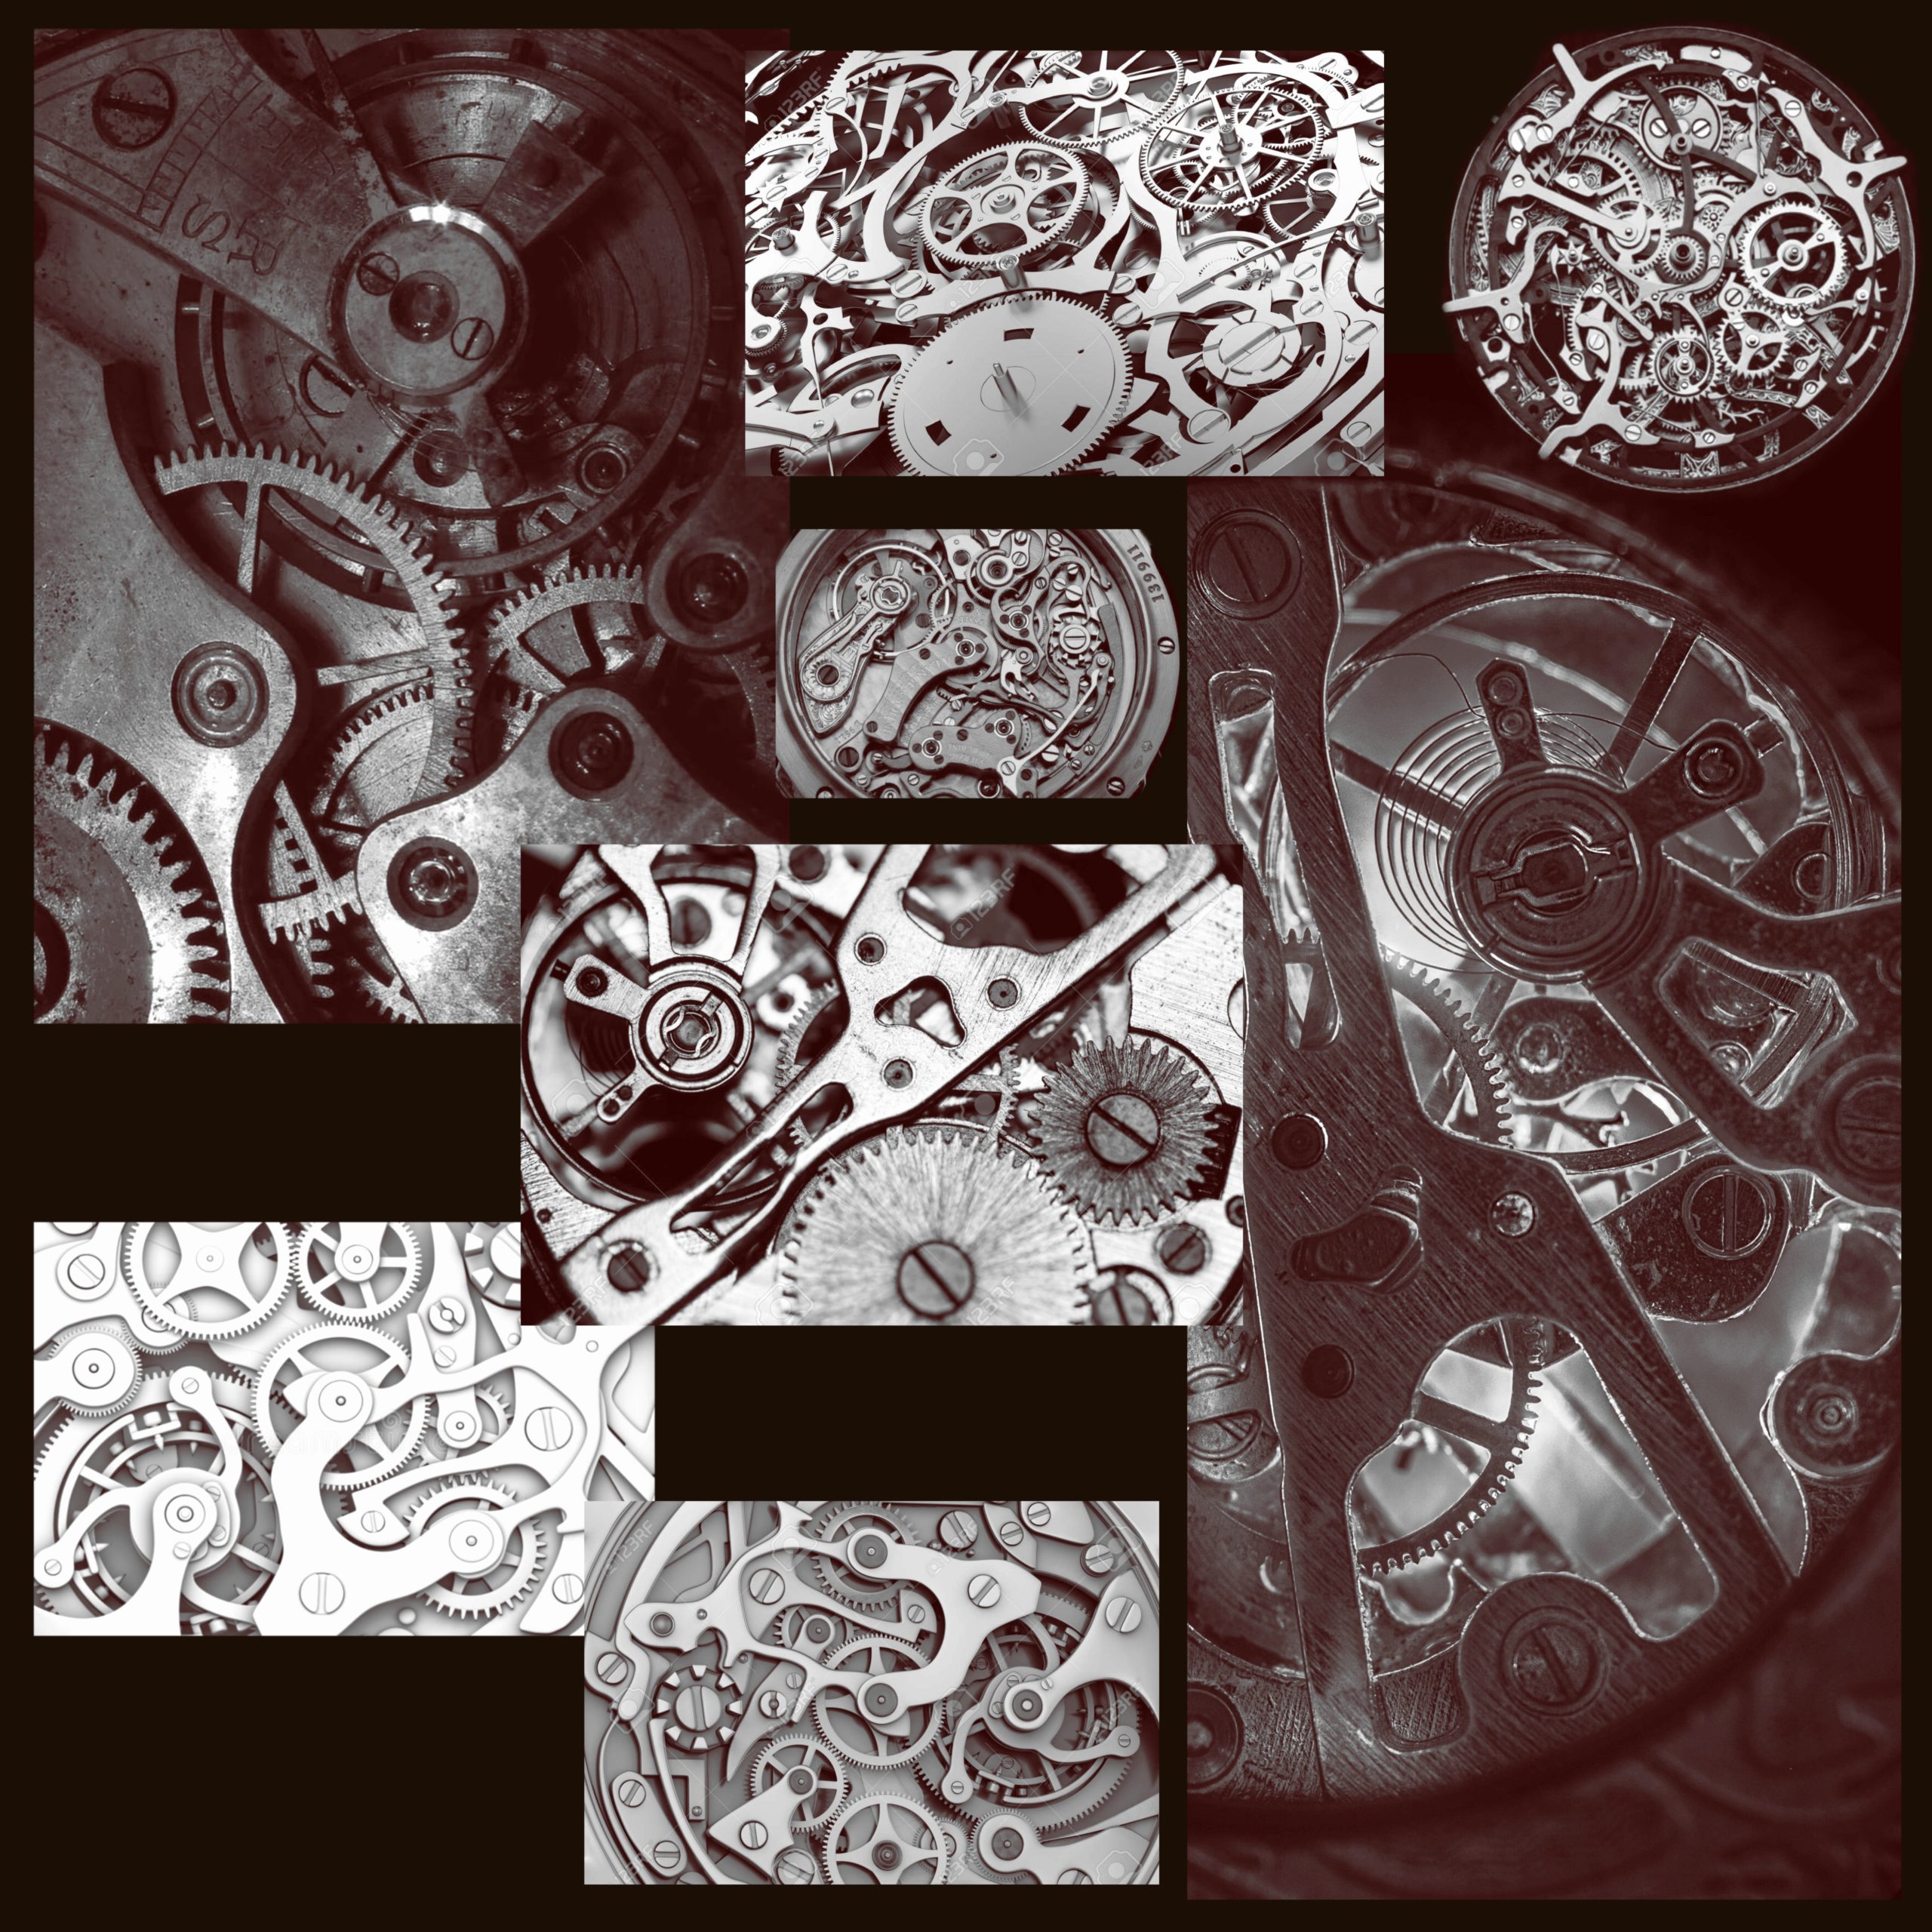
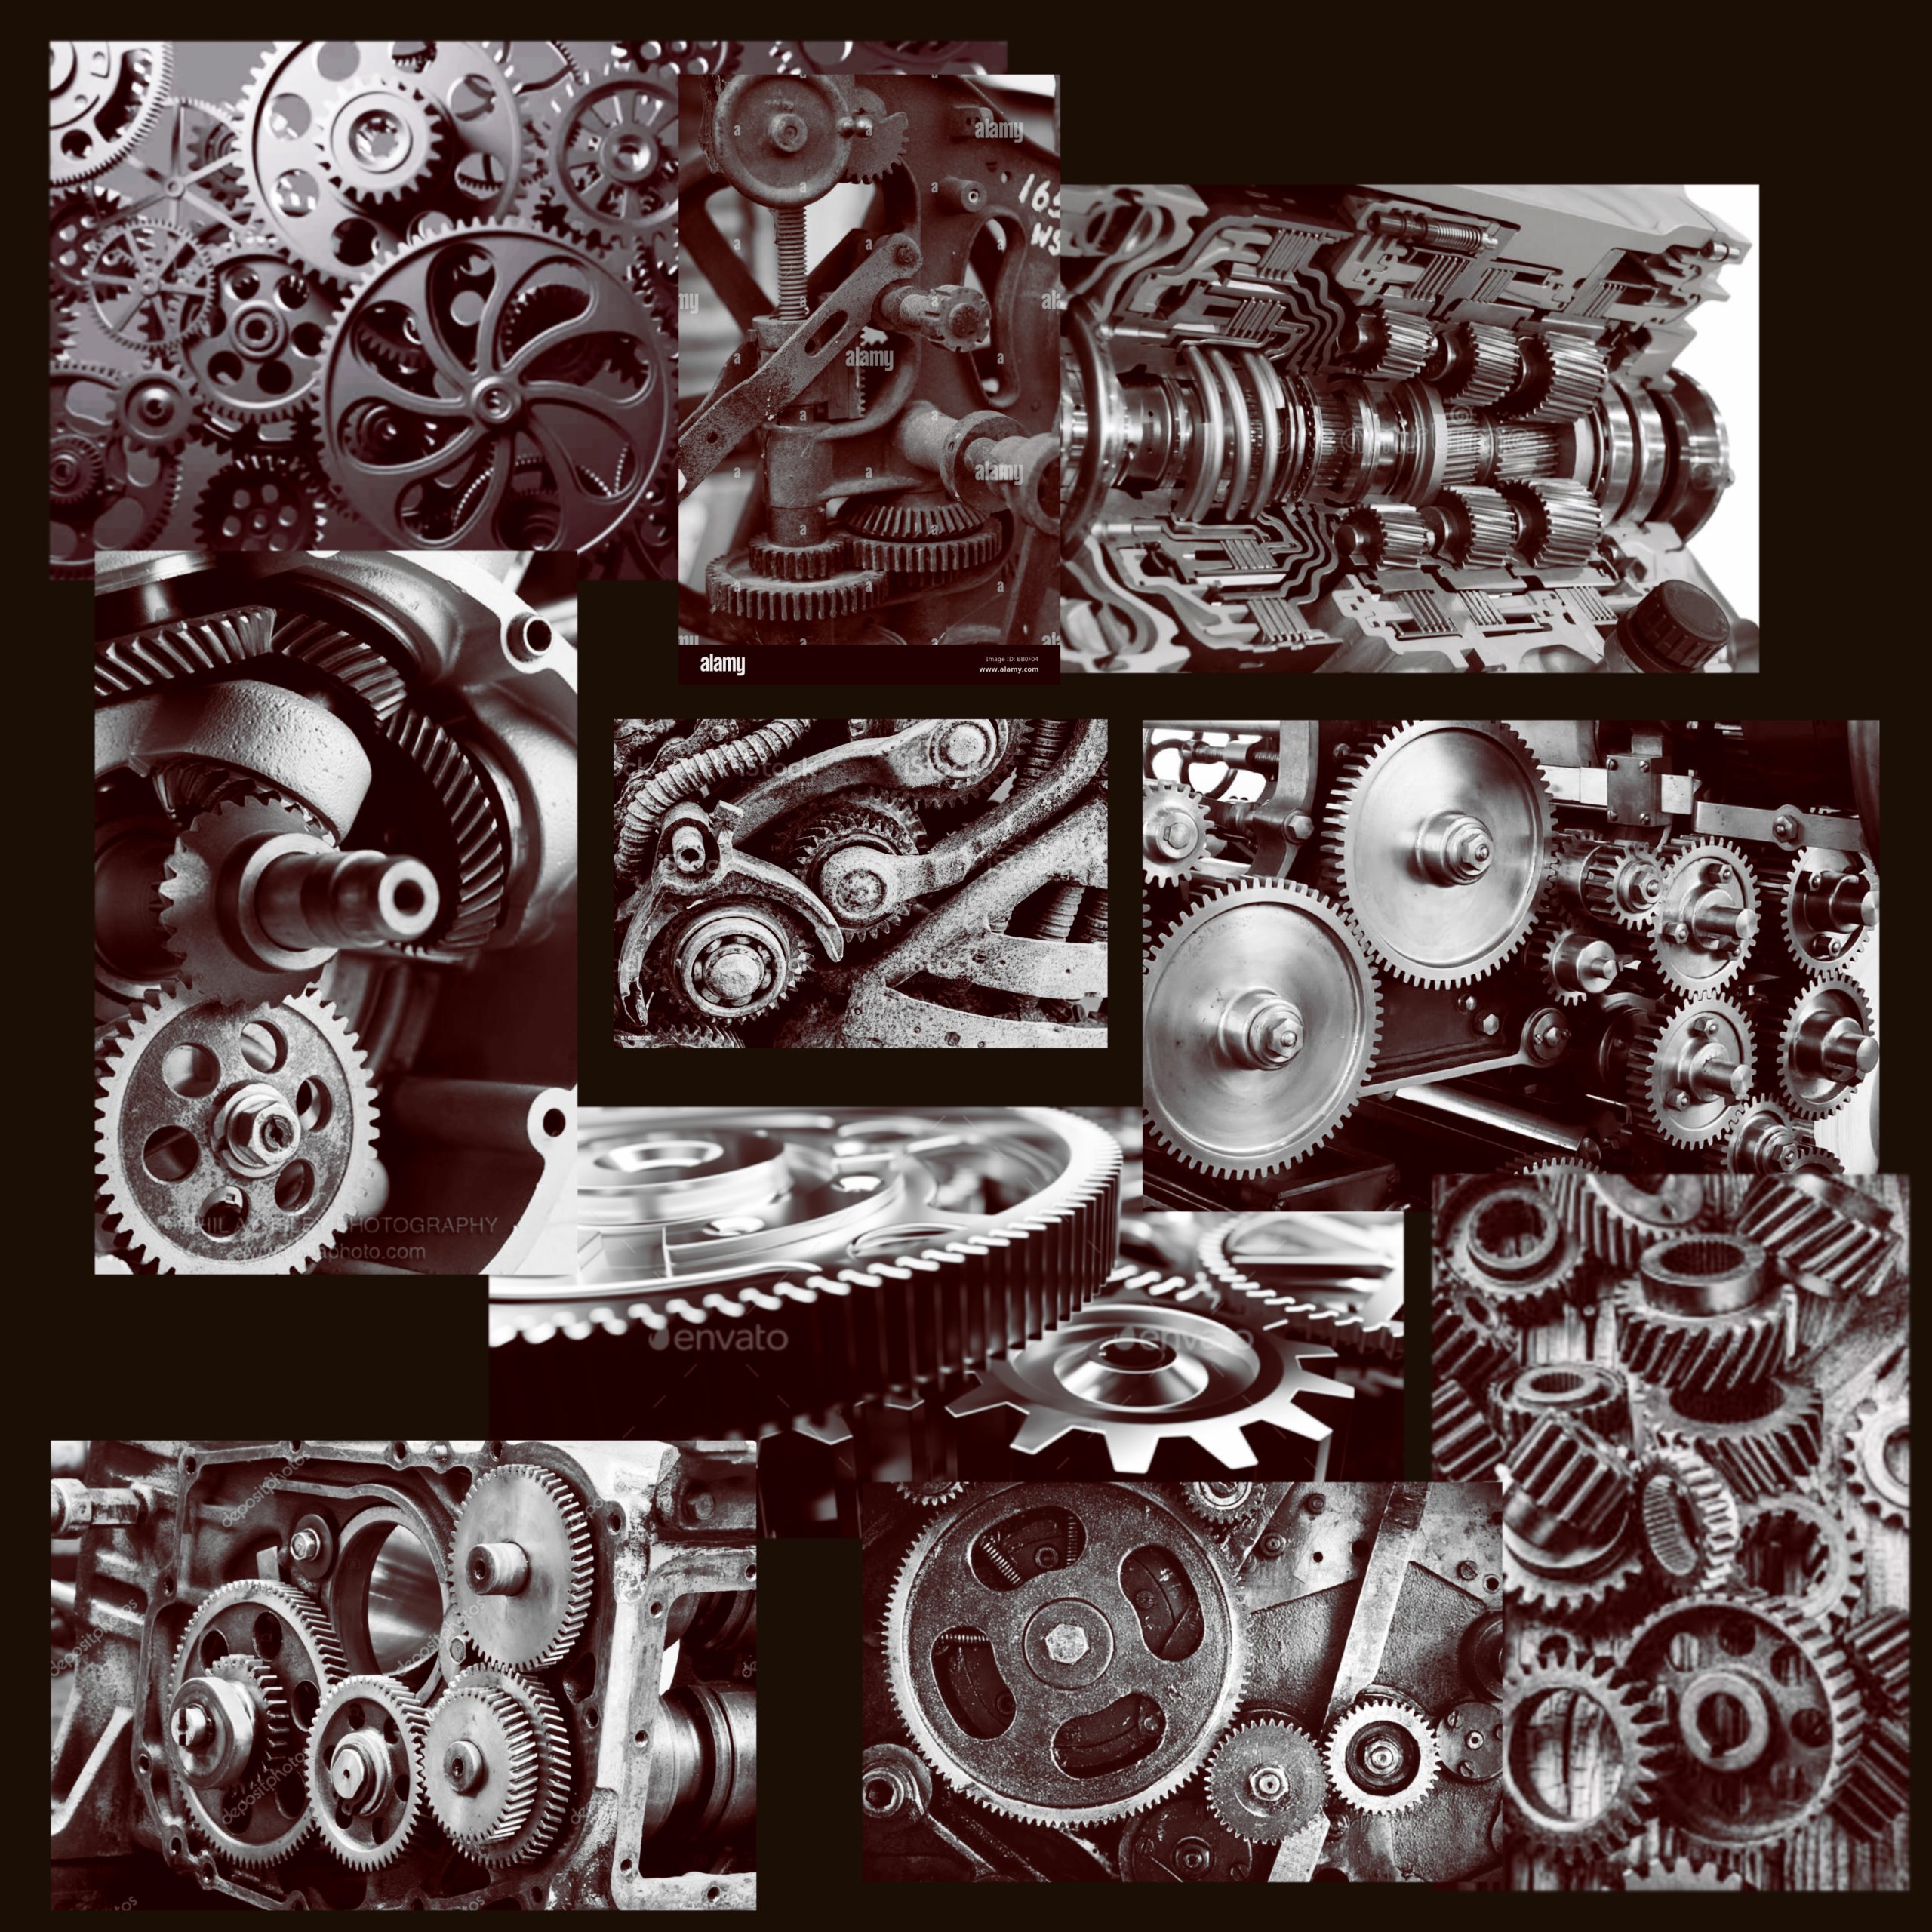
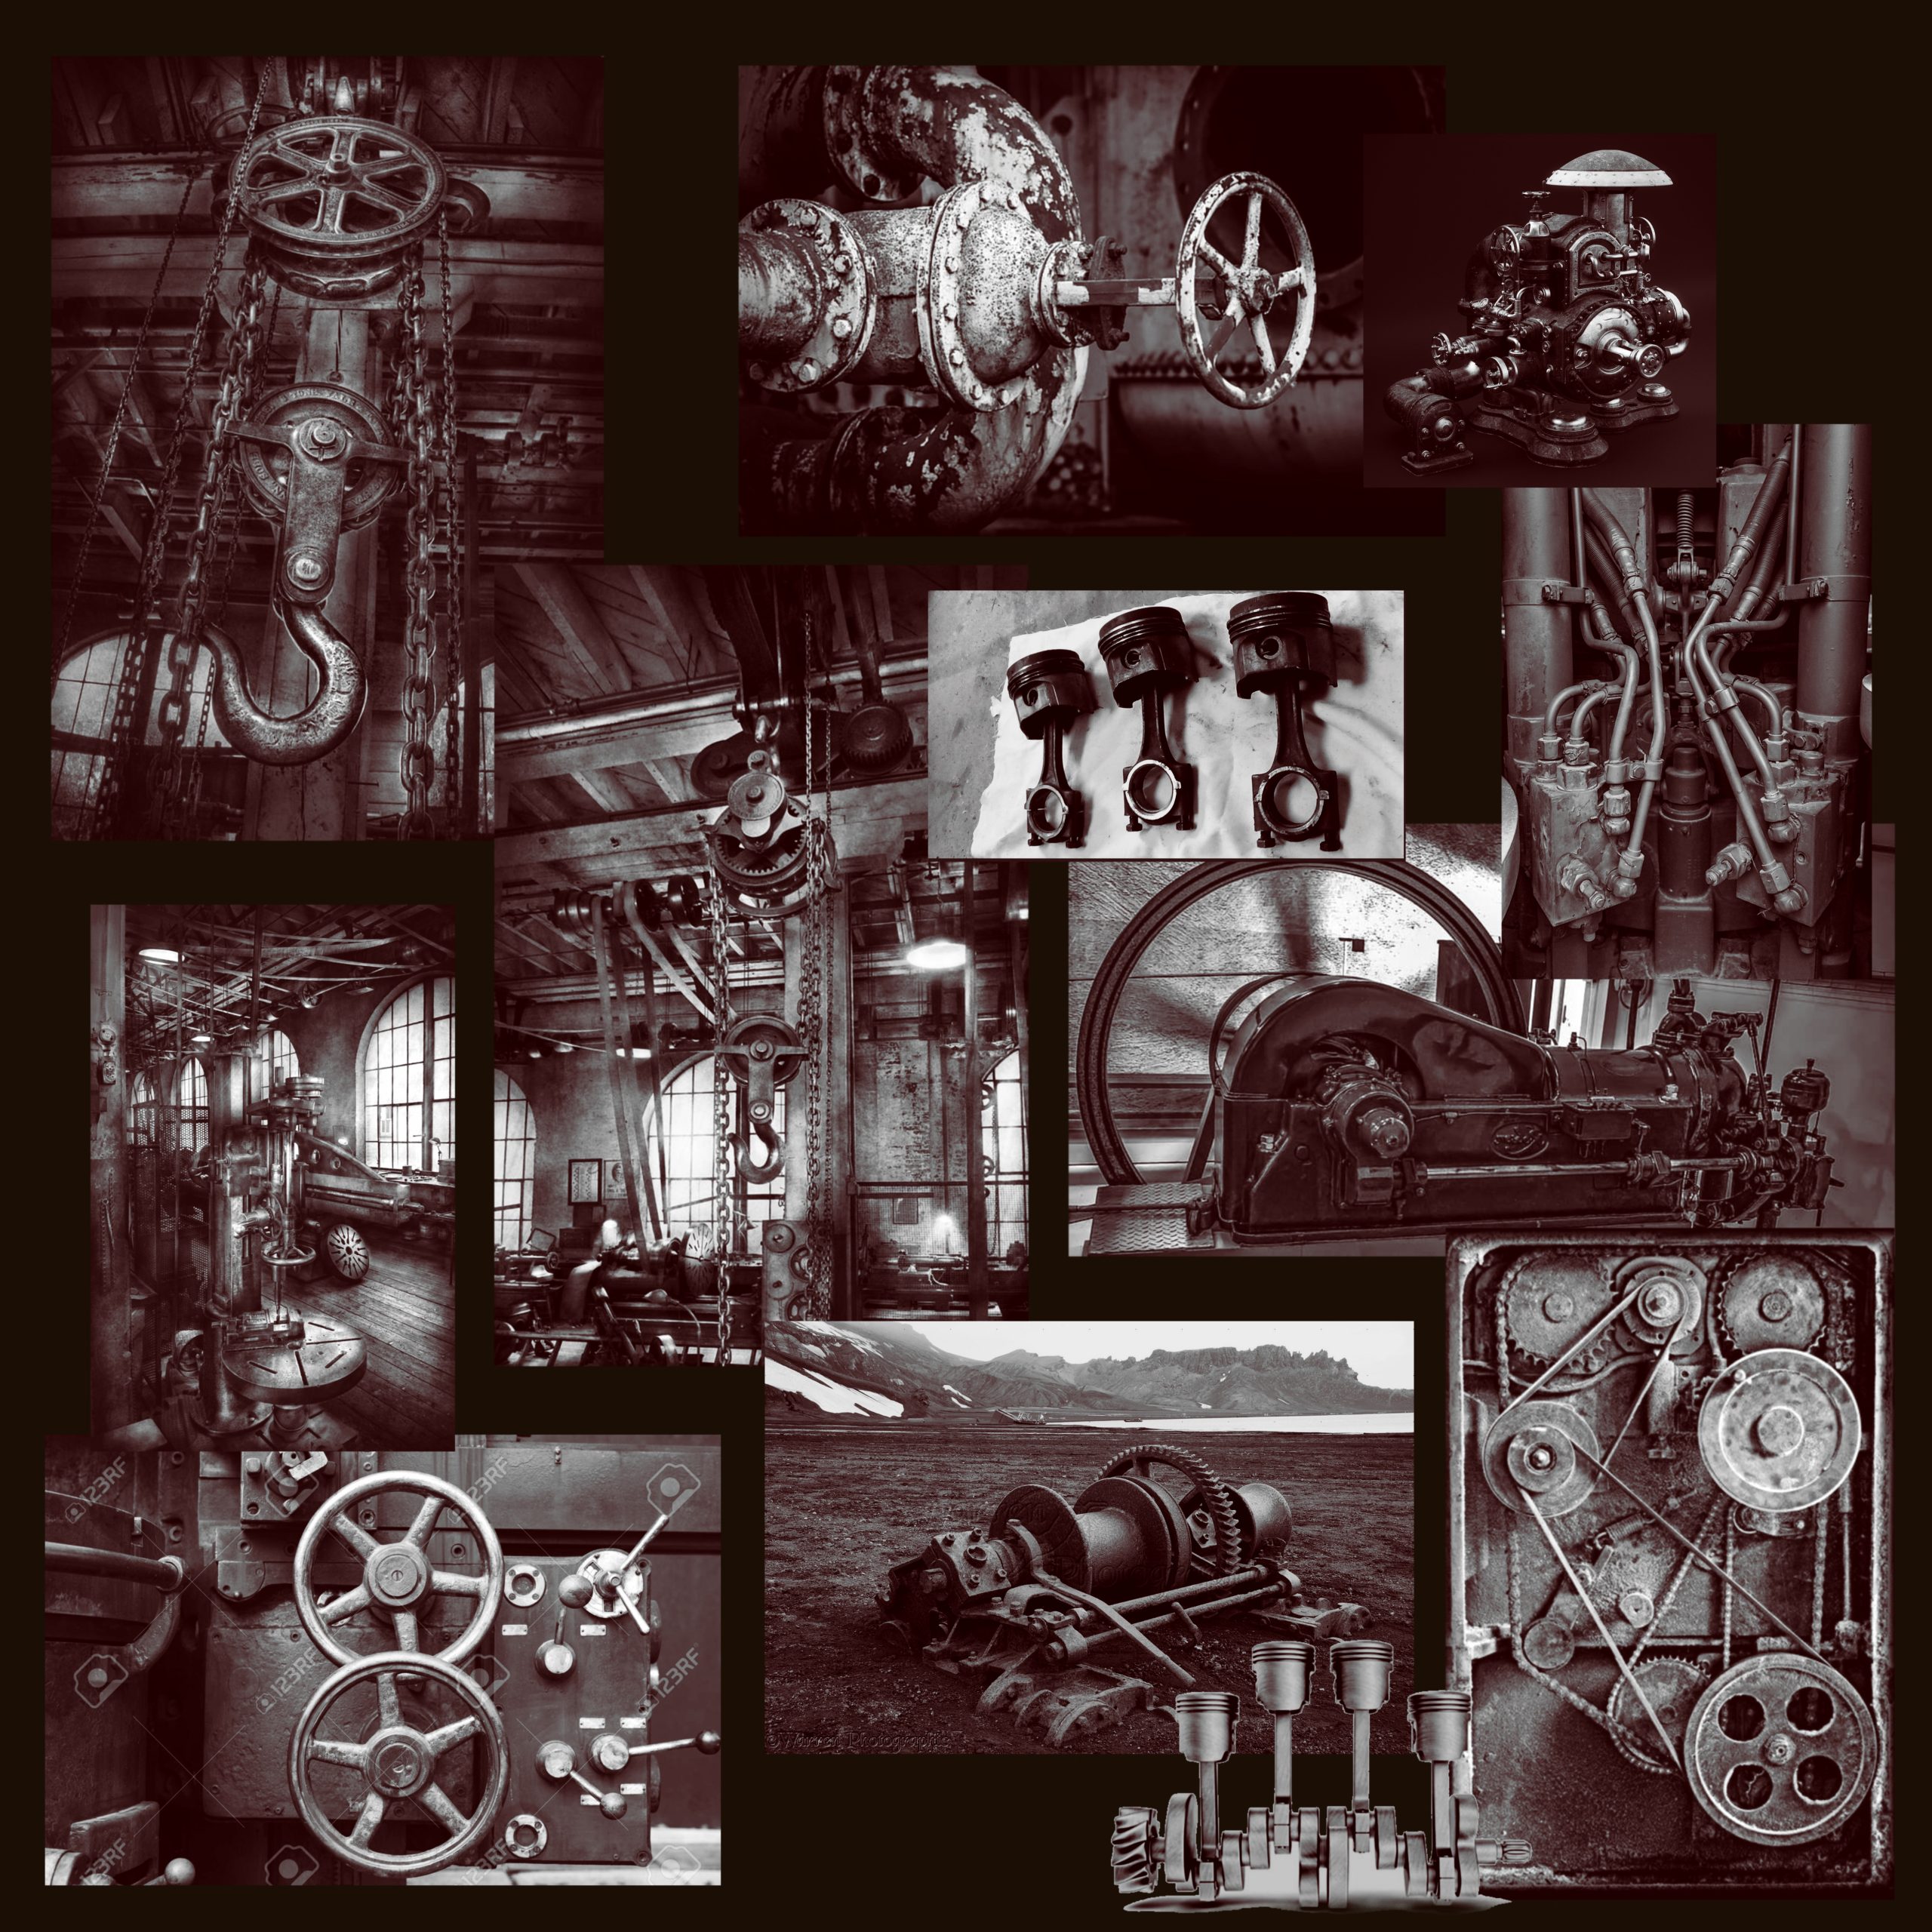
1 Idea Development – Mood boards
To visualise and develop an understanding of the element I was asked to produce I went ahead and researched different machines and made a few mood boards of the ideas I liked the most.

Idea Development – Design
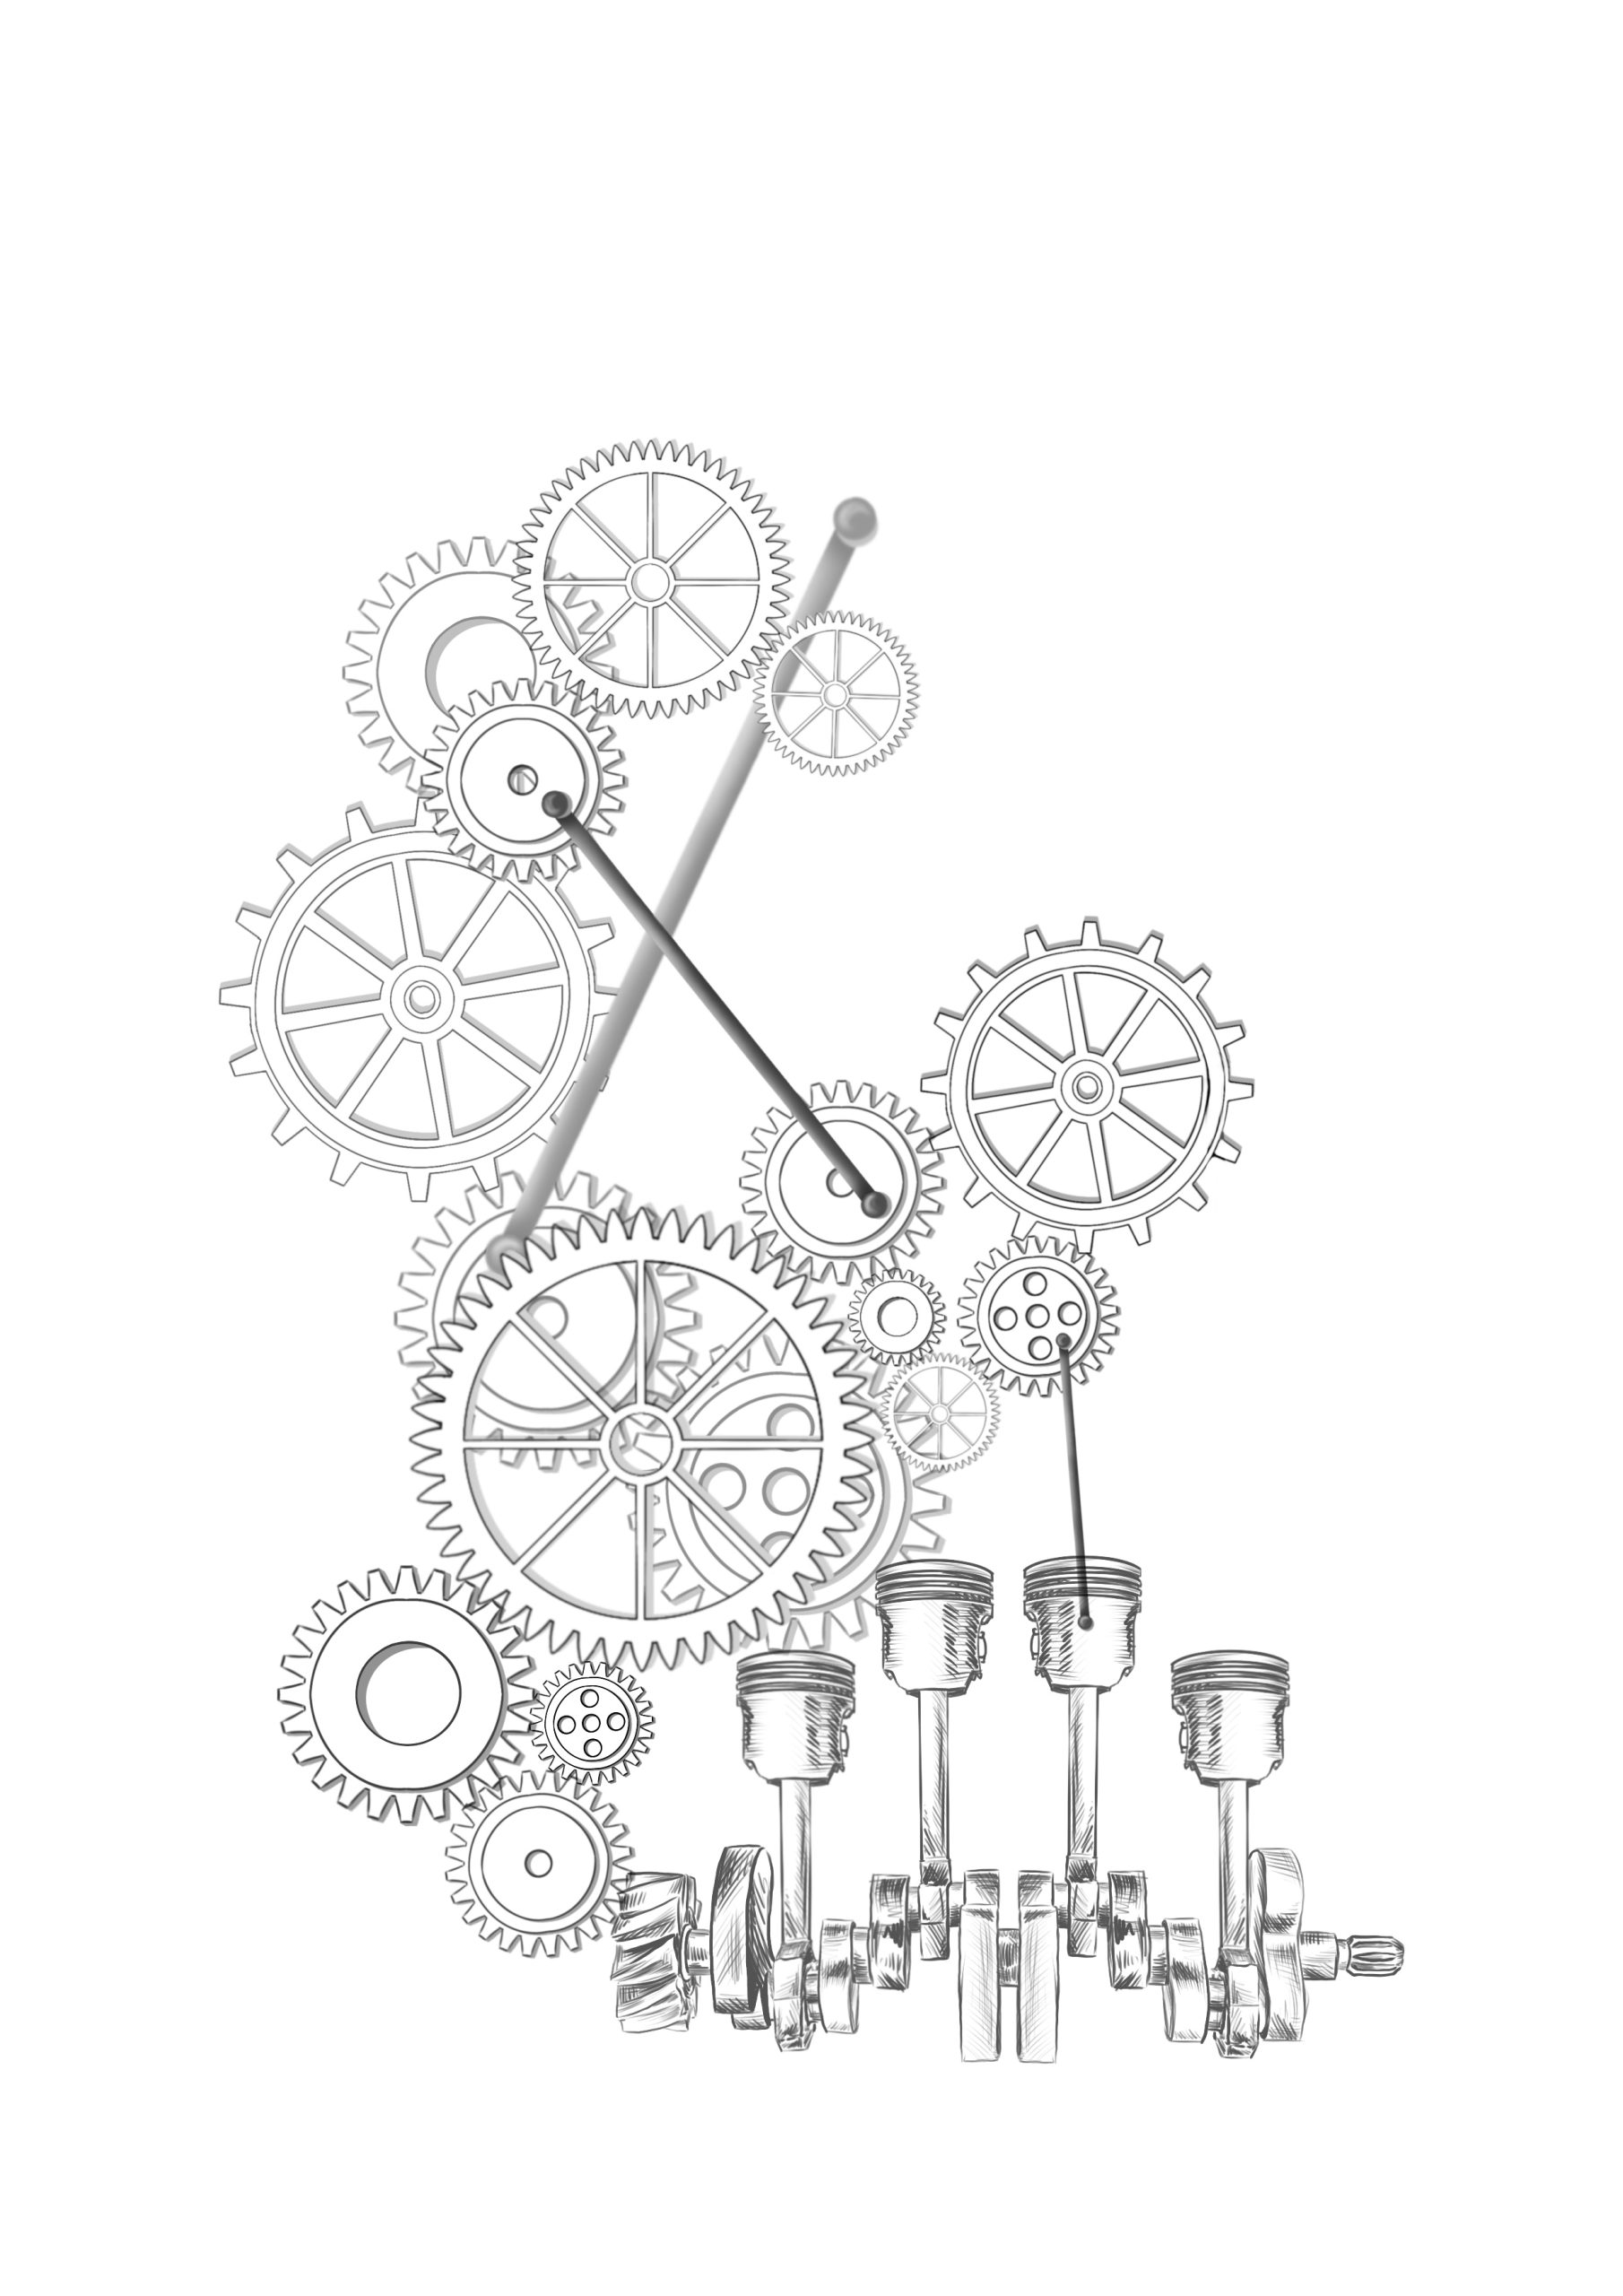
The next stage was to have a go at sketching some stuff out to fully realise the main idea witch which I decided to work.
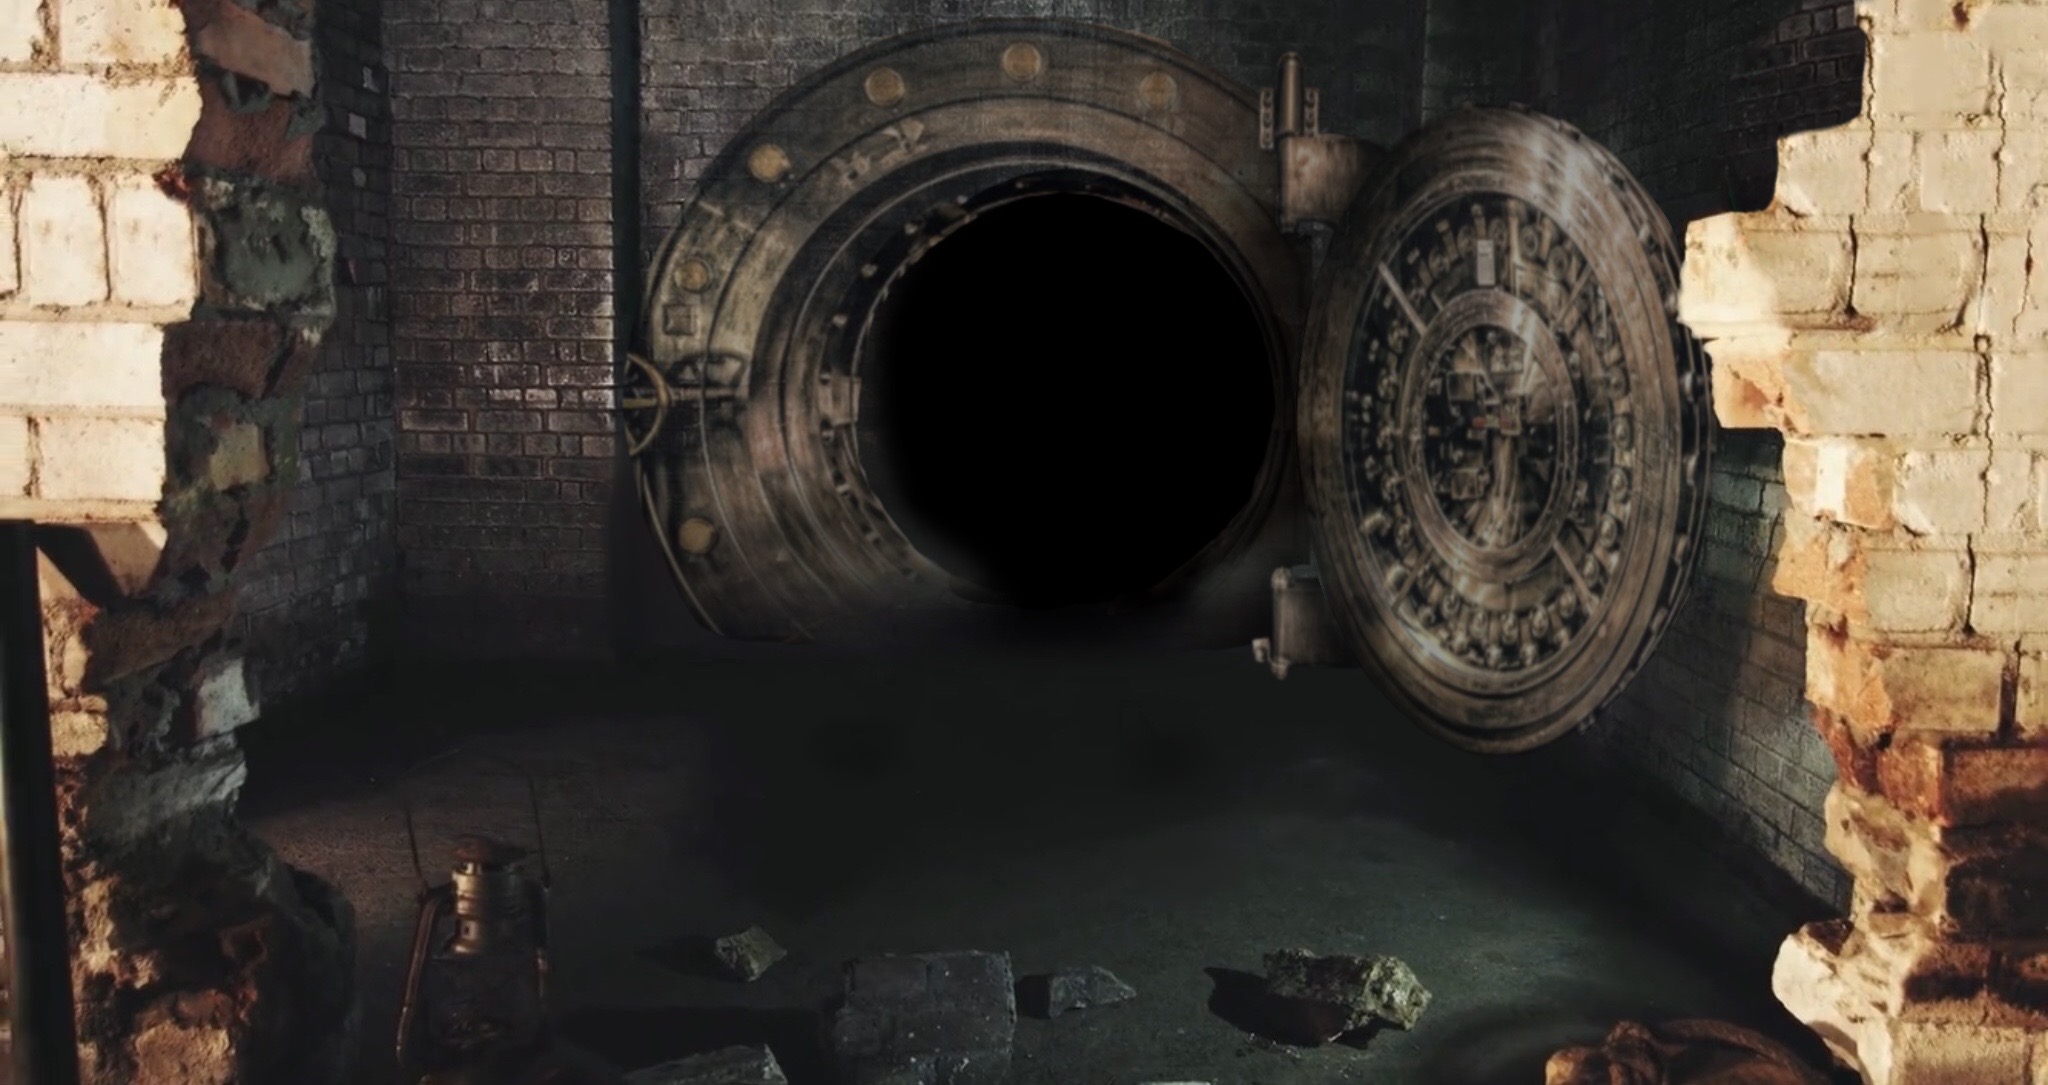
In this case I have decided to make a vault door witch mechanical elements in the further room and additional machines with belts going up and across the ceiling in the first room as I felt it will look too empty if only the second room is filled in.
2 Progress
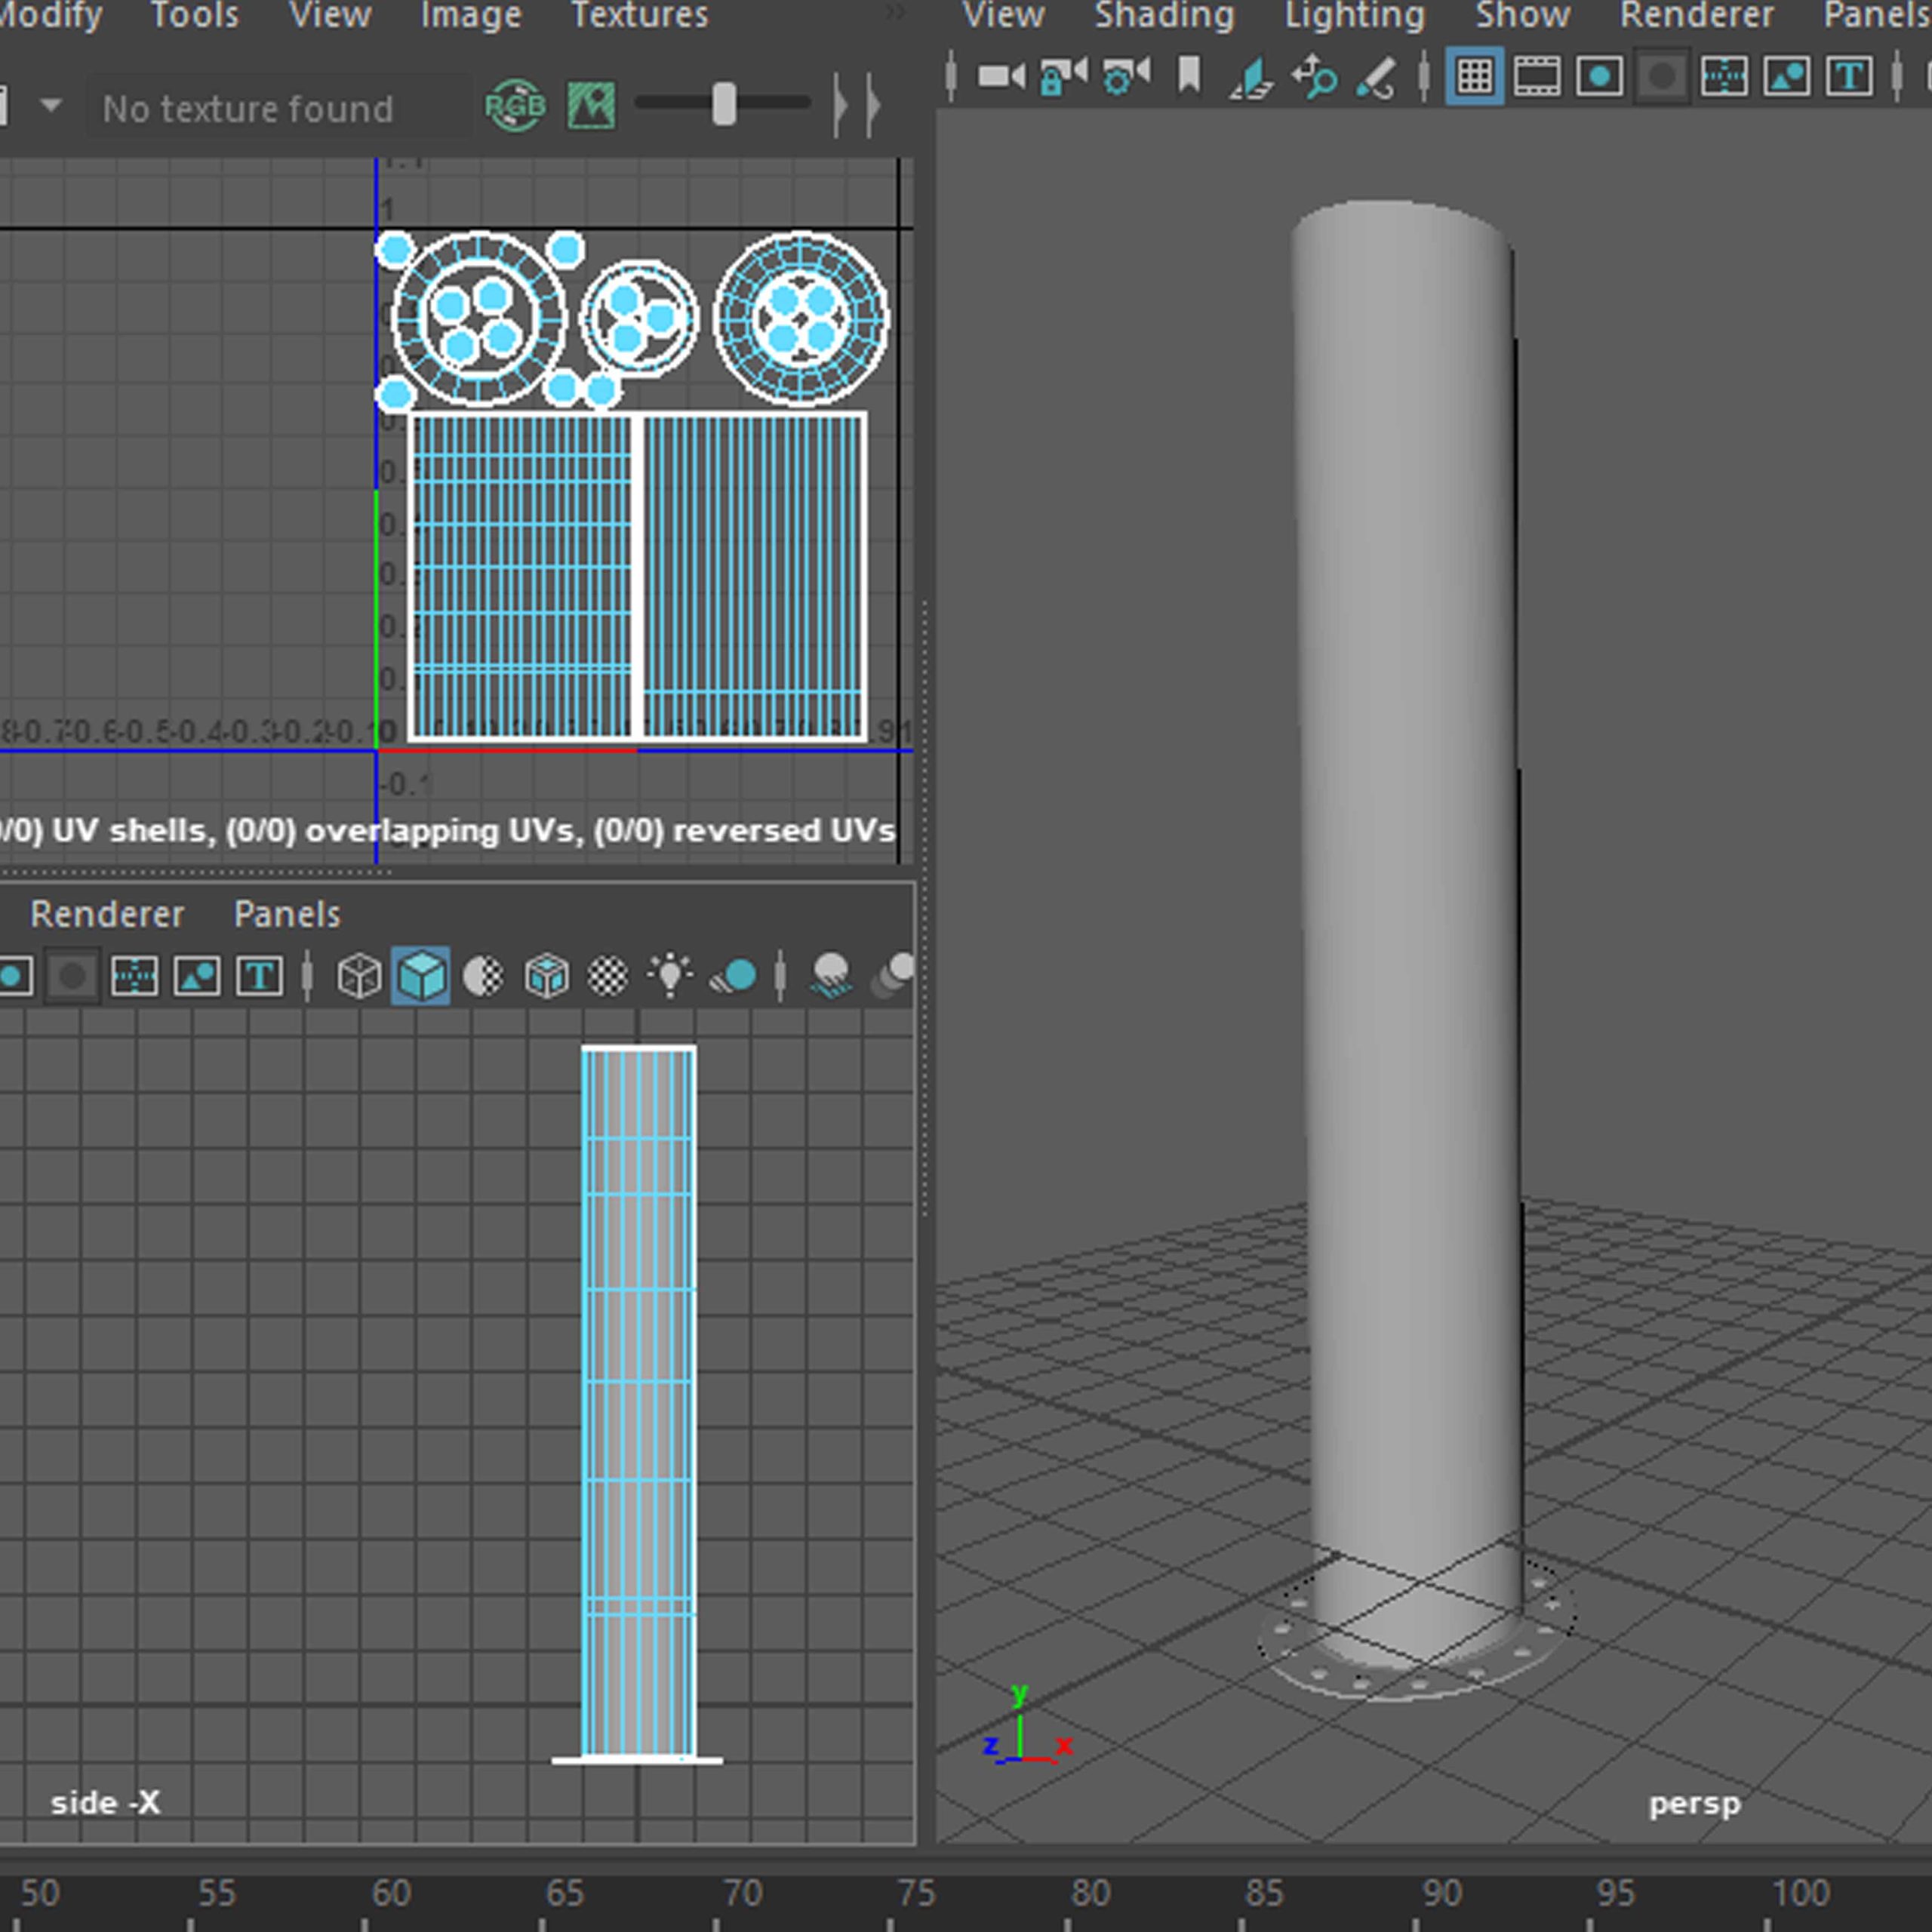
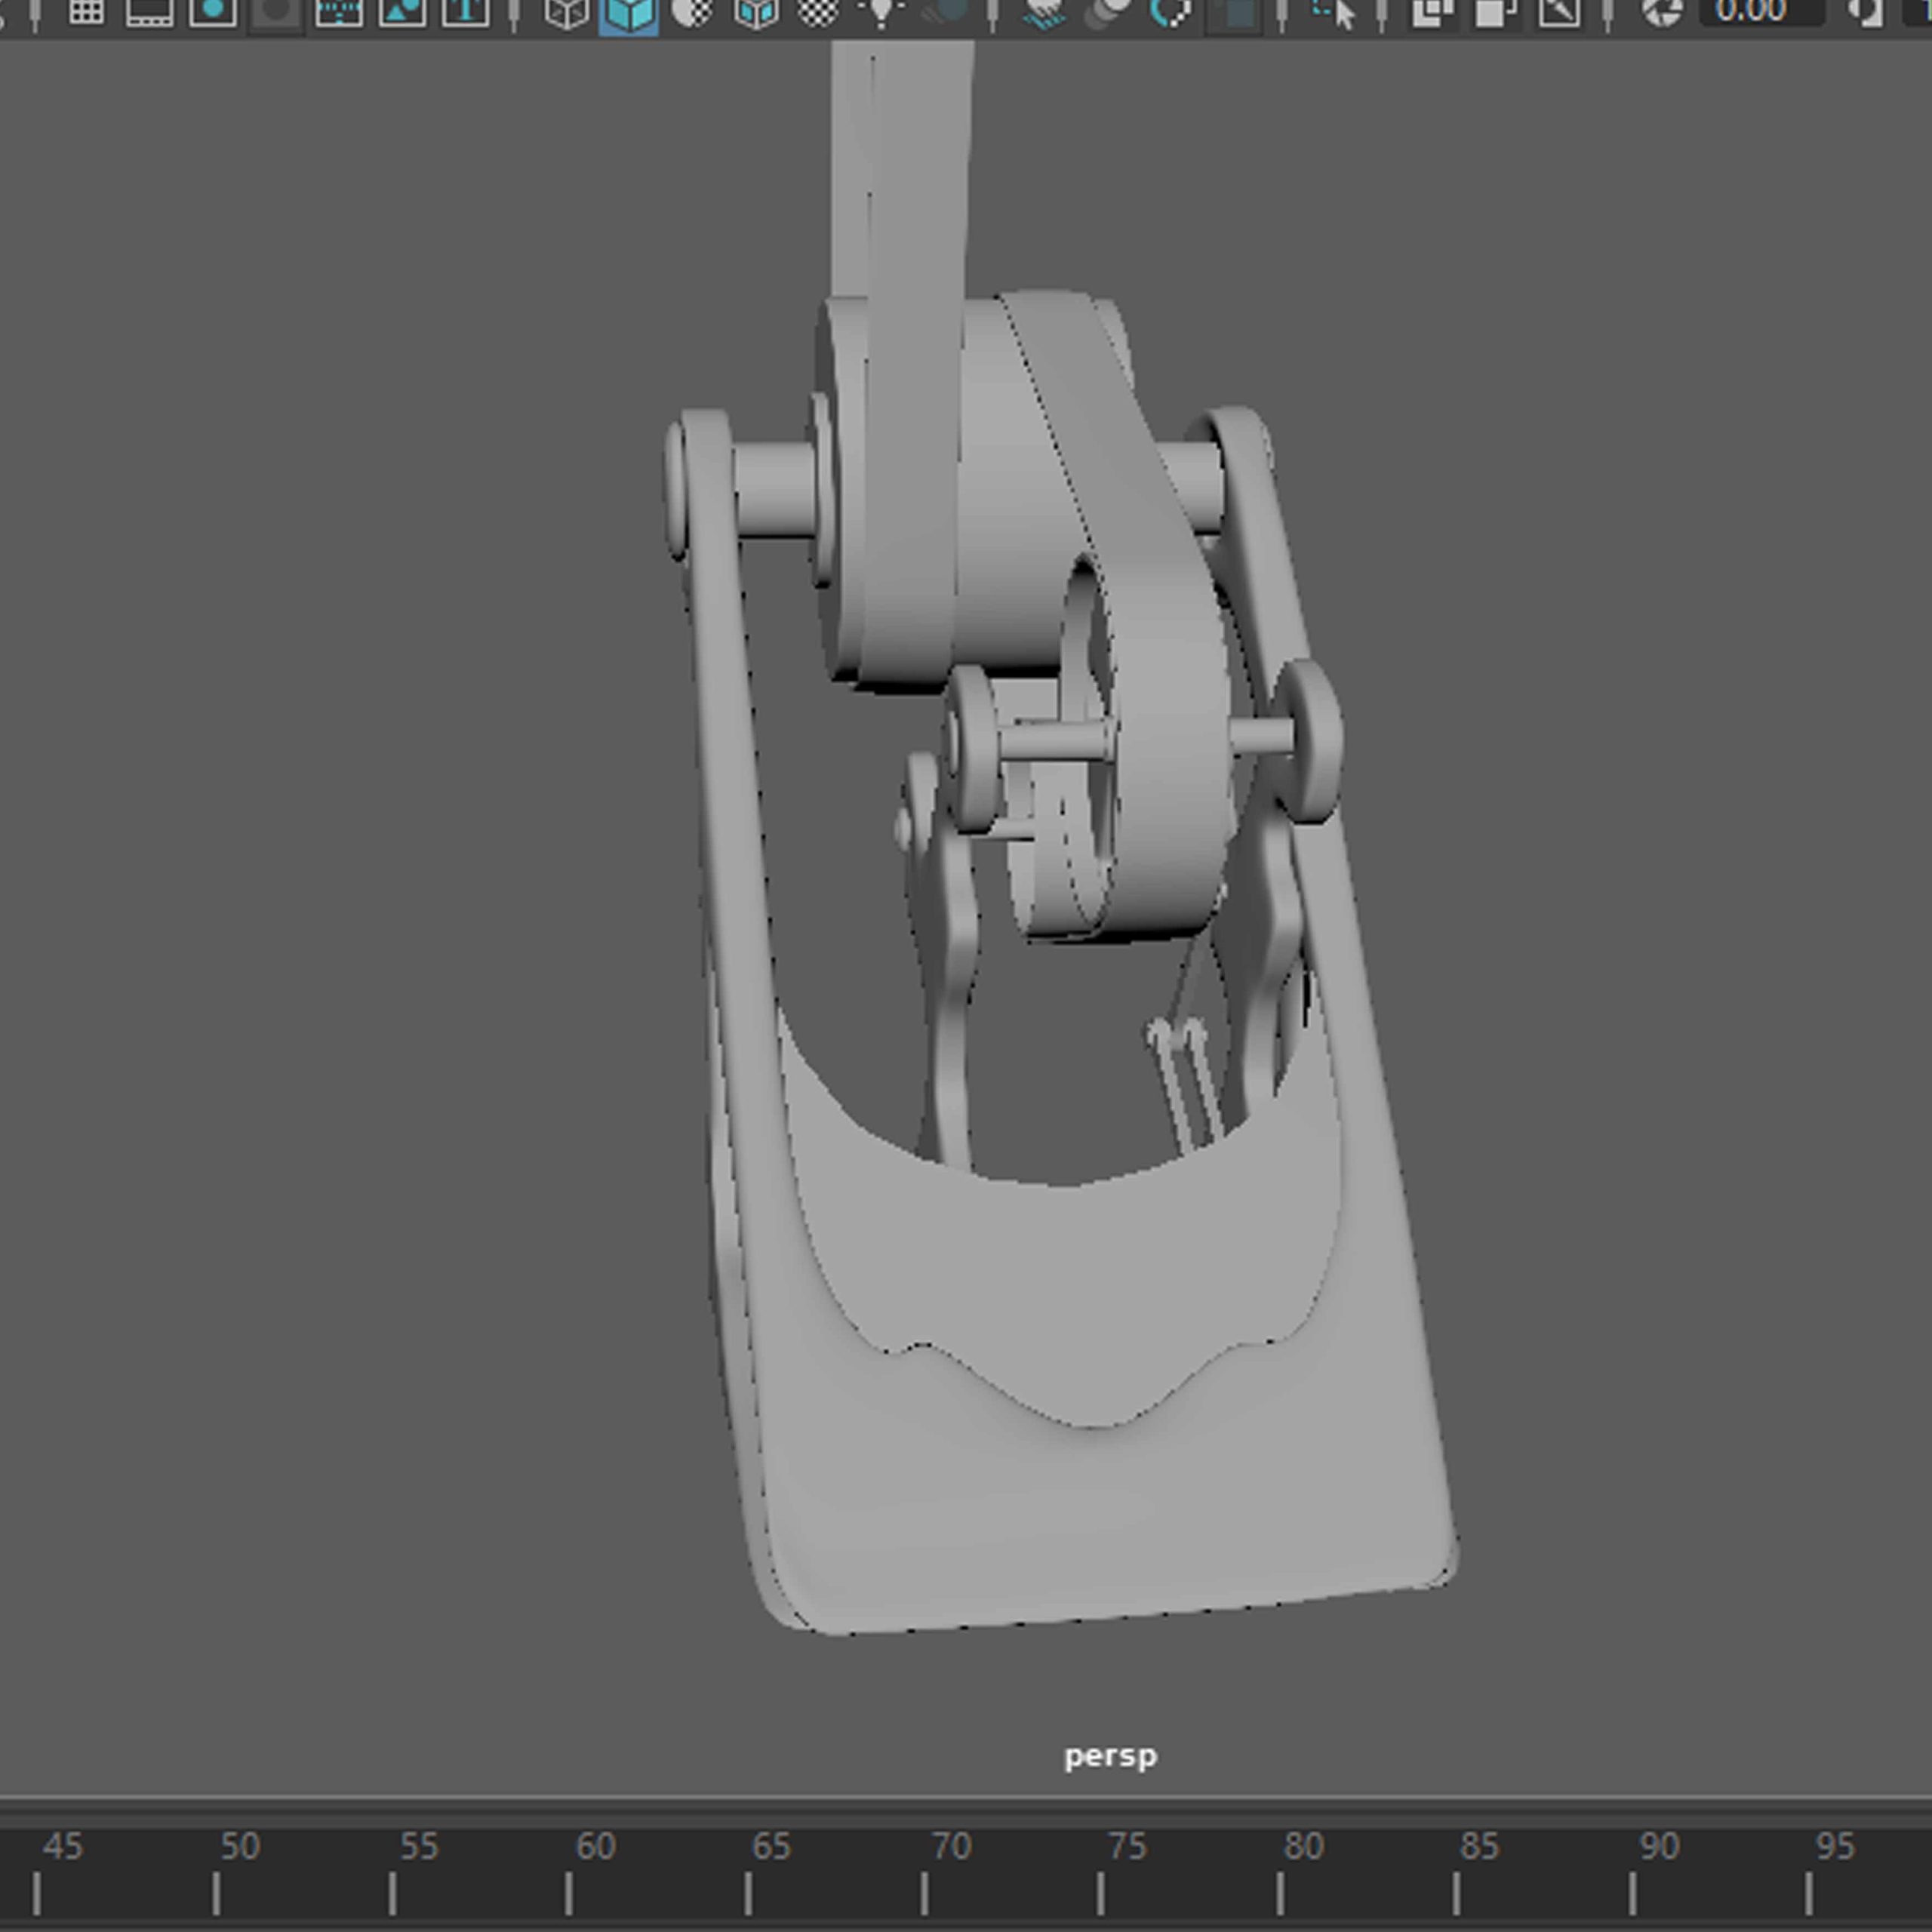
Modelling
IU have started with modelling all the elements I knew i will be needing later on in the process, so I could eventually just take all the elements and simply assemble it in the final machine (as I had hard time actually deciding on a final design).
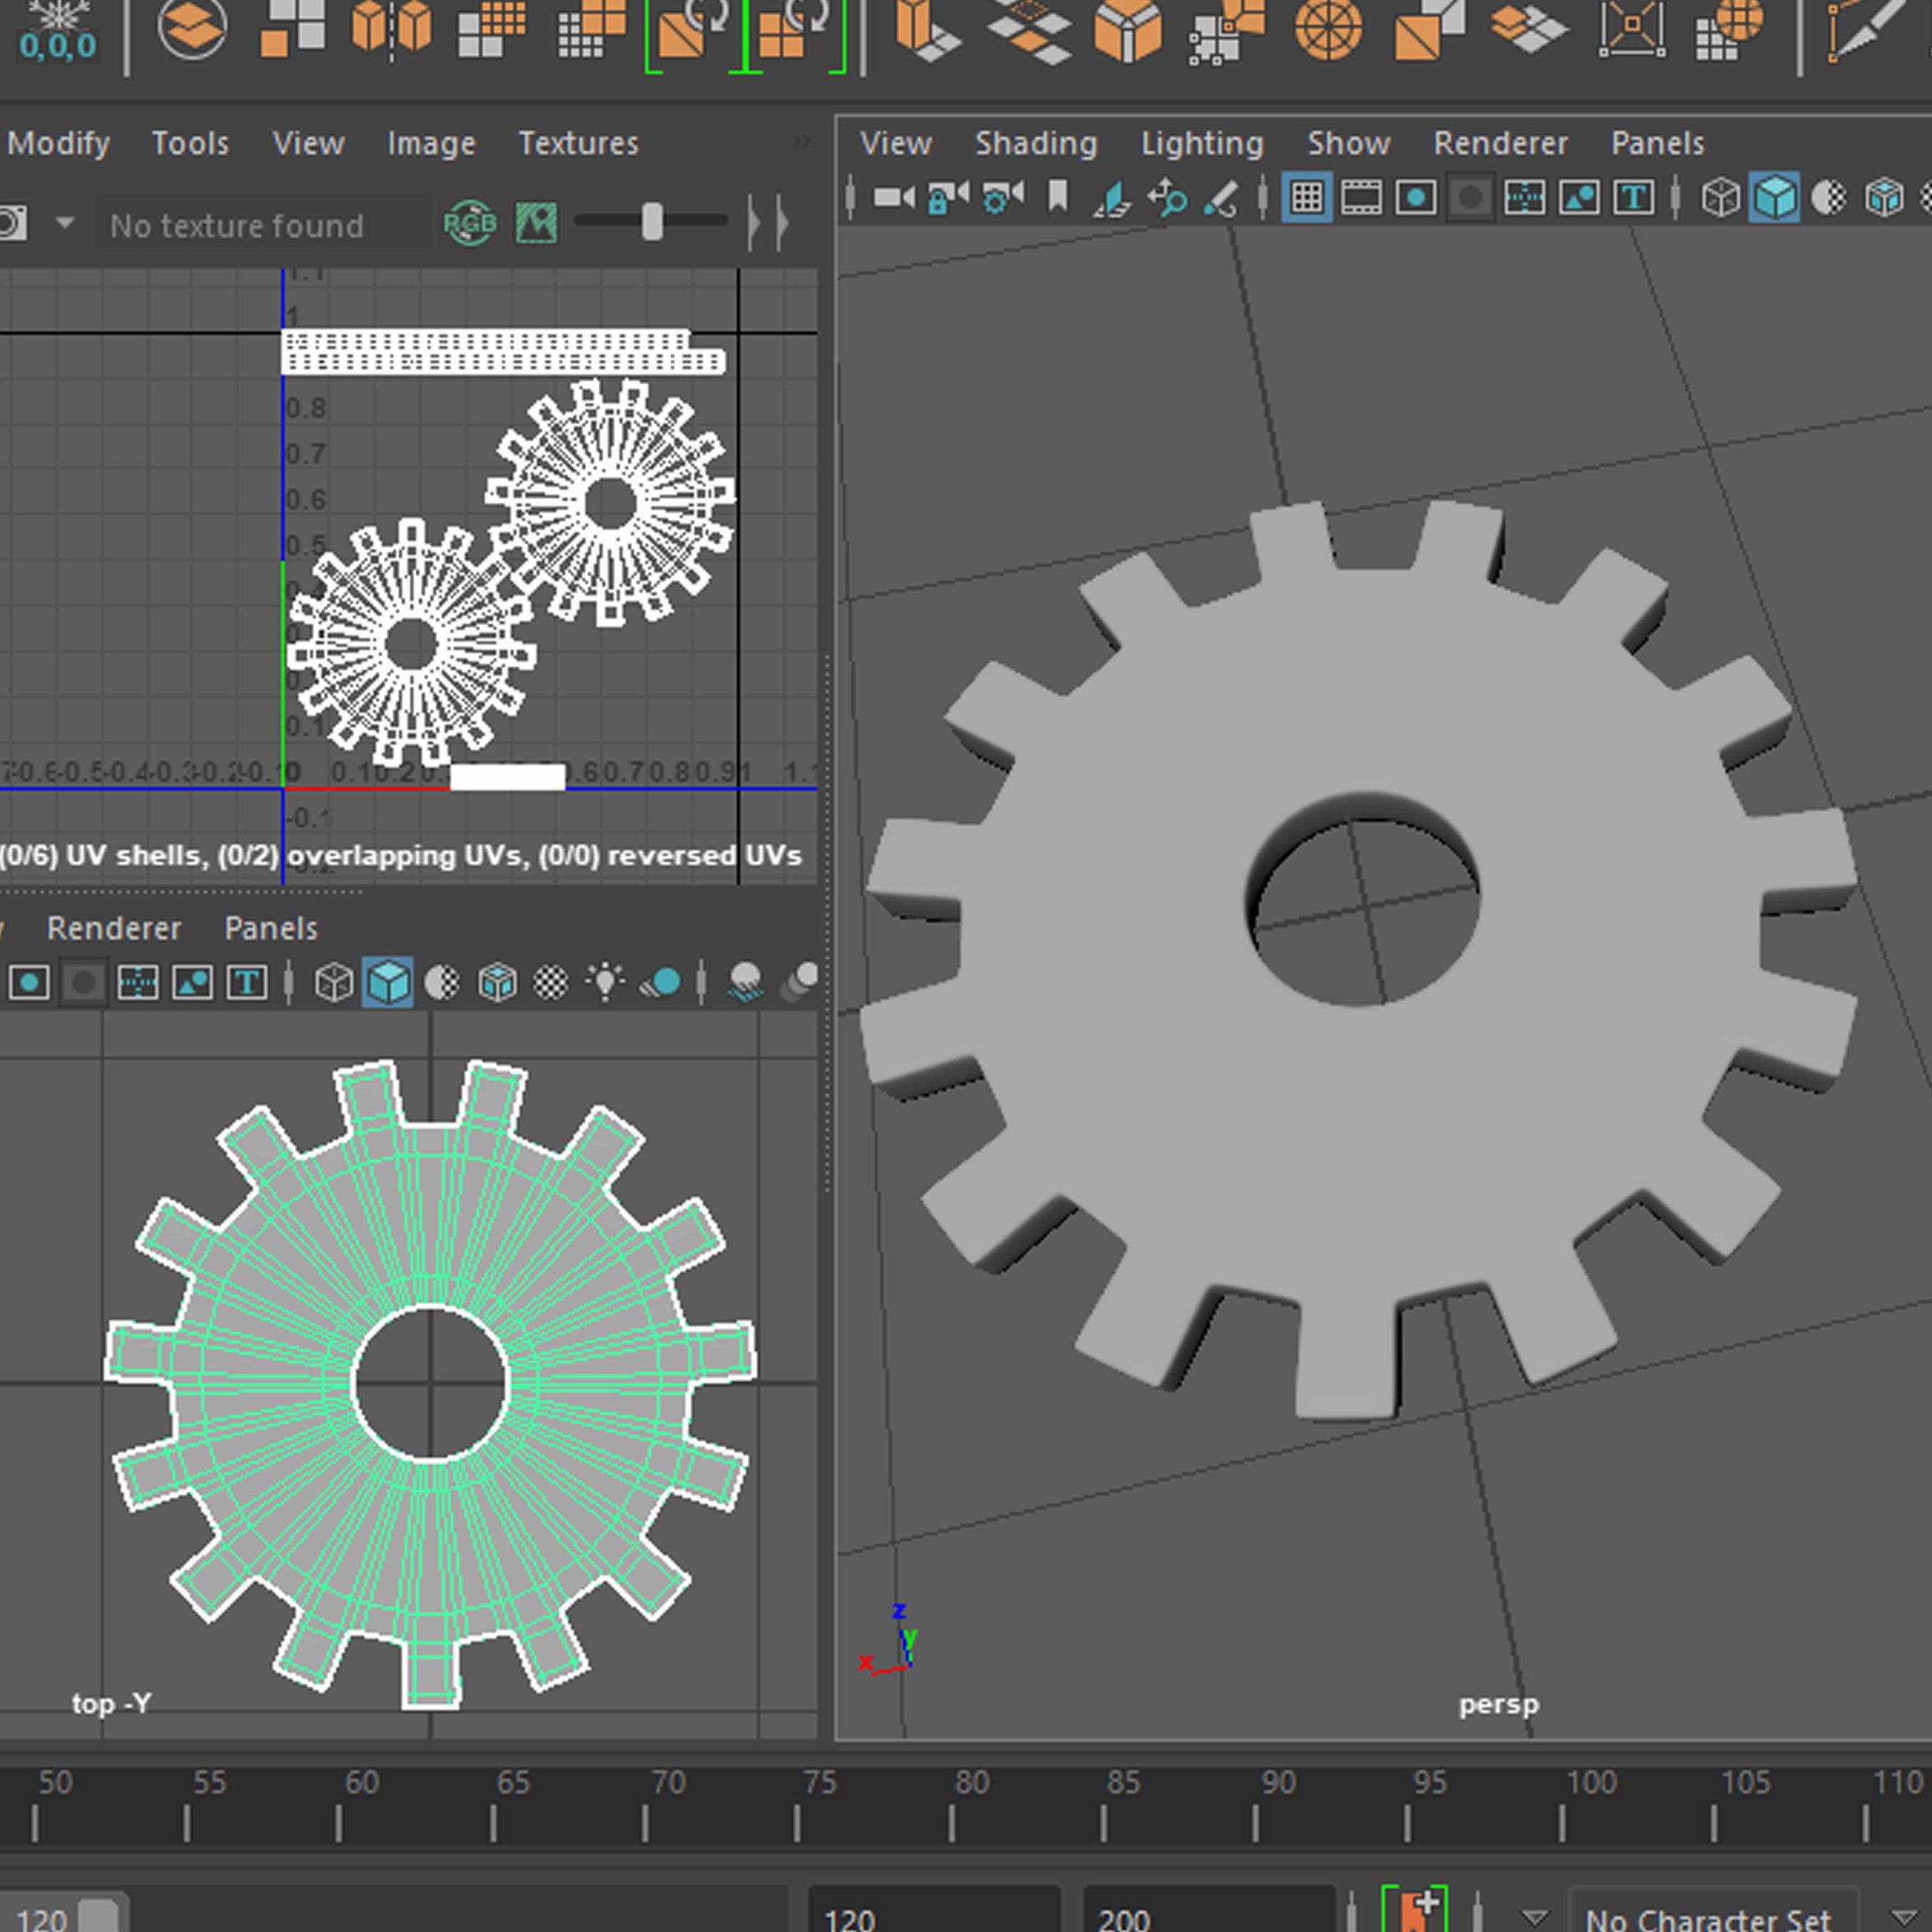
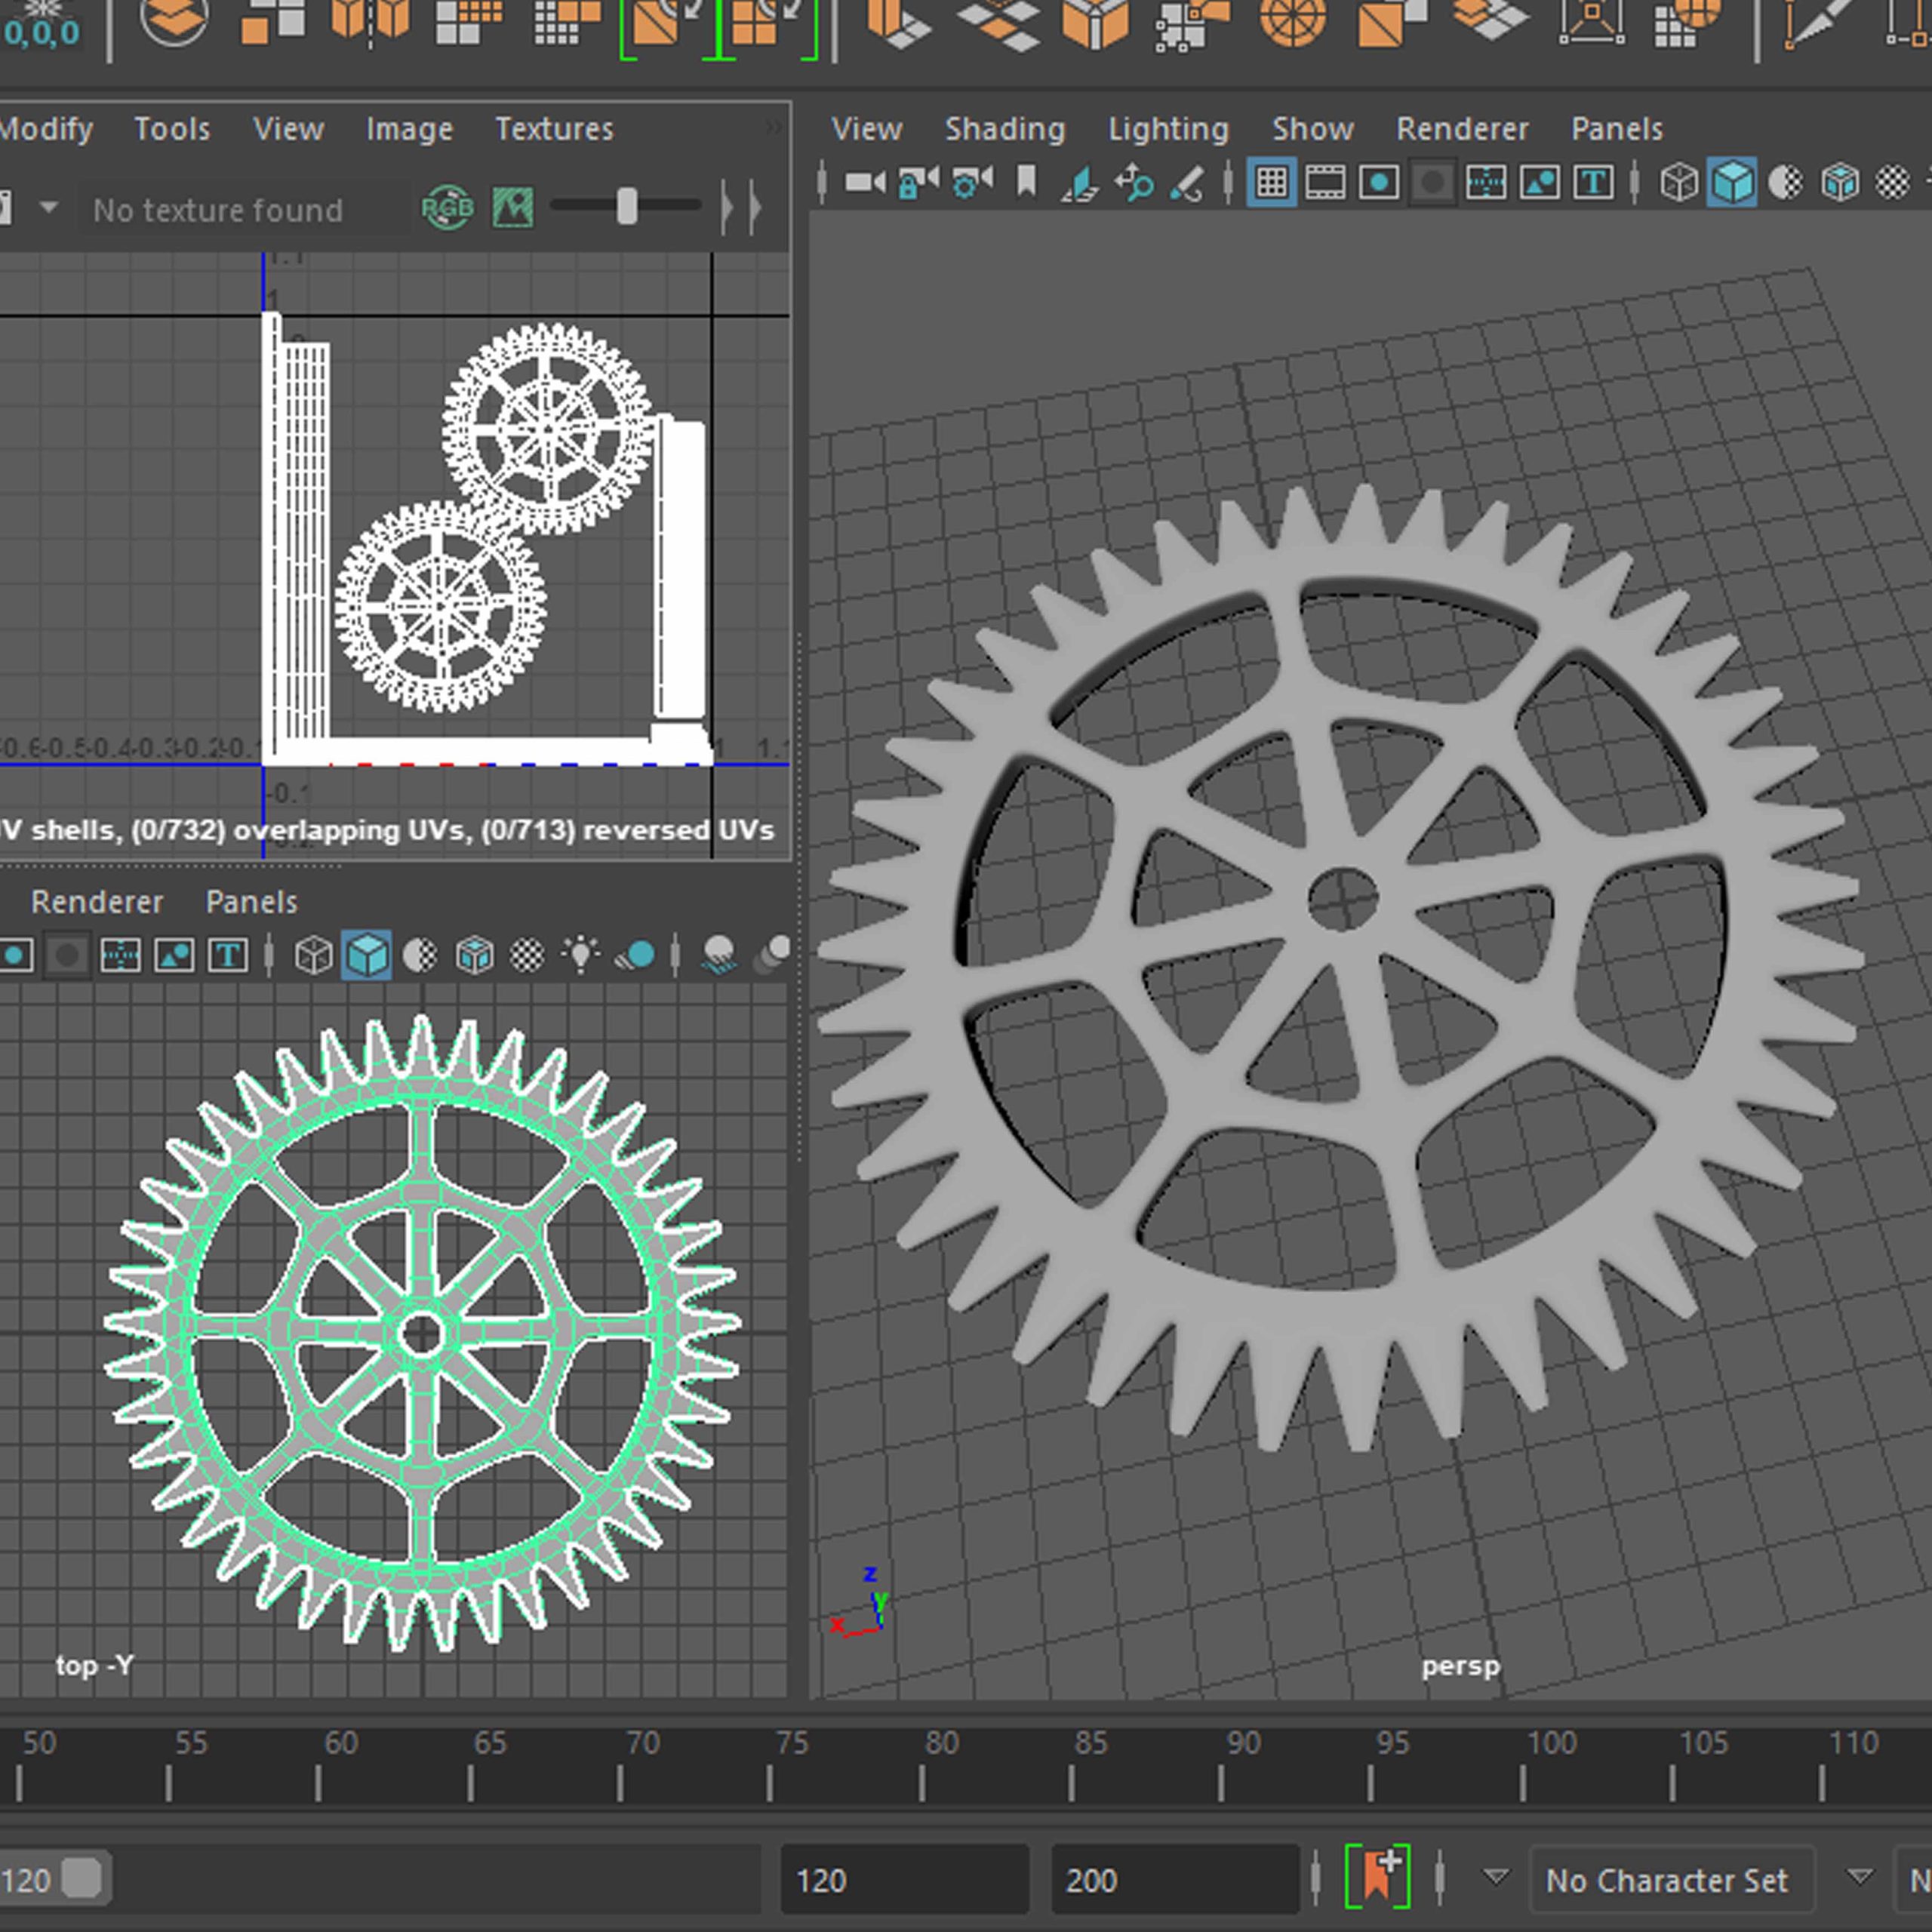
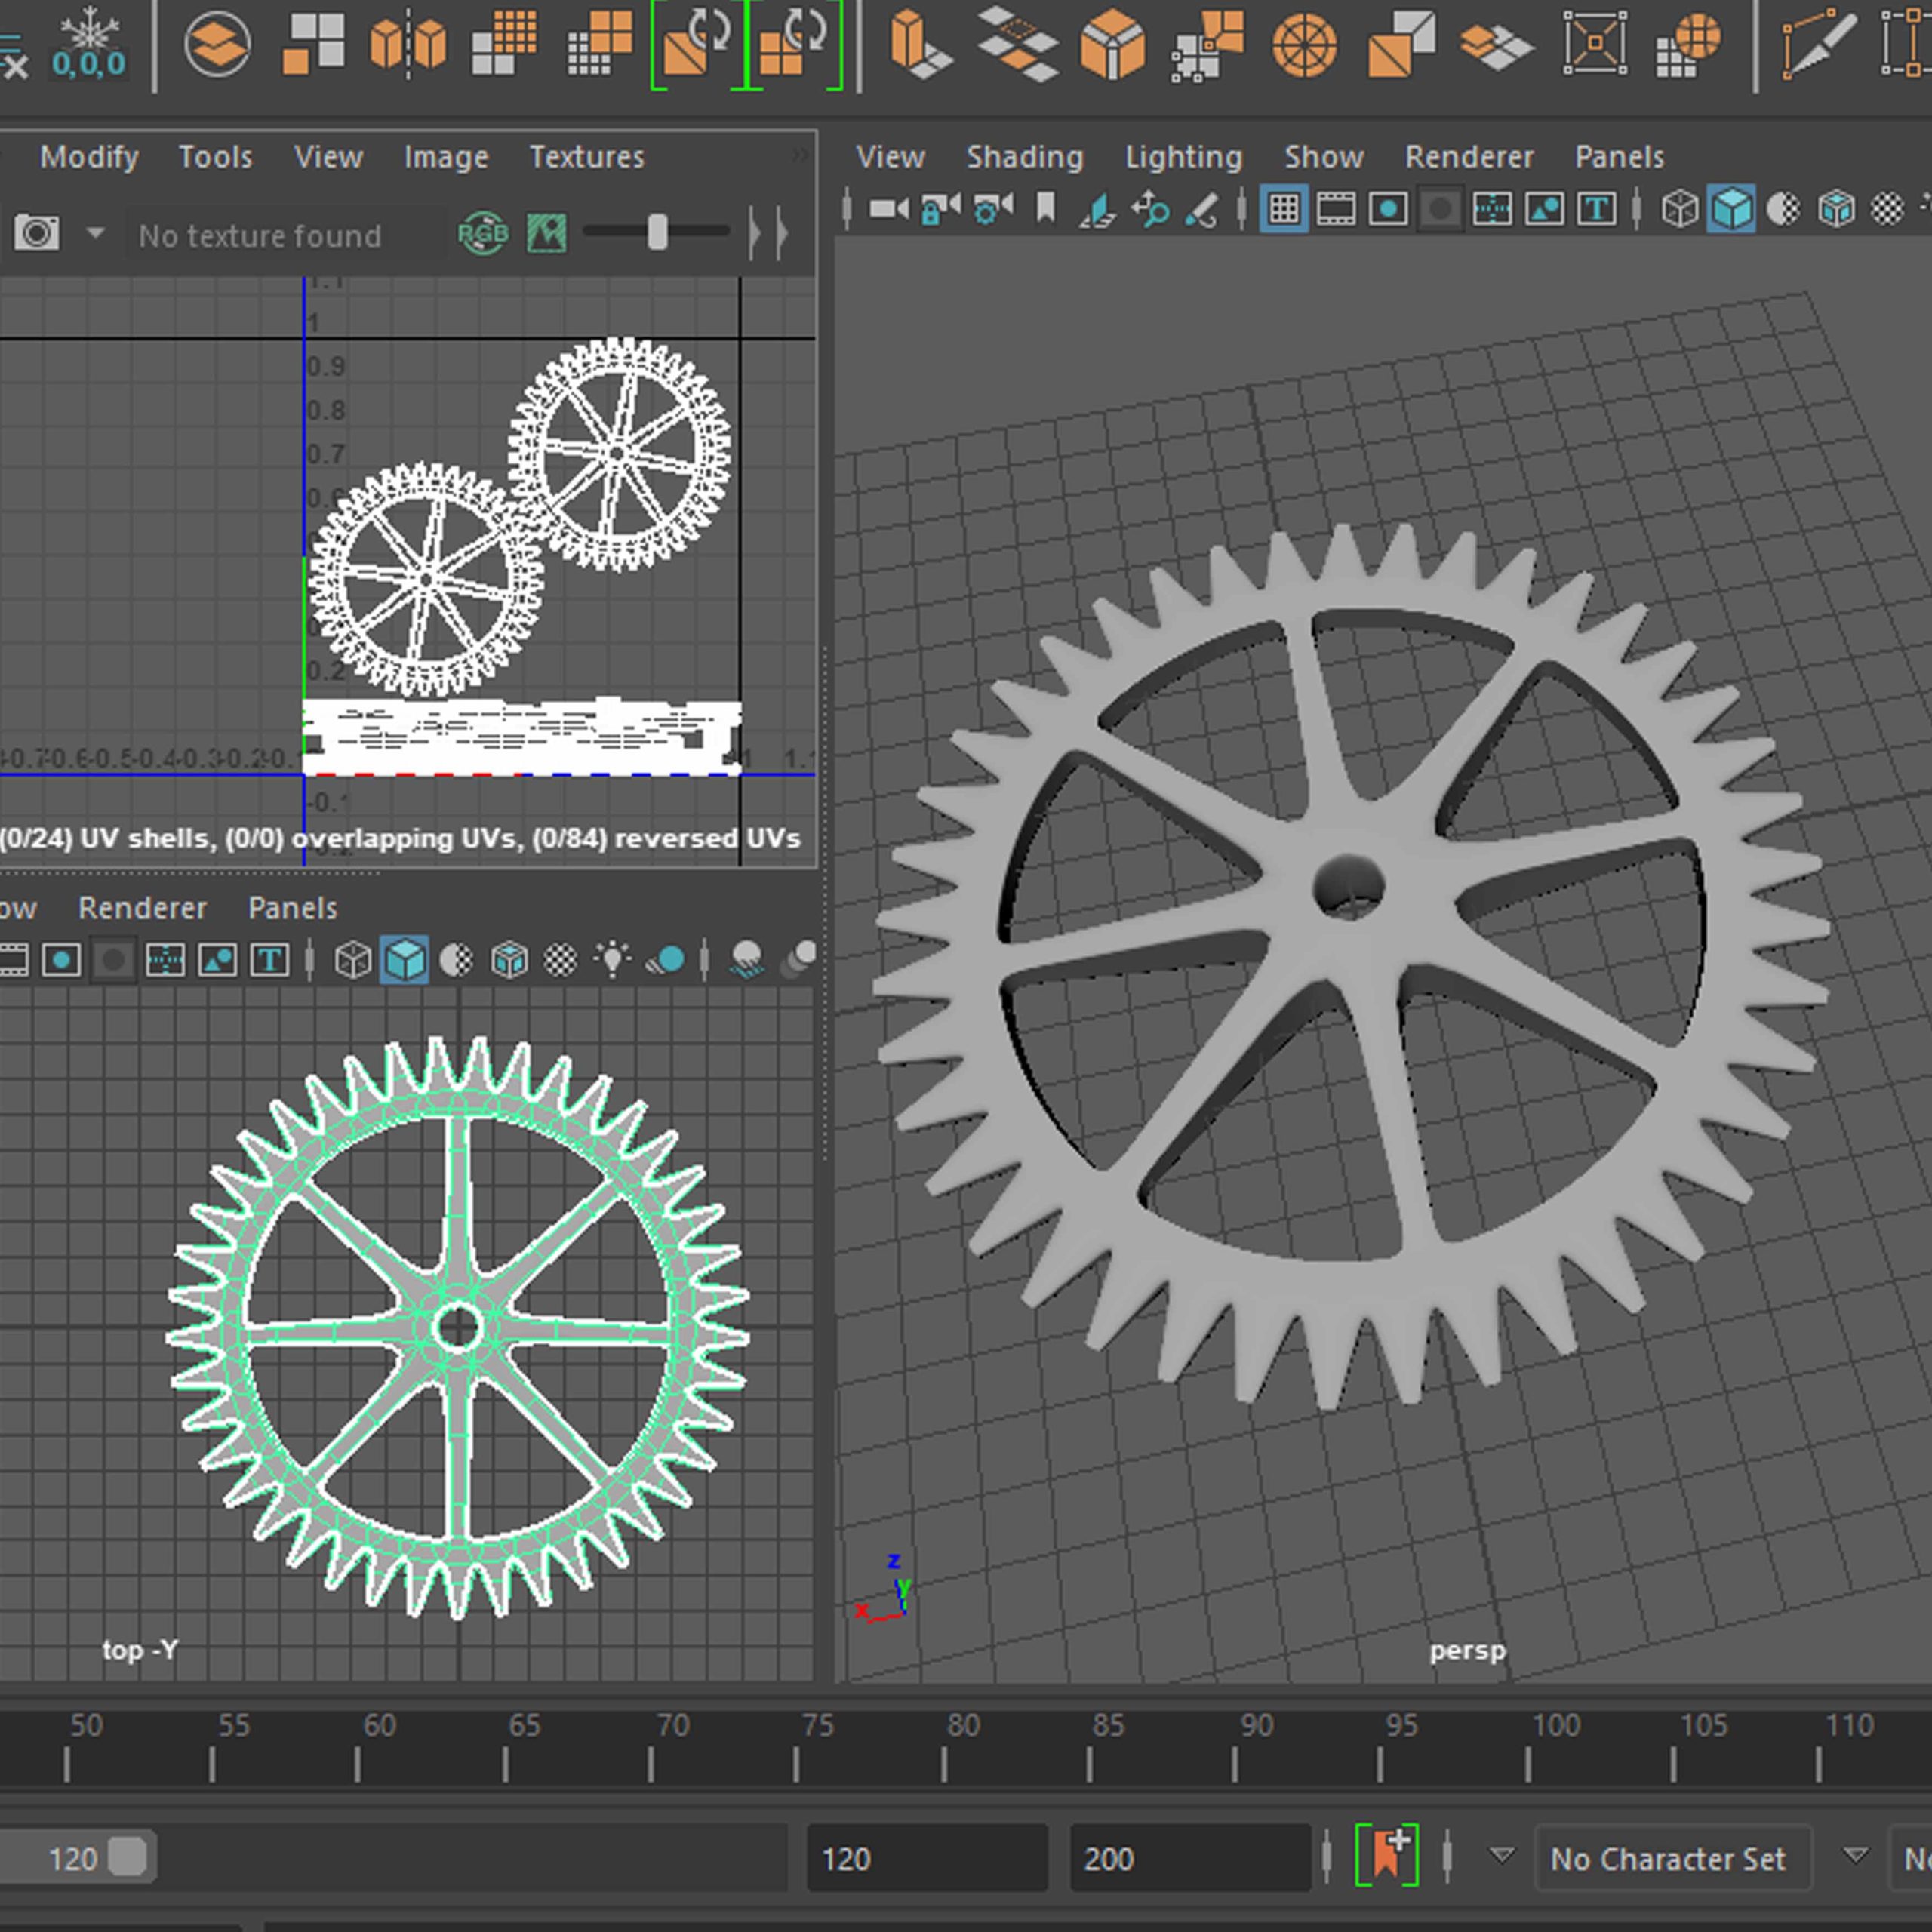
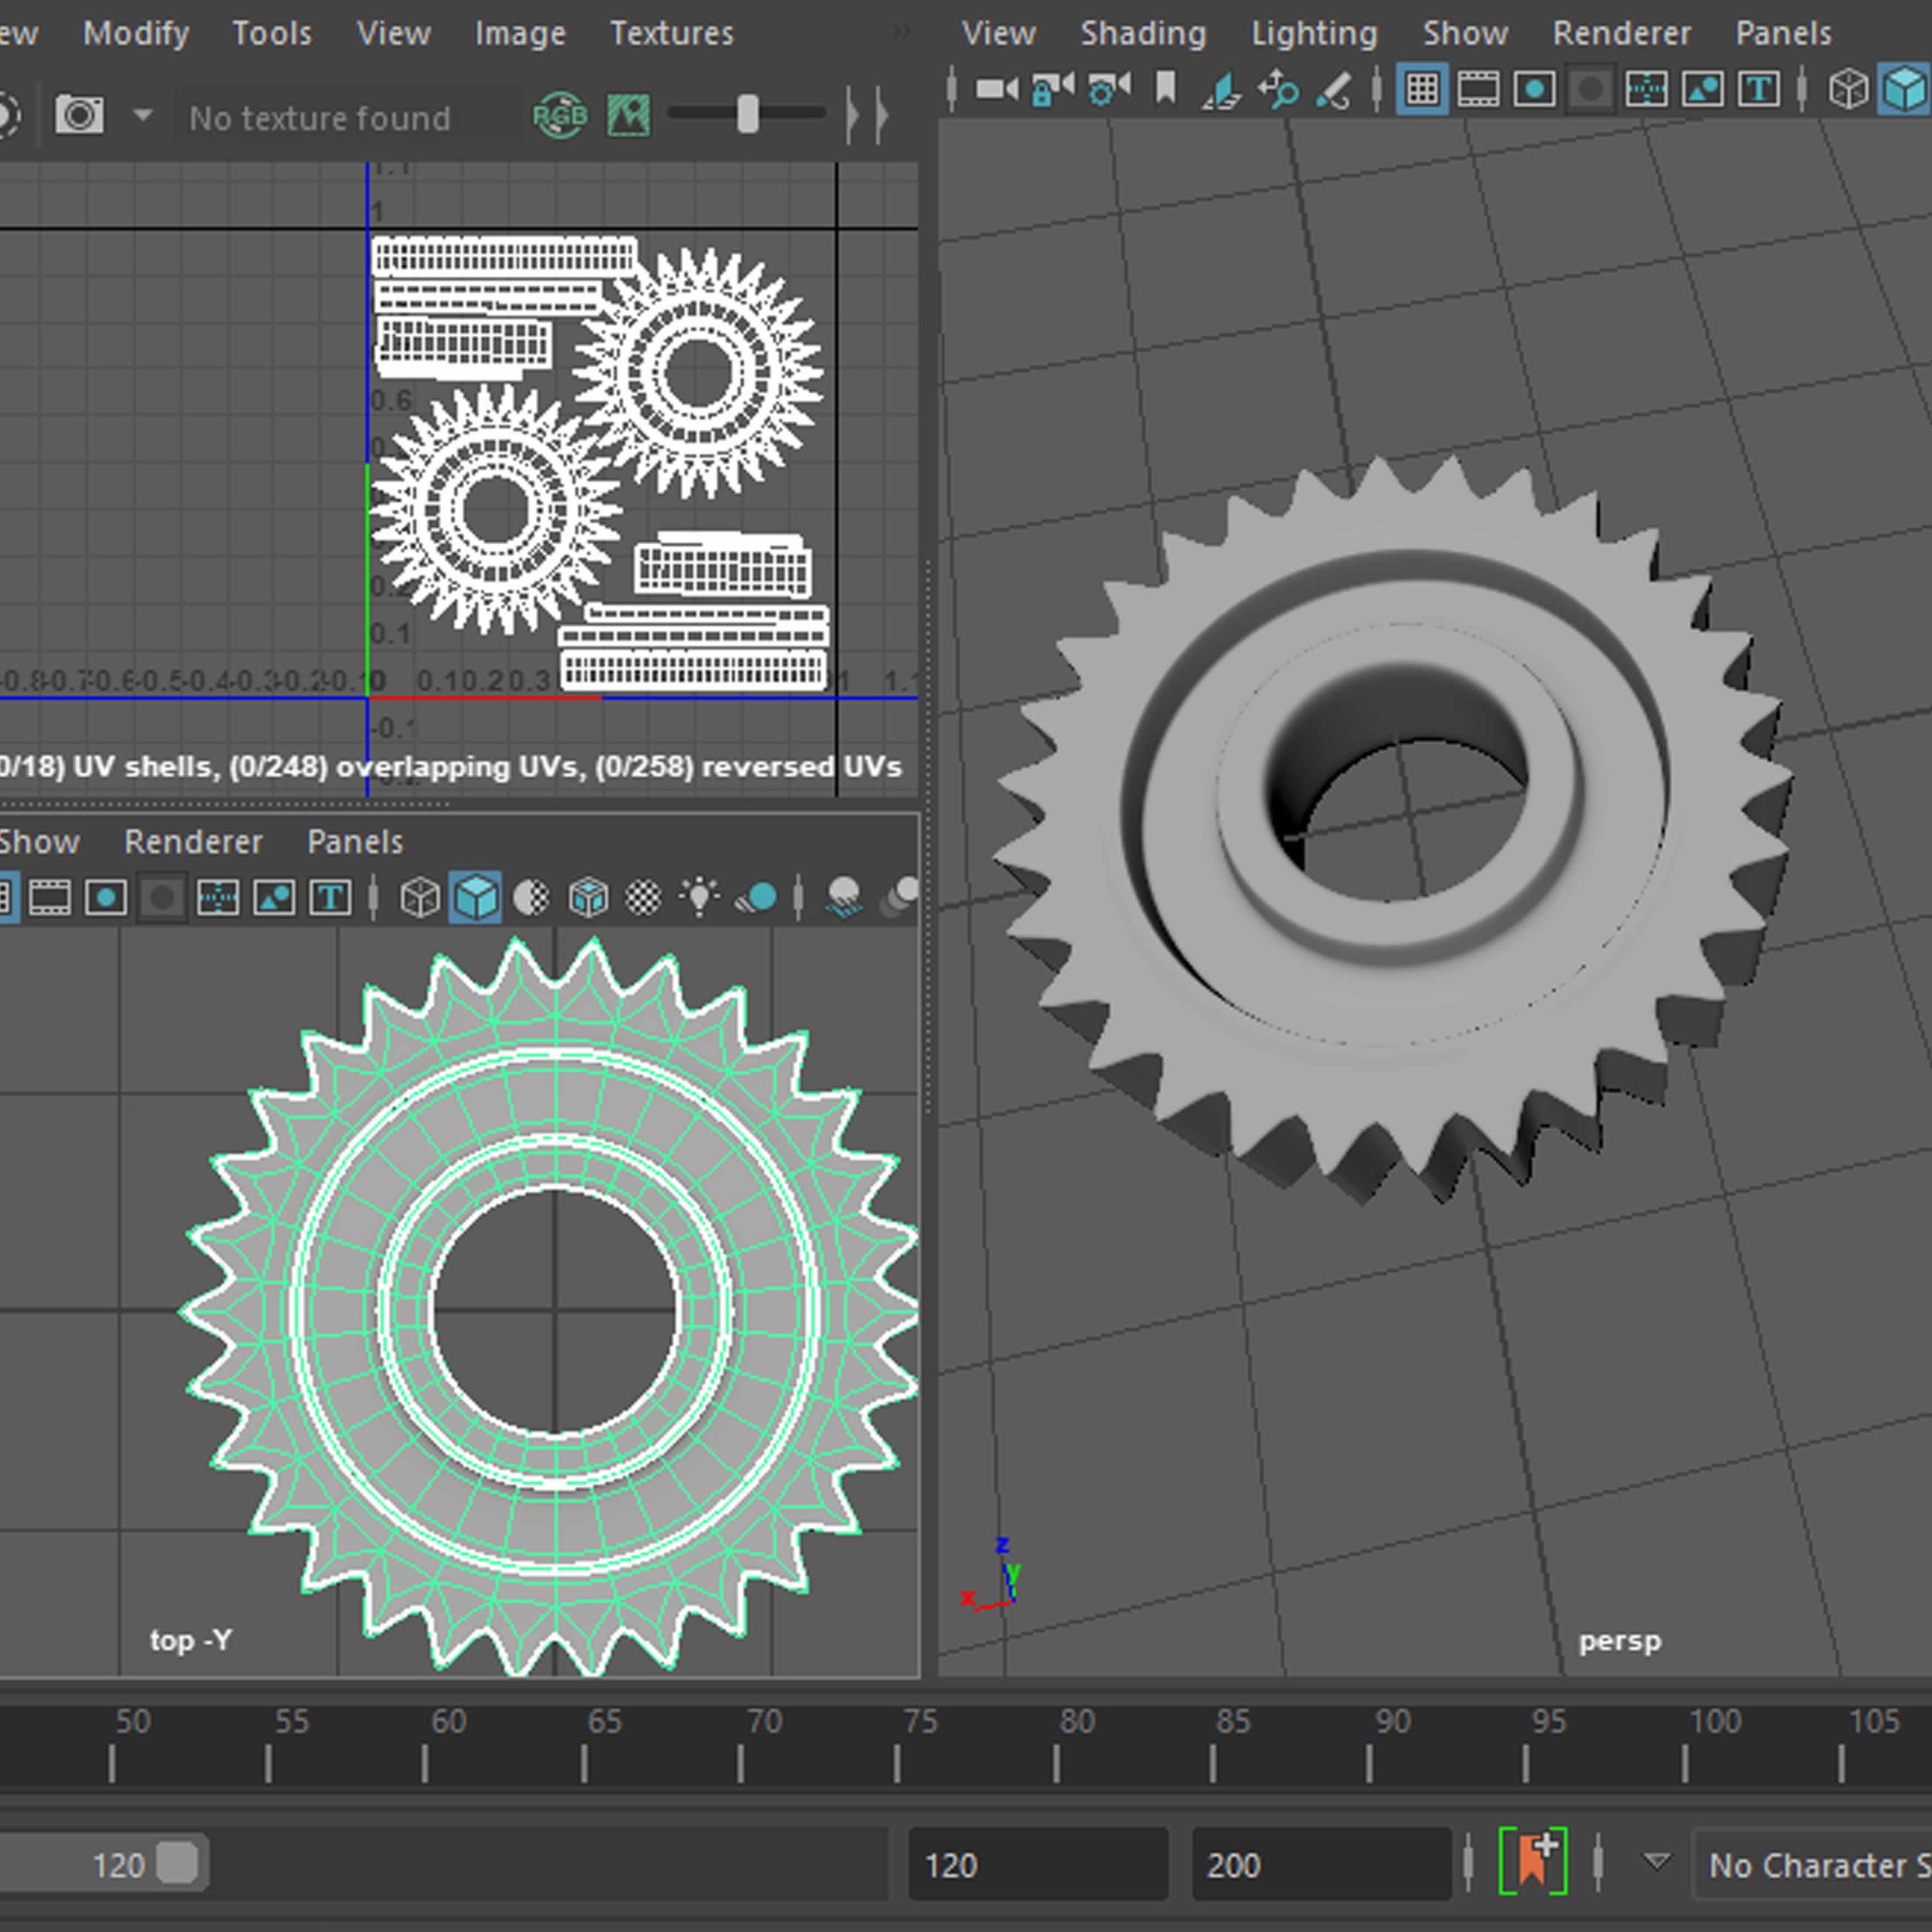
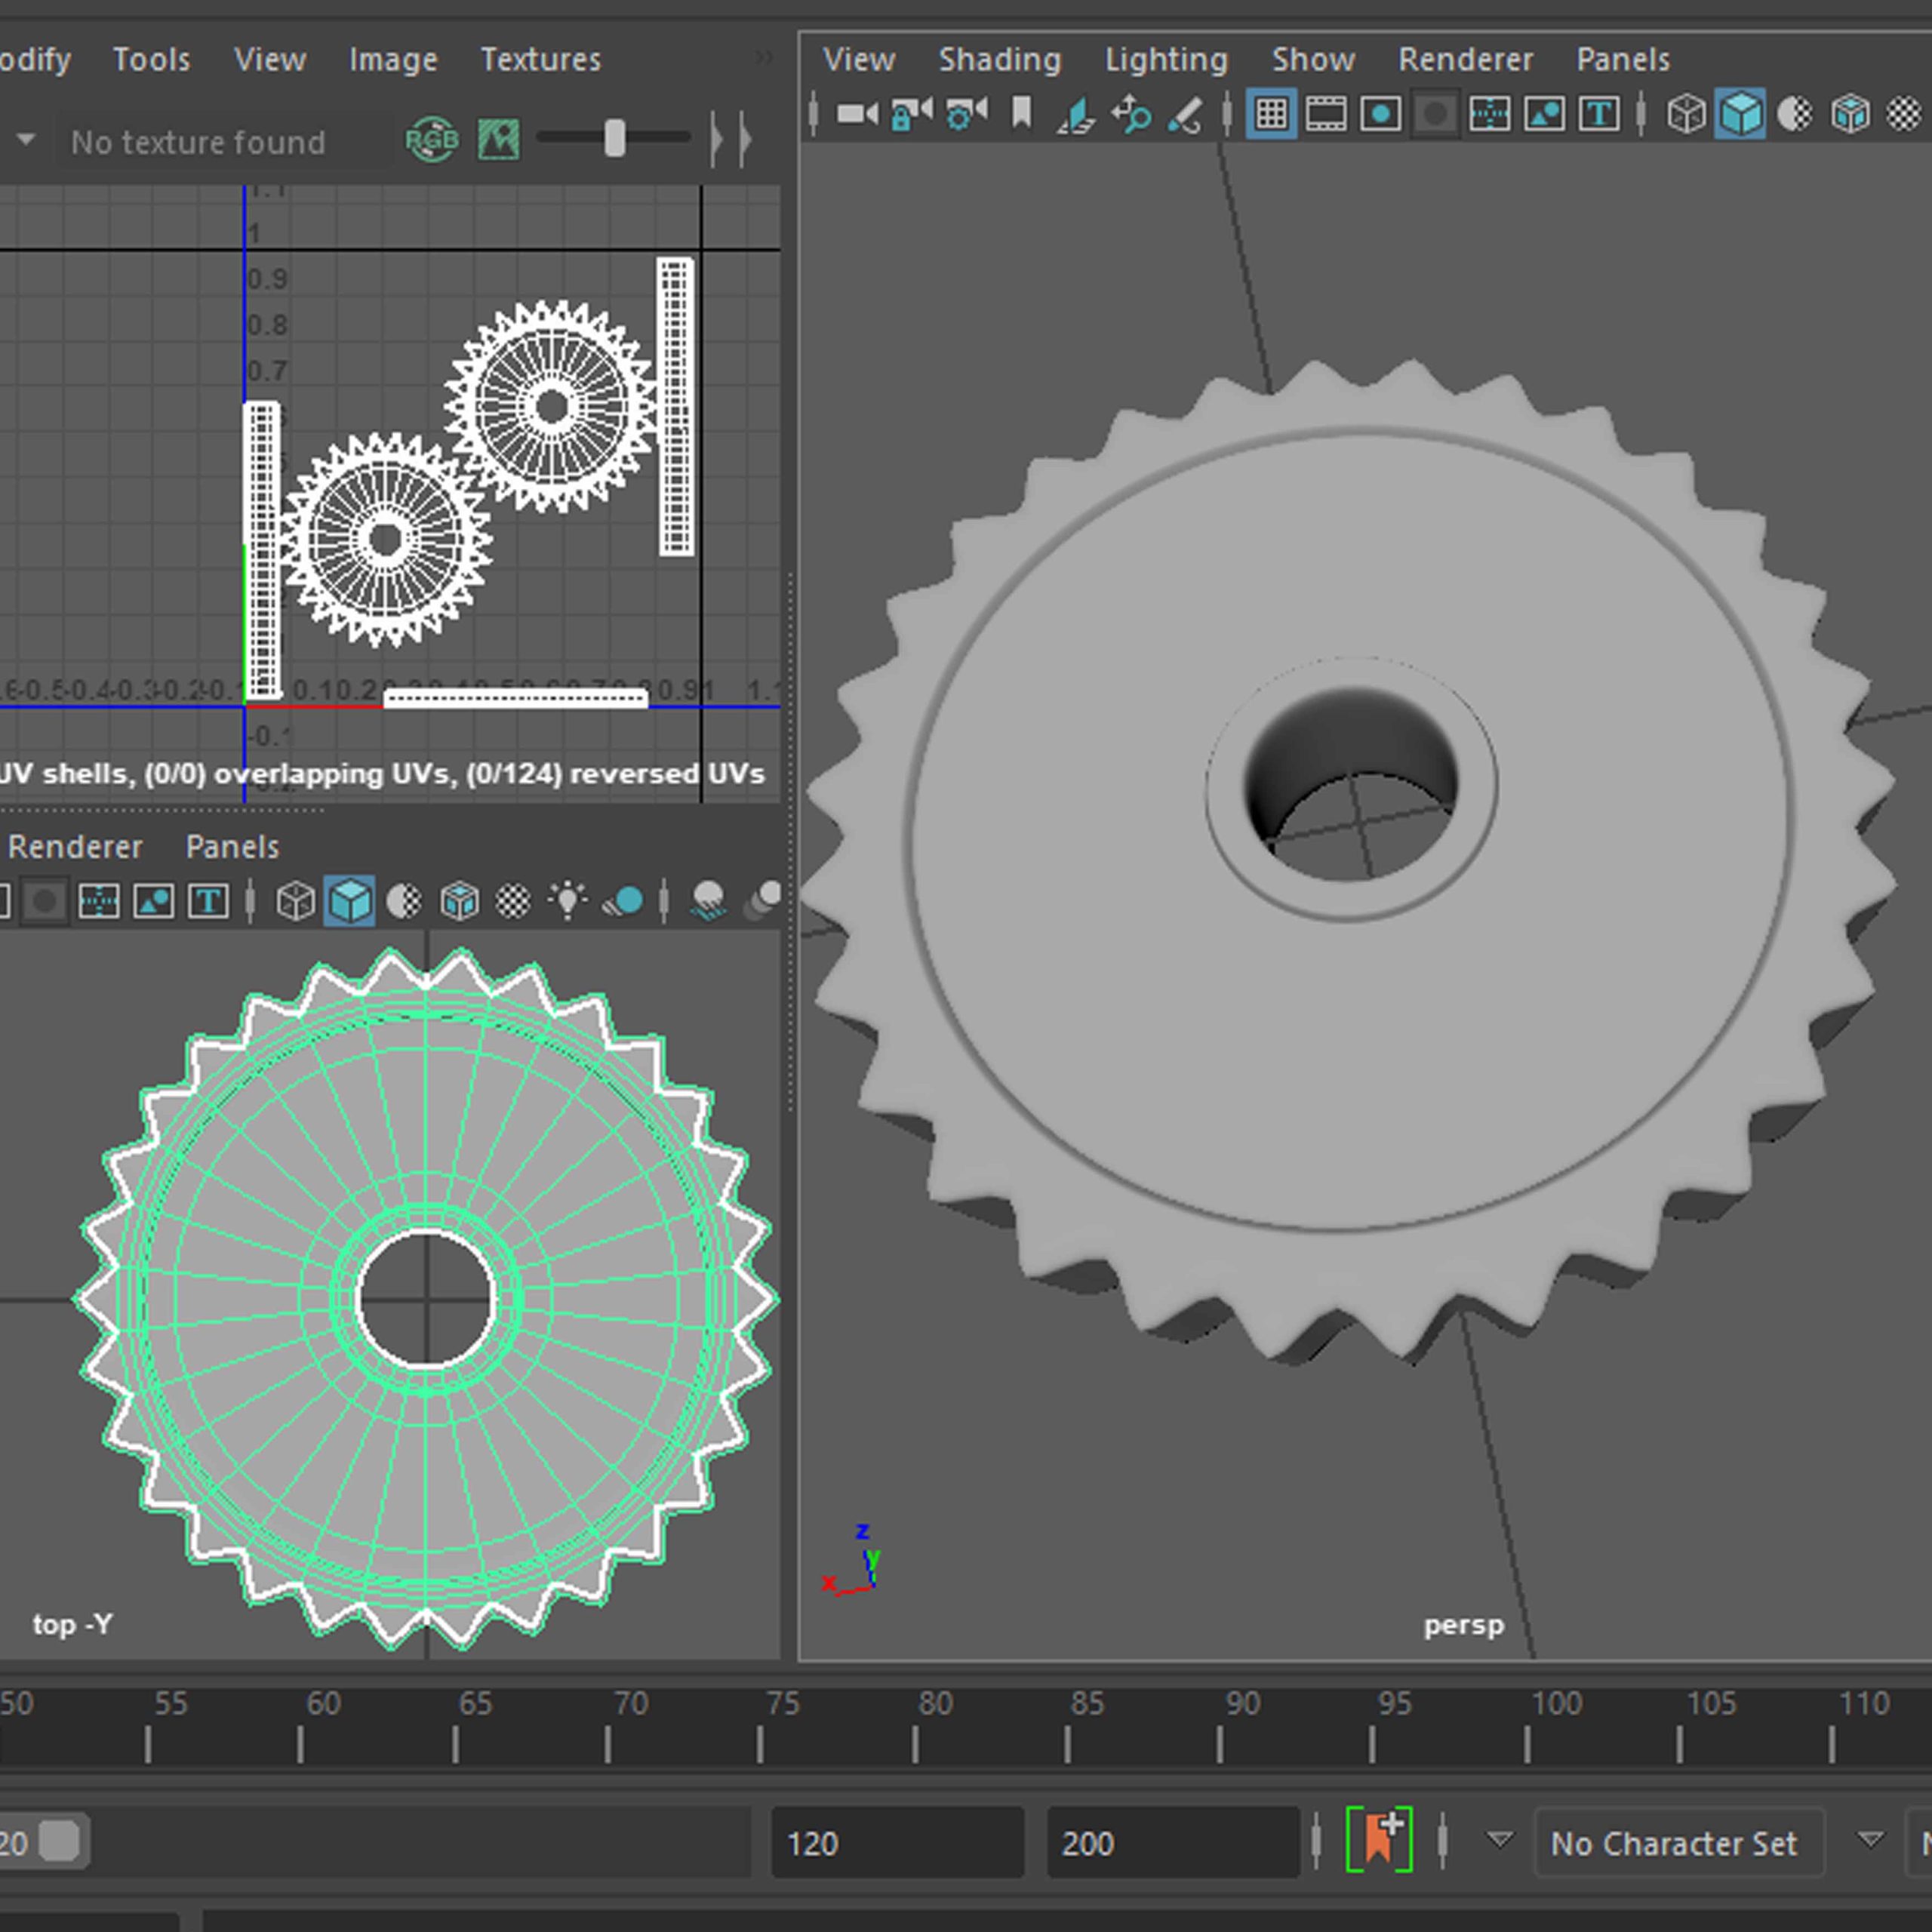
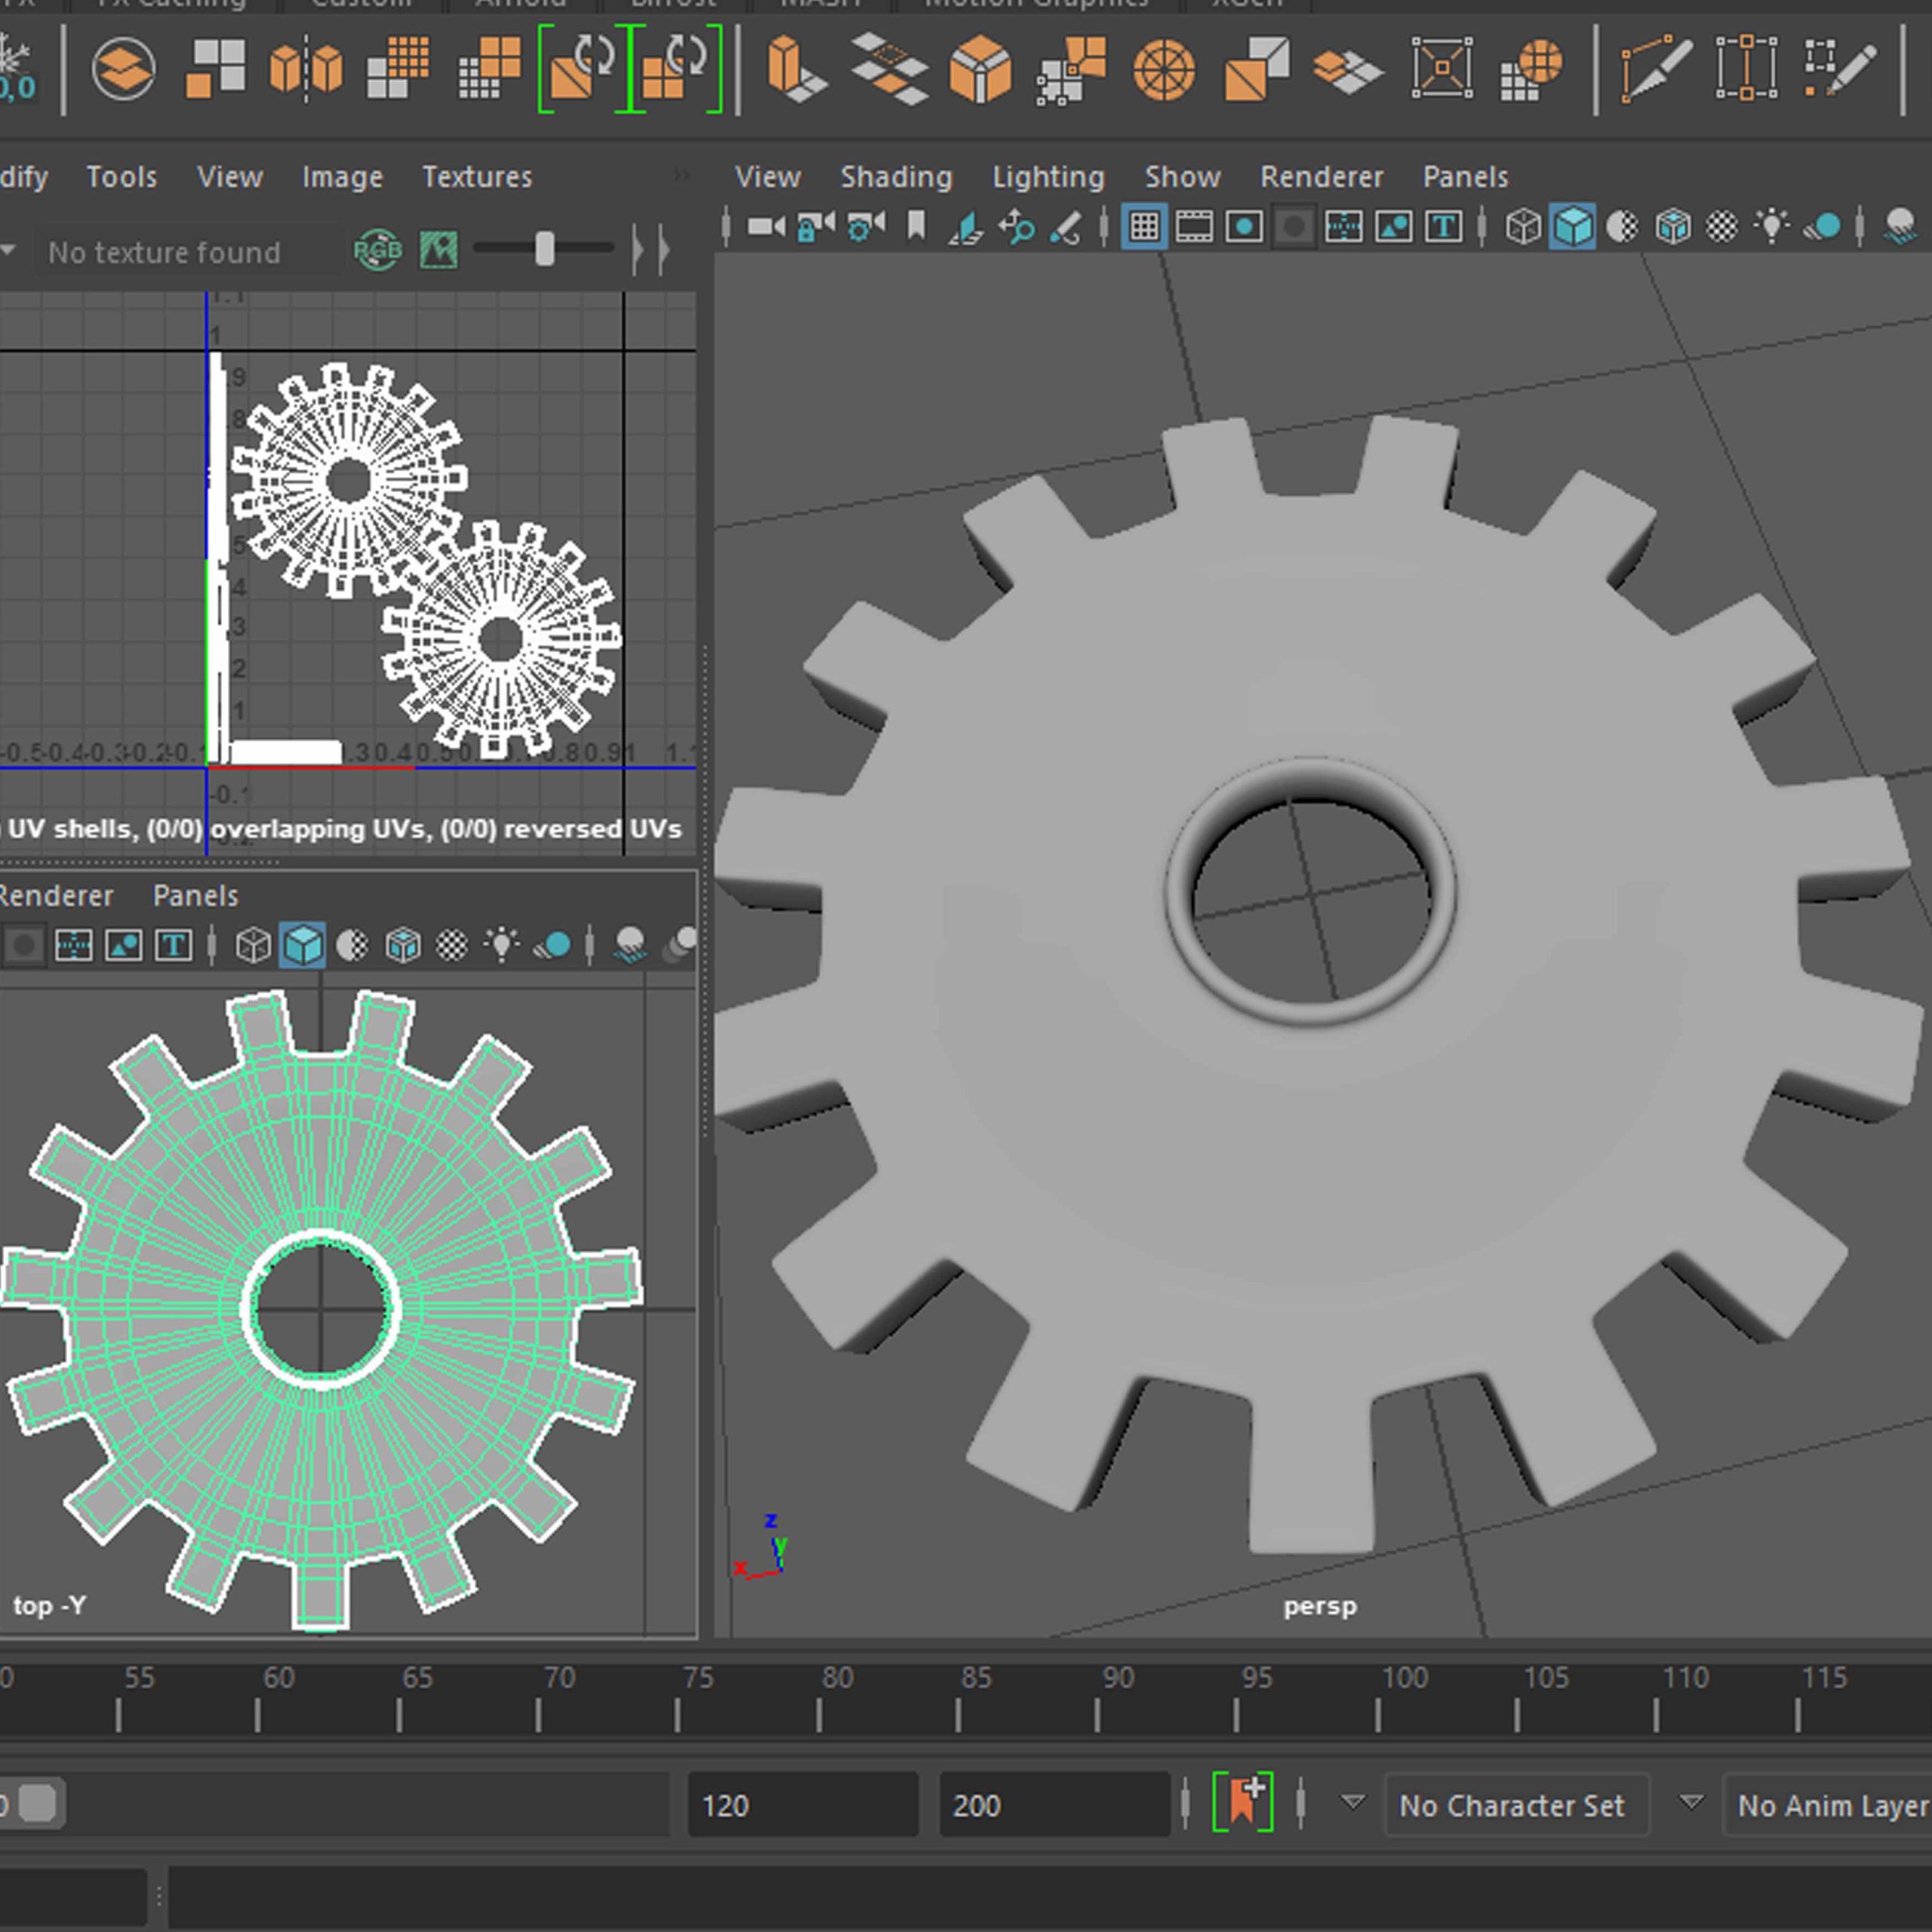
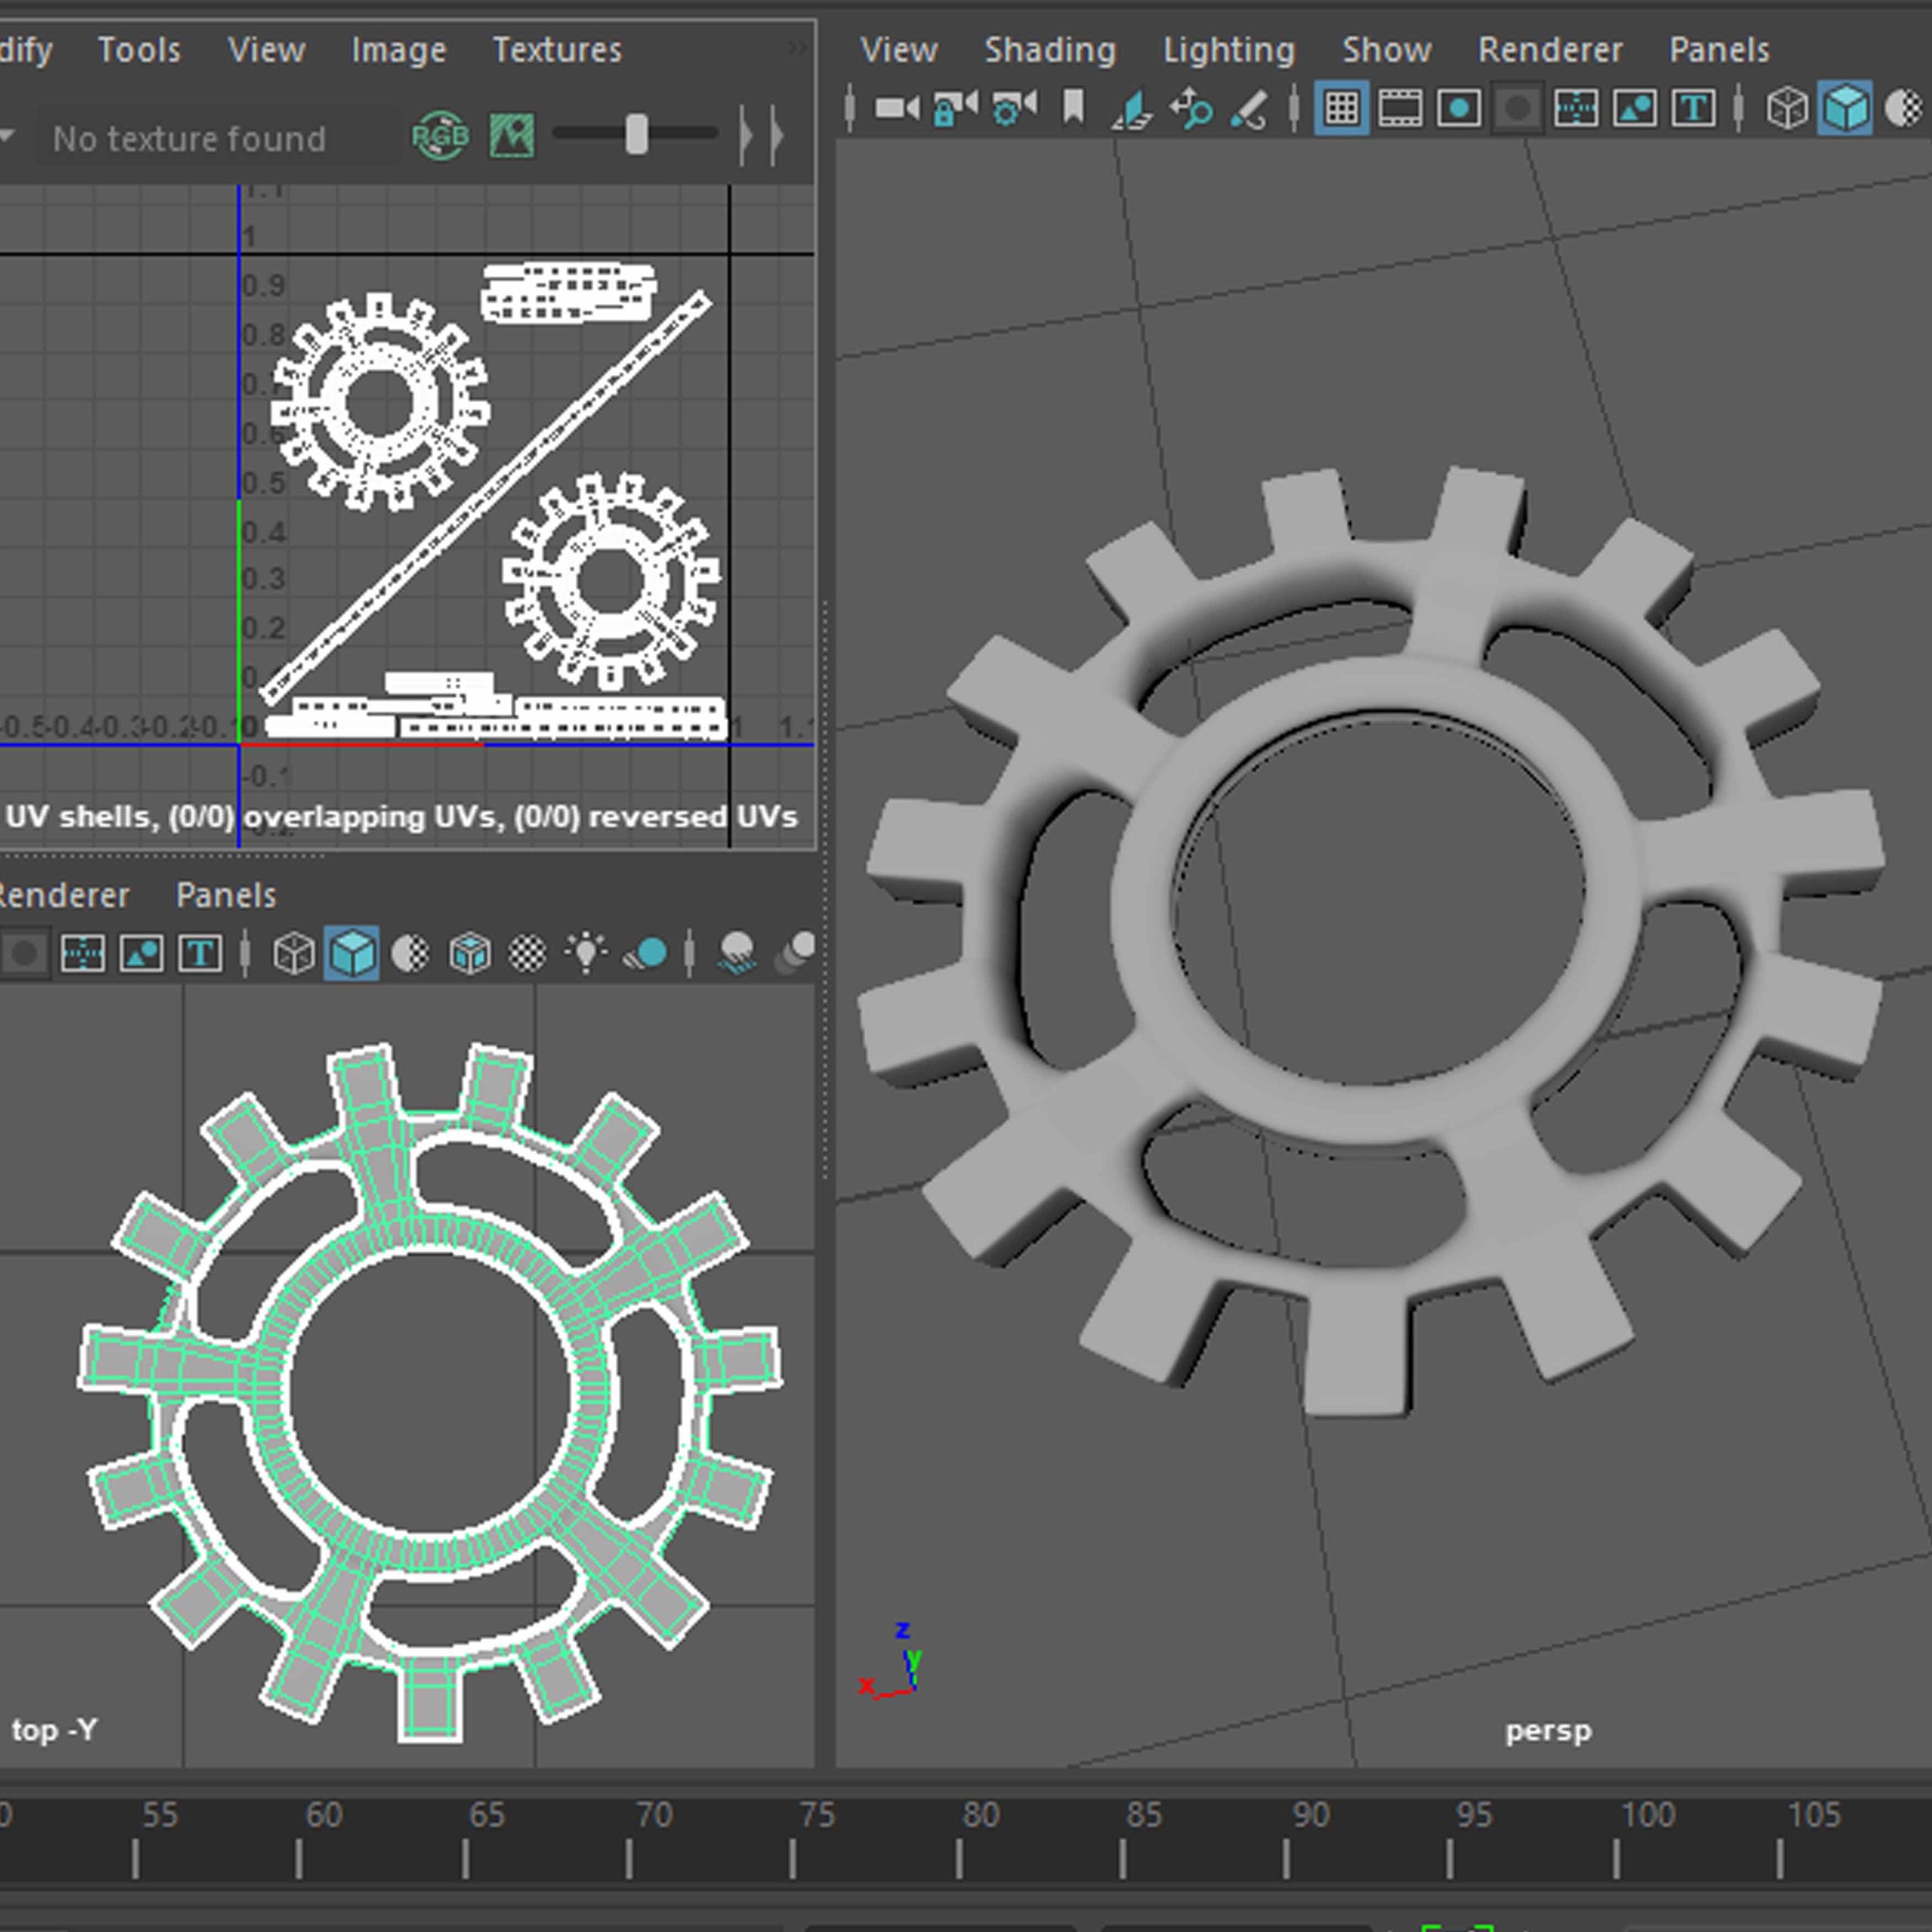
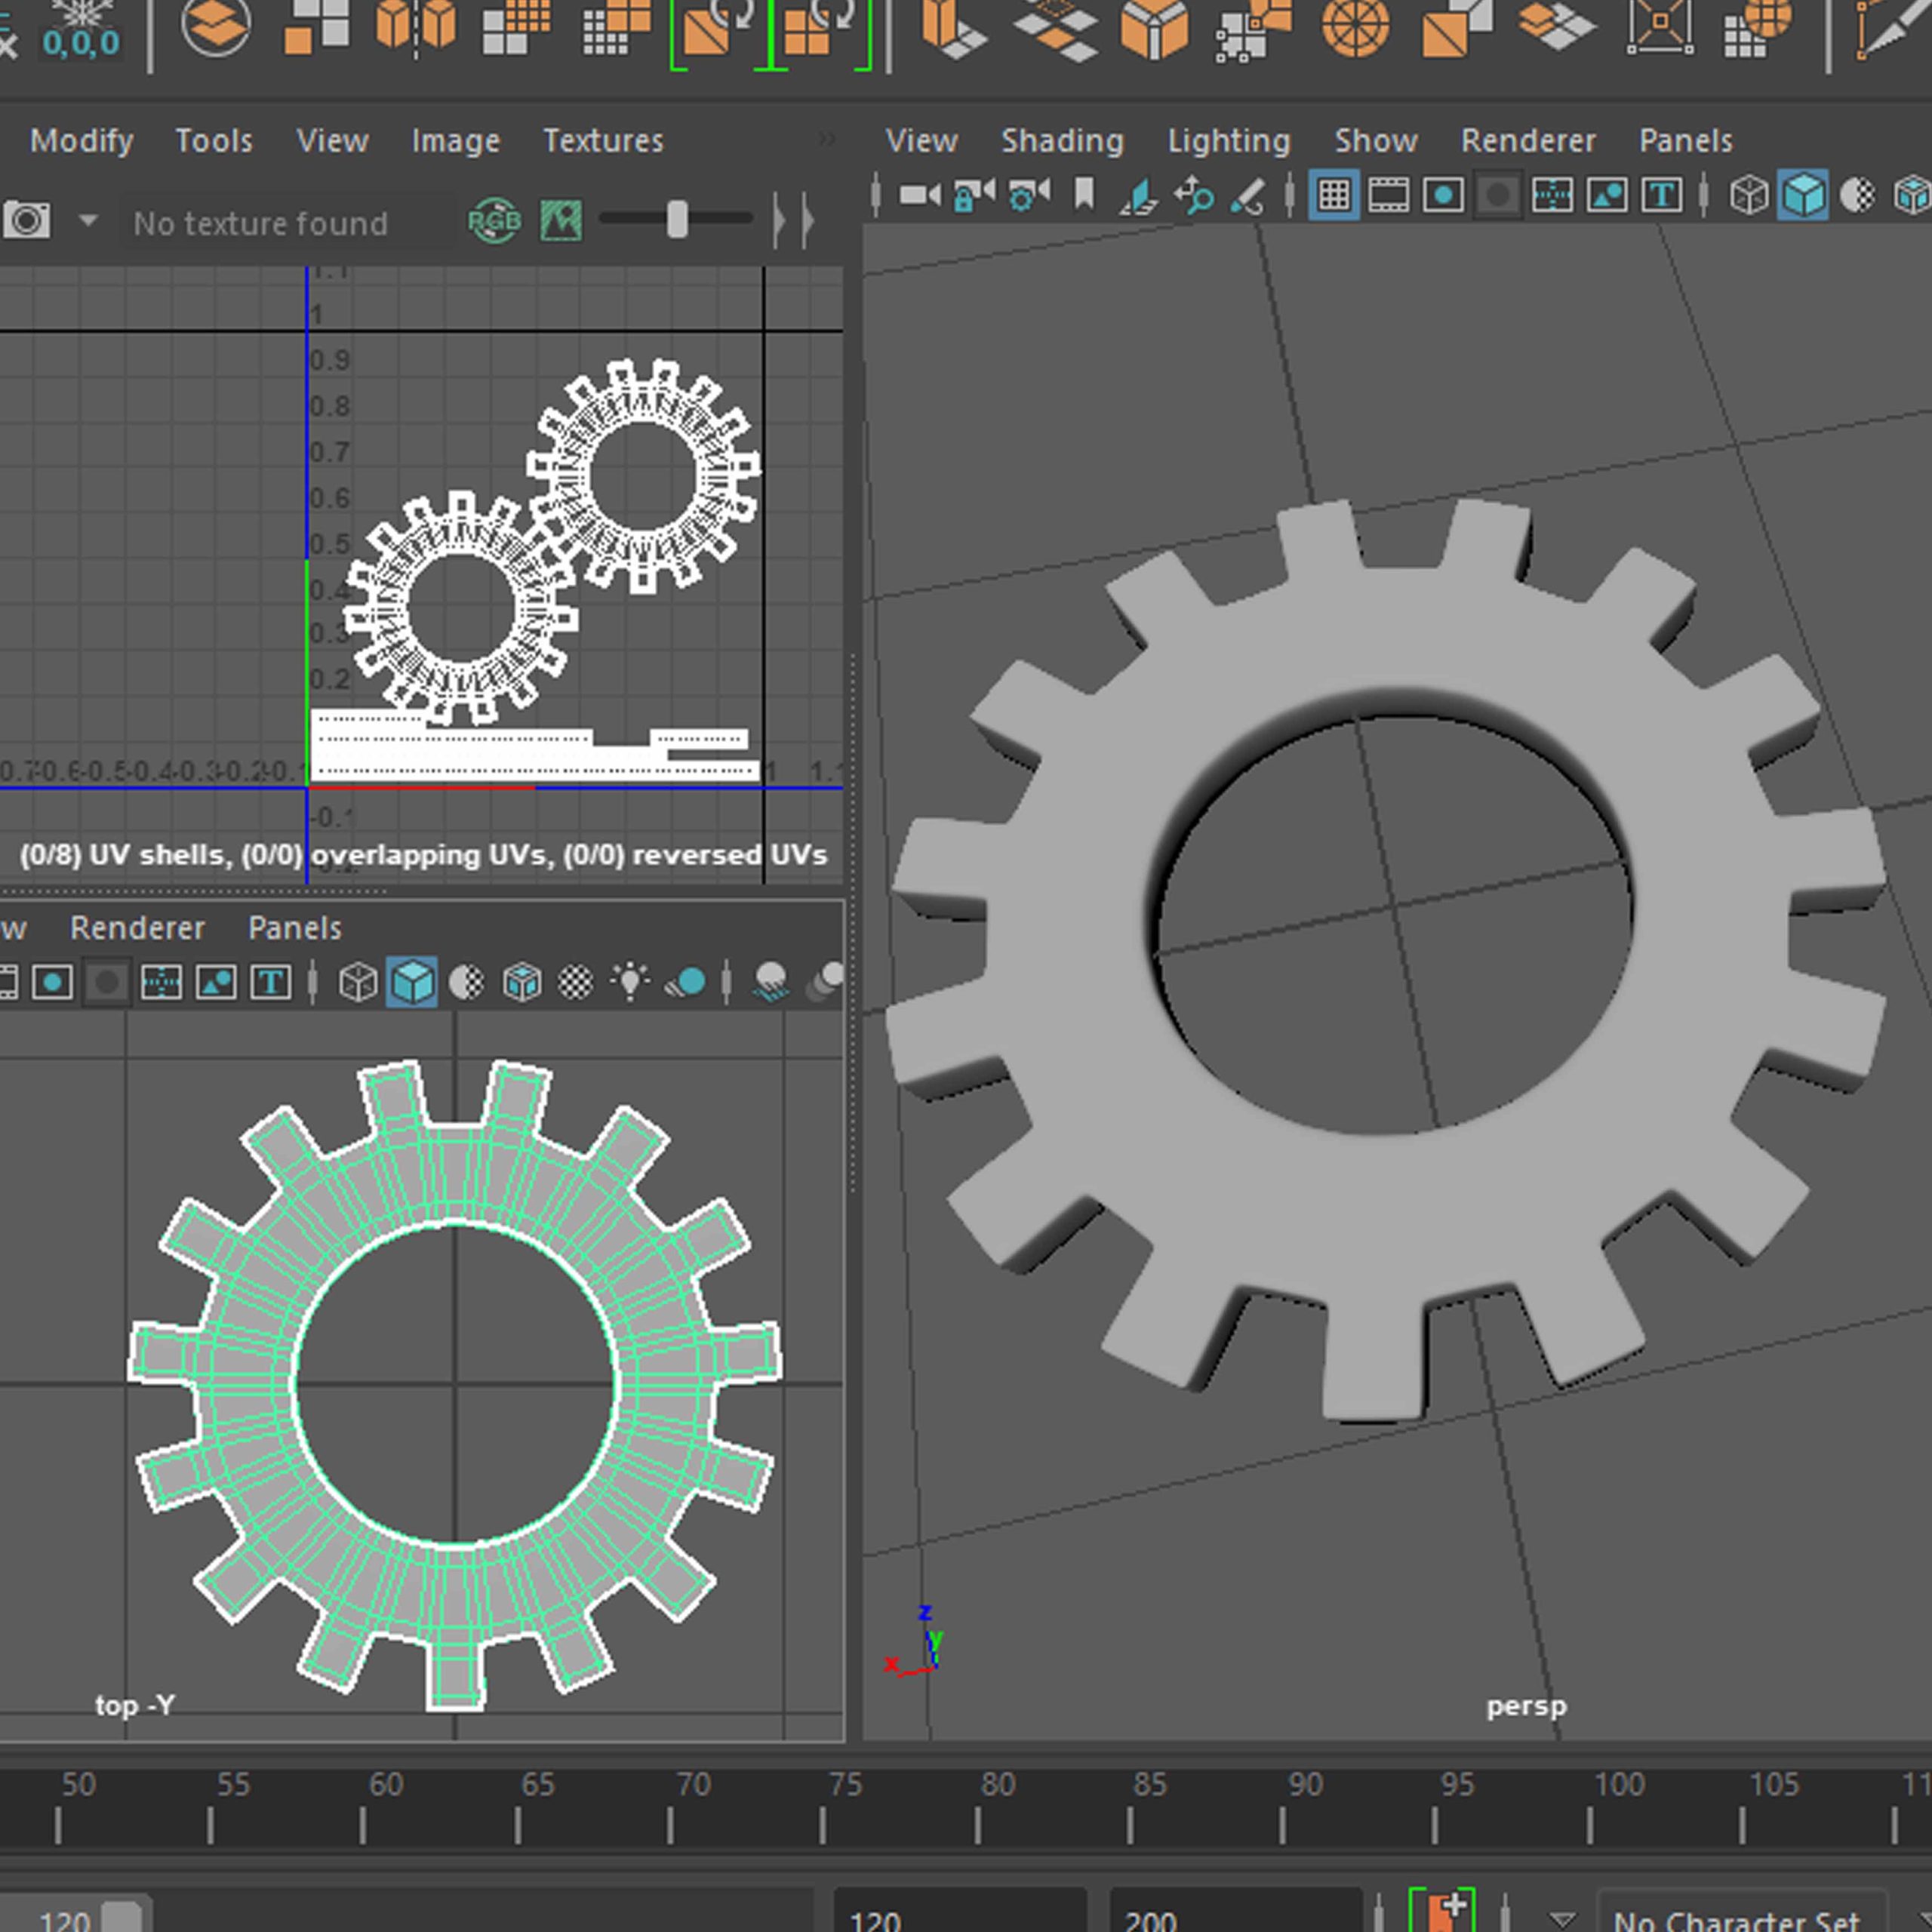
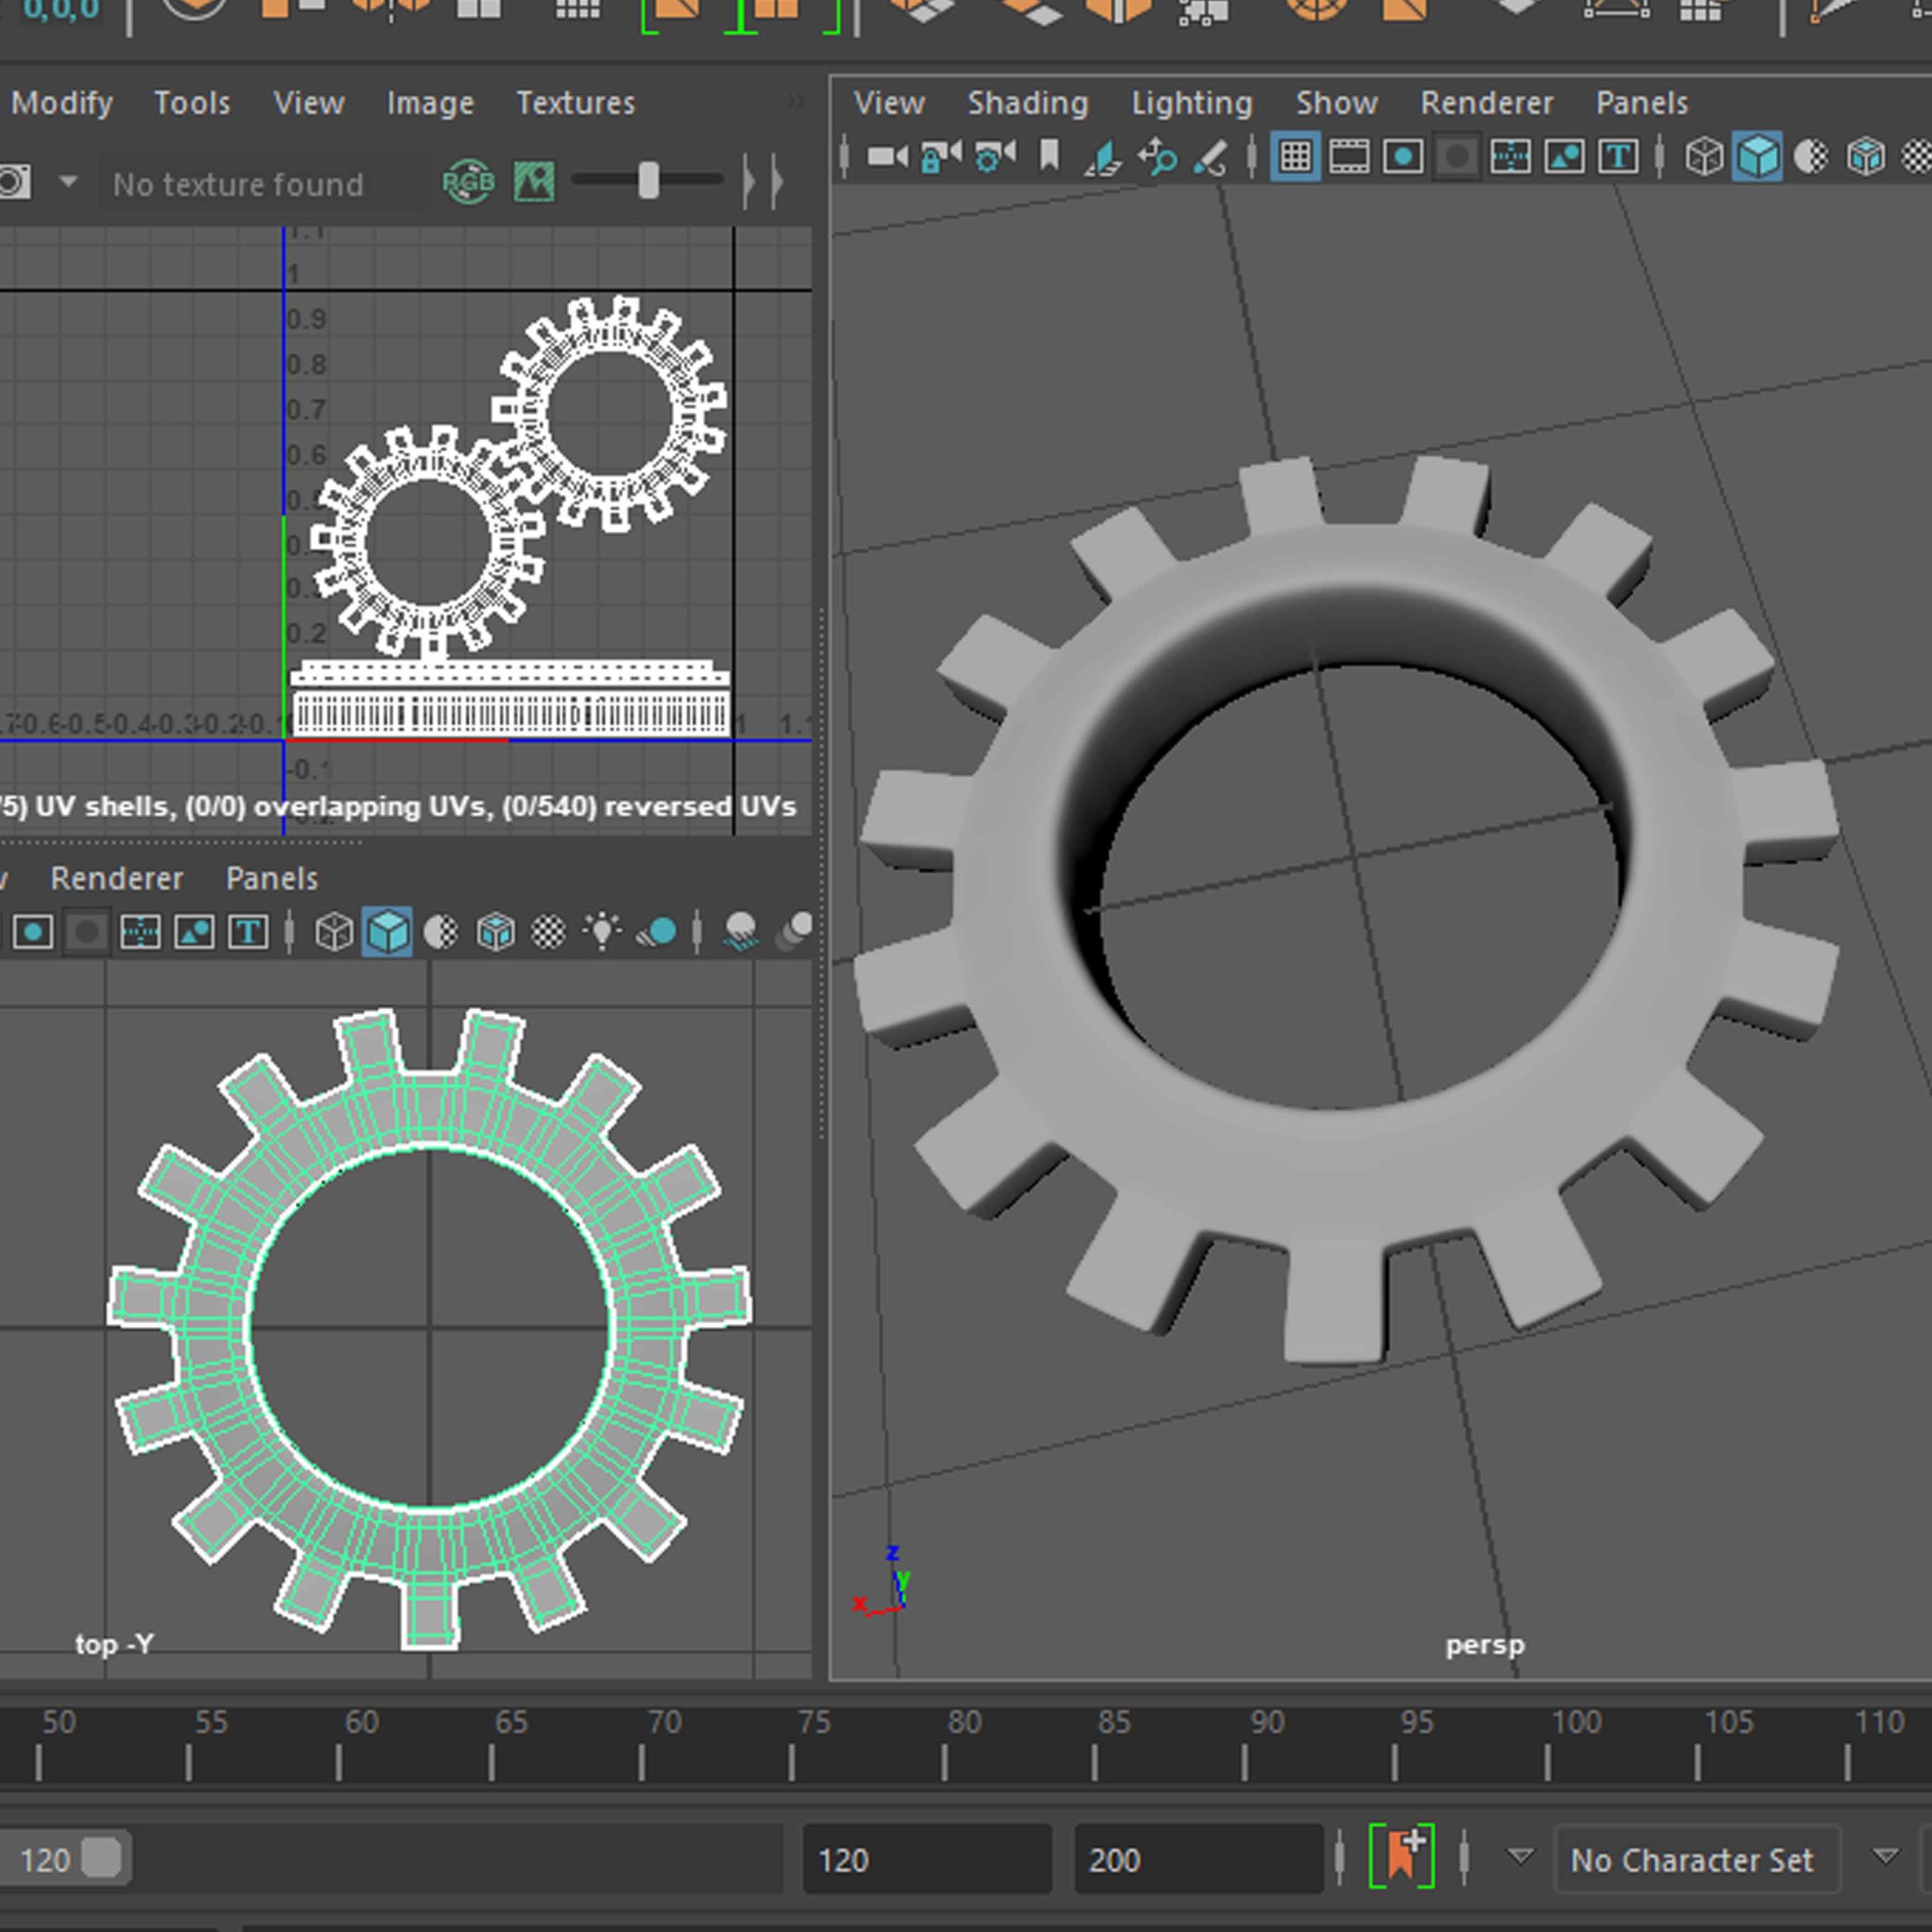
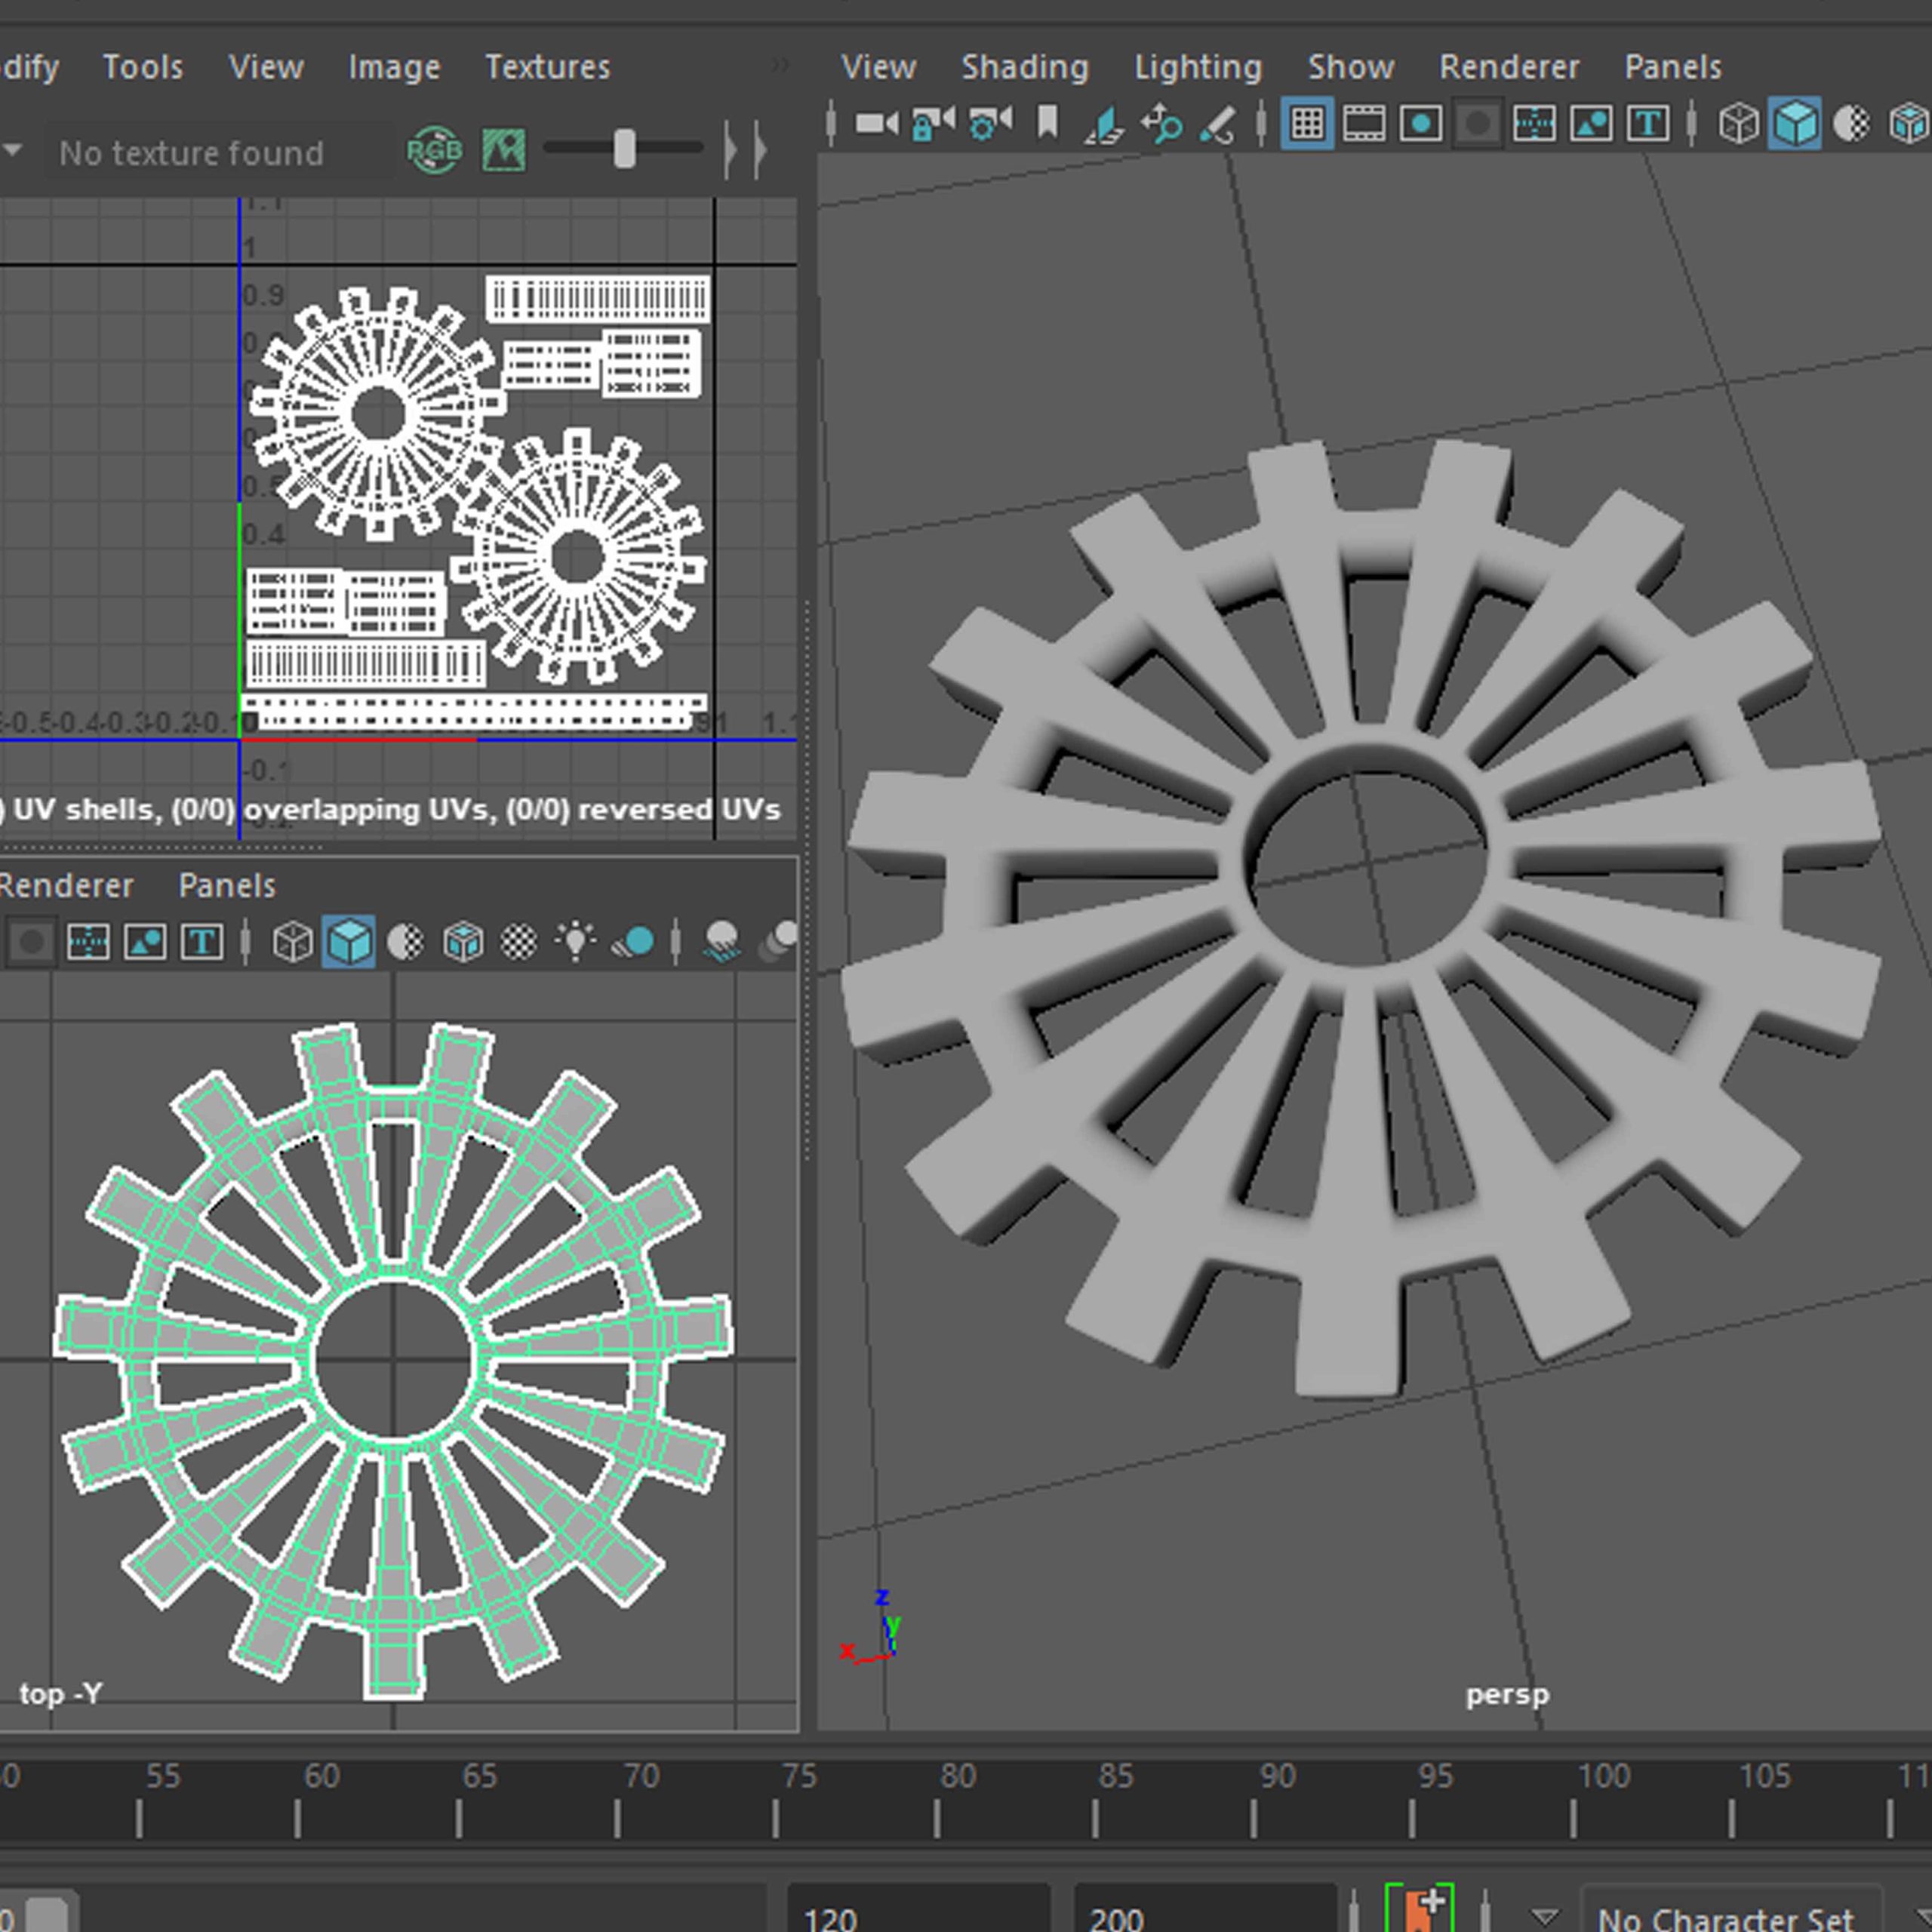
General Elements
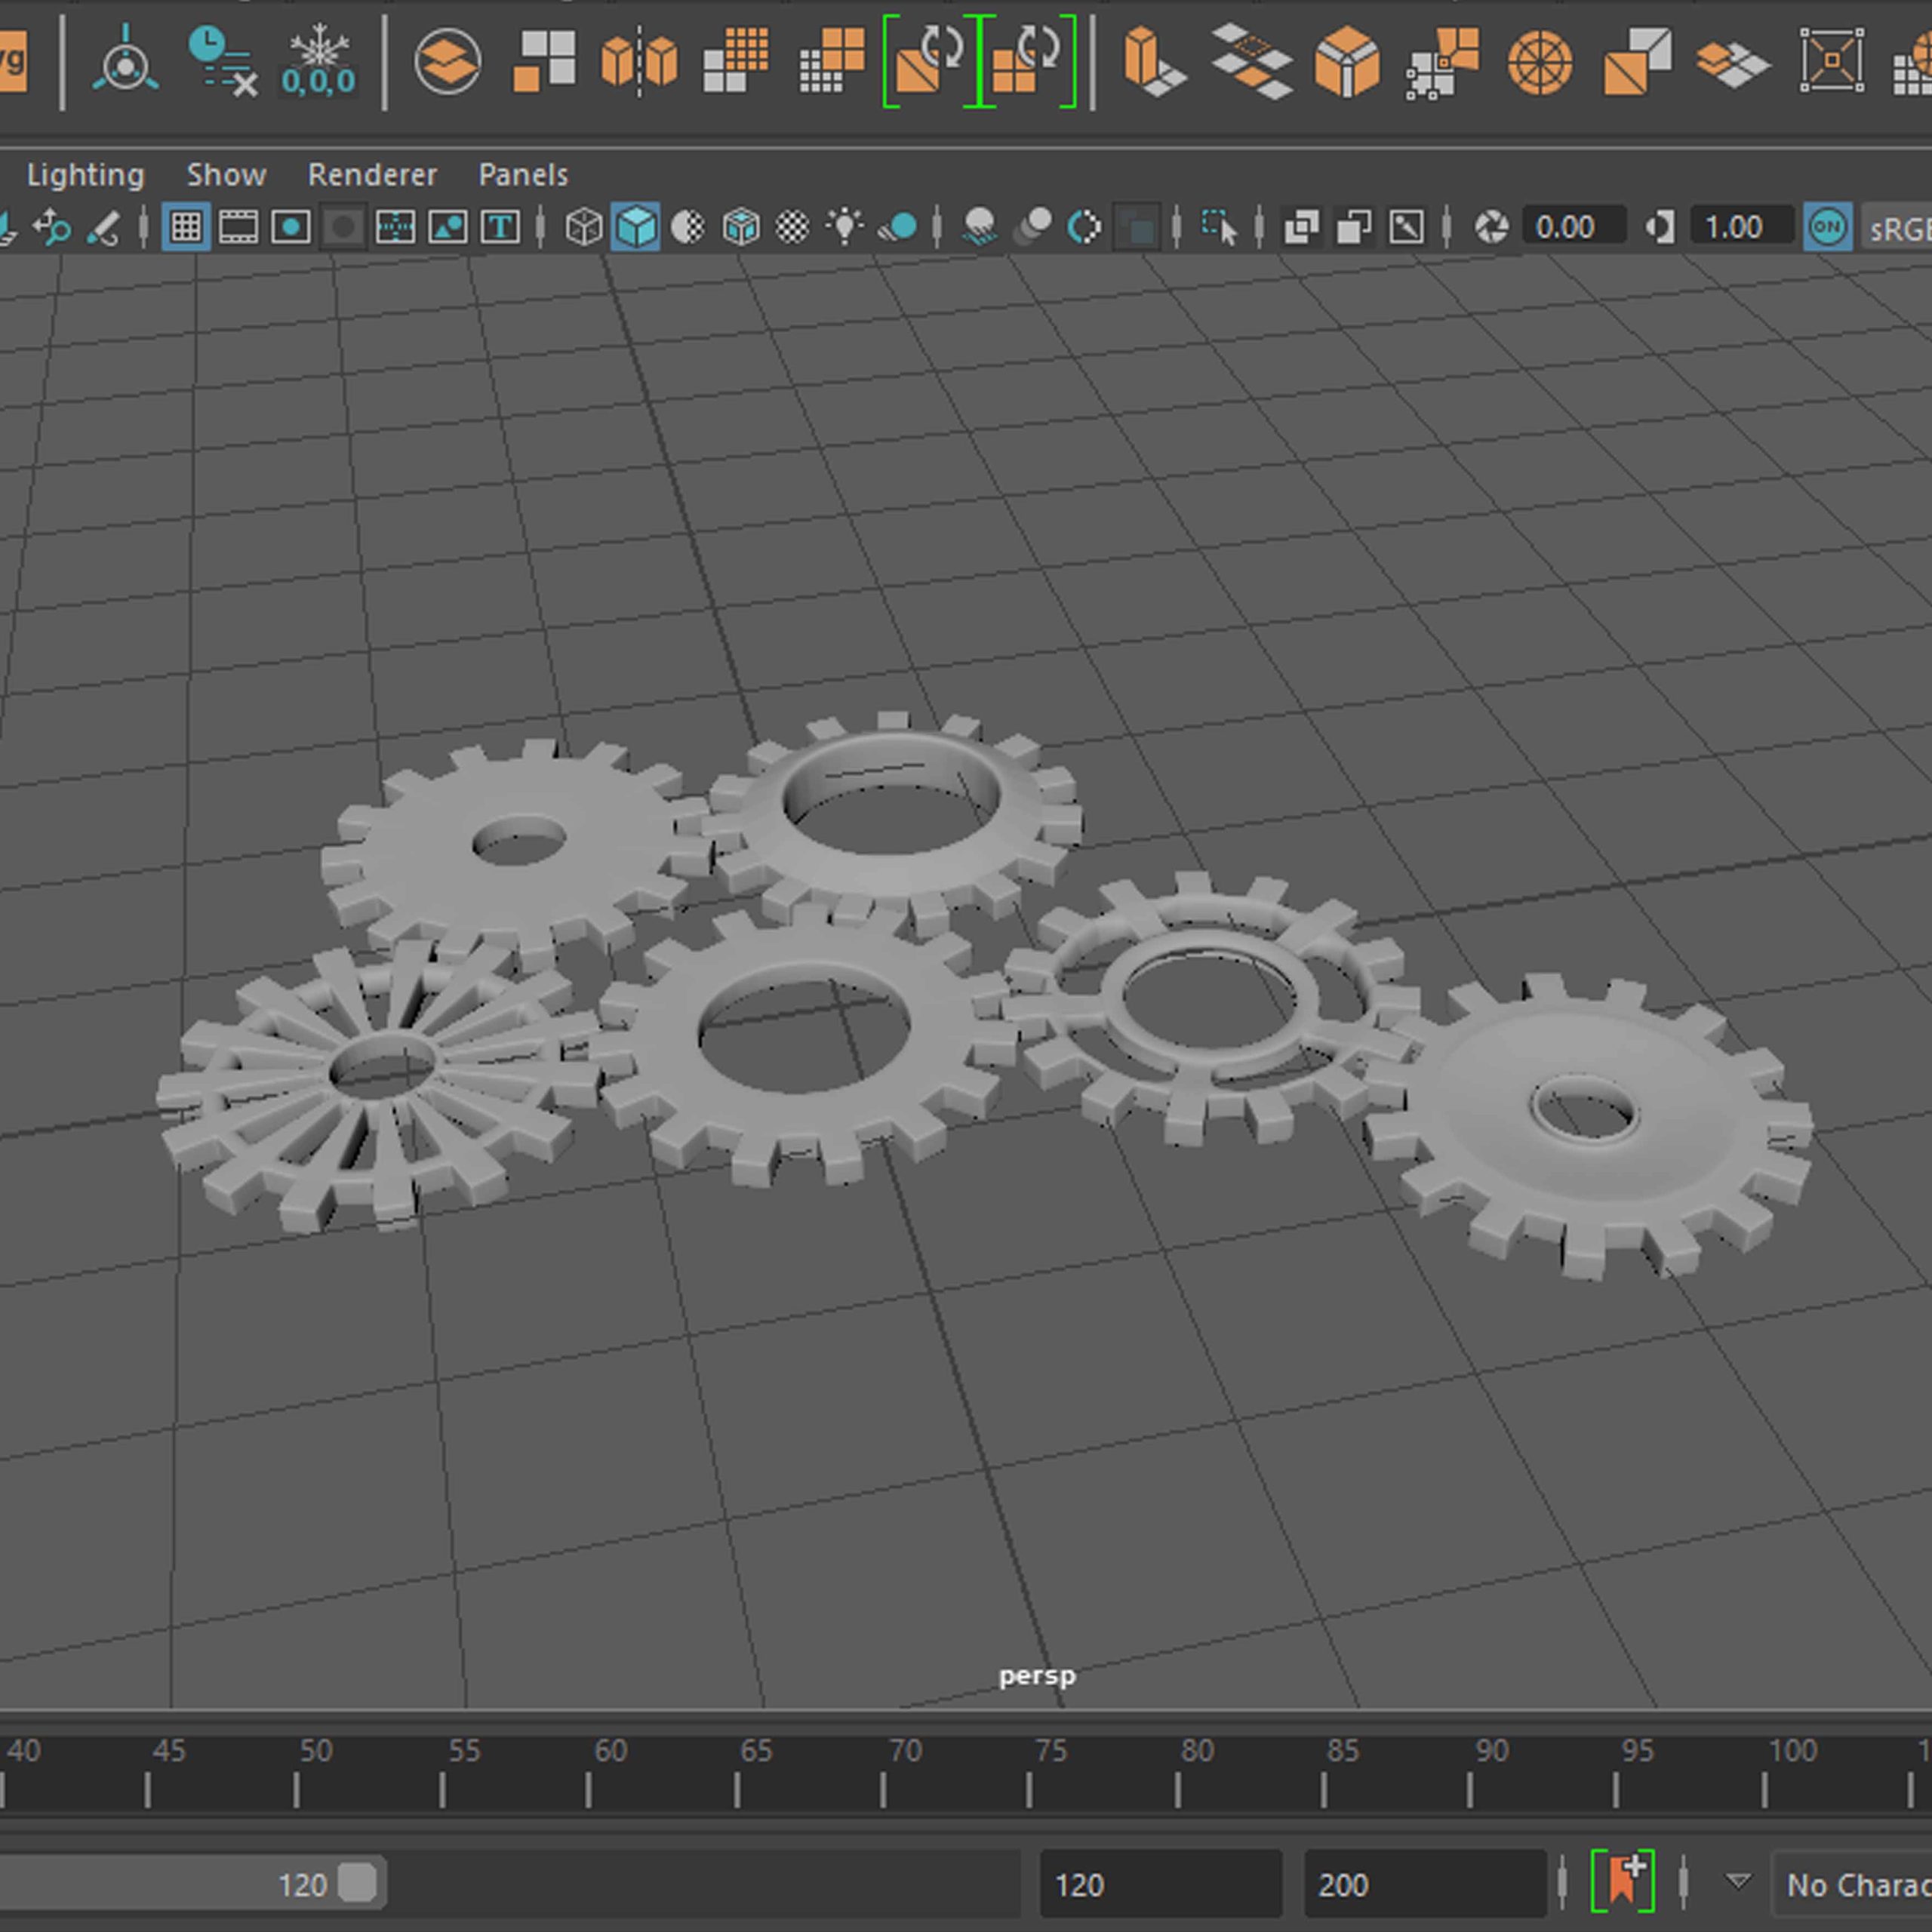
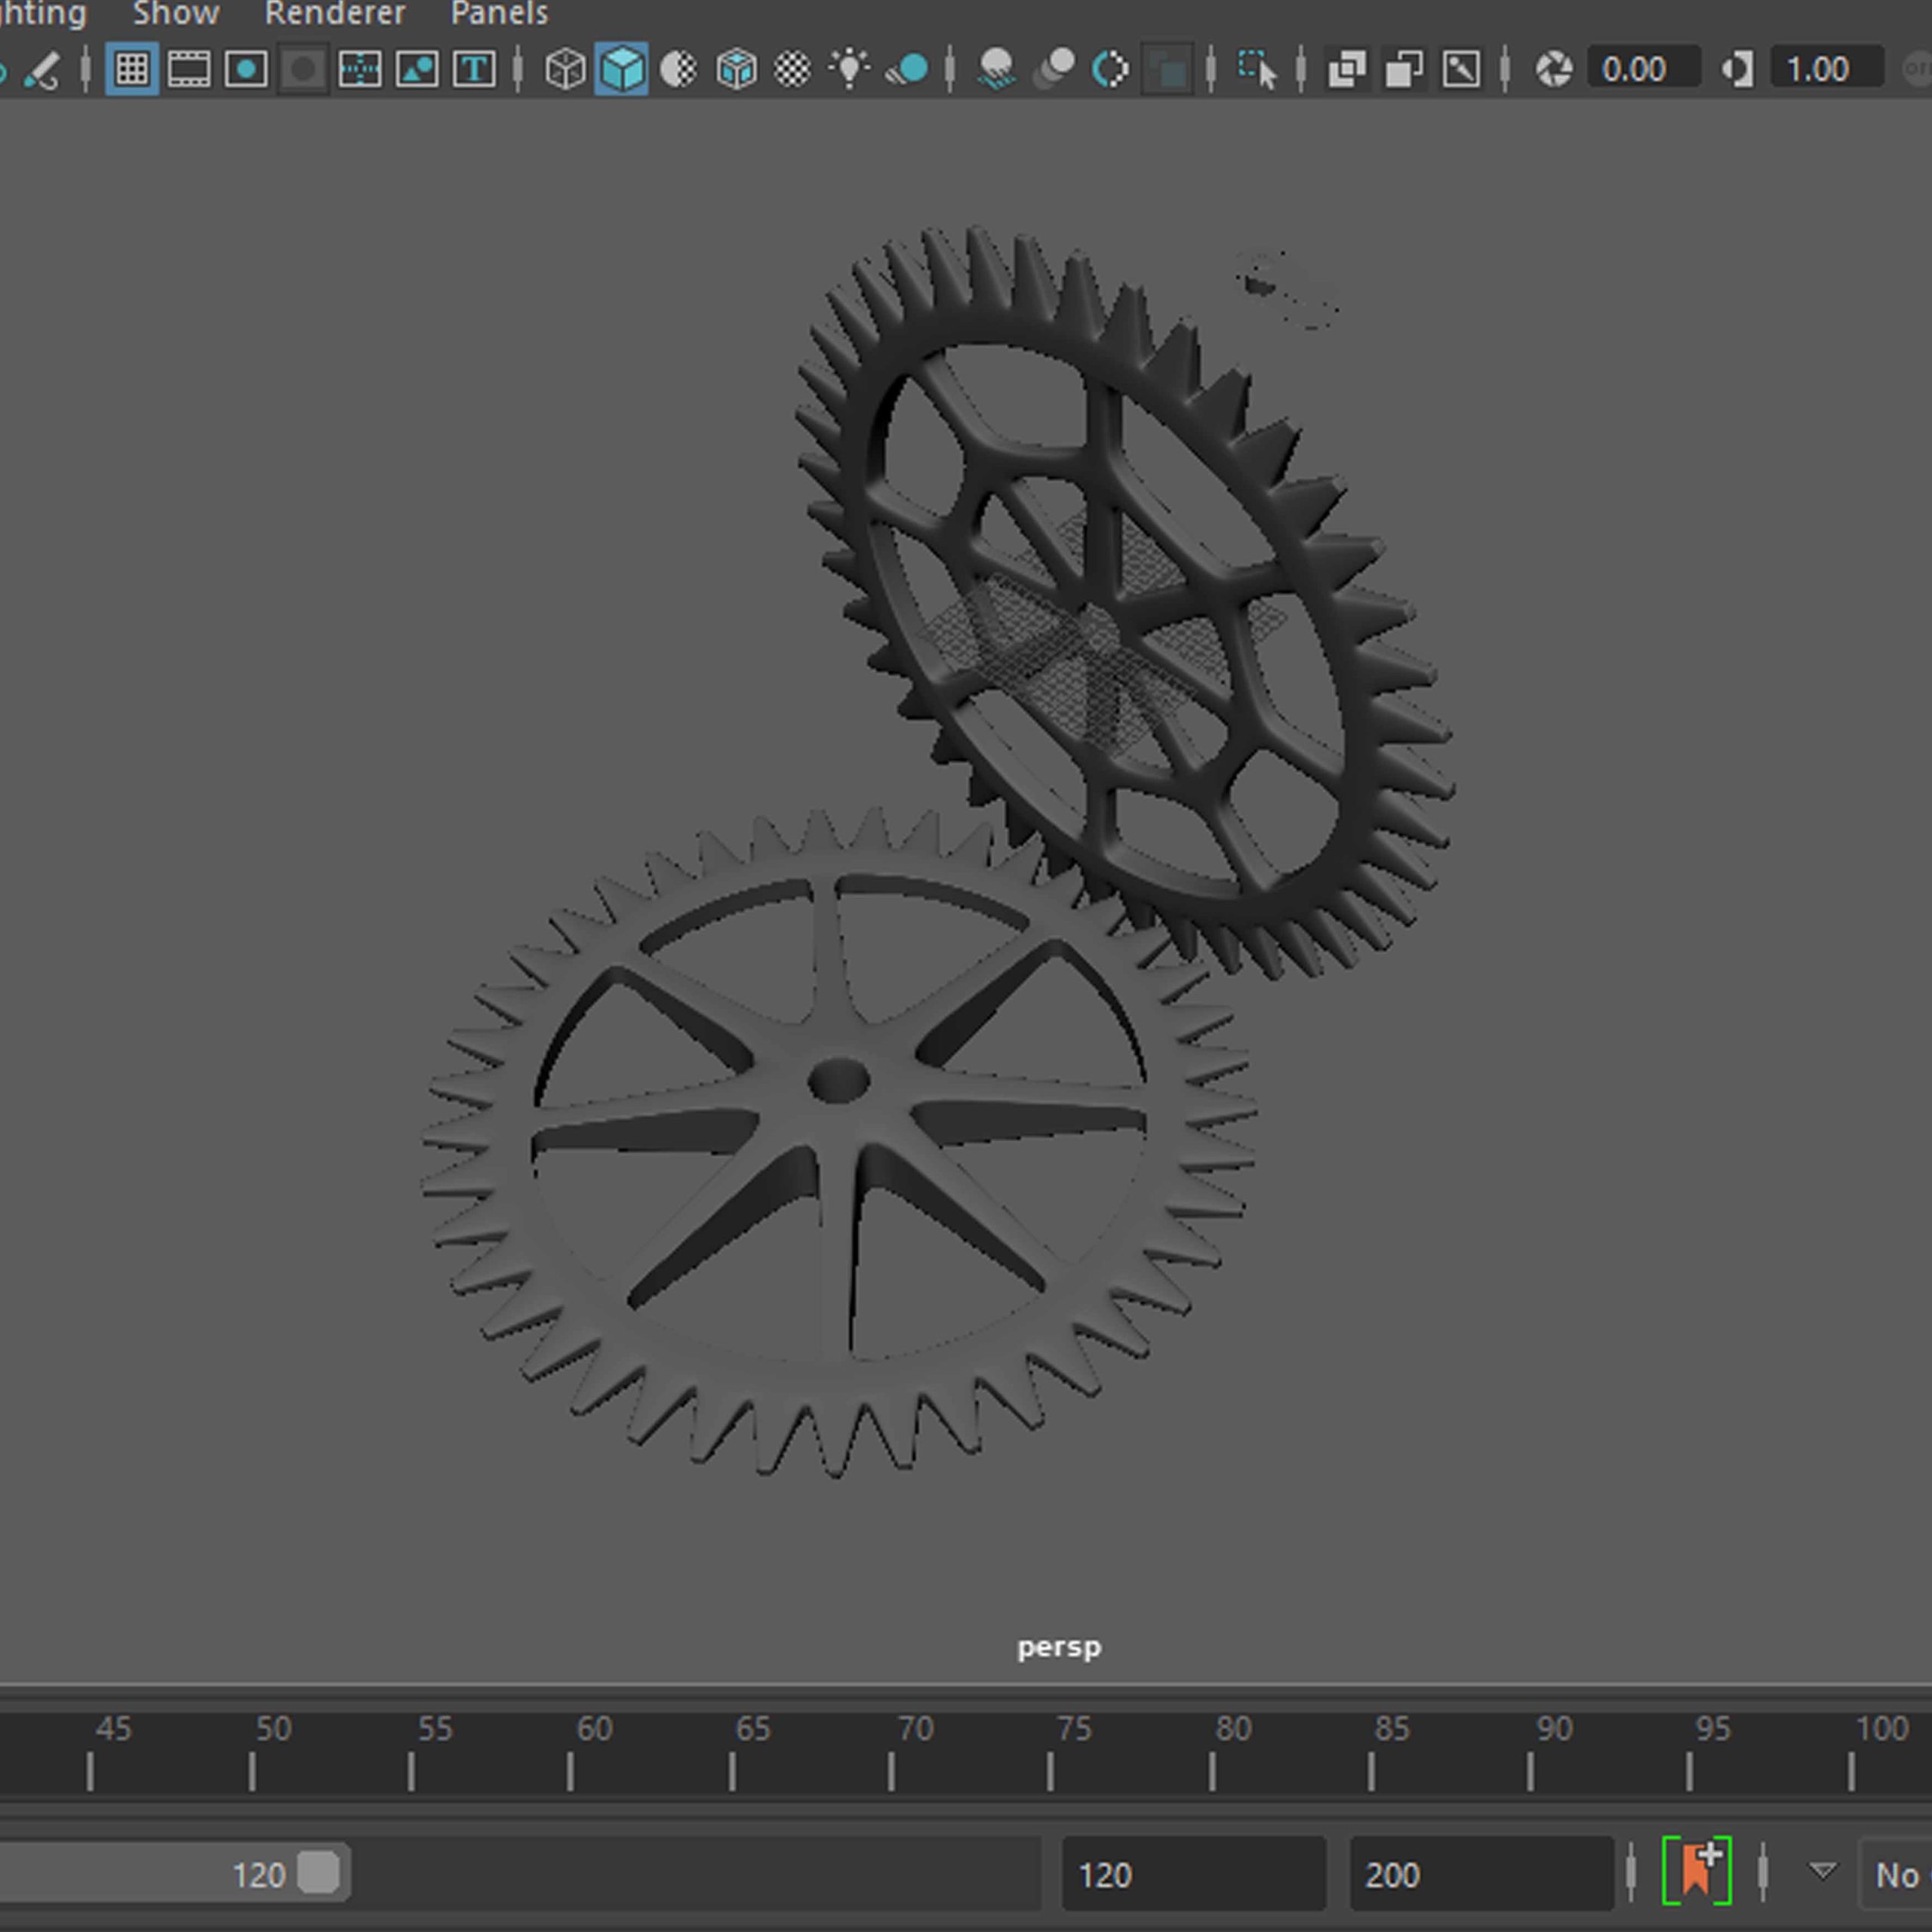
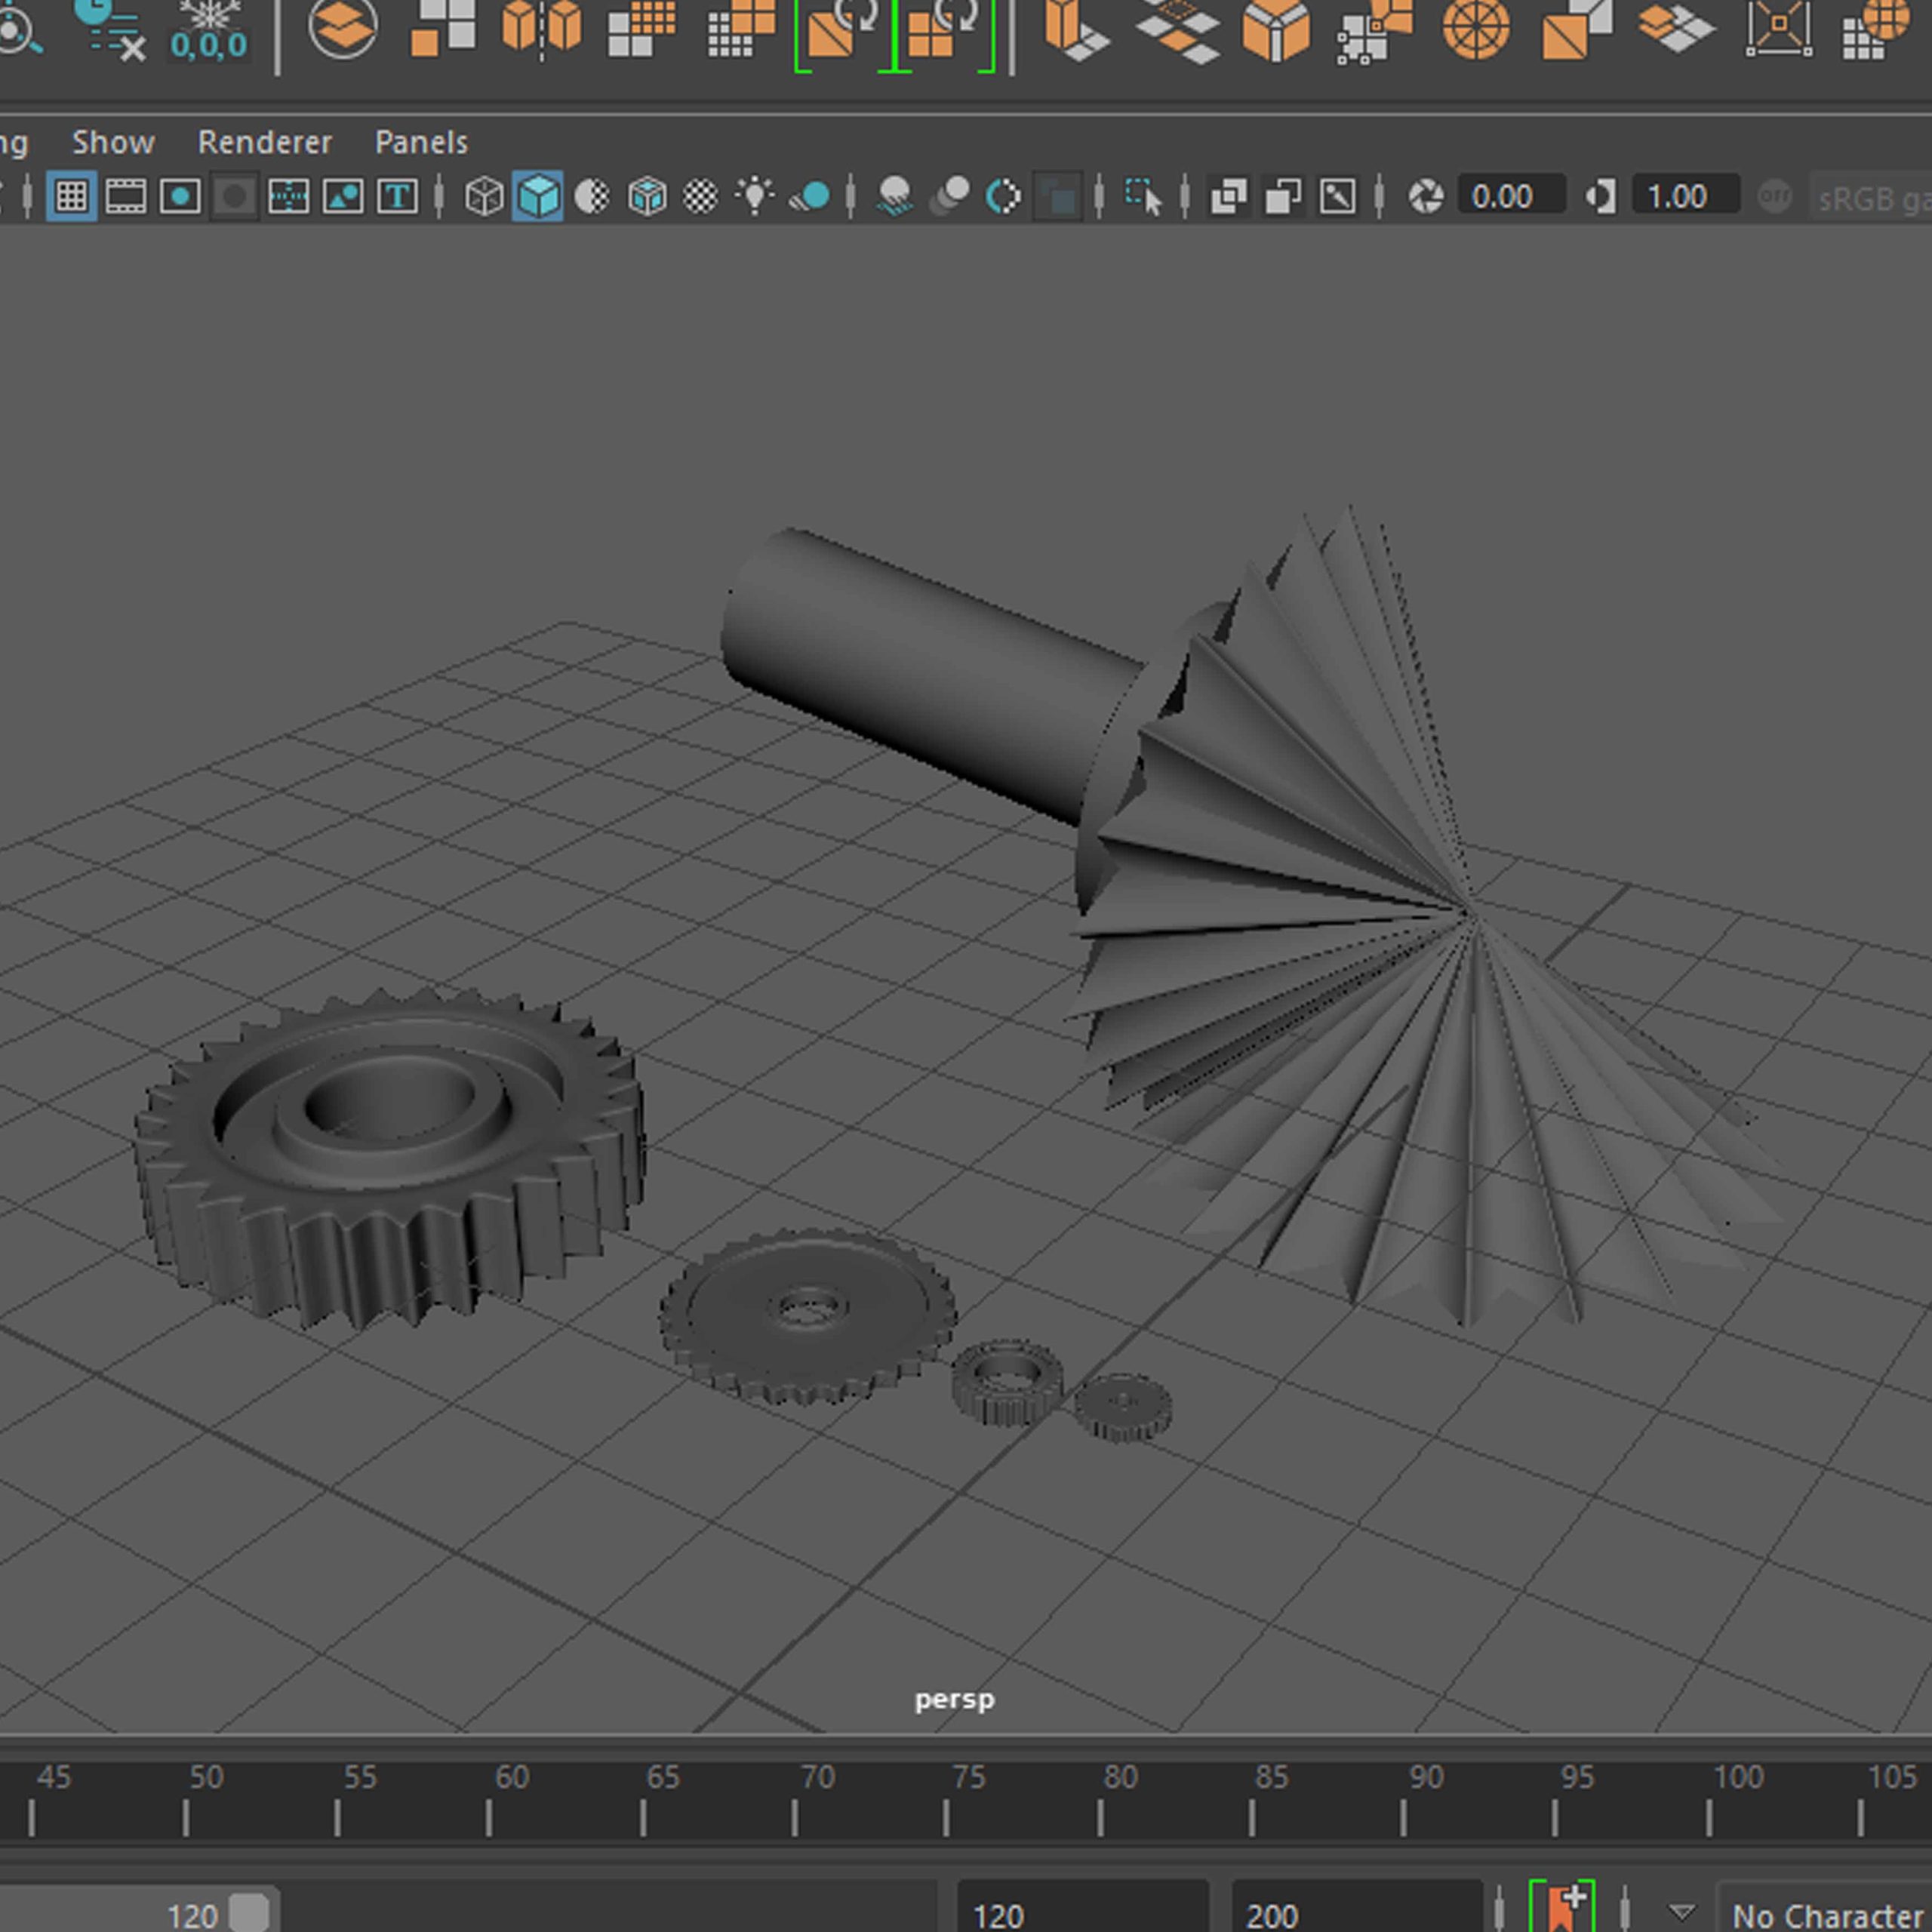
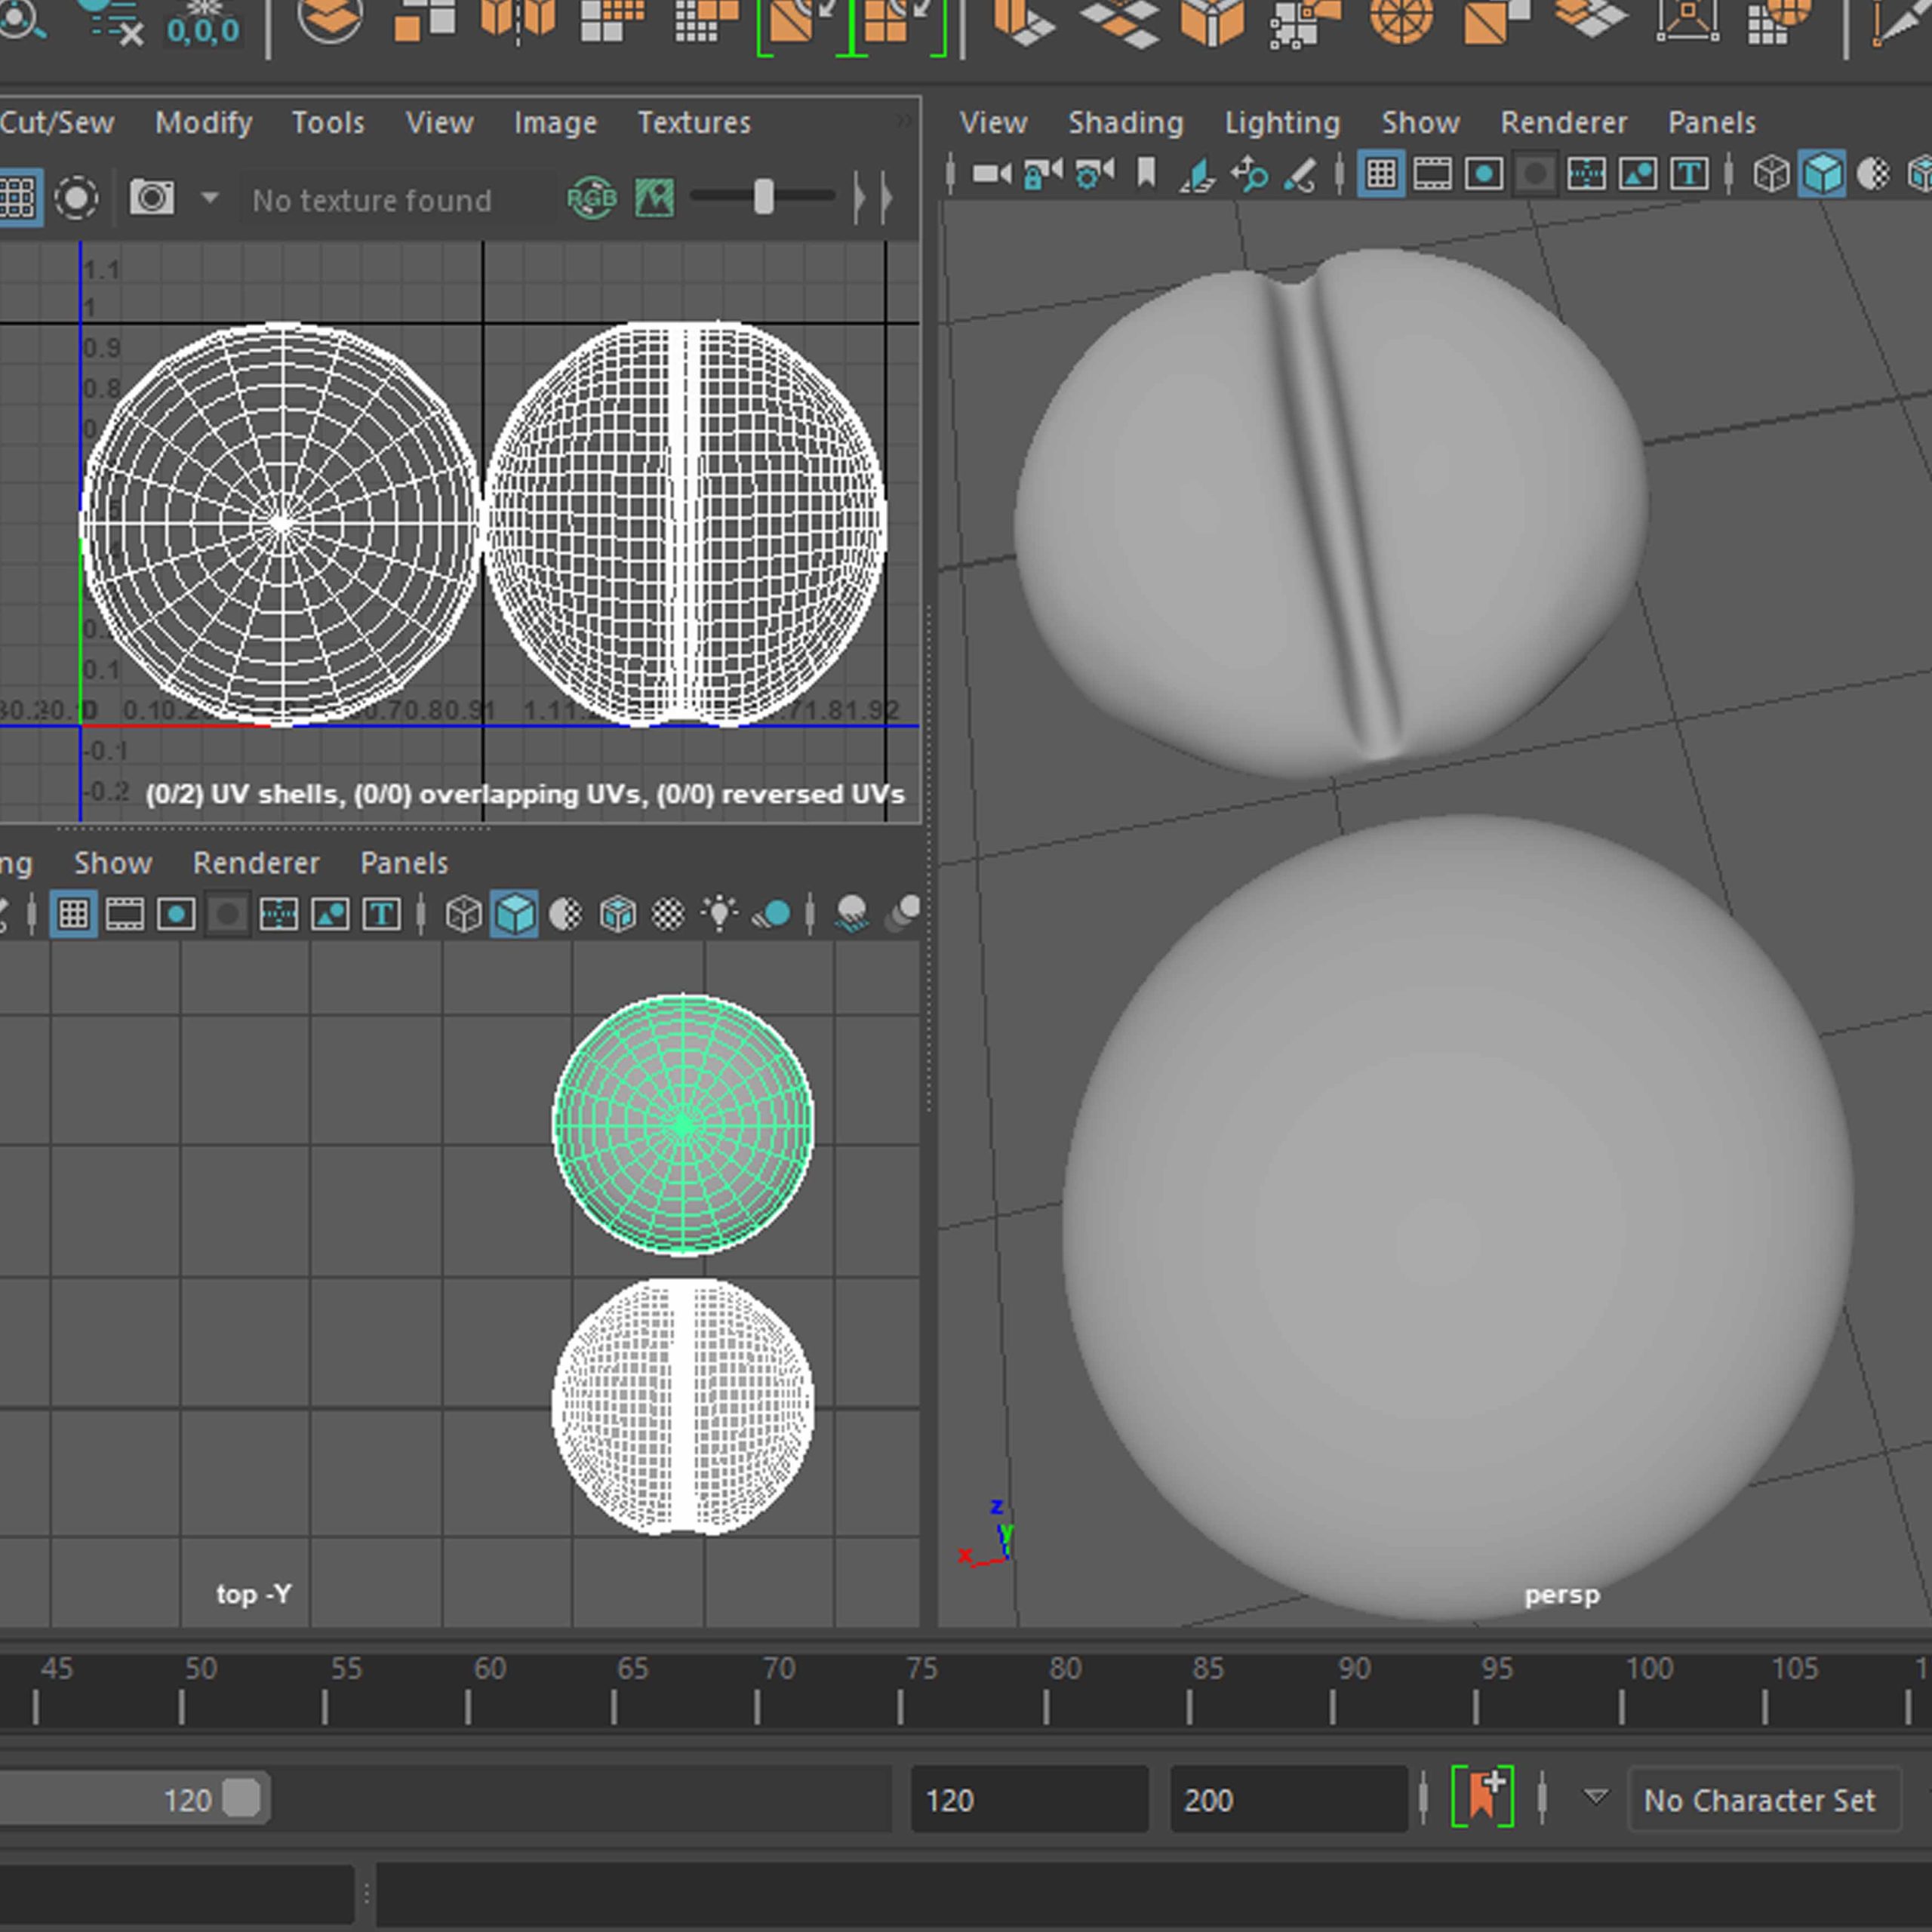
Cogs


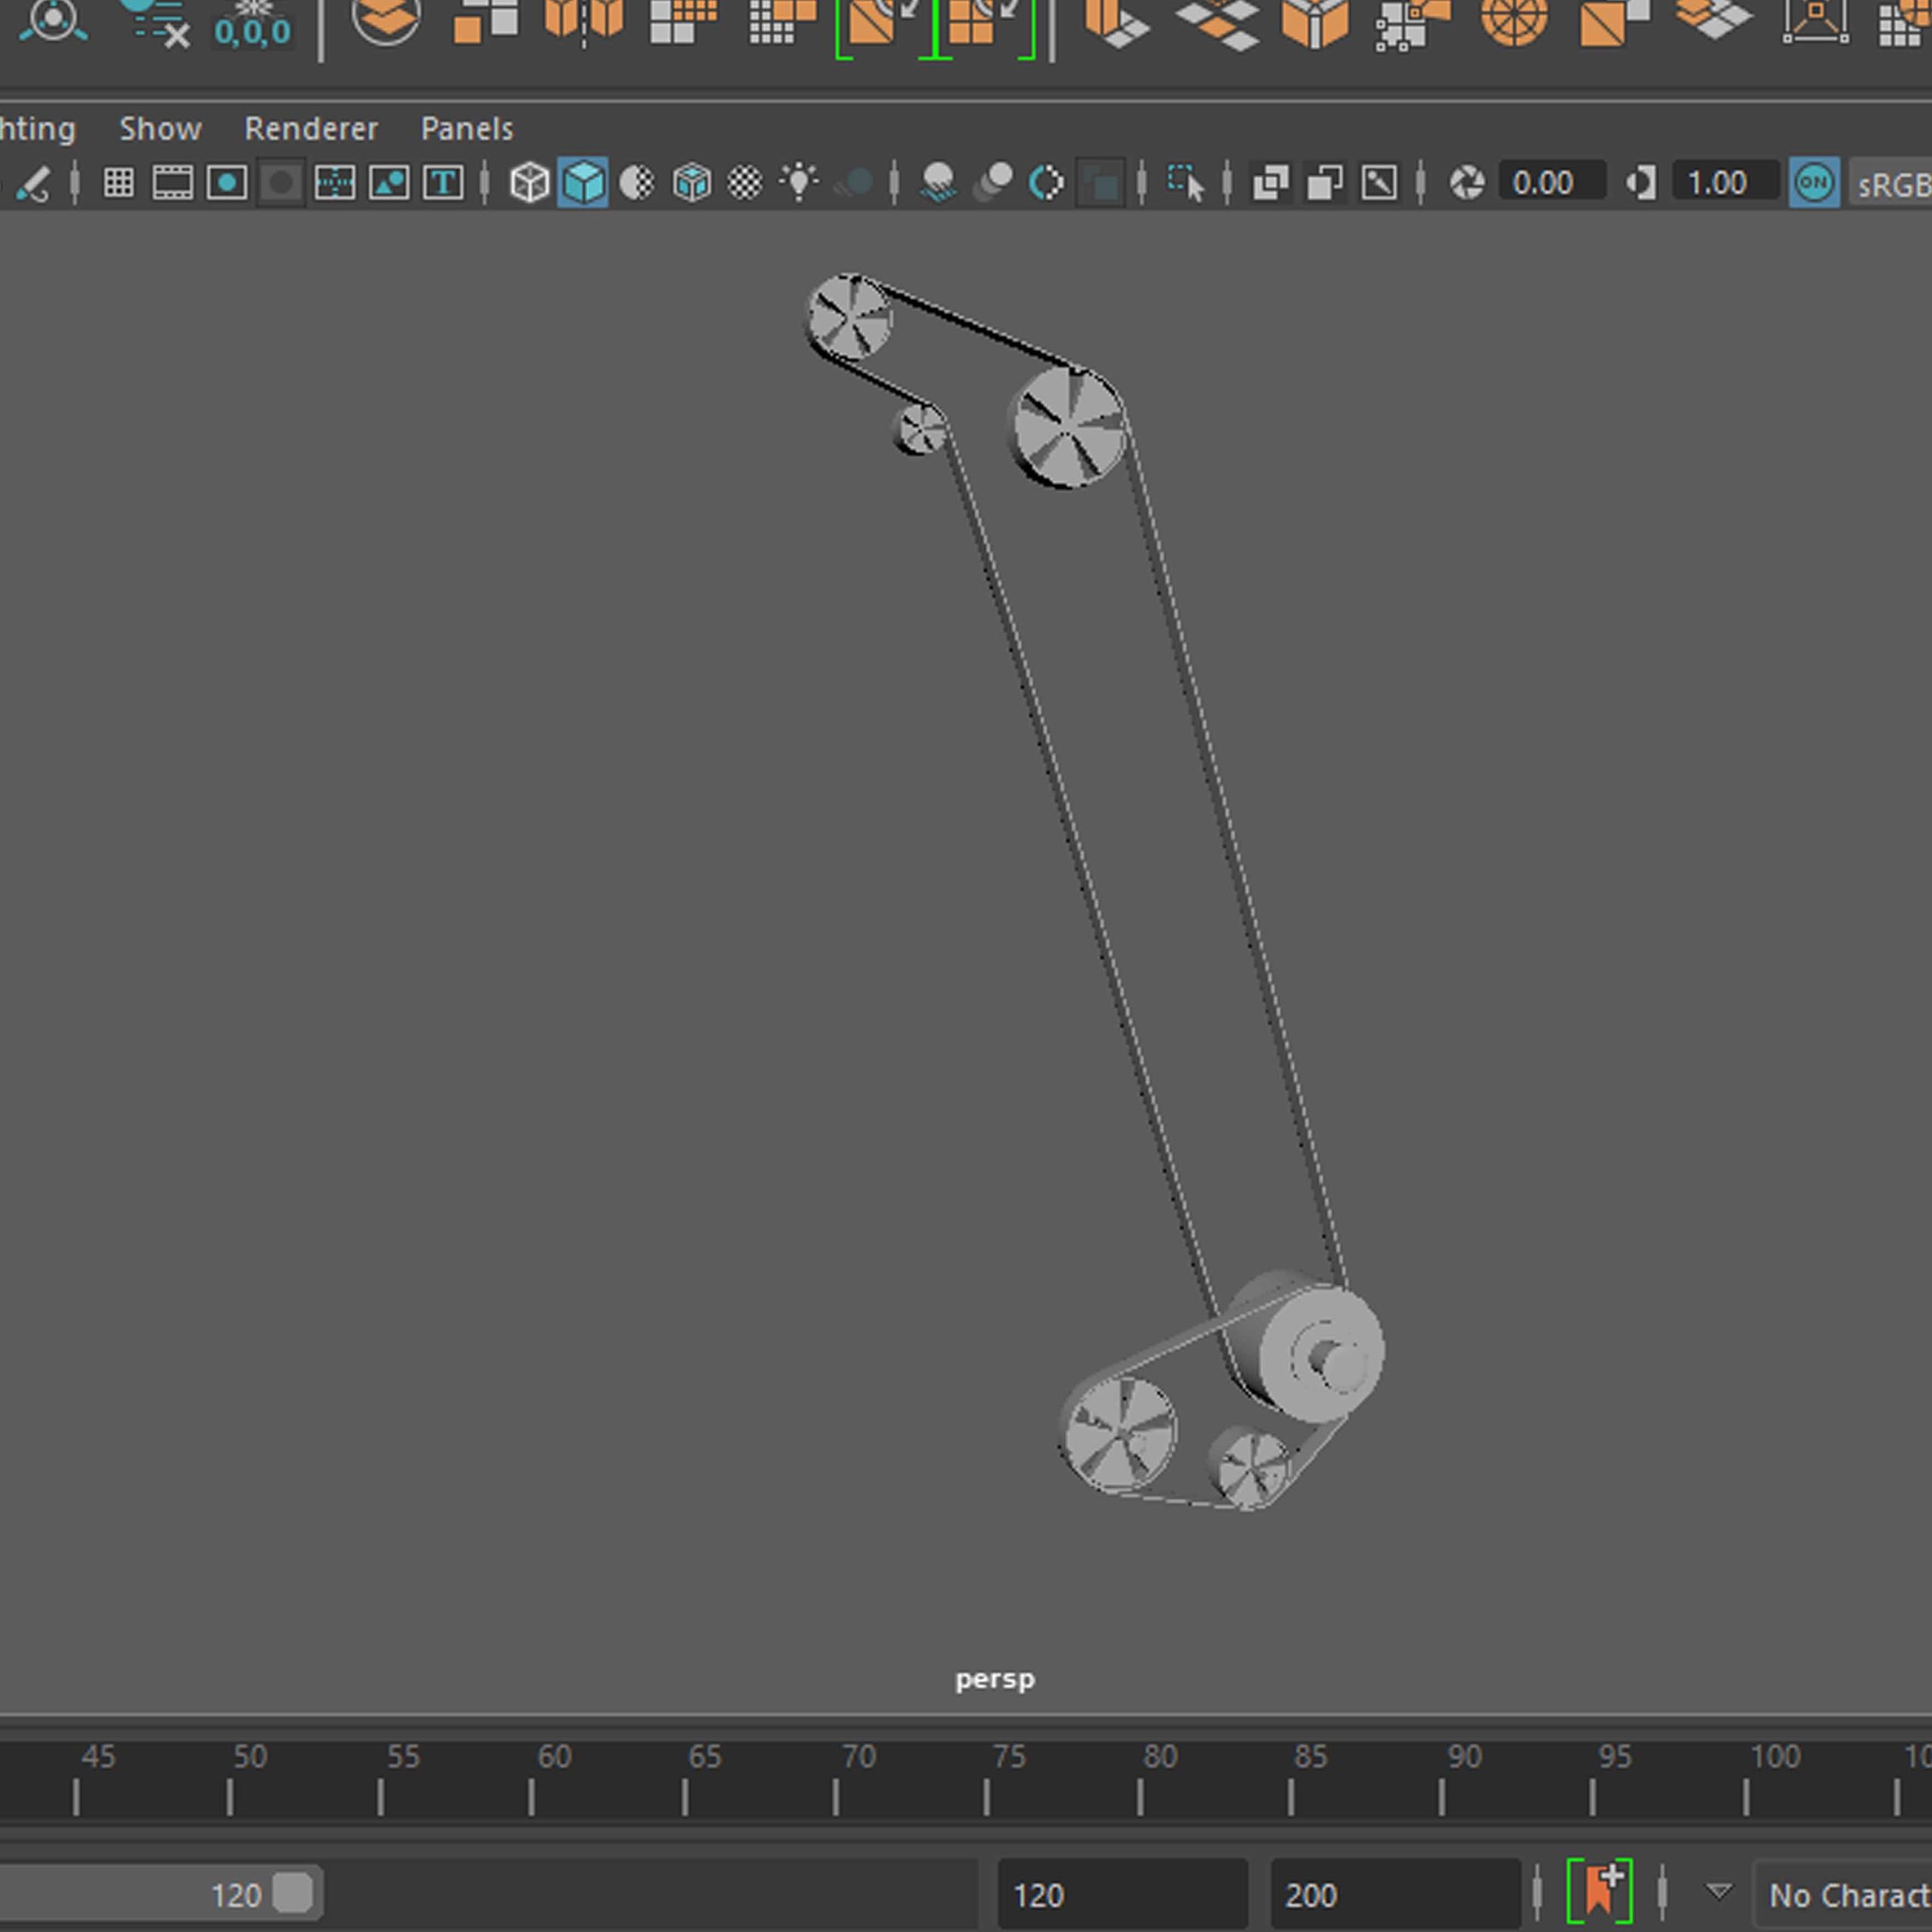
Room 1
The model for the first room, I saved only limited progress screenshots as I wasn’t sure if I will use this in the end, but it is possible to see some progress going from the picture on the left towards the right.
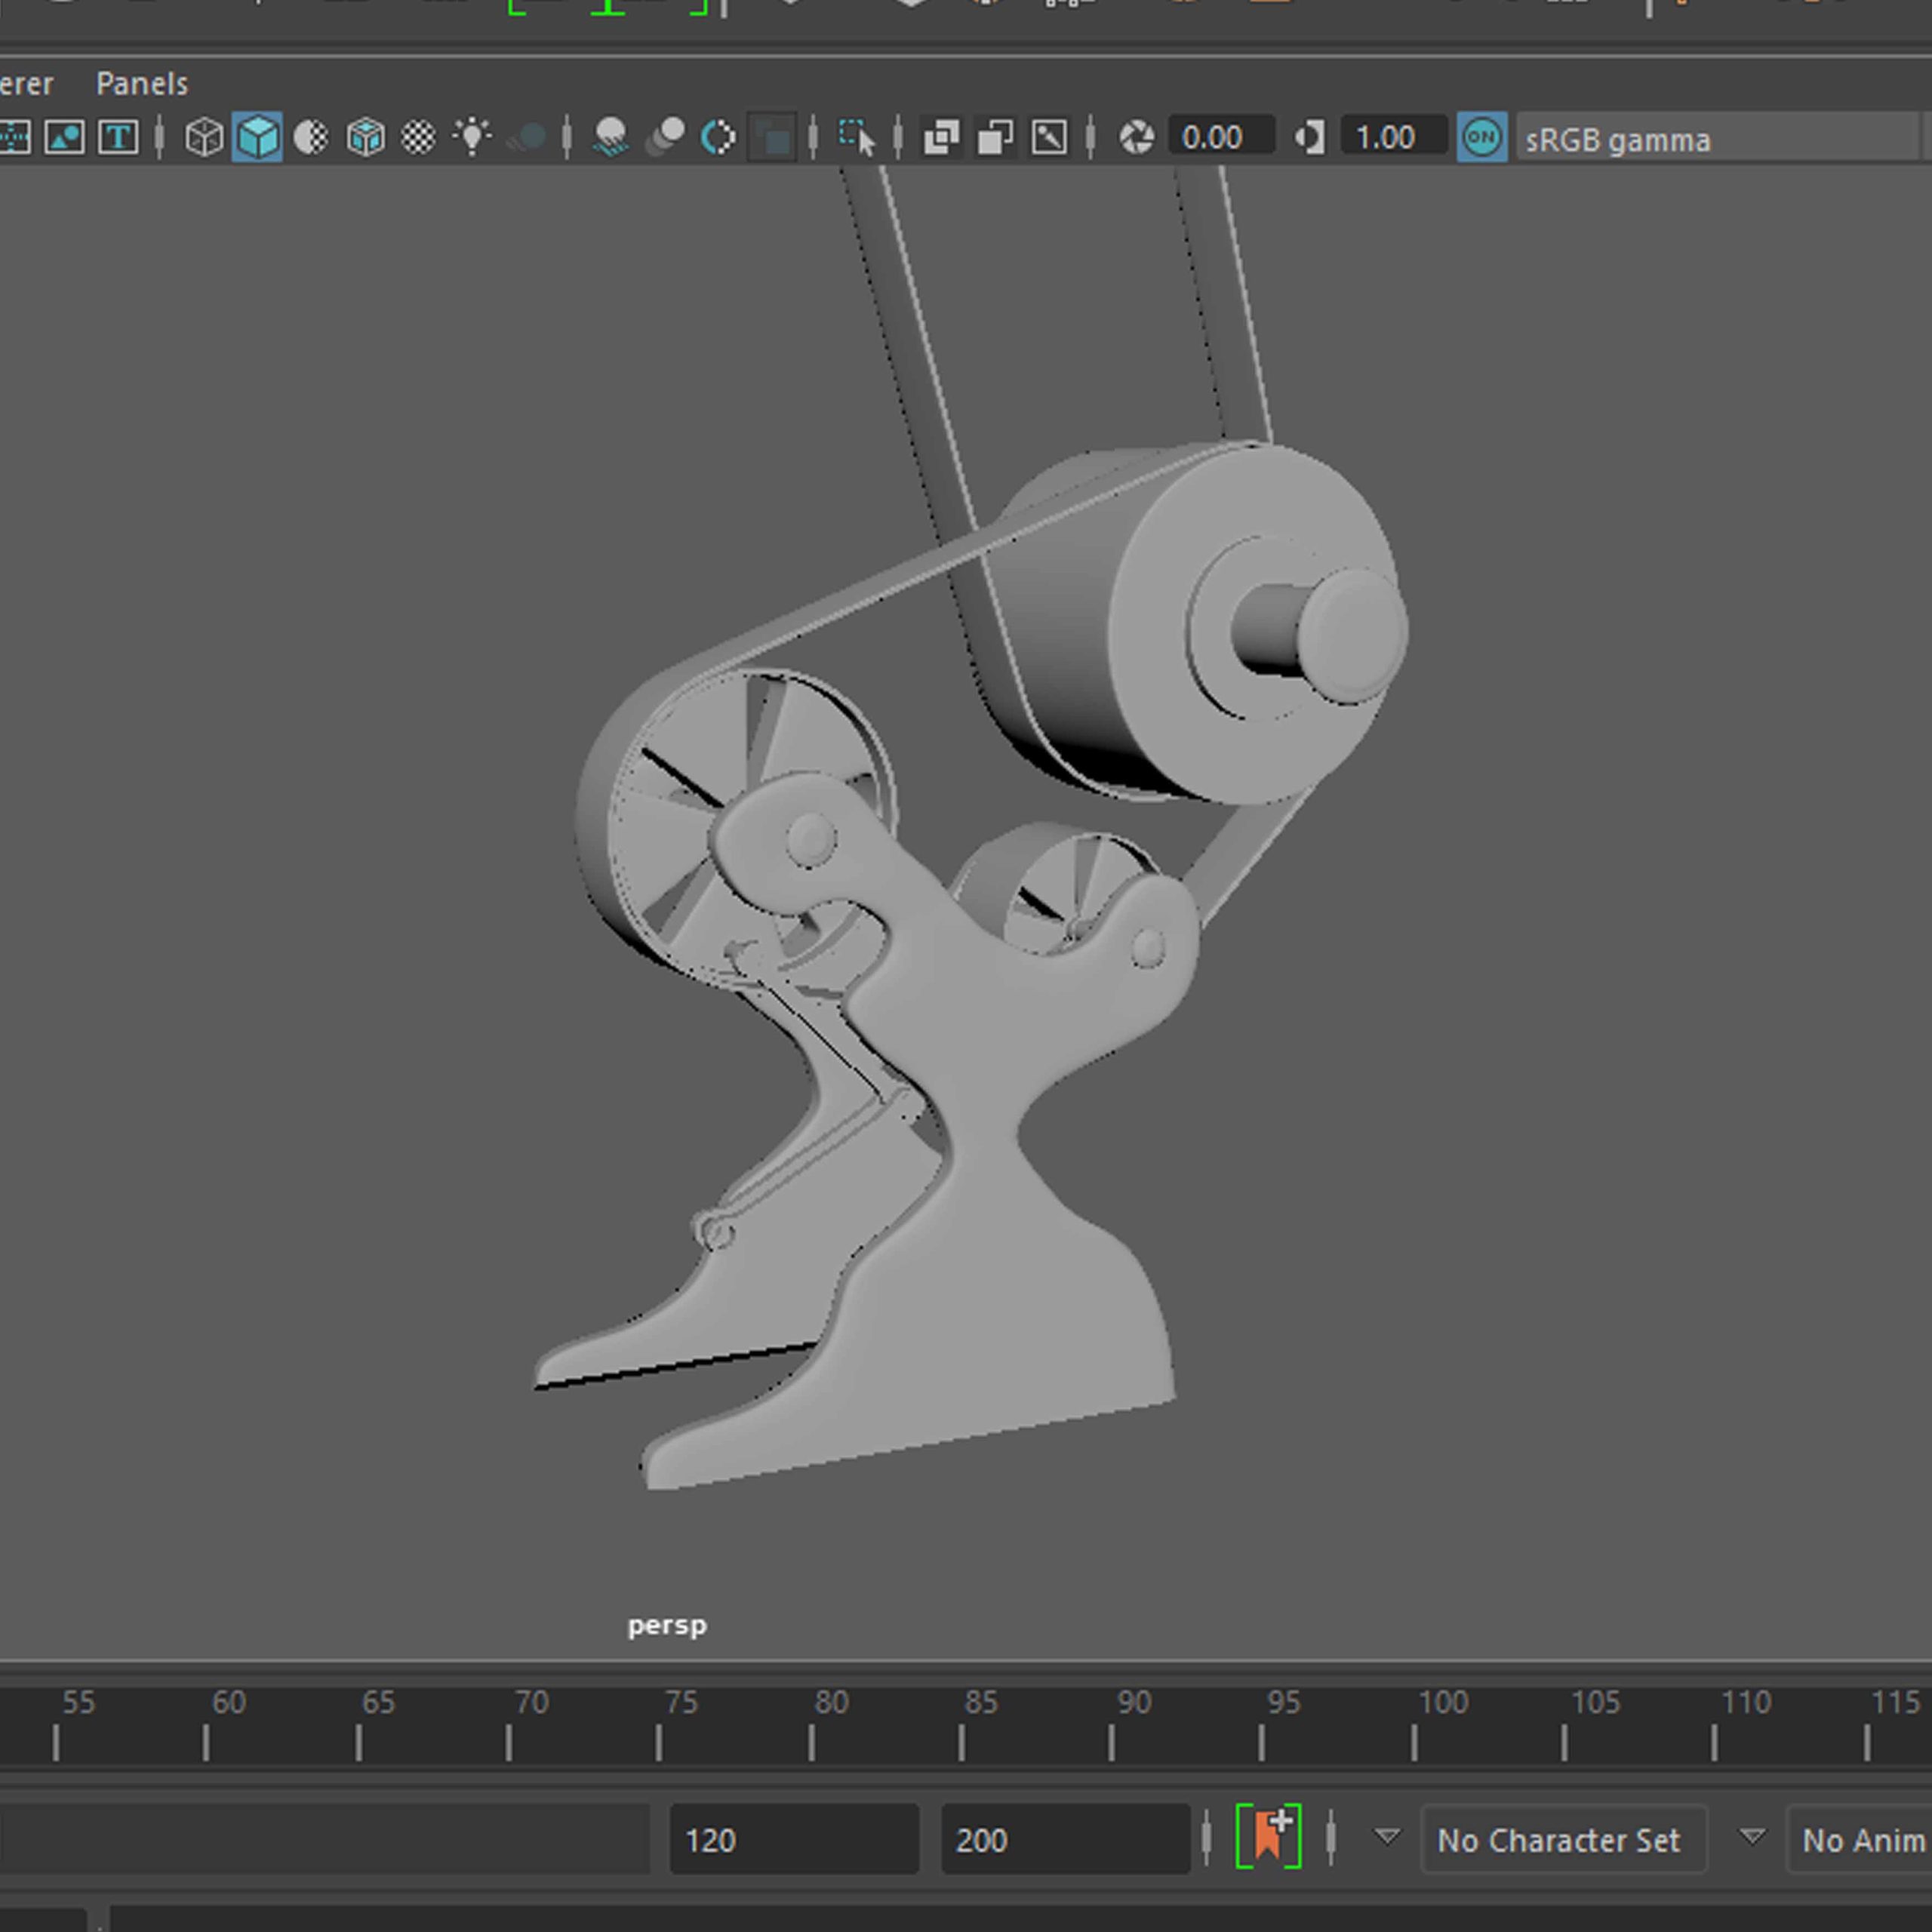
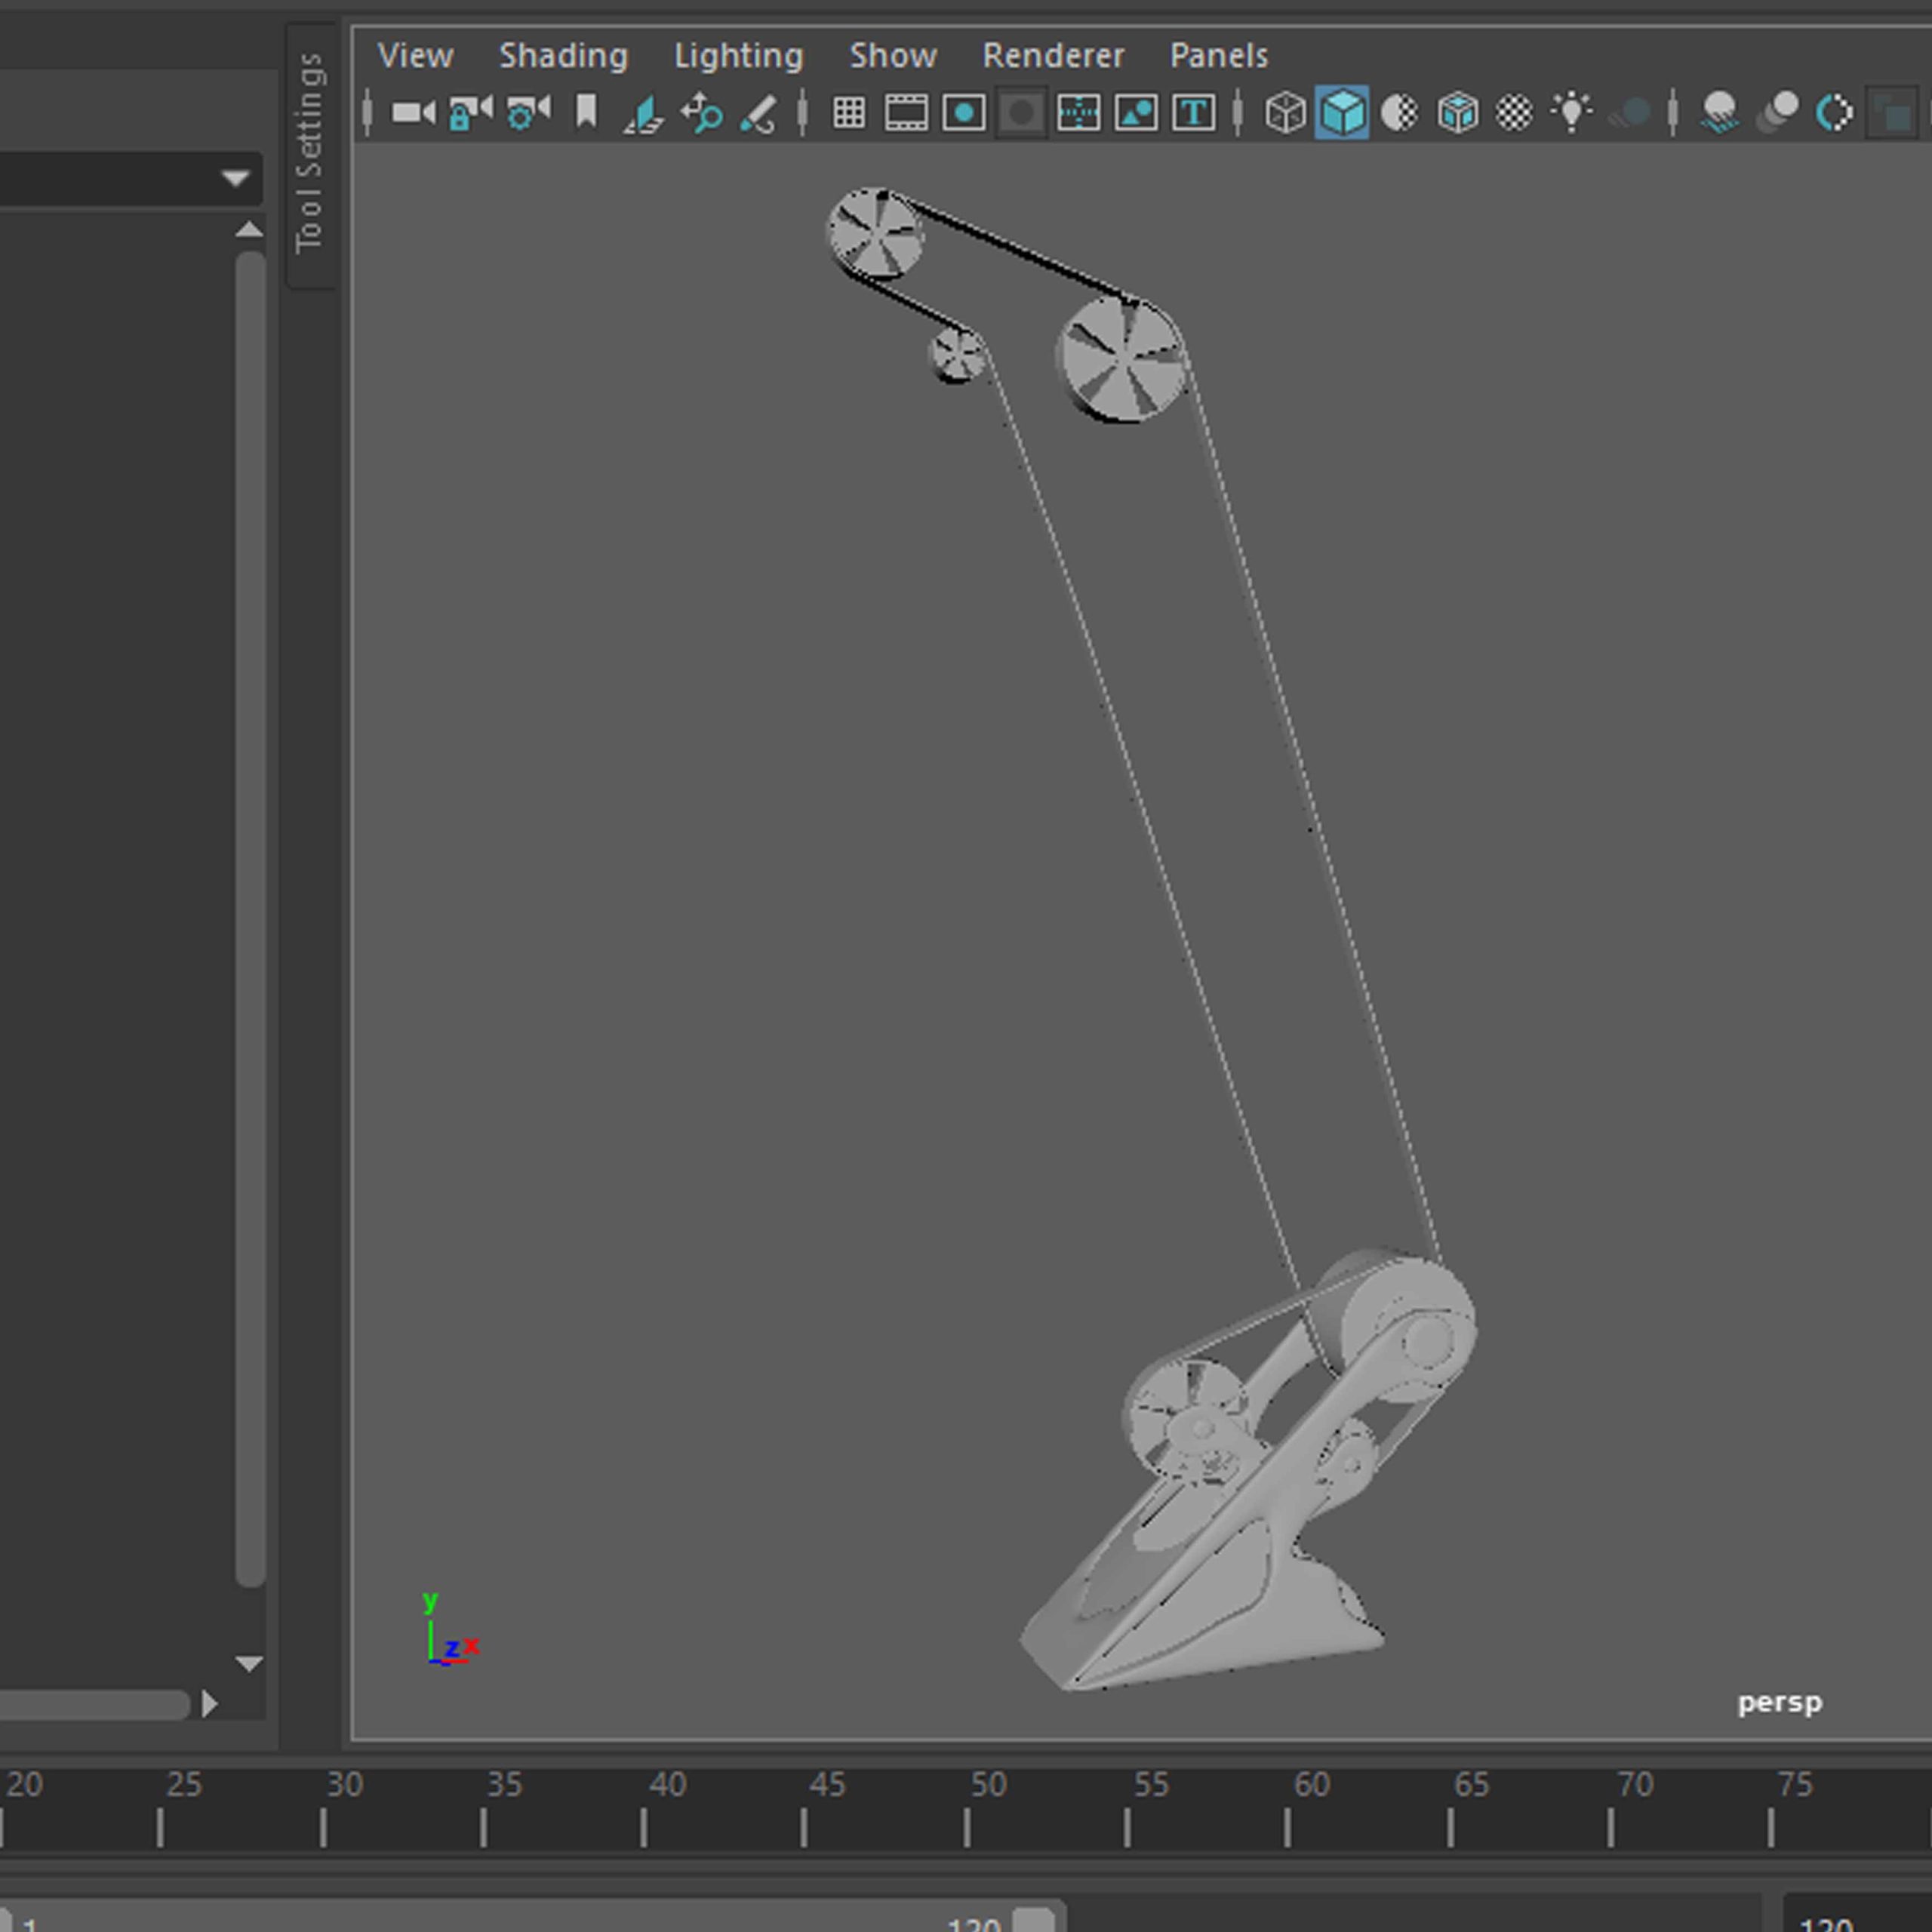
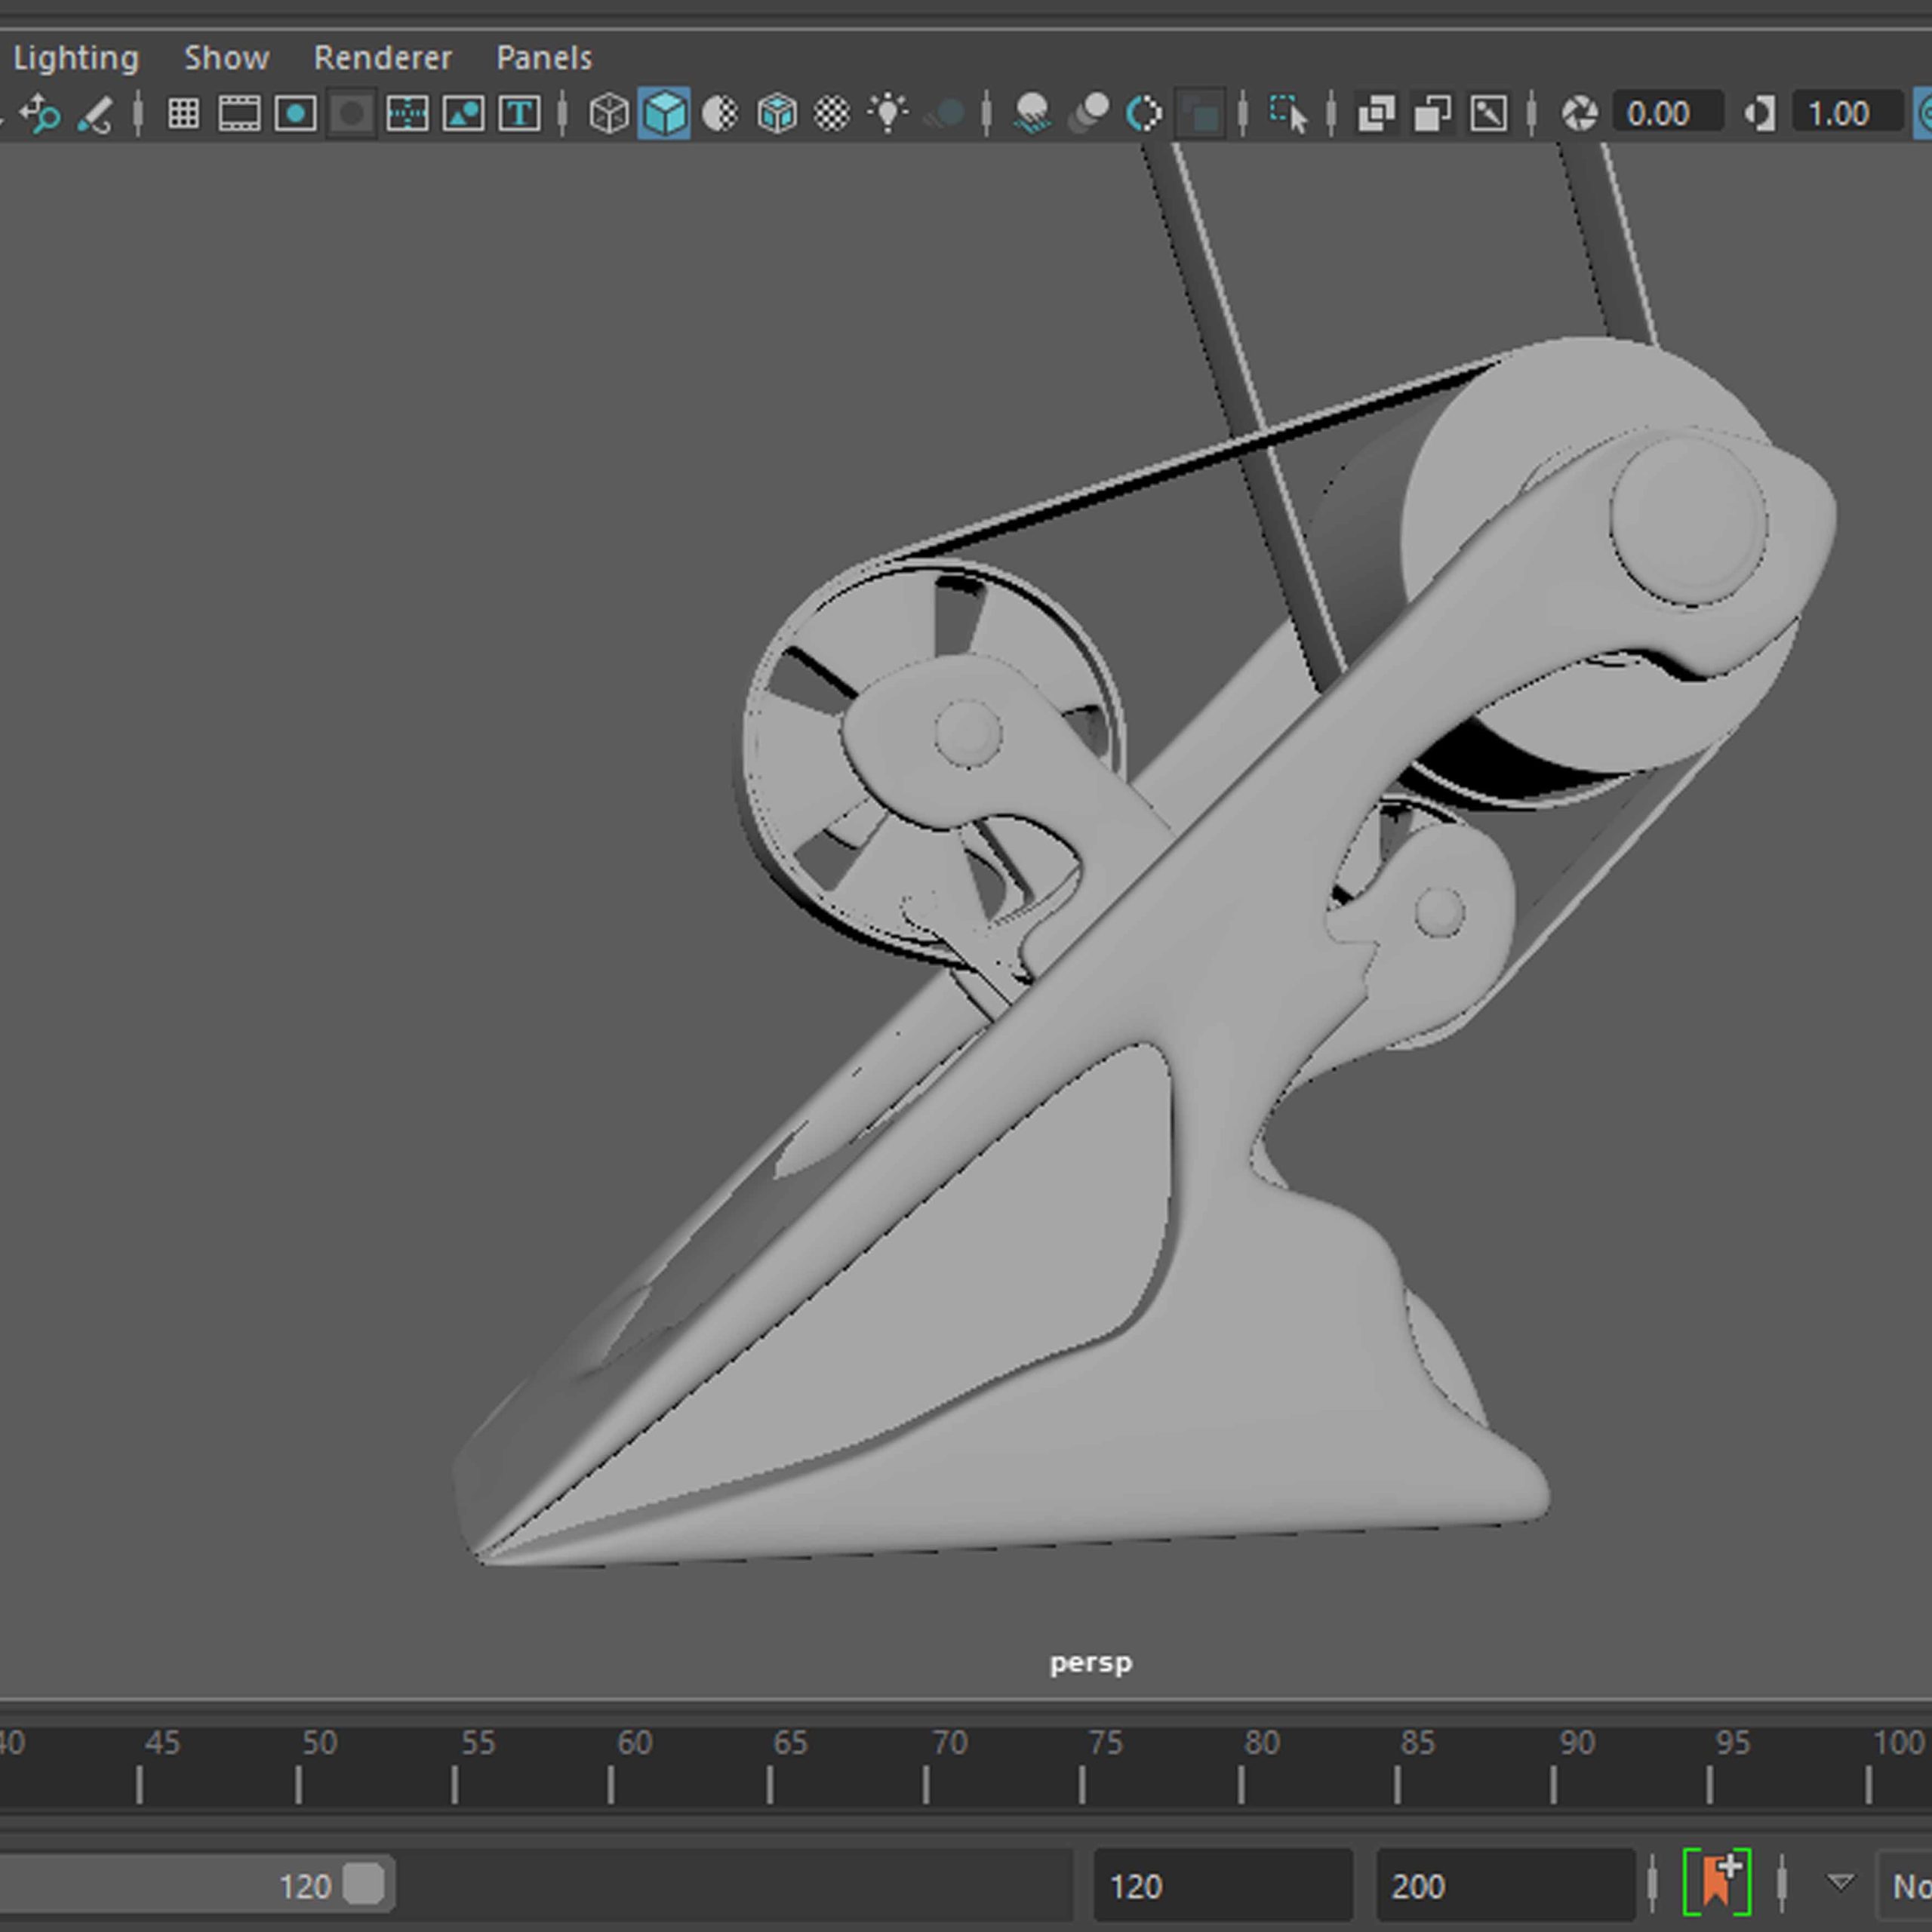
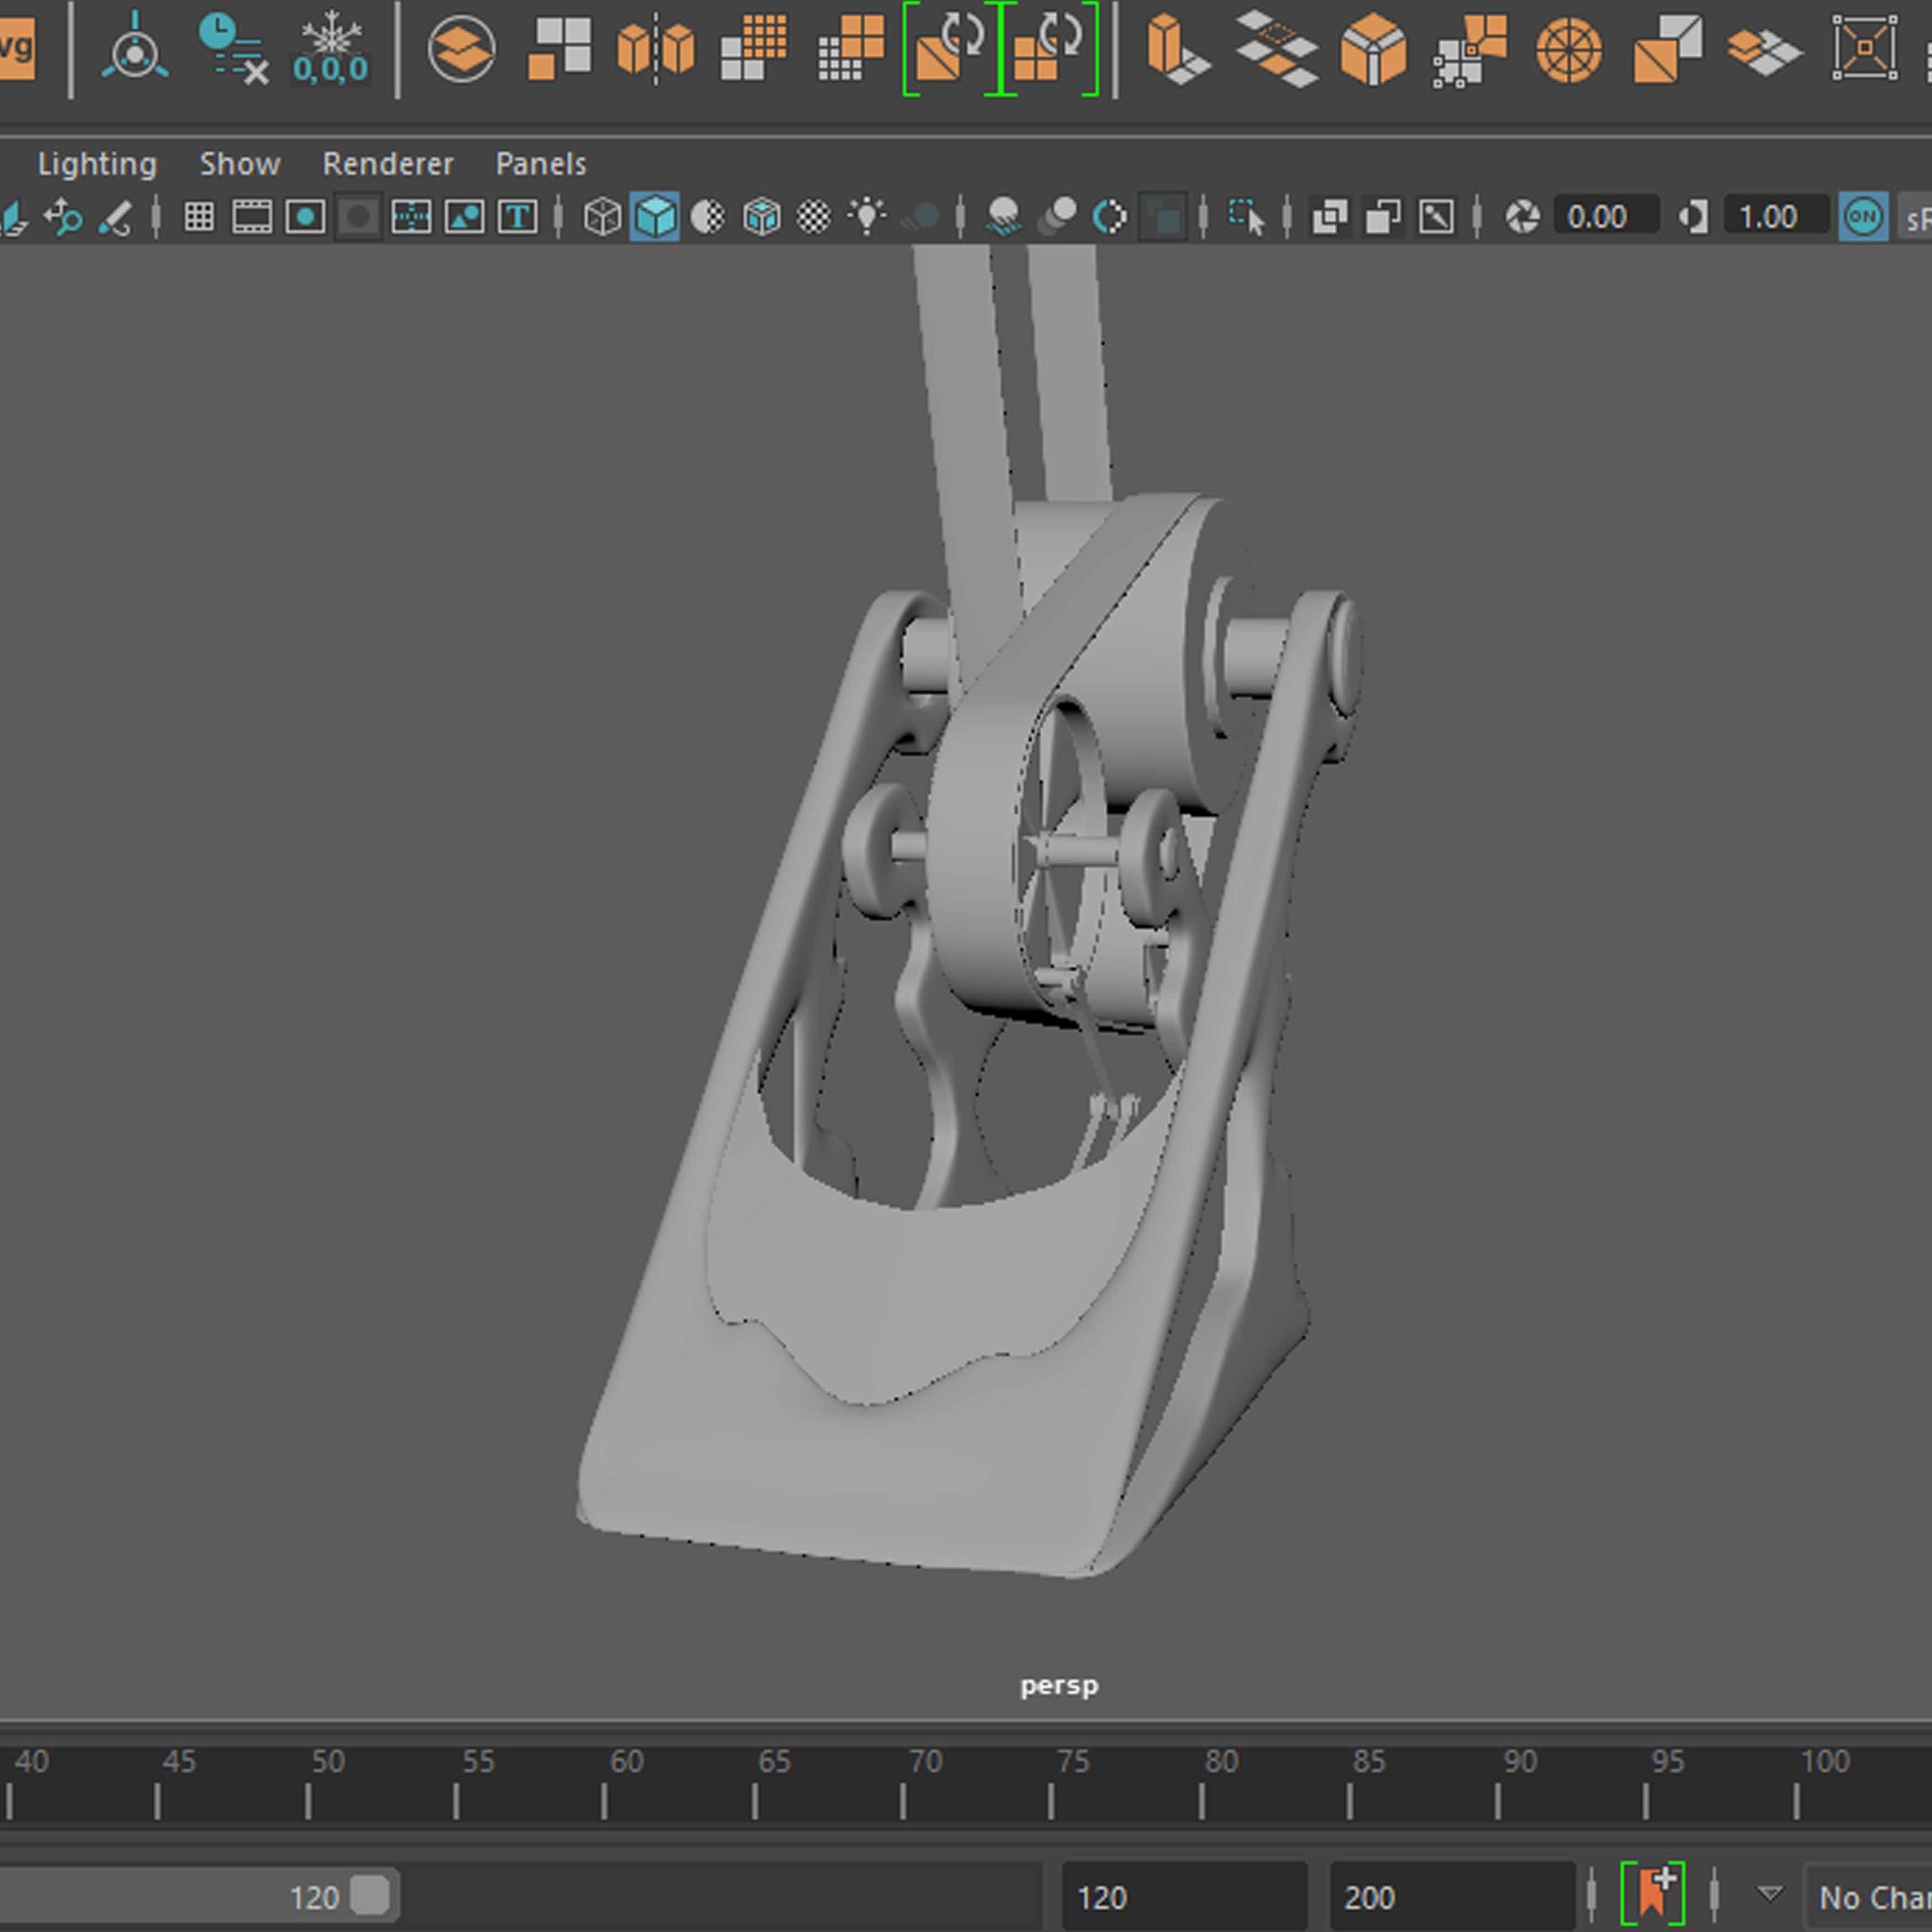
Room2
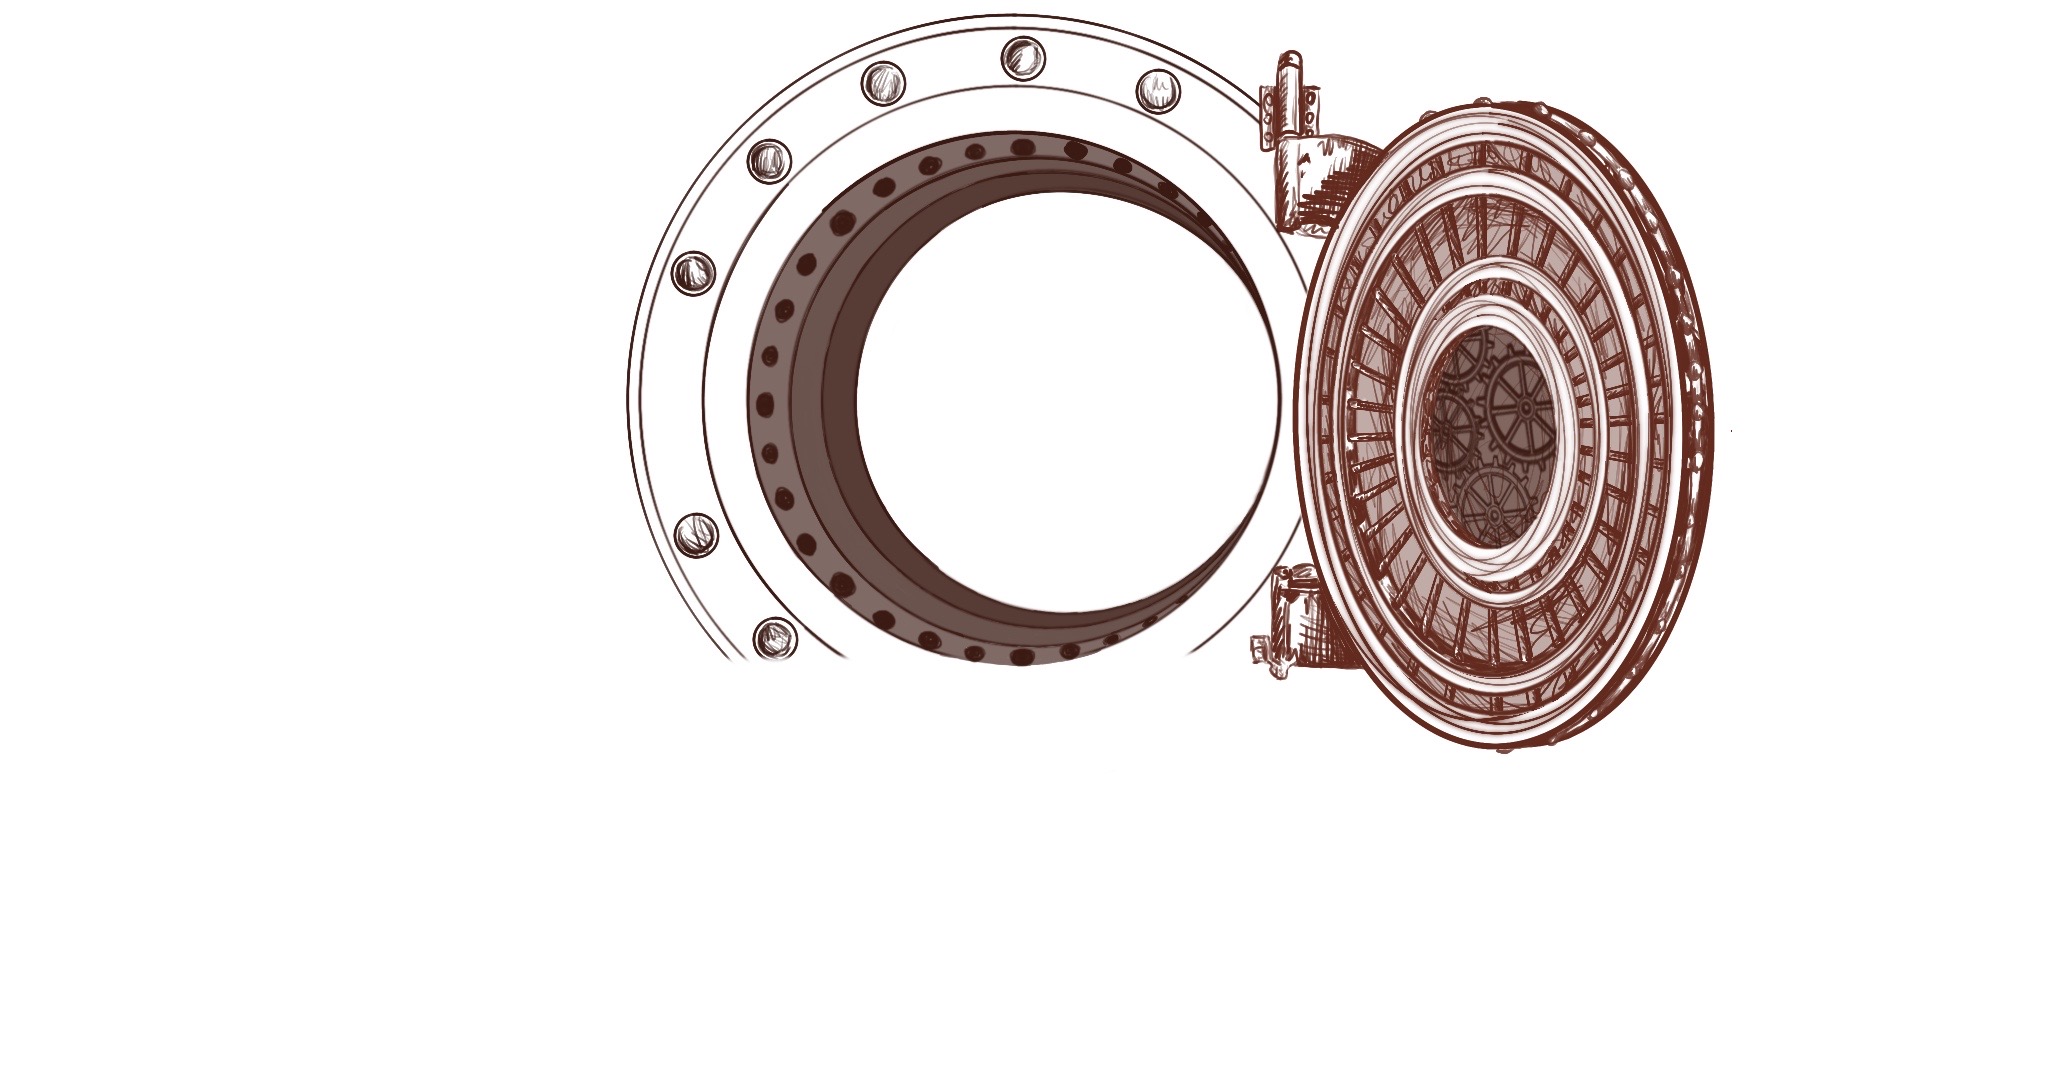
Time-lapse videos of the process of creating and setting up the main machine – vault door.
Top left – the progress of modelling the door
Top right – setting it up in the context of the mesh corresponding with the footage (nuke-point cloud-mesh).
Bottom left – first check if the machine is set in the right space.
Bottom right – time-lapse of the cog assembly.
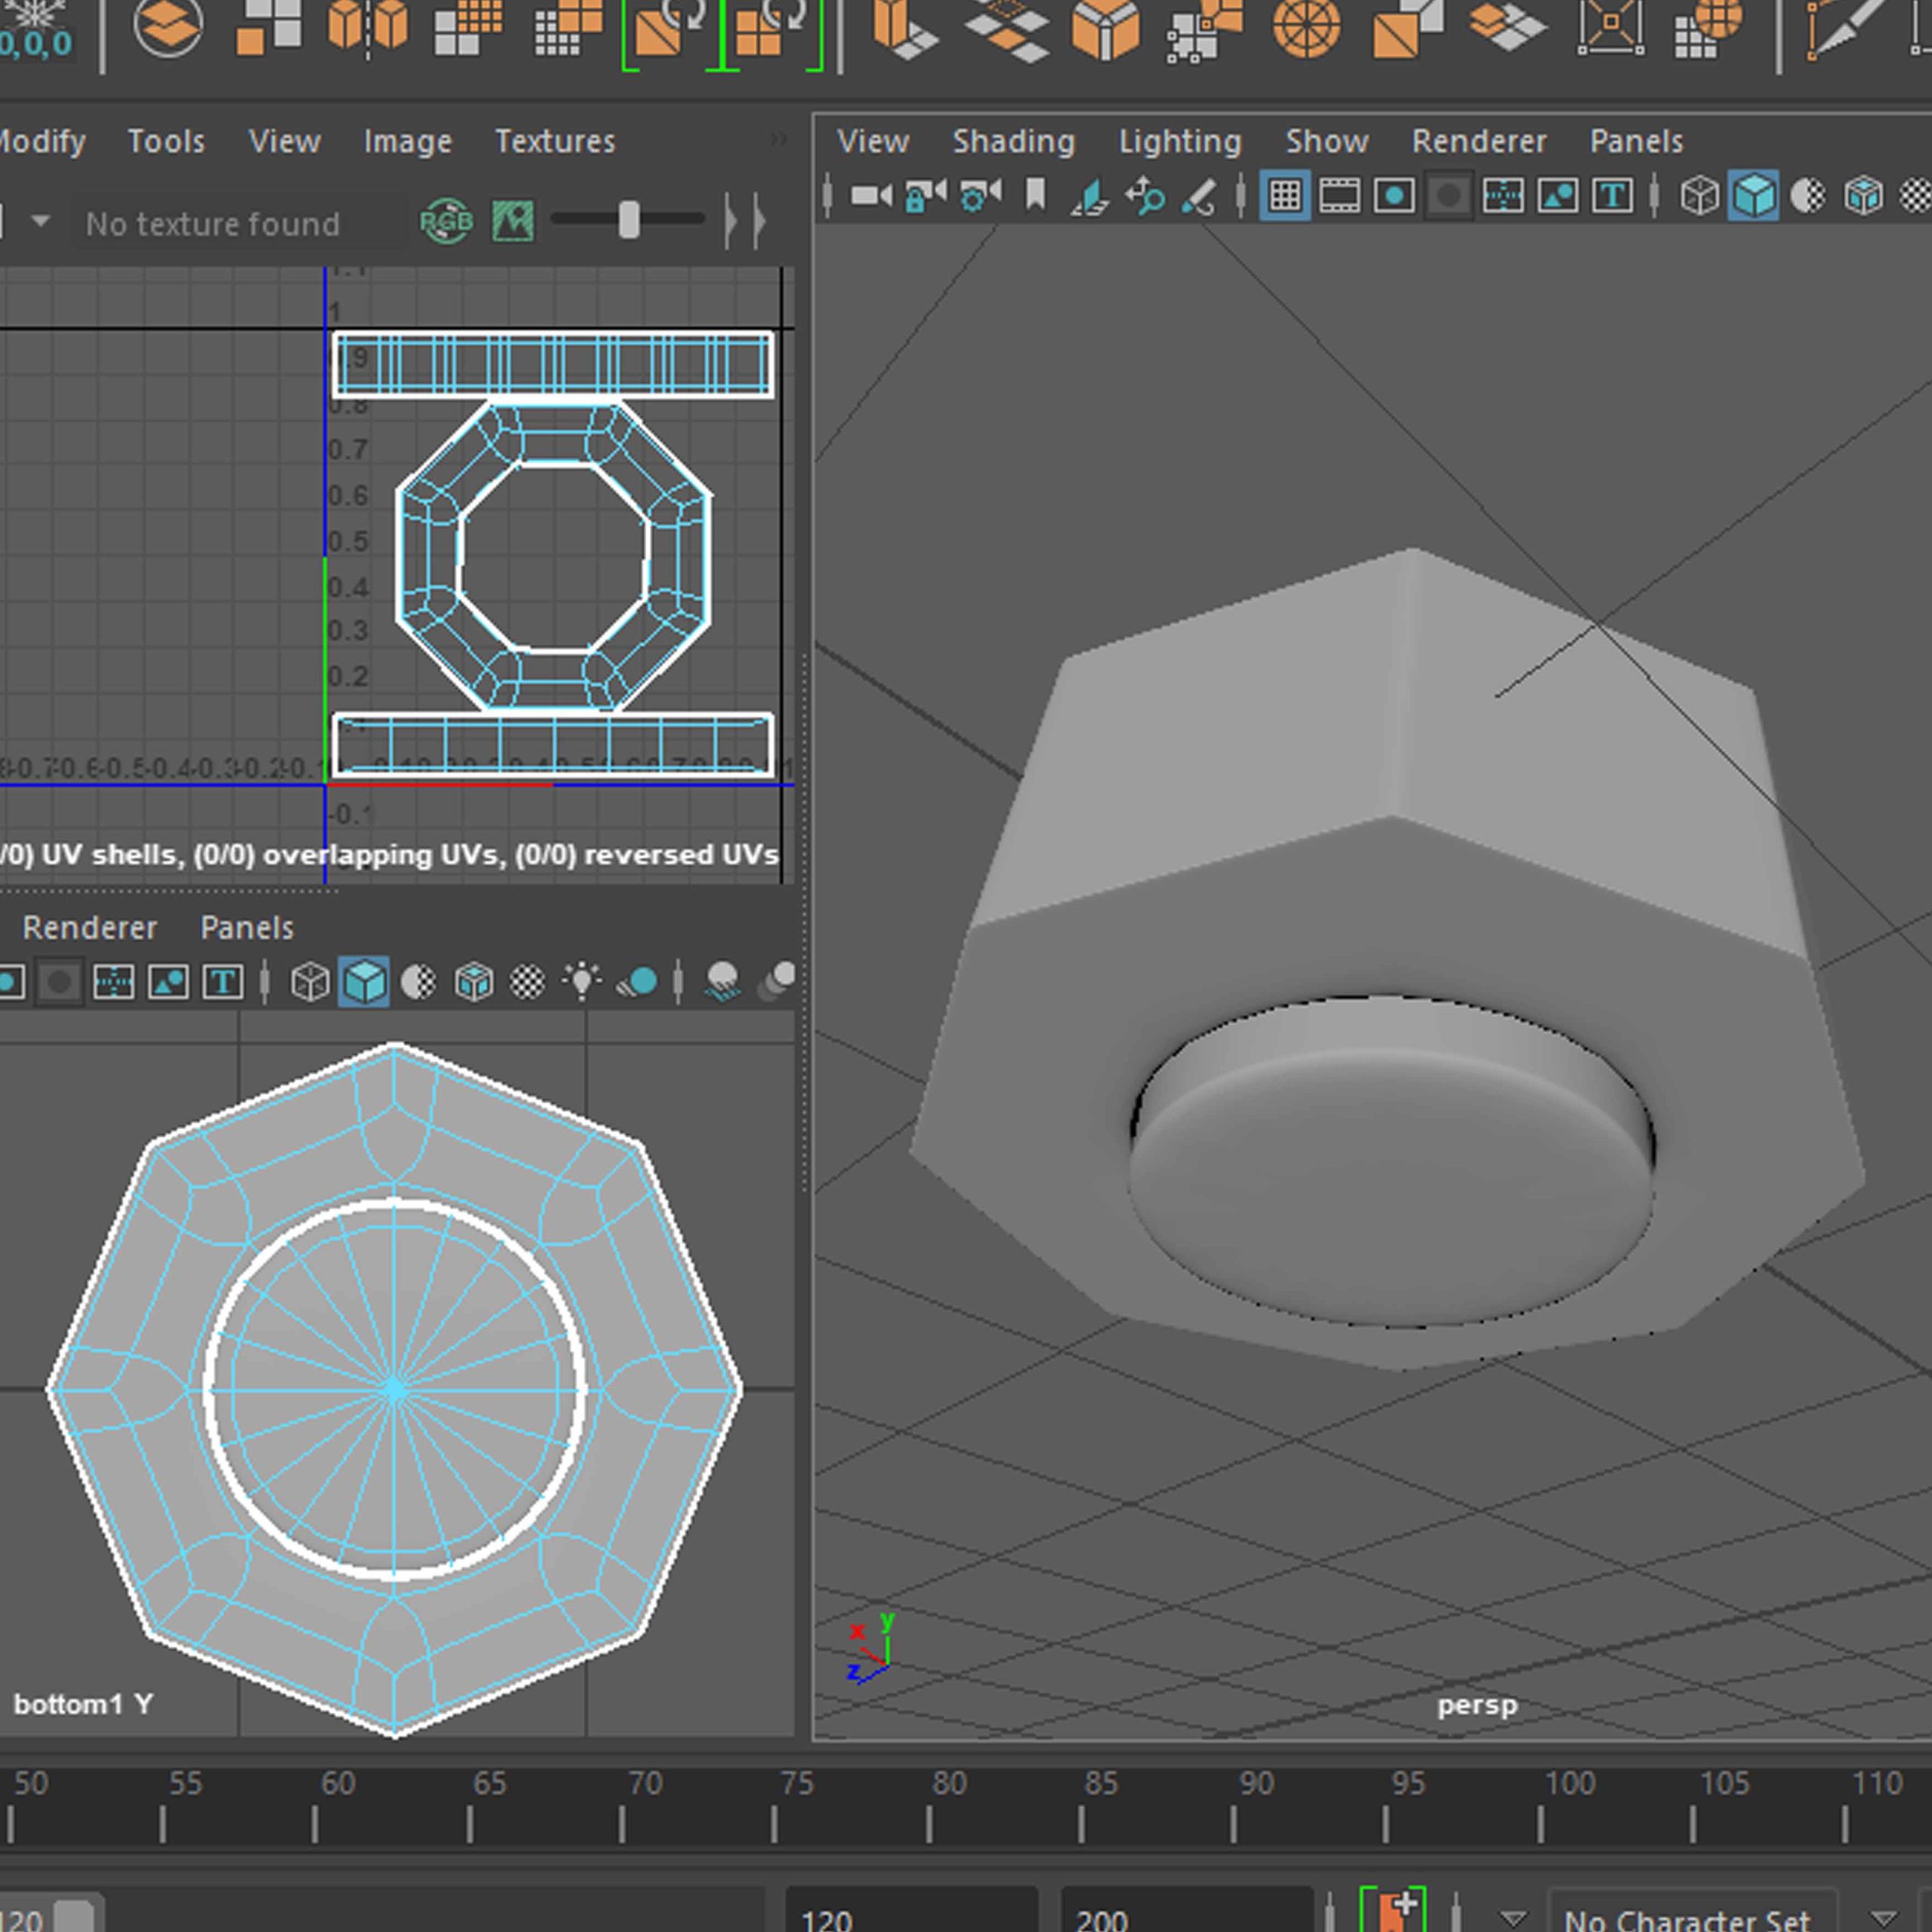
Texturing
Below on the left is a time-lapse of the texturing process and on the right we have a close up detail of the animated cogs in full texture.
Unfortunately the software did not record the render and hypershade windows, so the time-lapse shows only the lighting process.
Render
The below videos show the stages of checks and renders that were meant as preparation for the final outcome.
The are quickly placed on the footage to check their position and stability, no clean up work was made to the footage itself as well as no hold out or grade to blend the cg into the footage better. They are solely meant as checks as I was making sure everything works before I committed with the full render.
The first one on the left is the first check that I’ve made, before the model was finished and with just a basic material, the middle one was the second on which the proper material was already placed as well as the full animation was also ready and the third one shows additional element added to the device in the vault (which was a motion graphic piece I’ve made separately).